
Configuring Organization Settings
This tutorial walks you through the settings available for a Zibit organization—the account layer that groups your spaces, projects, and team members. By the end, you'll know how to update your organization's public profile, upload a logo, and manage ownership.
The Organizations page and how to open an organization's settings
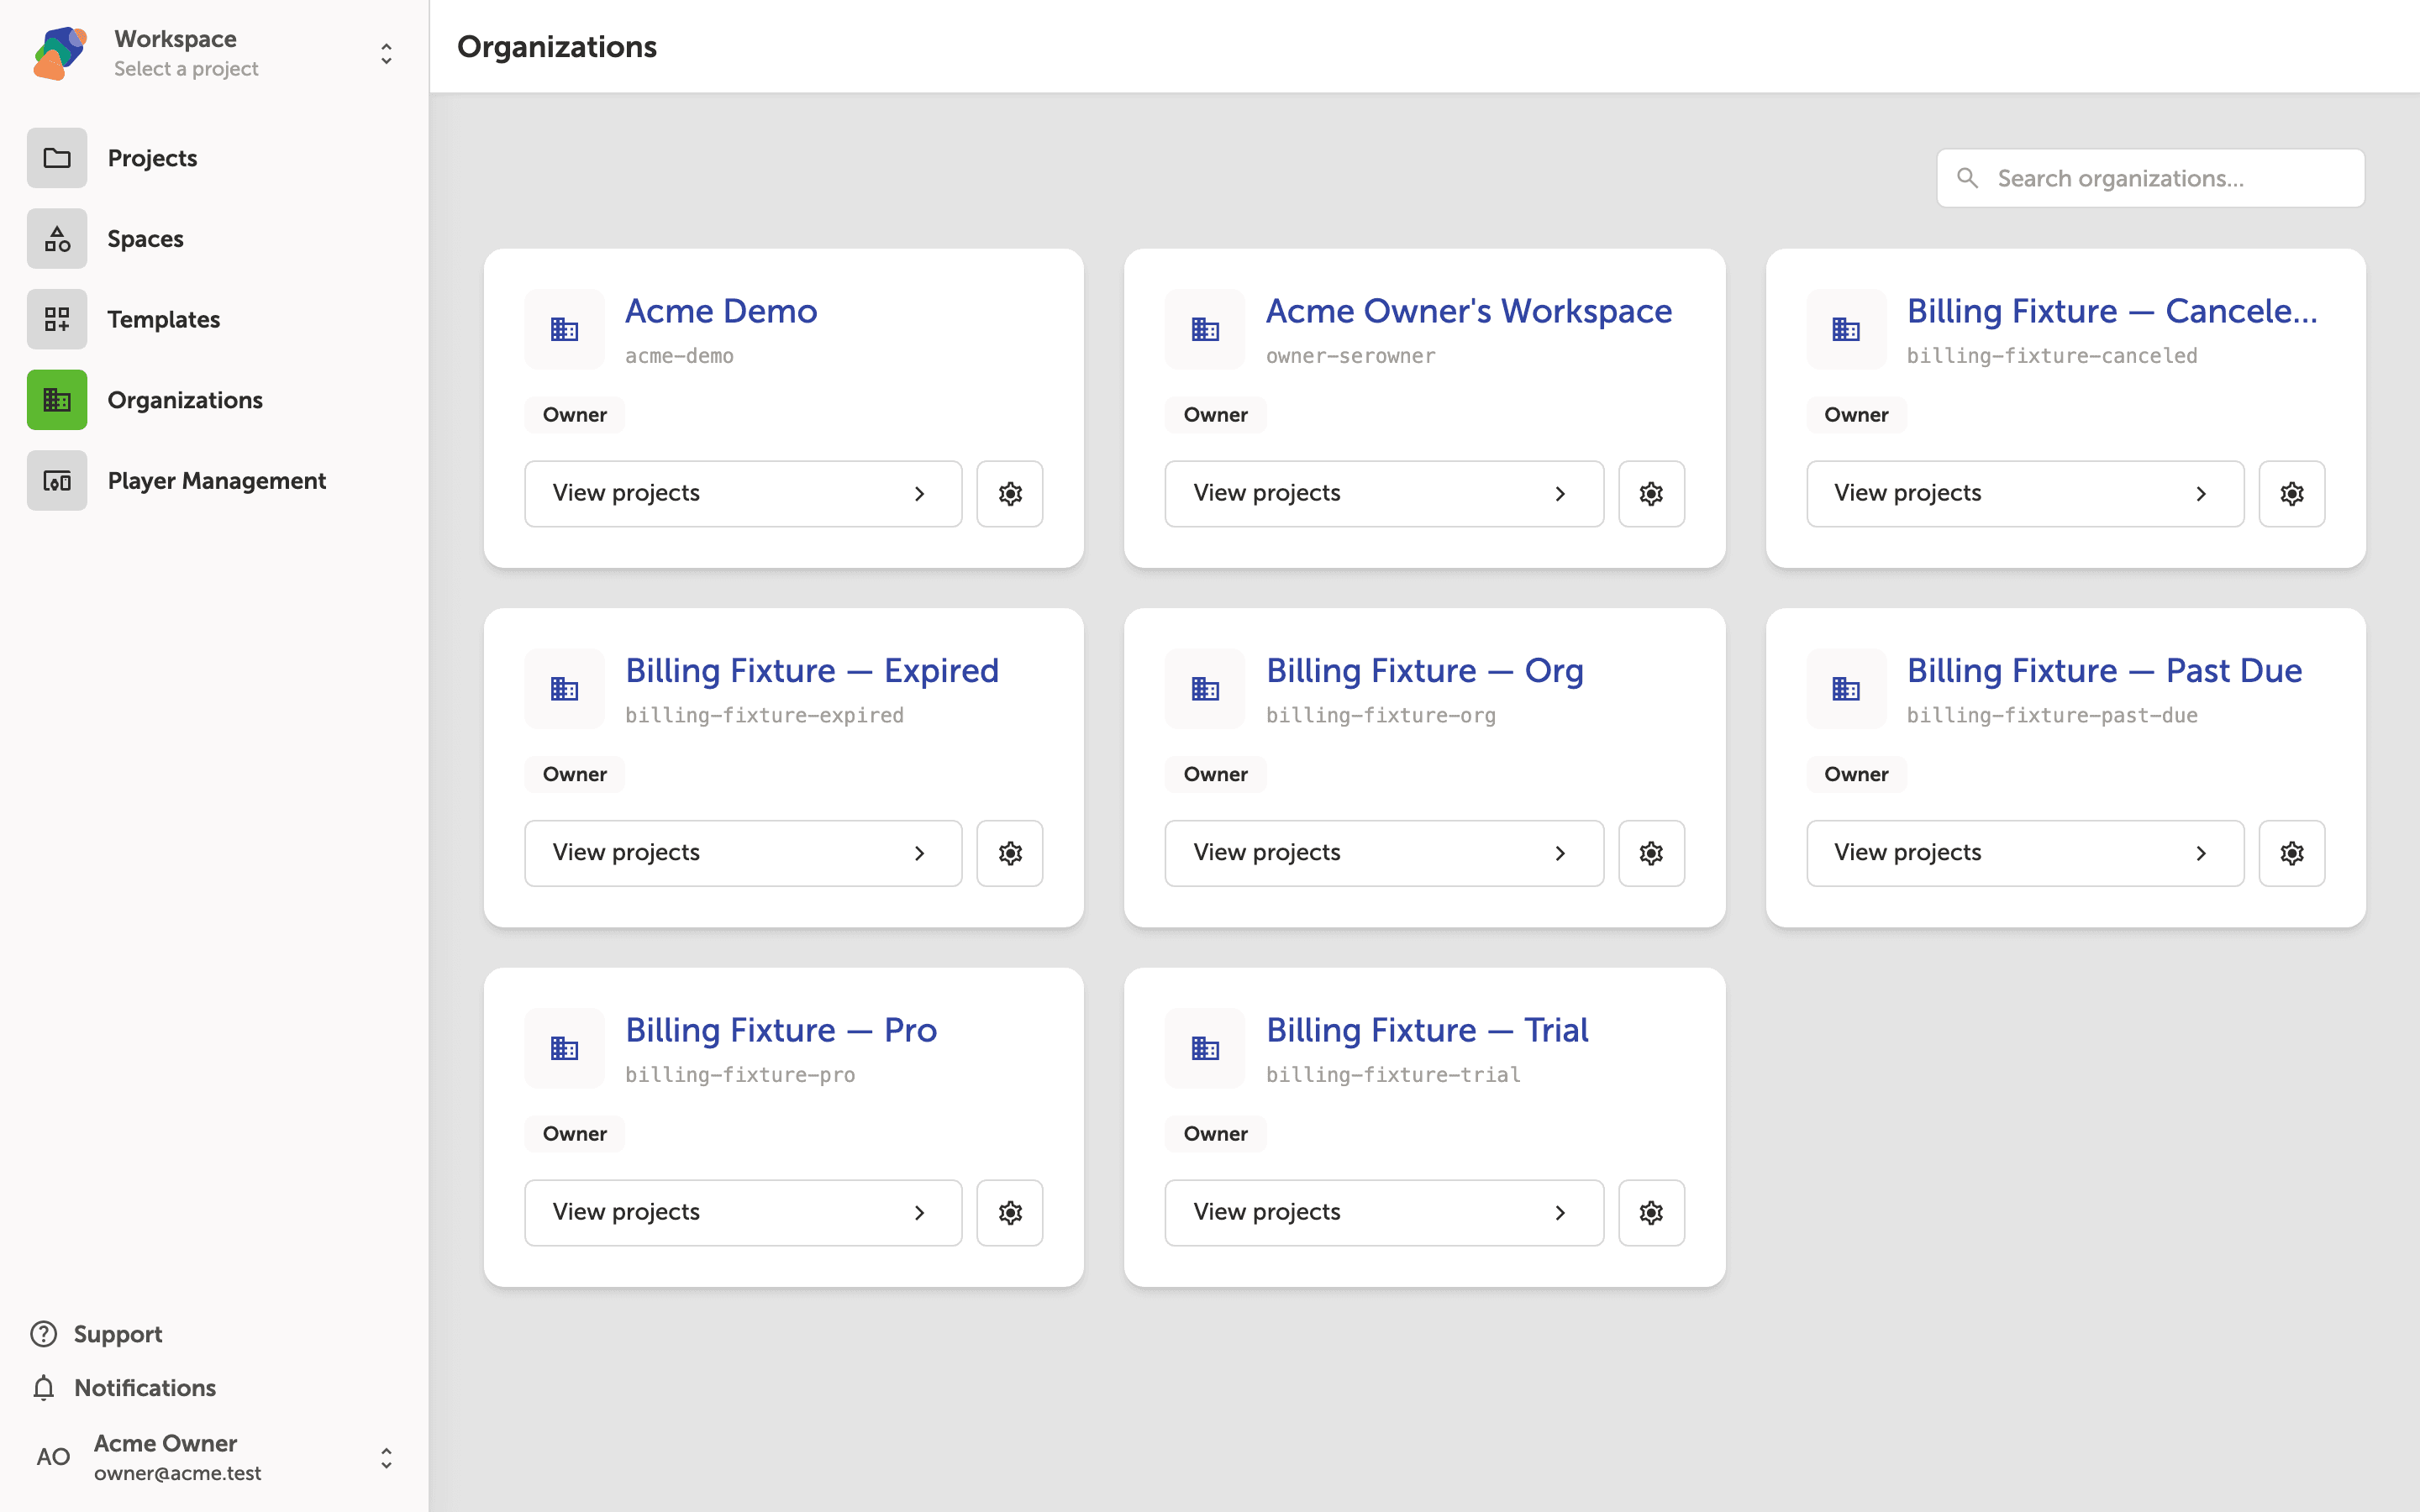
The Organizations page lists every organization linked to your account. Each card shows the organization's name, its URL identifier, and your role within it.
To configure an organization, click the gear icon on the right side of that organization's "View projects" row. This opens the settings for that specific organization, where you can edit its profile and preferences.
Updating your organization's profile on the General tab
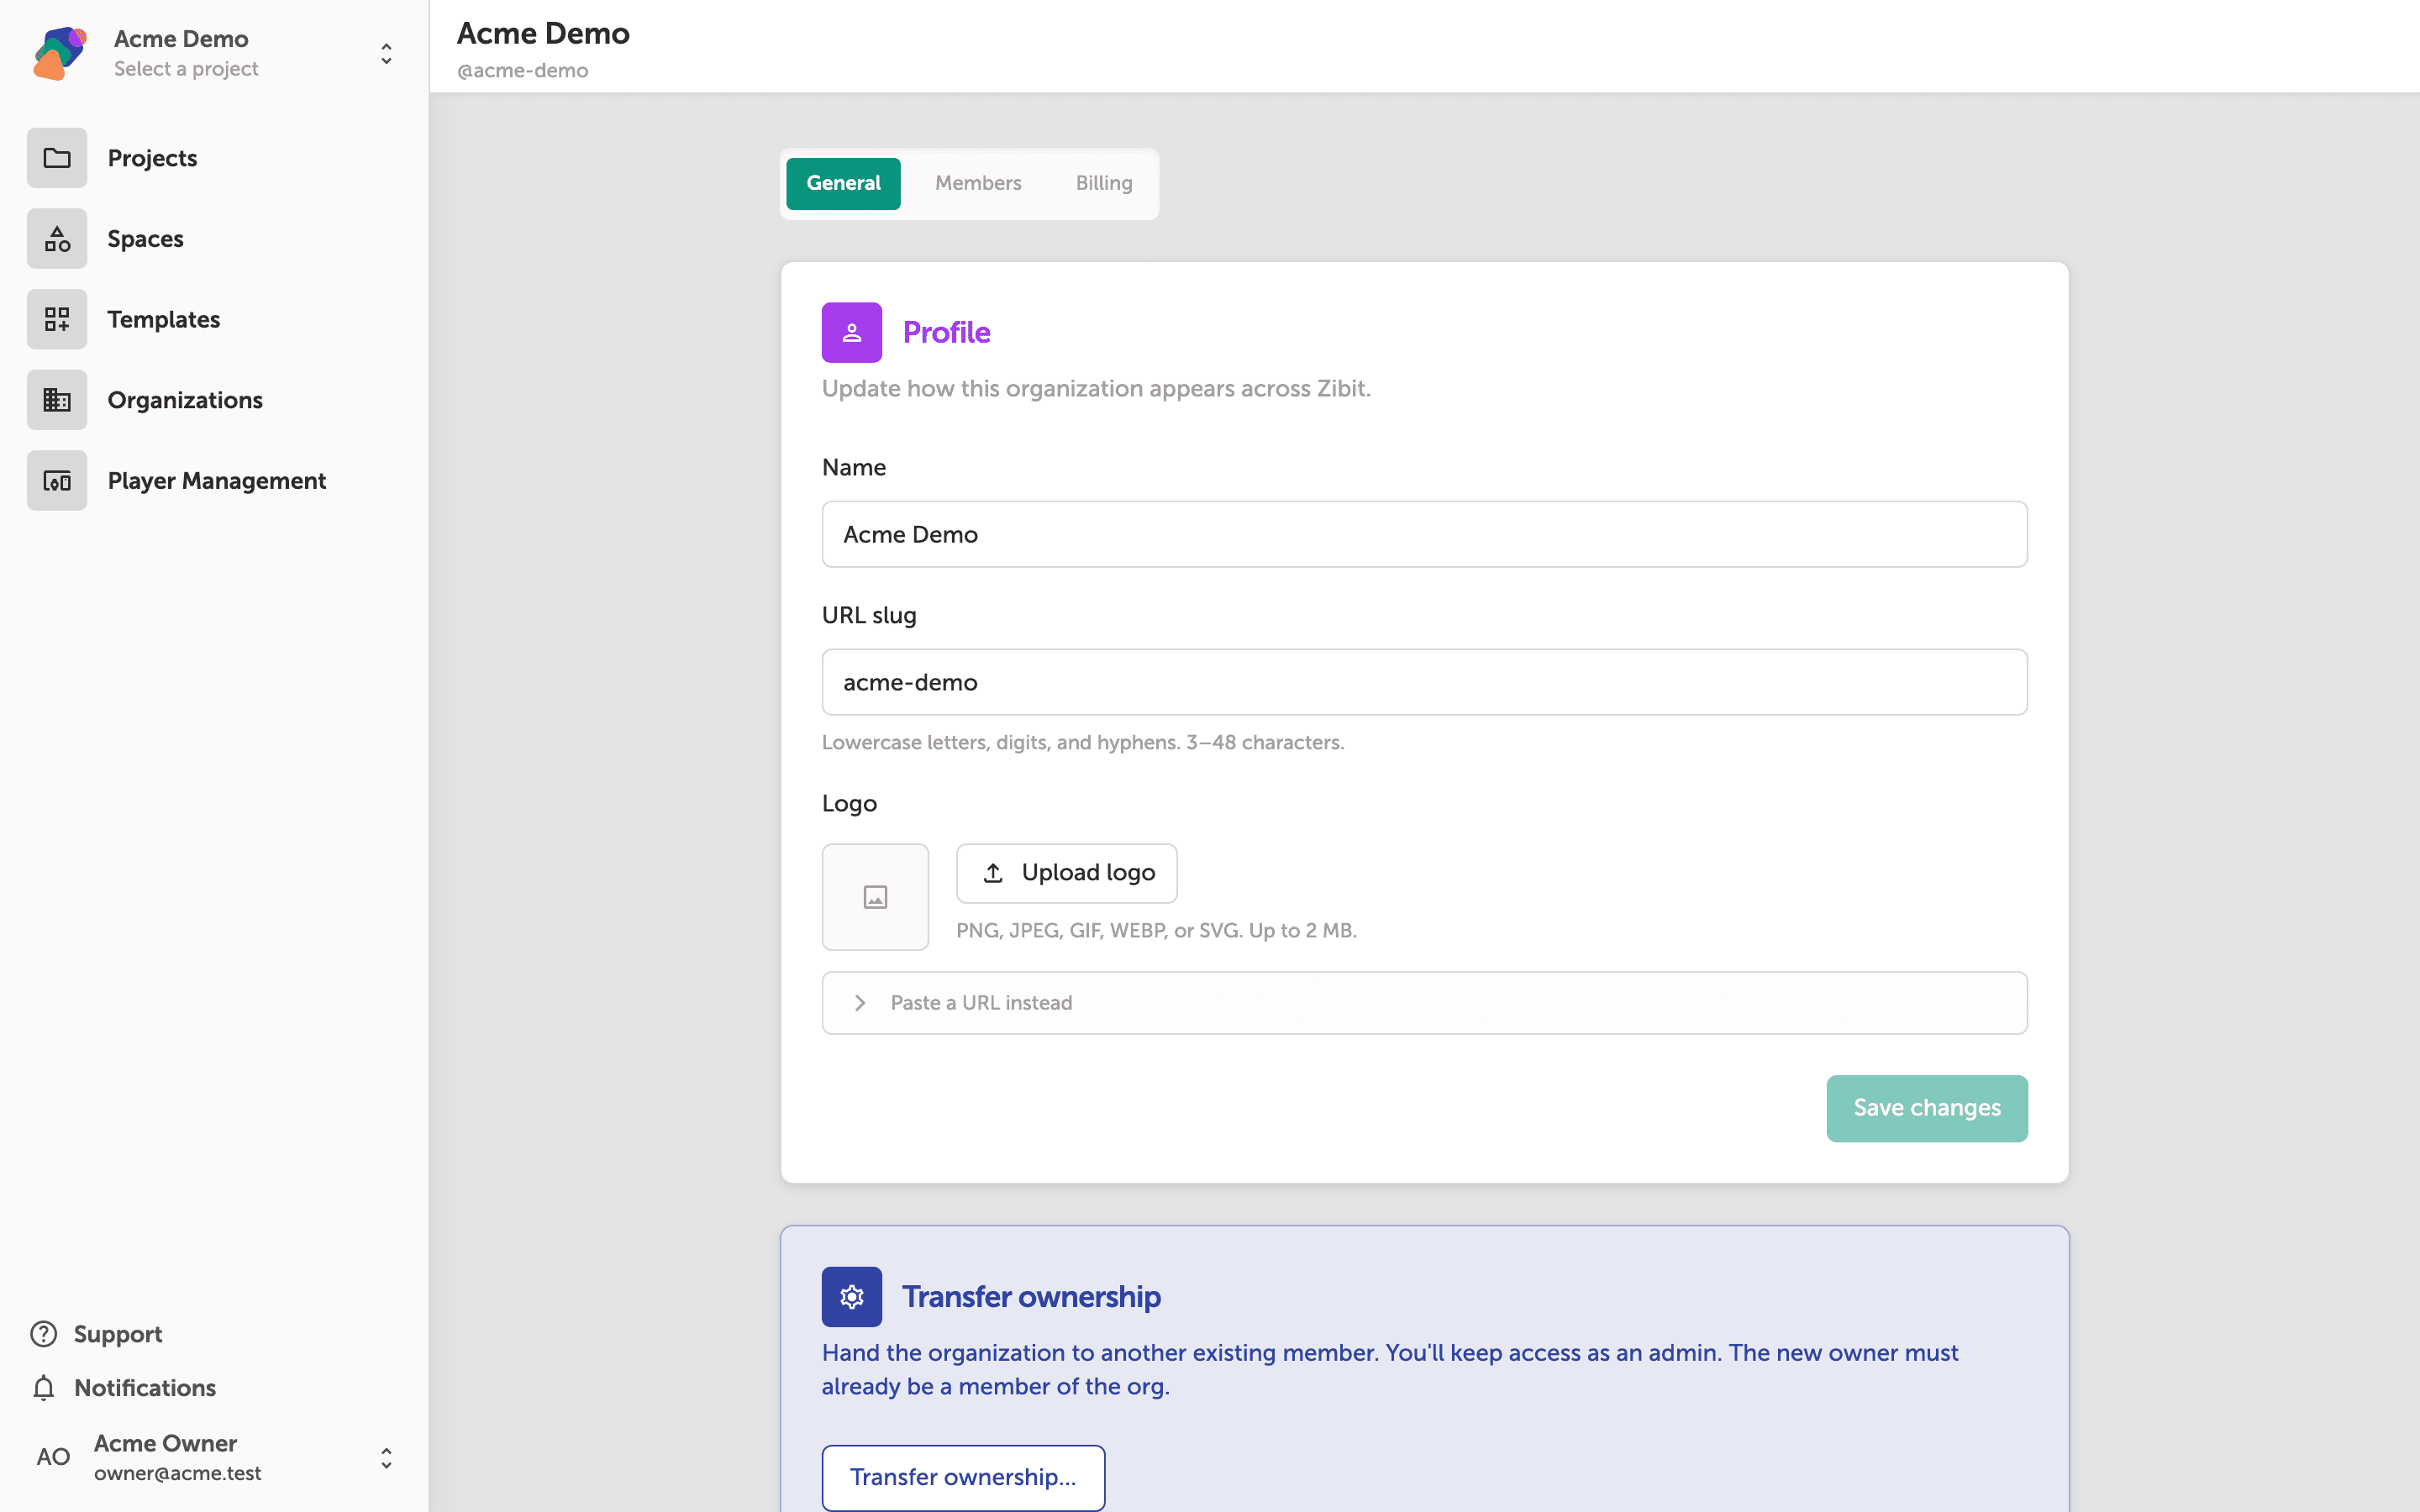
The General tab is where you control how your organization appears across Zibit. The Name field sets the display name, and the URL slug determines the unique identifier used in your organization's web address—it must be lowercase letters, digits, and hyphens, between 3 and 48 characters.
To add a logo, click "Upload logo" to select a PNG, JPEG, GIF, WEBP, or SVG file up to 2 MB, or expand "Paste a URL instead" to link to a hosted image. When you're done making changes, click "Save changes" to apply them.
Adding or replacing your organization's logo
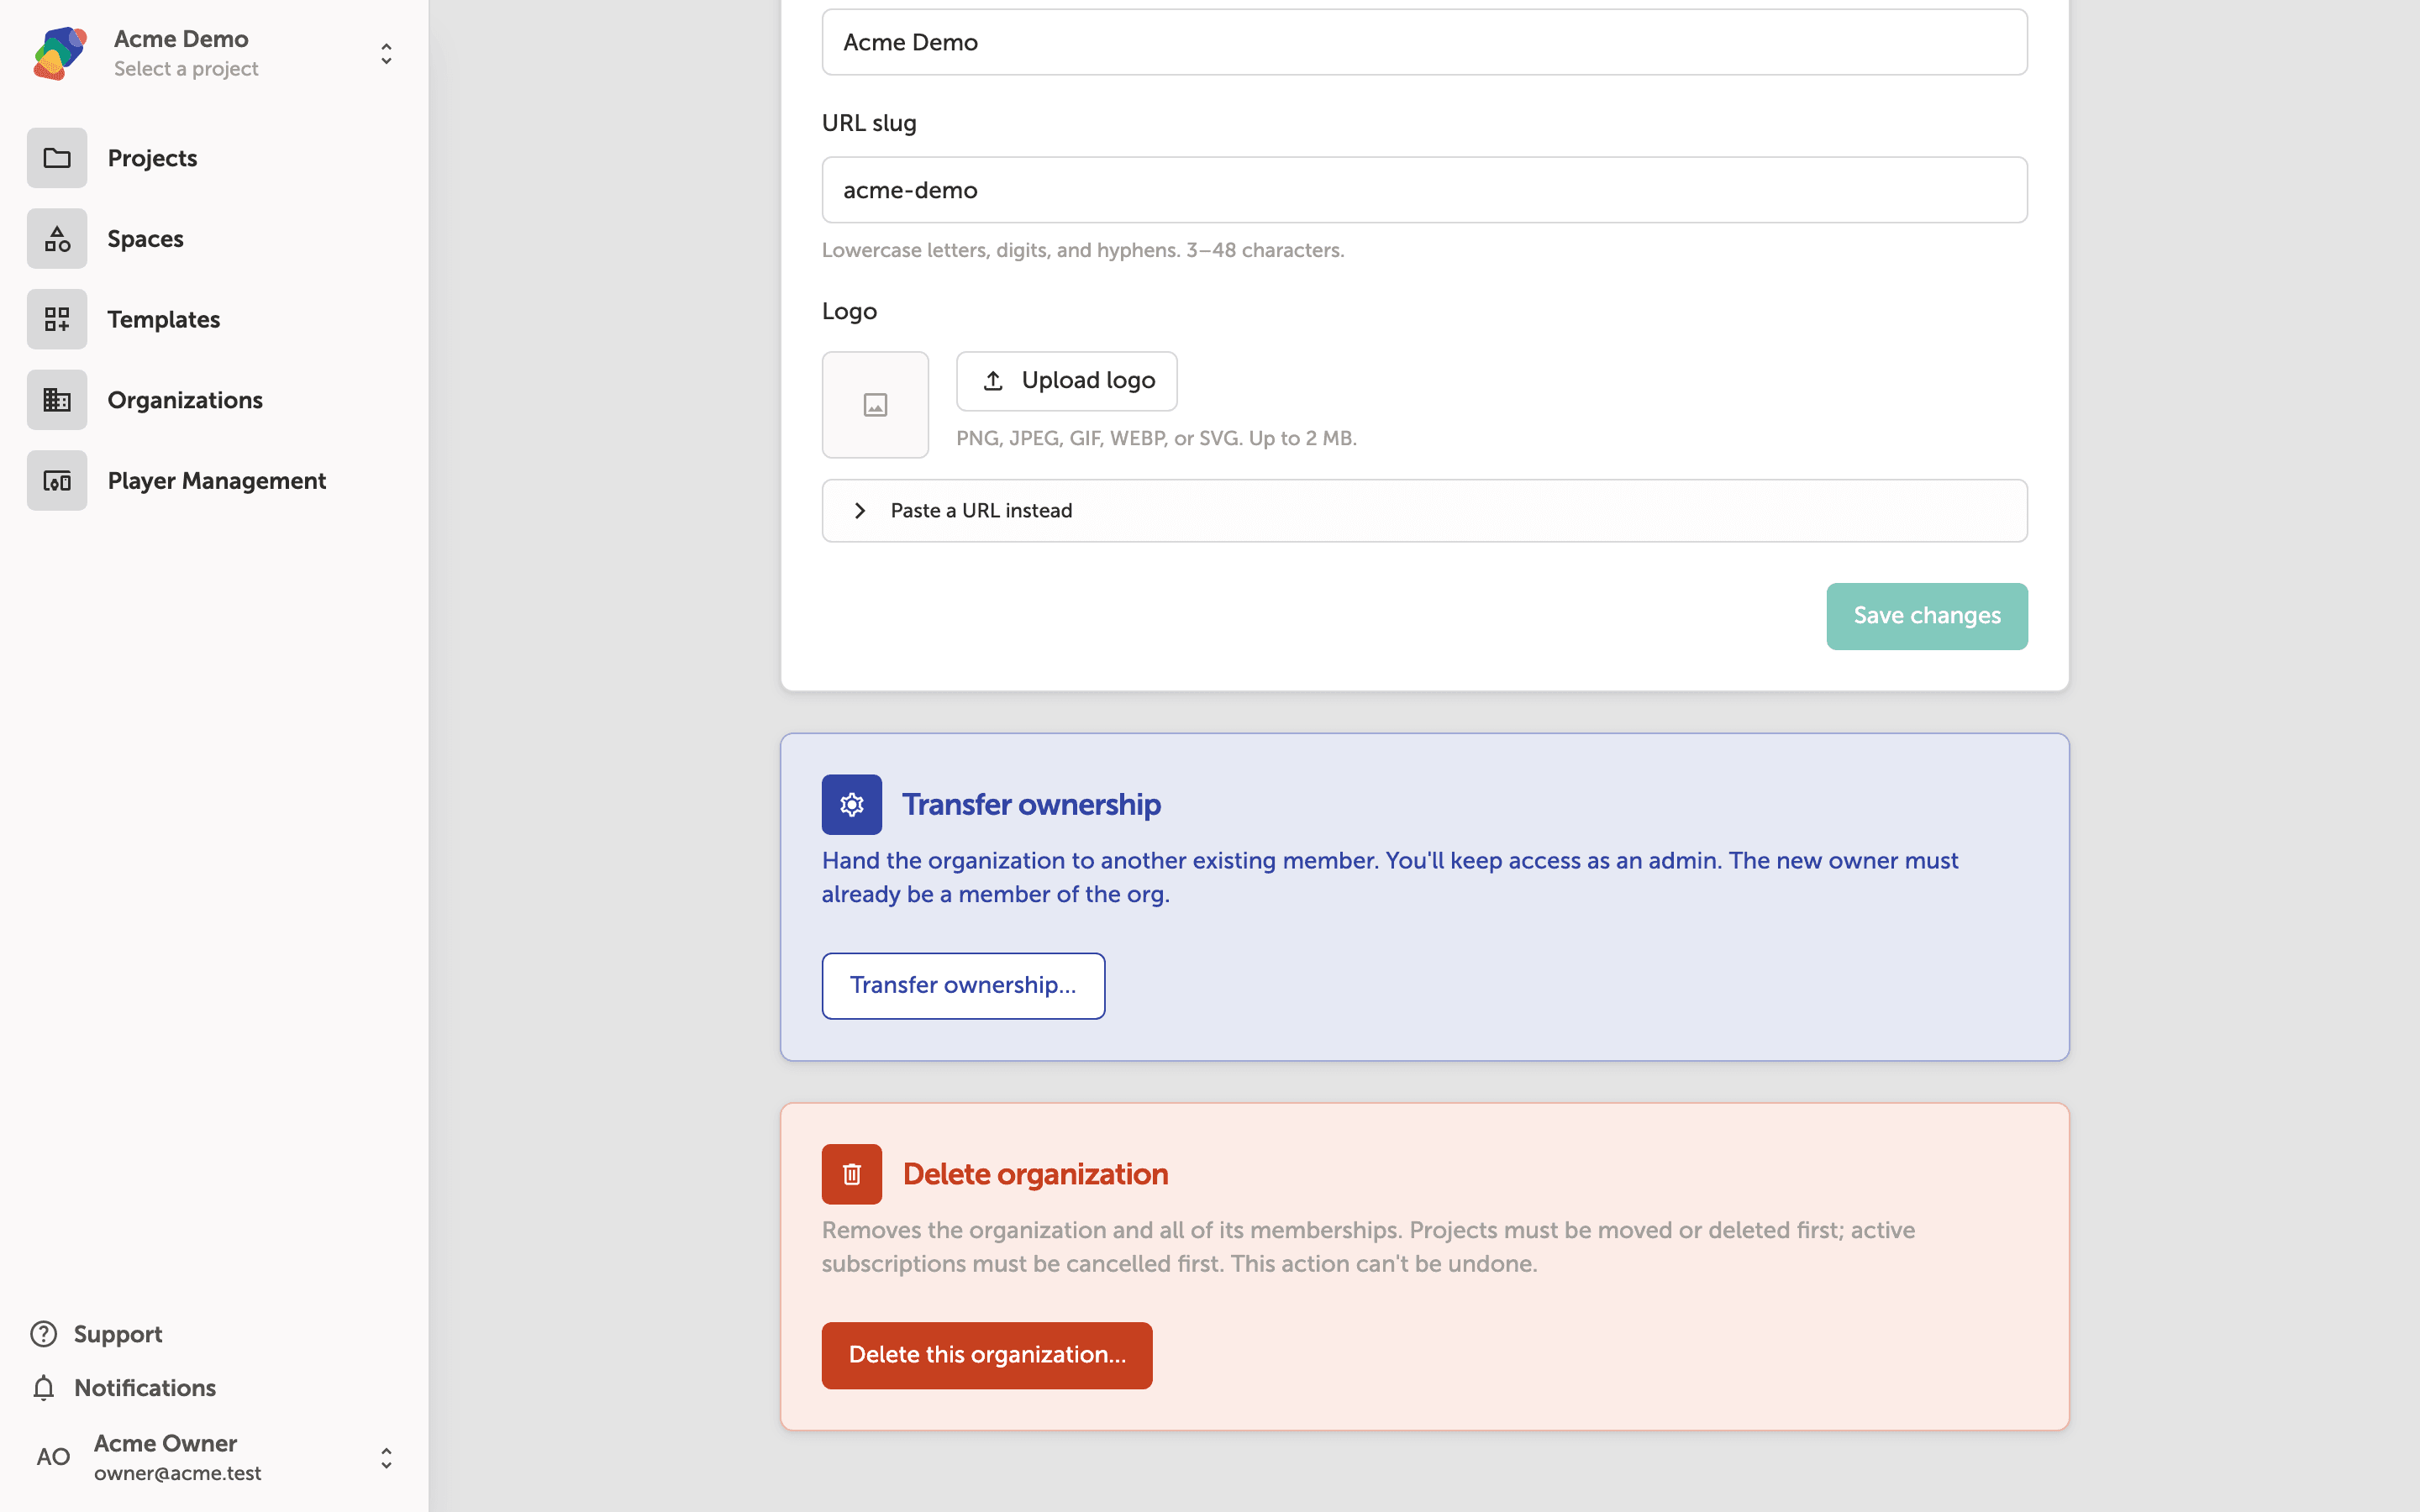
The Logo section lets you set the image that appears alongside your organization's name in the sidebar and on org cards. Click Upload logo to select a PNG, JPEG, GIF, WEBP, or SVG file from your device—the file must be 2 MB or smaller.
If your logo is already hosted online, click Paste a URL instead to enter its address directly. Once you're happy with your changes across the Profile section, click Save changes to apply them.
Transferring ownership or deleting an organization
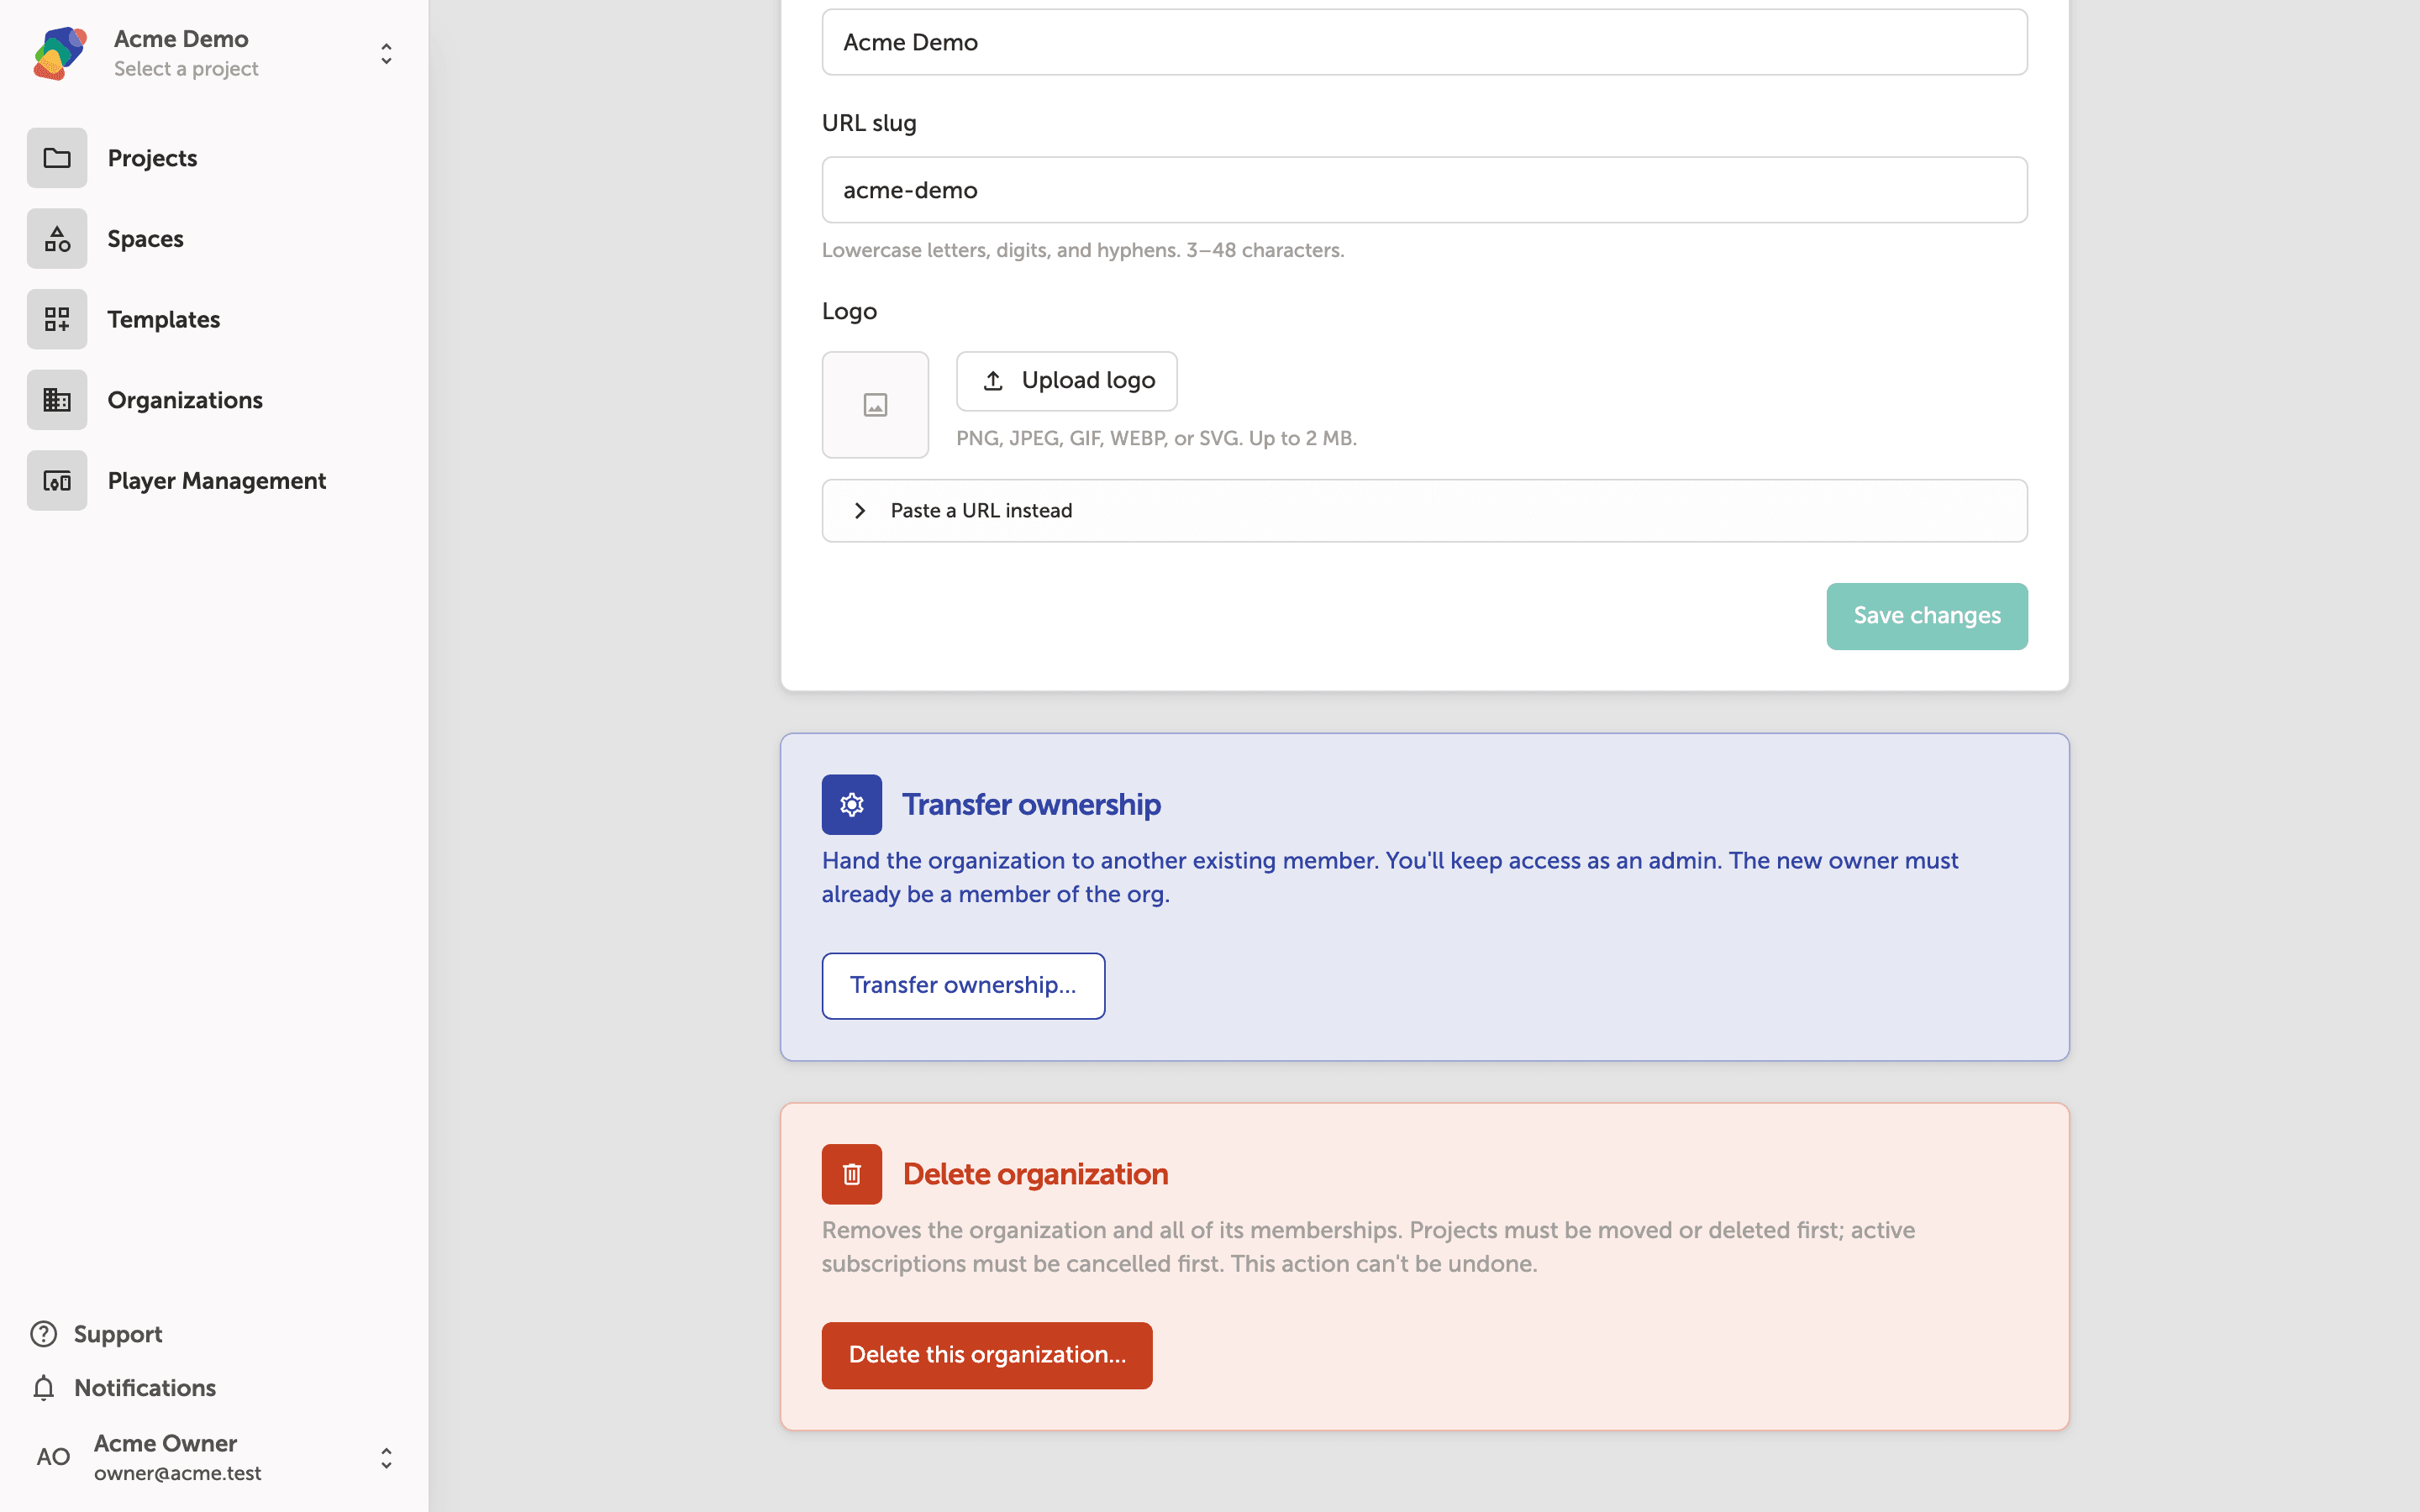
Scroll down on the General tab to find the Transfer ownership section. Clicking Transfer ownership… lets you hand the organization to another existing member—you'll keep admin access after the transfer, but the person you select becomes the new owner. They must already be a member of the organization before you can proceed.
Below that, Delete this organization… permanently removes the organization and all its contents. Both actions are significant and cannot be undone, so confirm you have the right organization and the right recipient before proceeding.
With your organization configured, you're ready to start shaping how your team works inside Zibit. Here are some good next steps to explore:
- Invite team members—add collaborators to your organization and assign them roles.
- Create a space—set up a shared workspace to organize related projects.
- Set up a style set—define the typography and colors that keep your projects visually consistent.
- Configure display settings—specify the screen resolutions your projects will target.
- Manage billing and plan details—review your organization's subscription and usage limits.