Creating a New Project
This tutorial walks you through creating a new Zibit project from start to finish. You'll use the four-step creation wizard to name your project, configure its displays, choose a template, and apply a theme. By the end, you'll be looking at a fresh Moments graph ready for you to start building.
The My Projects dashboard
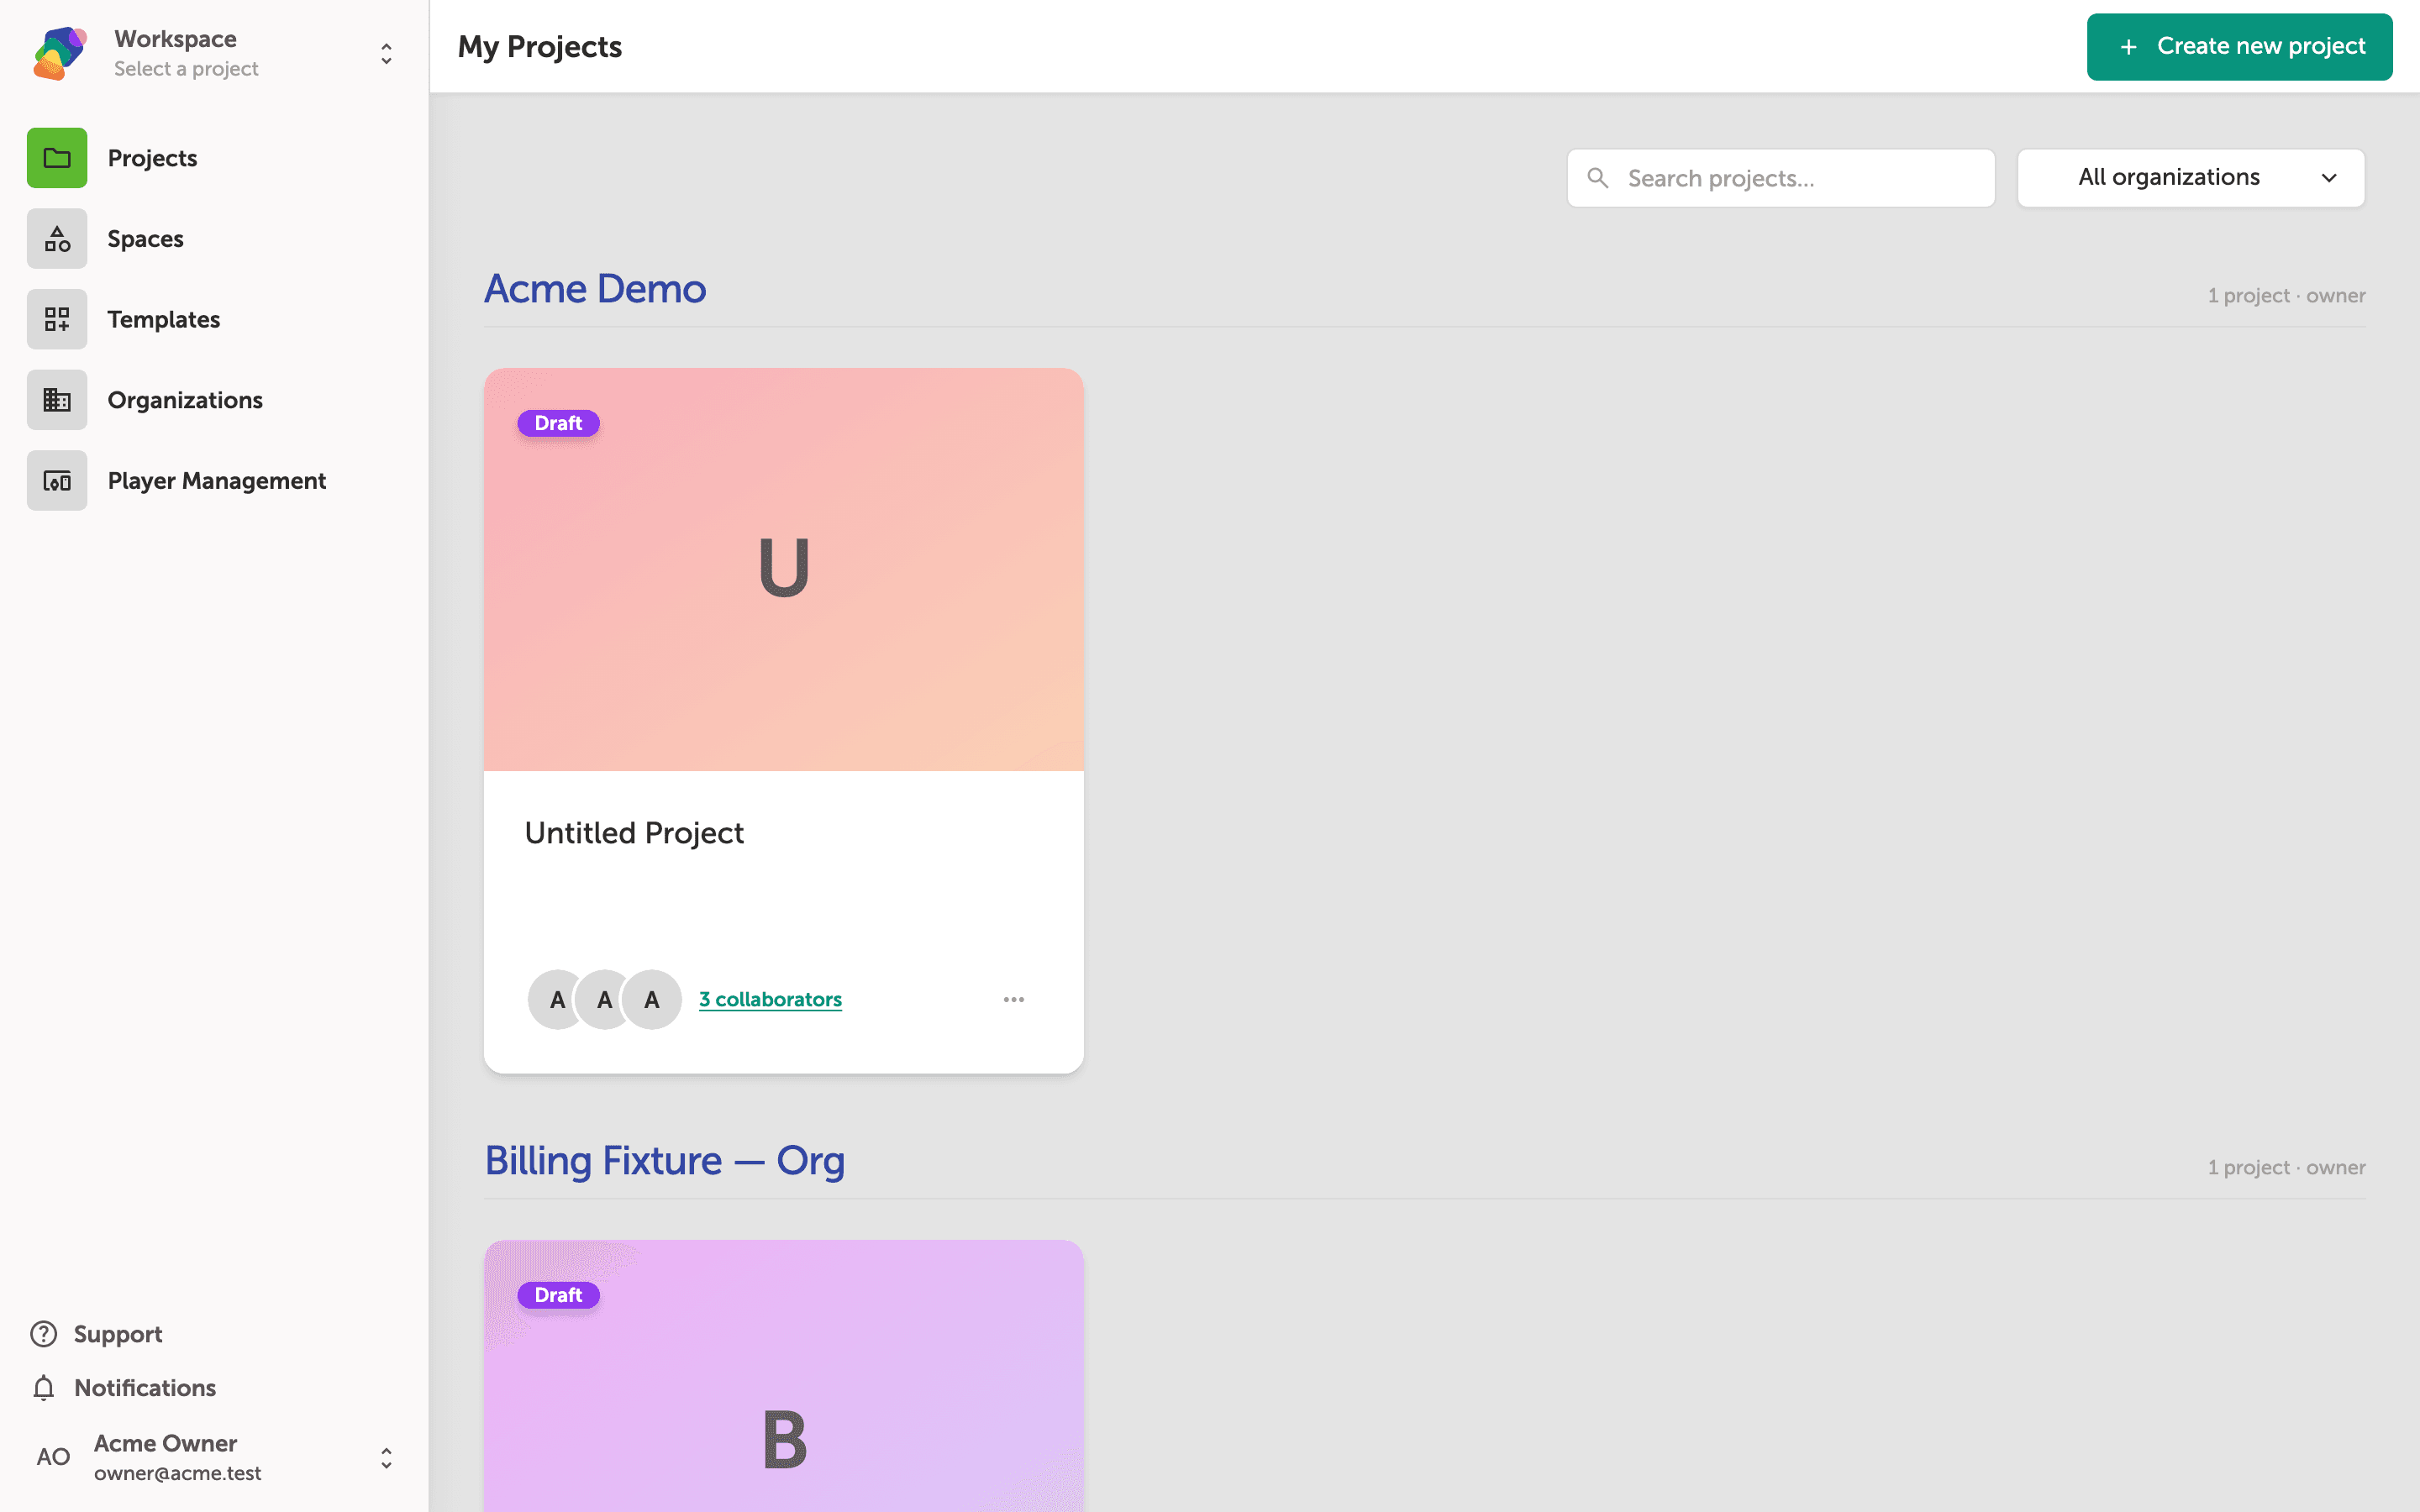
Your My Projects dashboard is the home base for everything you build in Zibit. Projects are grouped by workspace, and each card shows the project name, its status, and any collaborators.
To kick things off, click "Create new project" in the top-right corner. That opens the project creation wizard you'll work through in the steps ahead.
Tell us about your project
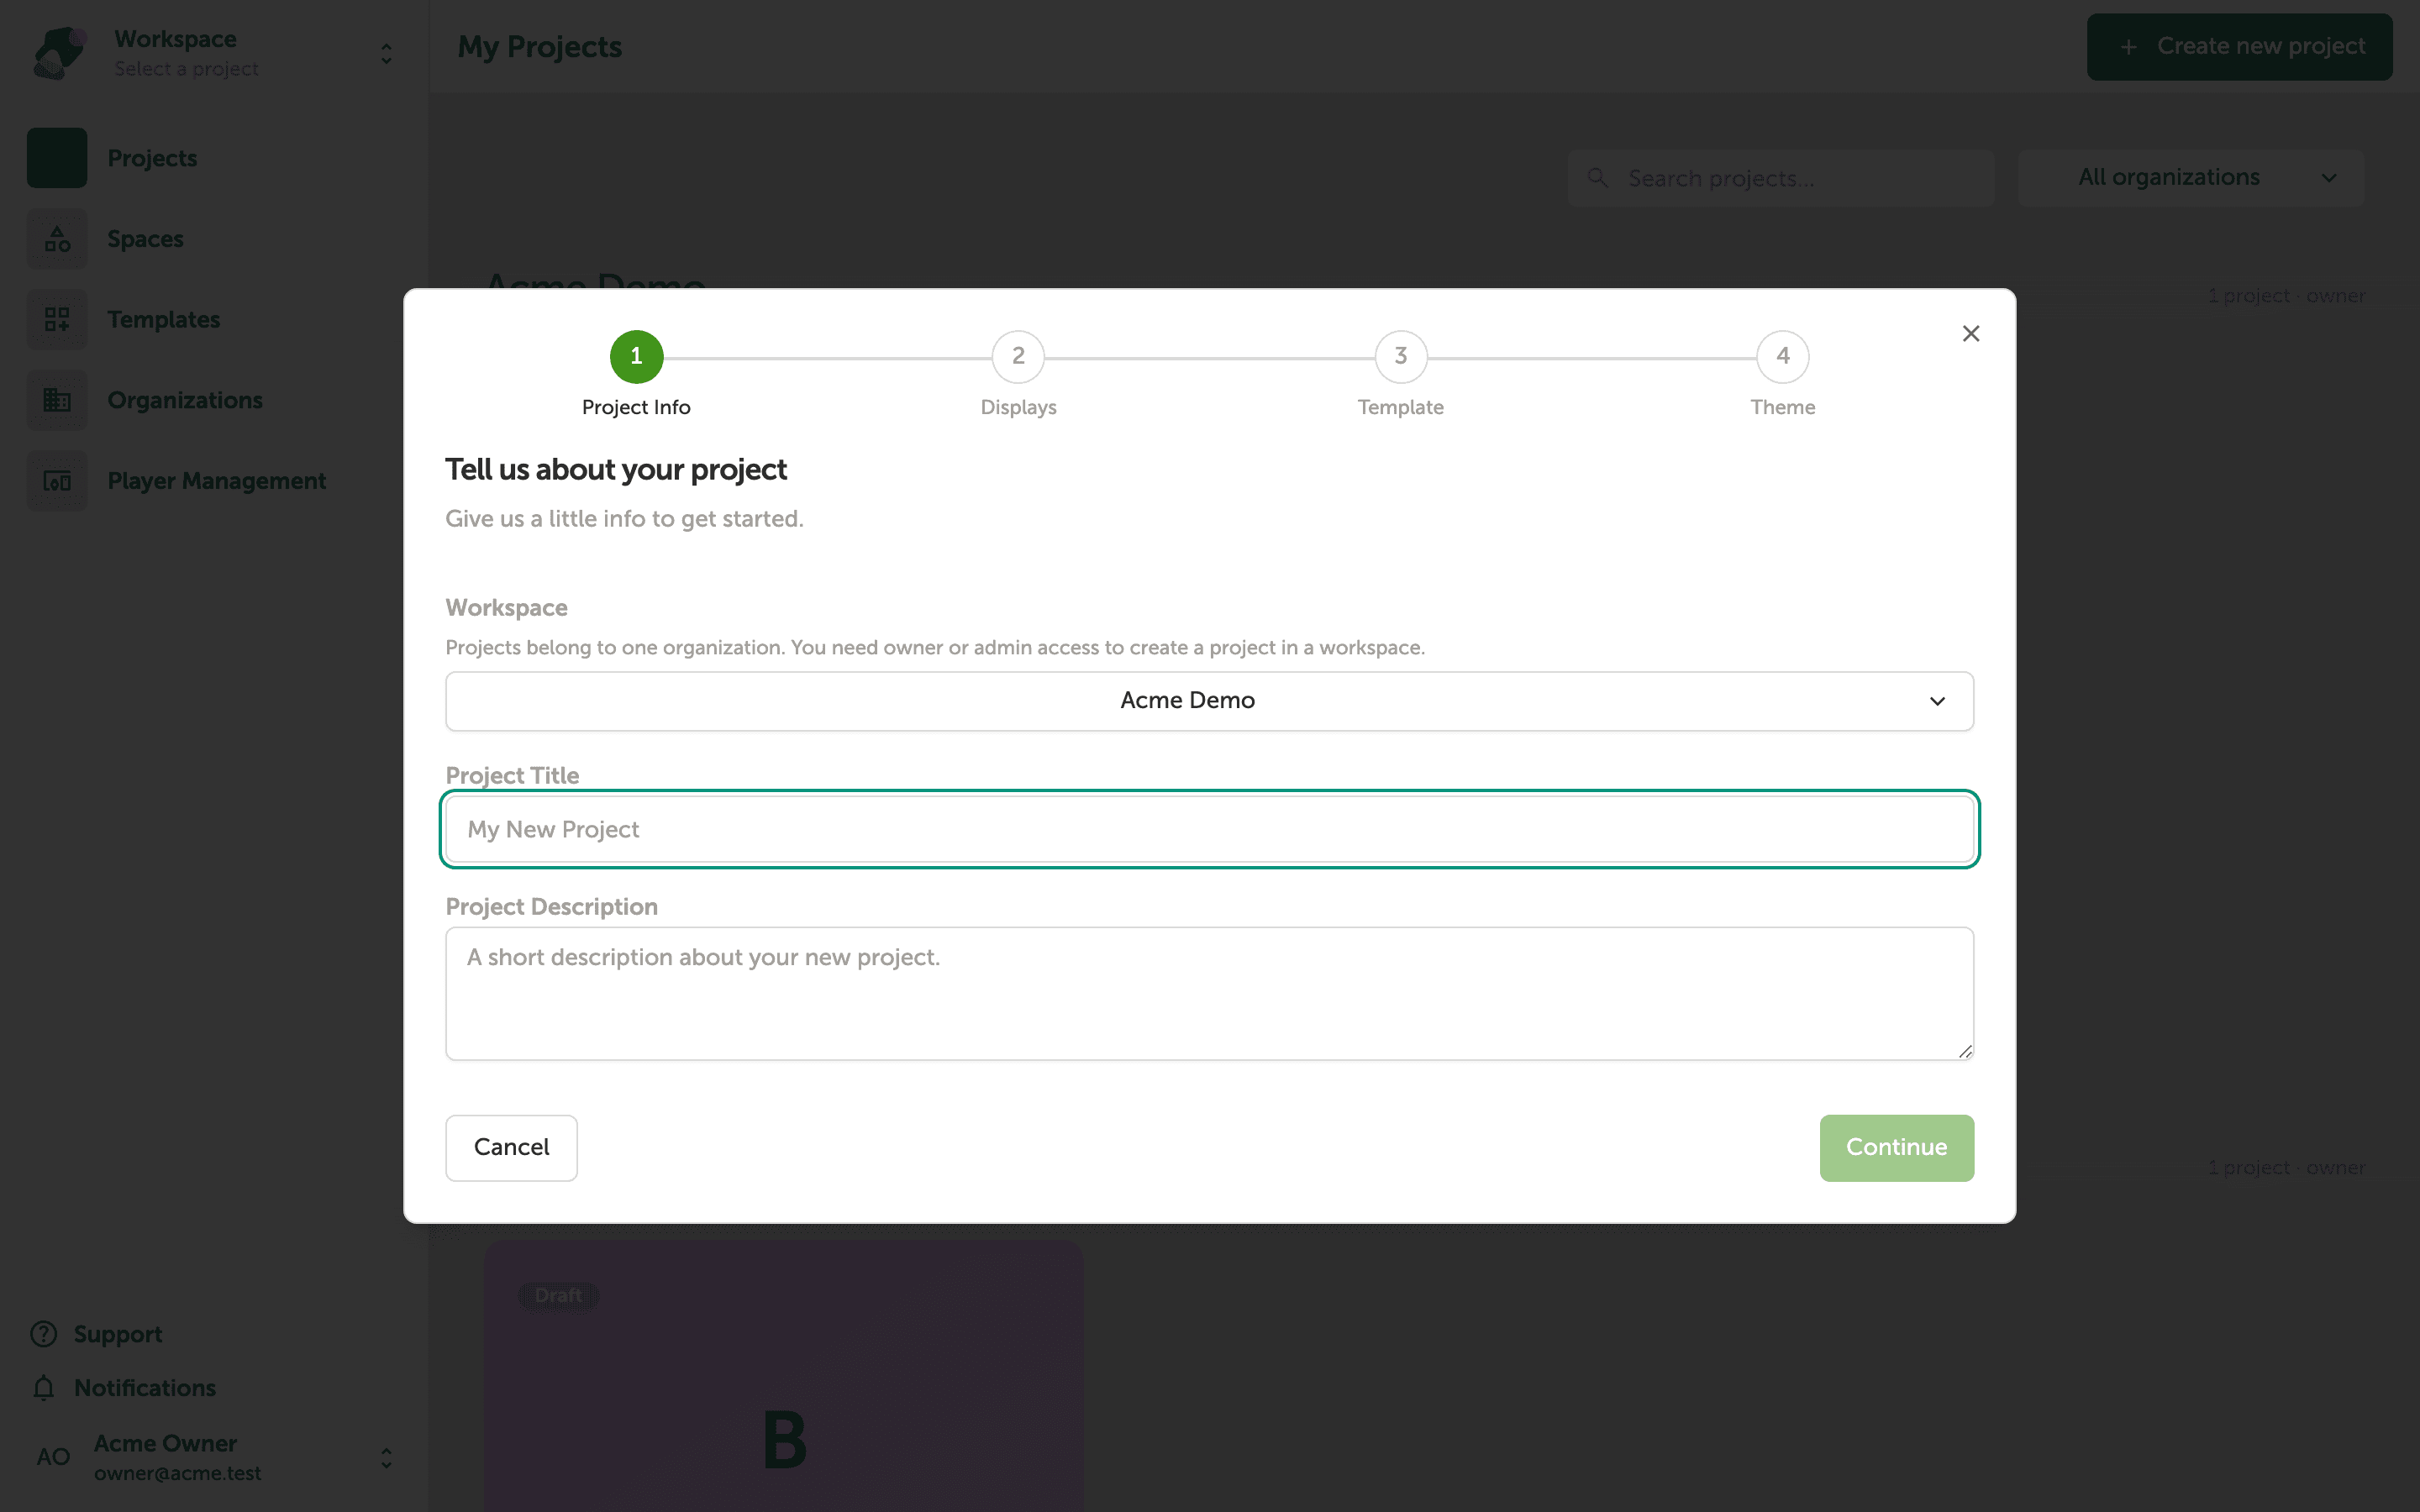
The first step of the wizard asks for the basics. Use the Workspace dropdown to choose where this project will live—if you belong to more than one workspace, make sure you pick the right one.
Next, type a name into the Project Title field. Give it something descriptive so collaborators can find it at a glance. The Project Description field is optional, but a short note about the project's purpose goes a long way when your team is juggling several projects at once.
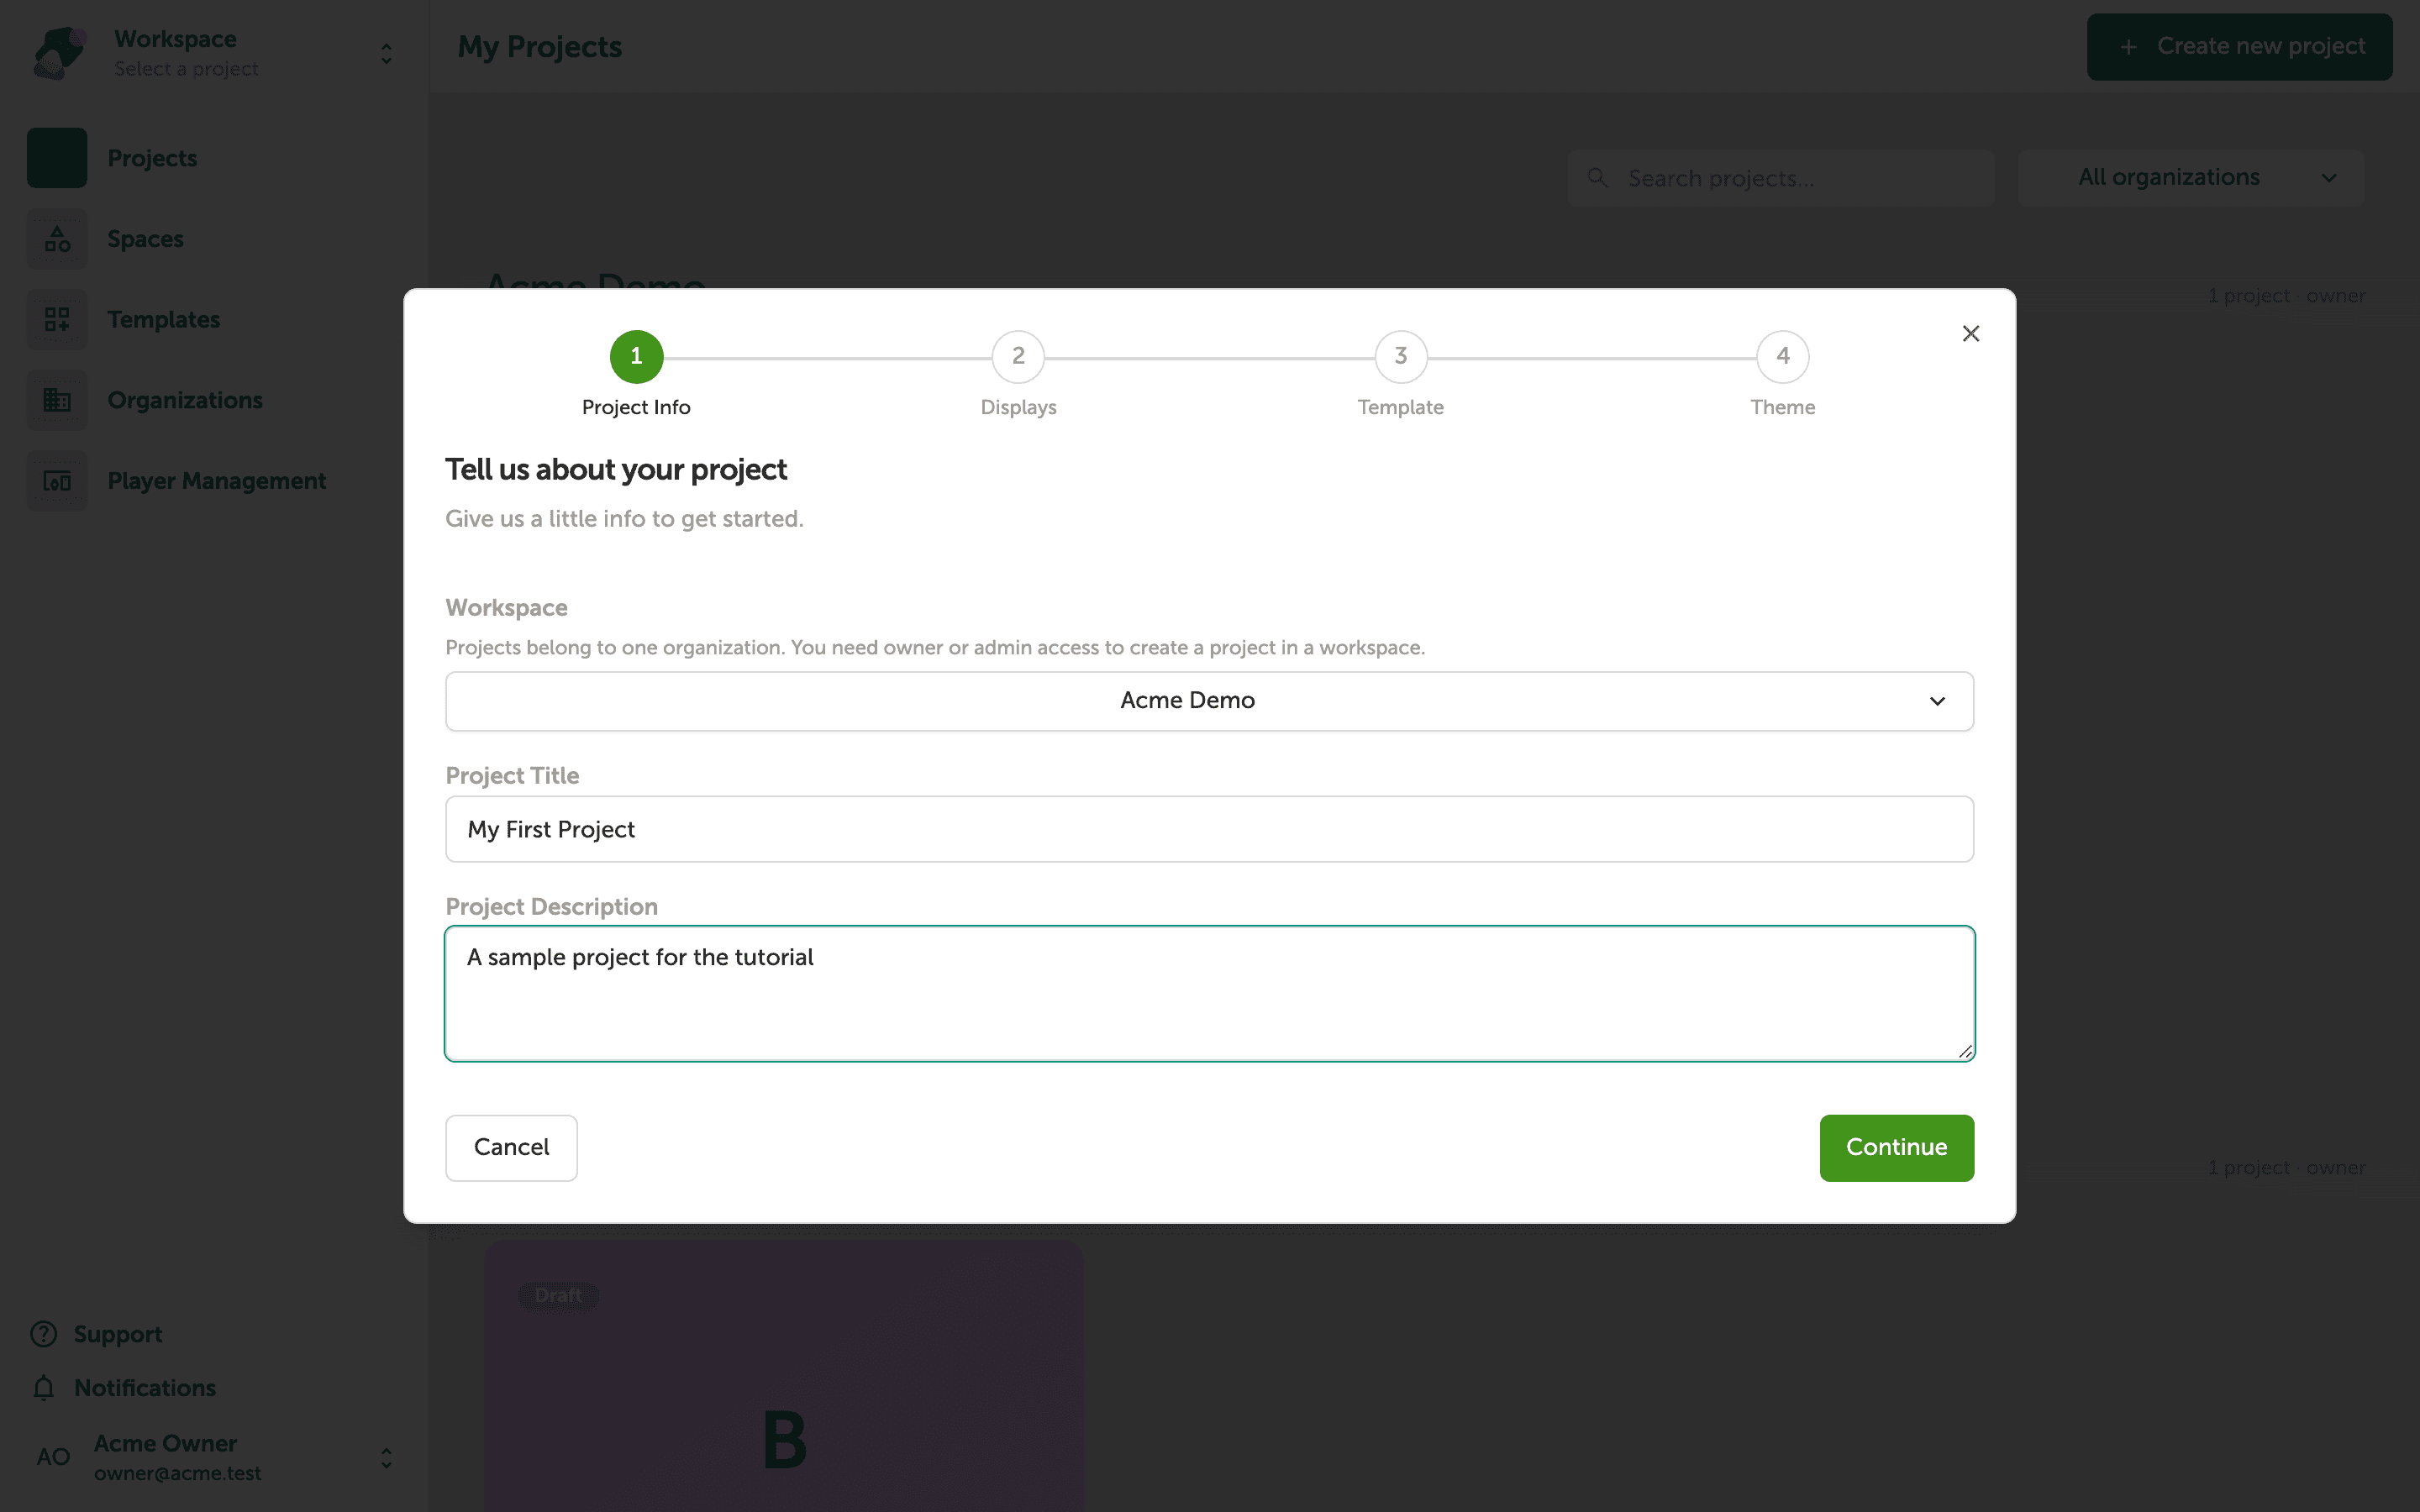
Here you can see the form filled in with a title and description. Don't worry about getting this perfect—you can change it later from your project settings.
When you're happy with the details, click "Continue" to move on.
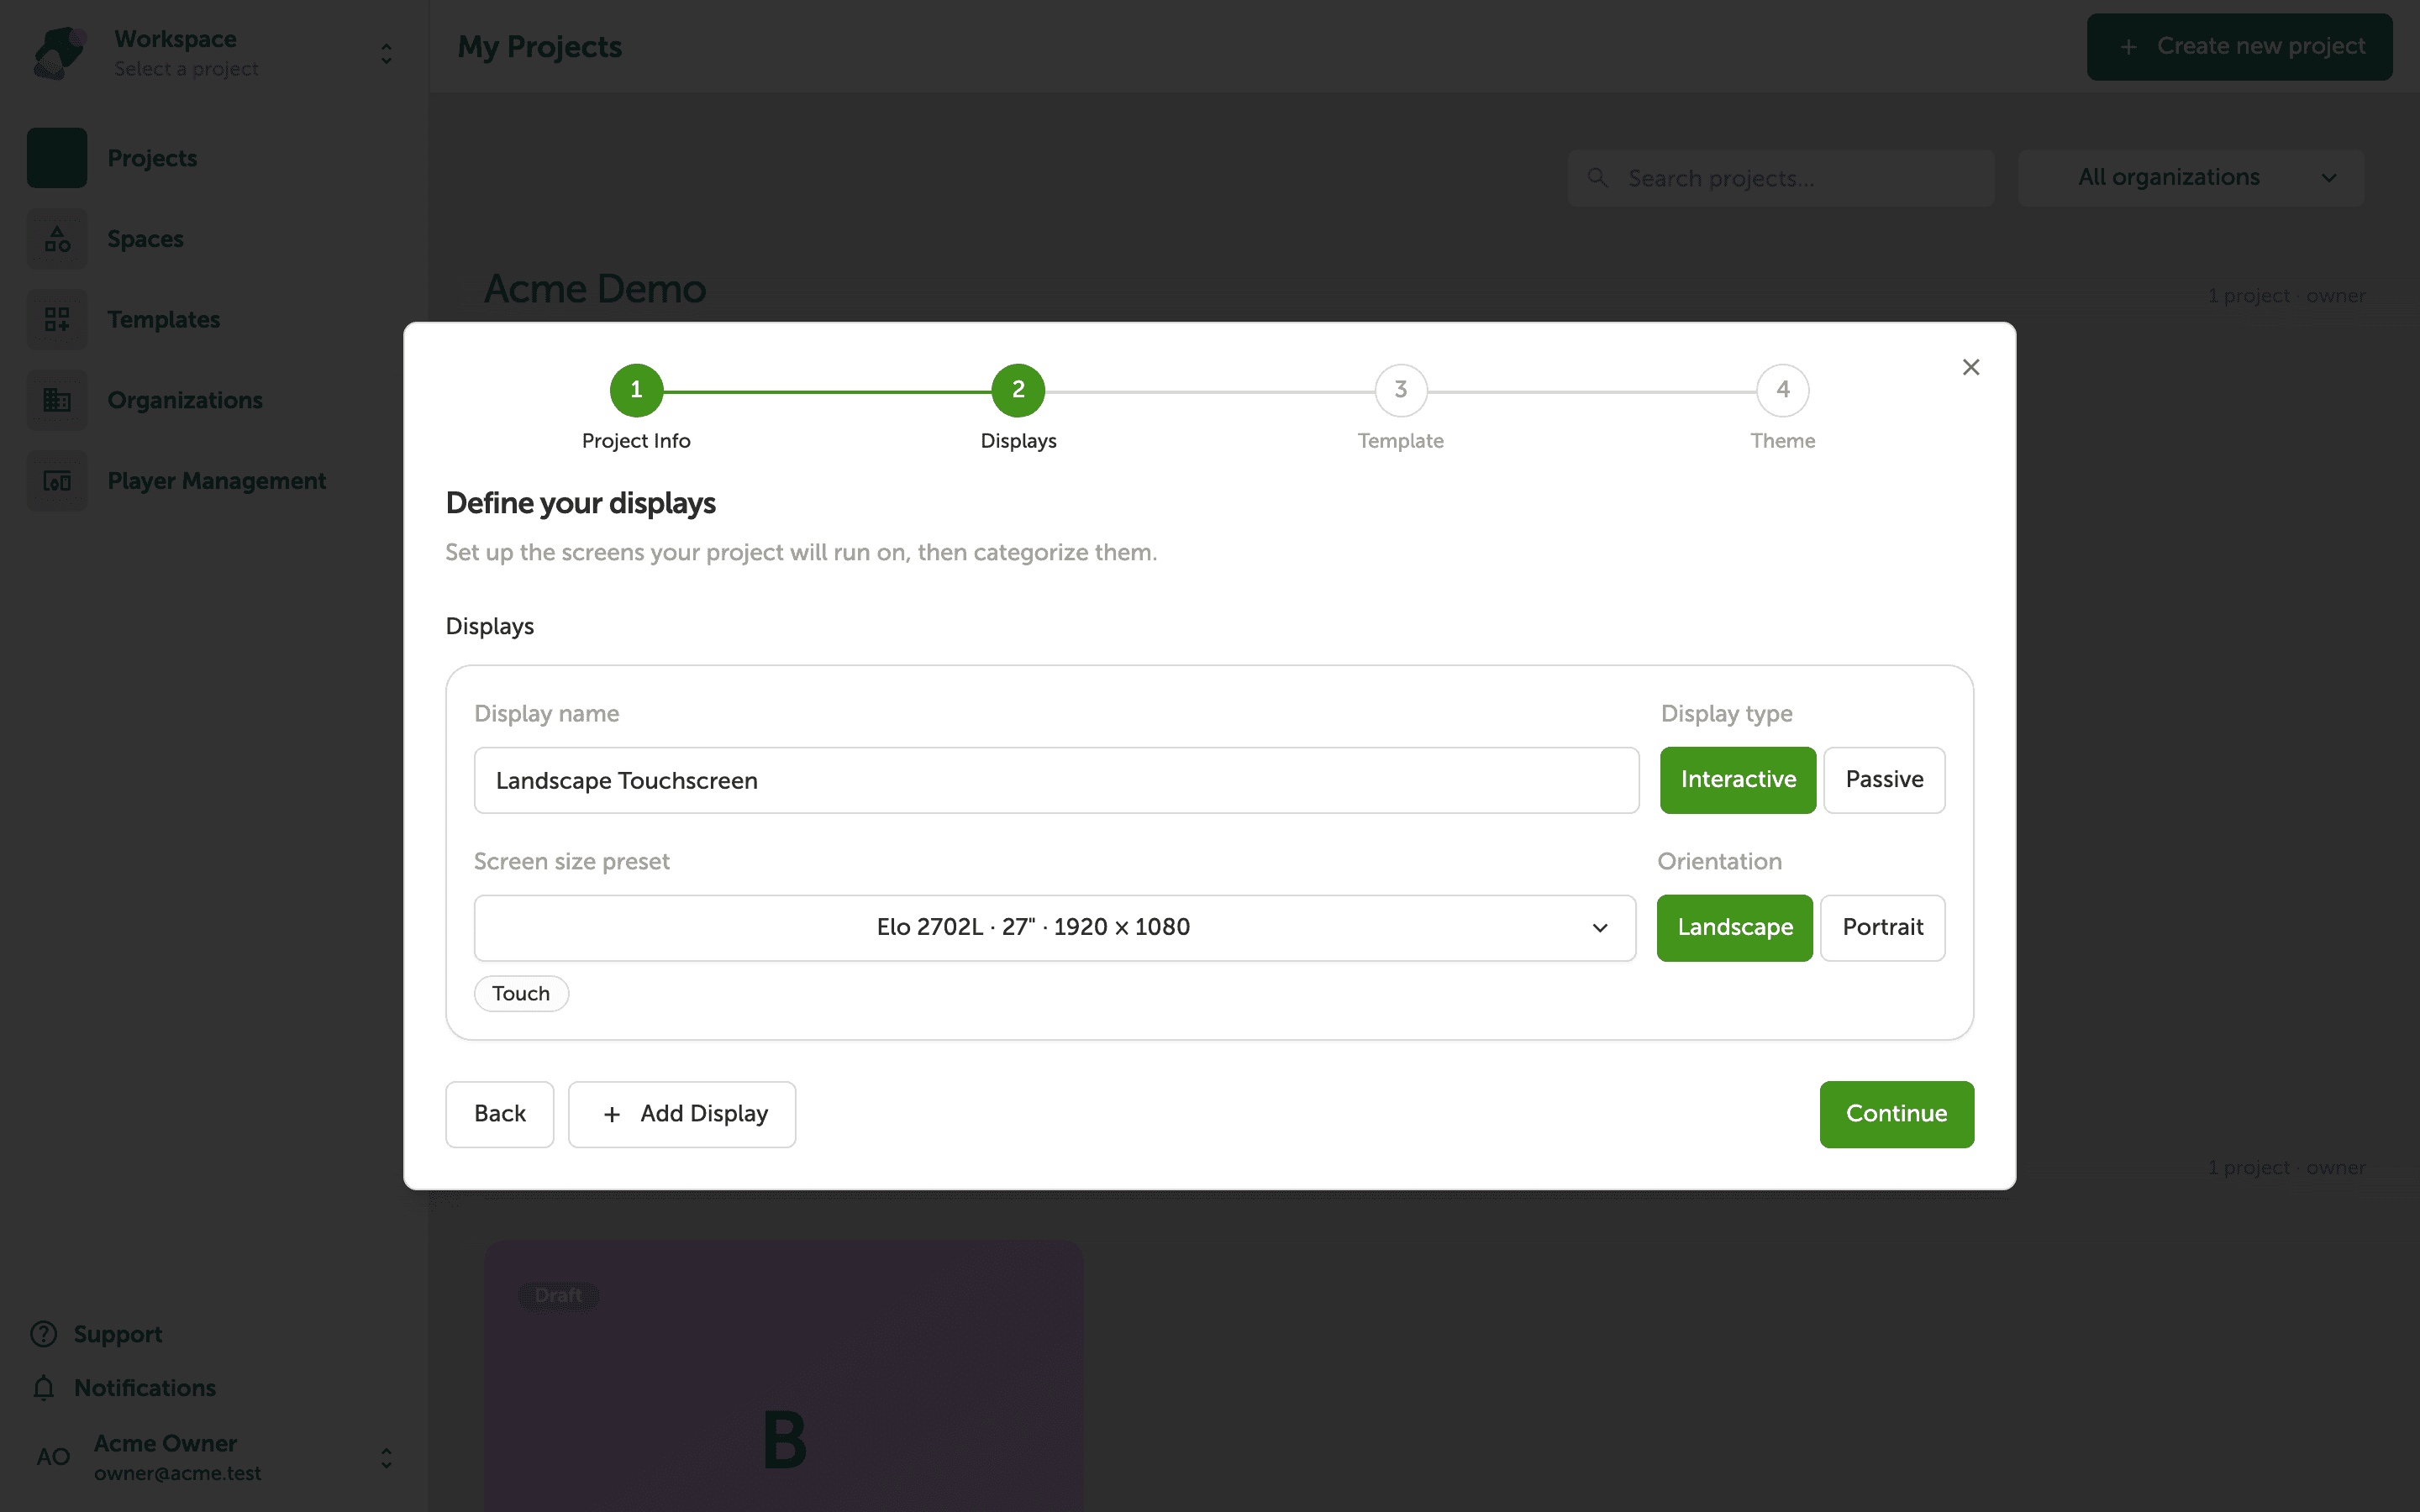
Define your displays
In this step you set the screen resolution your project targets. Use the Screen size preset dropdown to choose a standard resolution—the default is Full HD (1920 x 1080)—or type custom values into the Width (px) and Height (px) fields.
If your screen is mounted in portrait orientation, click "Swap orientation" to flip the dimensions. You can also toggle Interactivity on or off depending on whether visitors will interact with a touchscreen or simply view the display.
The Display name field lets you label this display so it's easy to identify later. You can always add more displays or adjust settings after the project is created.
Click "Continue" when you're ready, or click "Back" to return to the previous step.
Pick a template
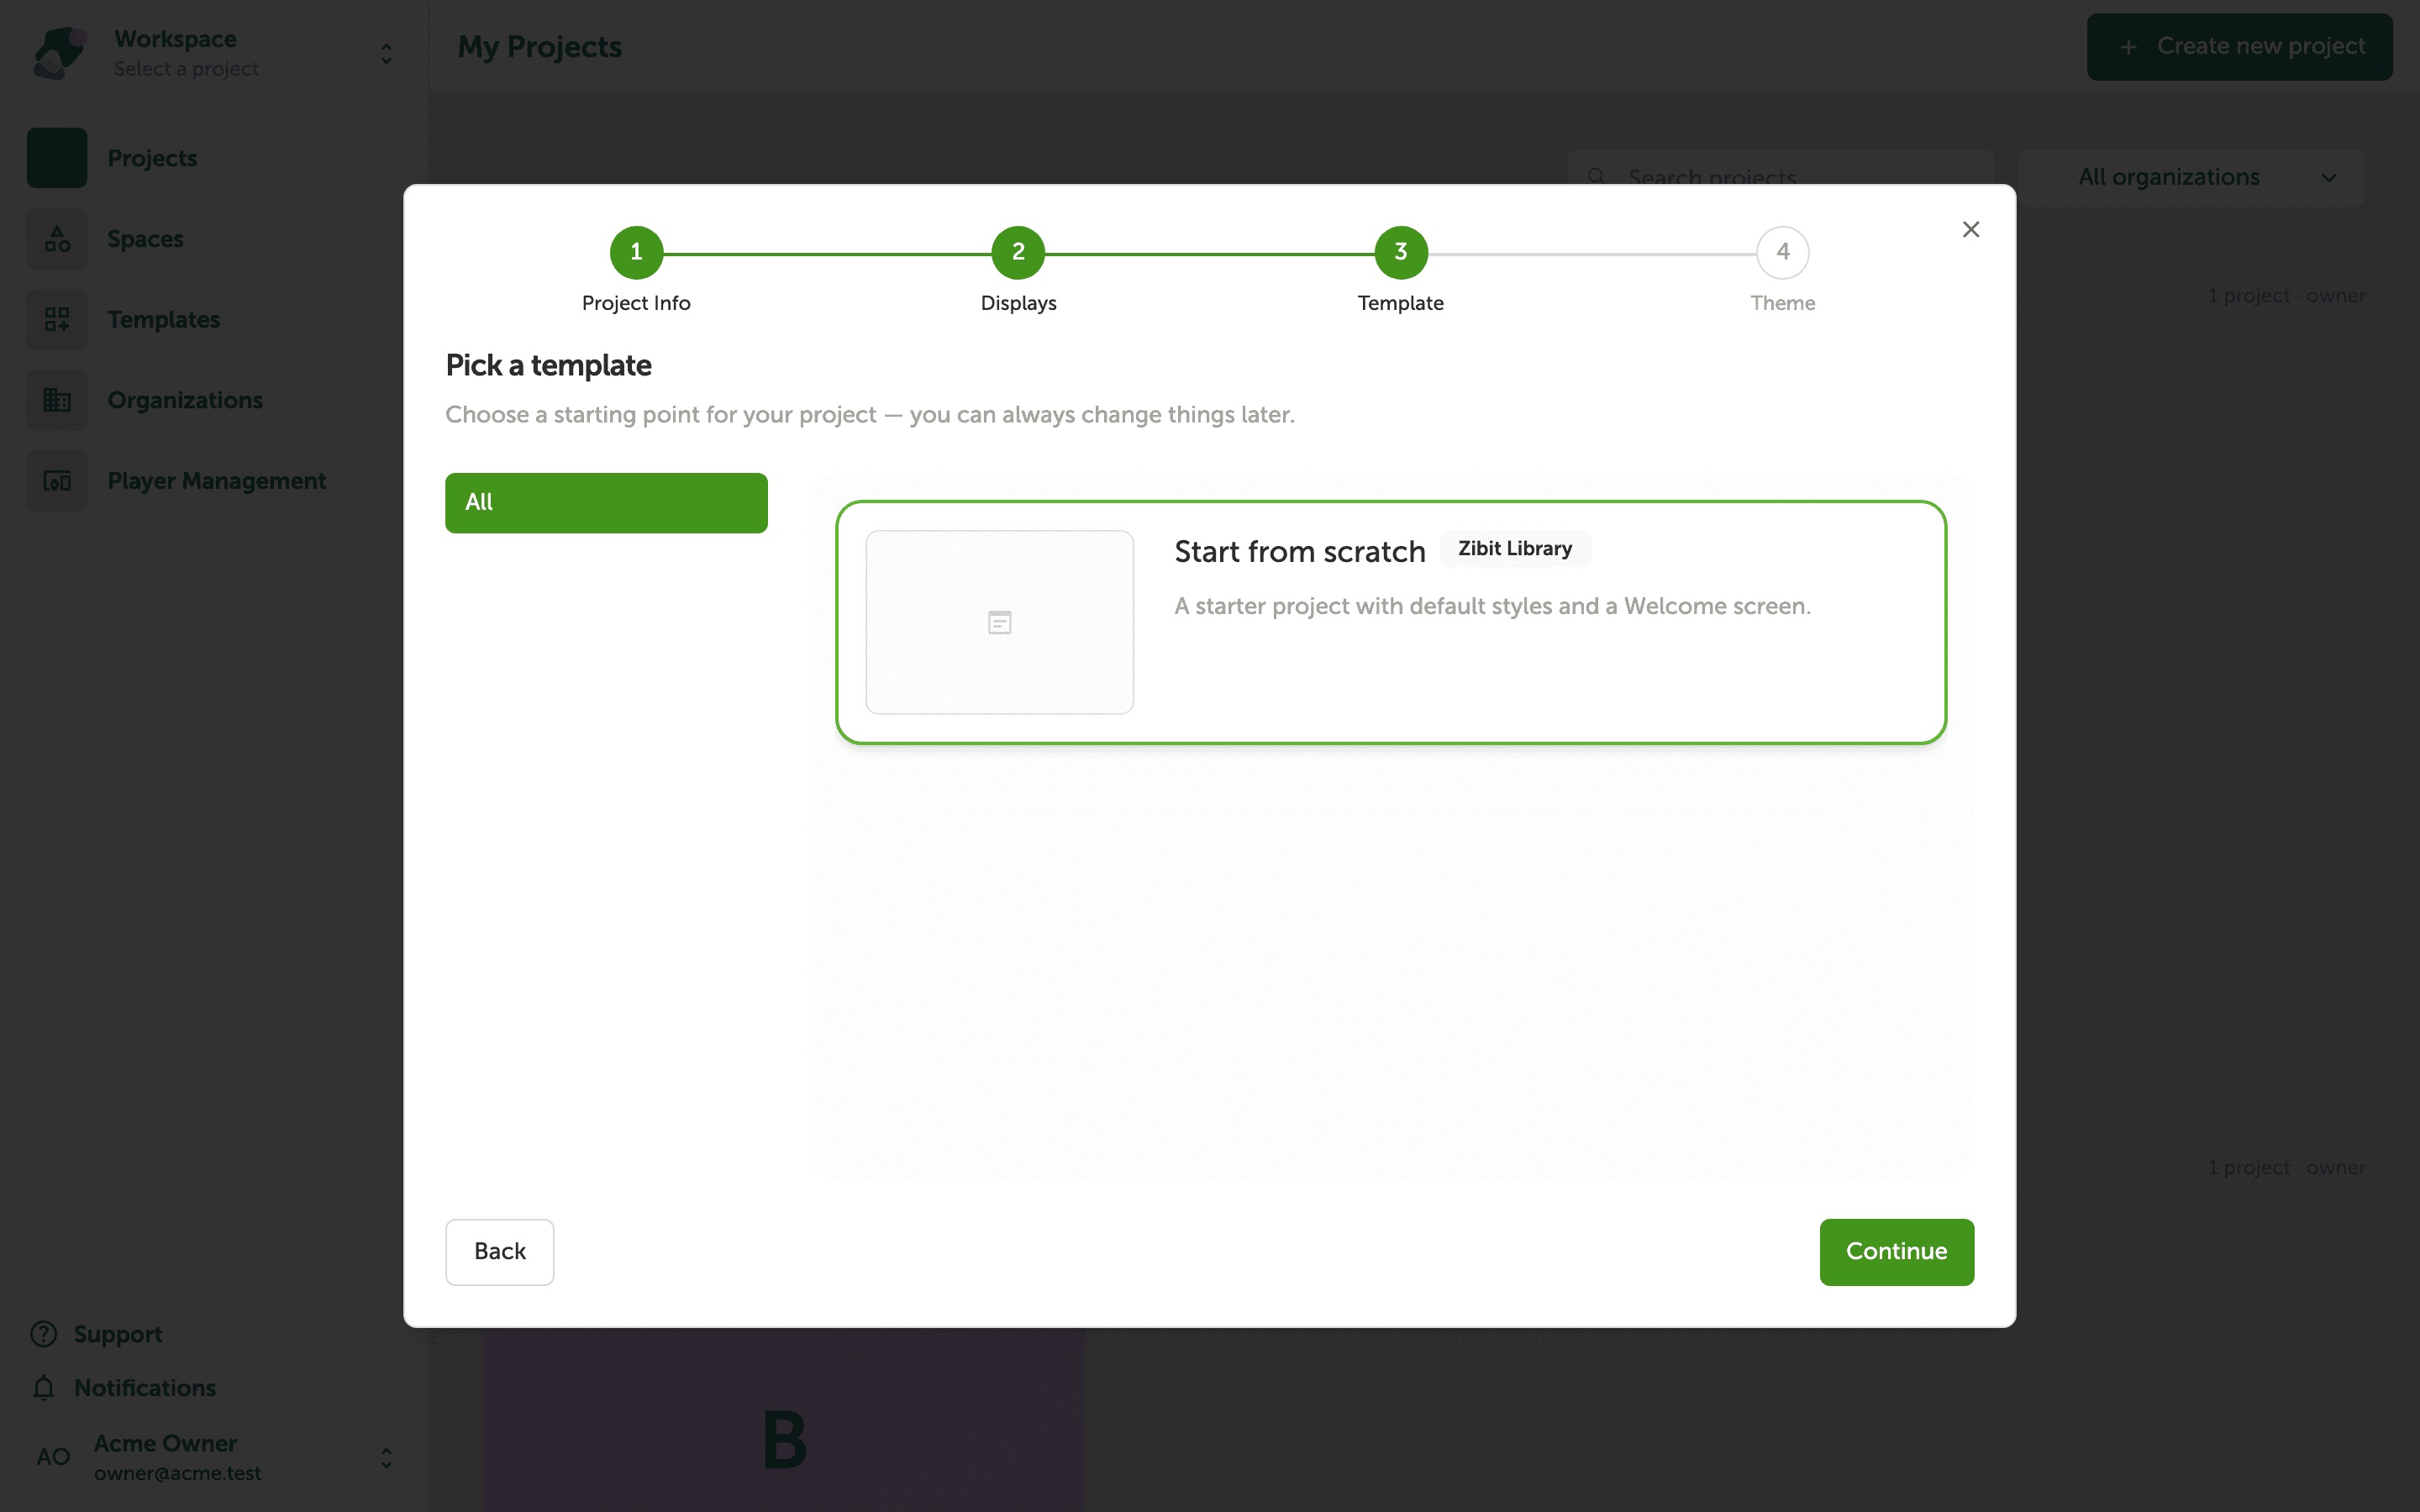
The template browser lets you start with a pre-built project structure instead of a blank slate. Templates are organized by use case—retail signage, museum exhibits, corporate lobbies, and more—so you can find something close to what you're building and customize from there.
Browse the available options and click the card that fits your project best. The selected template gets a green border to confirm your choice.
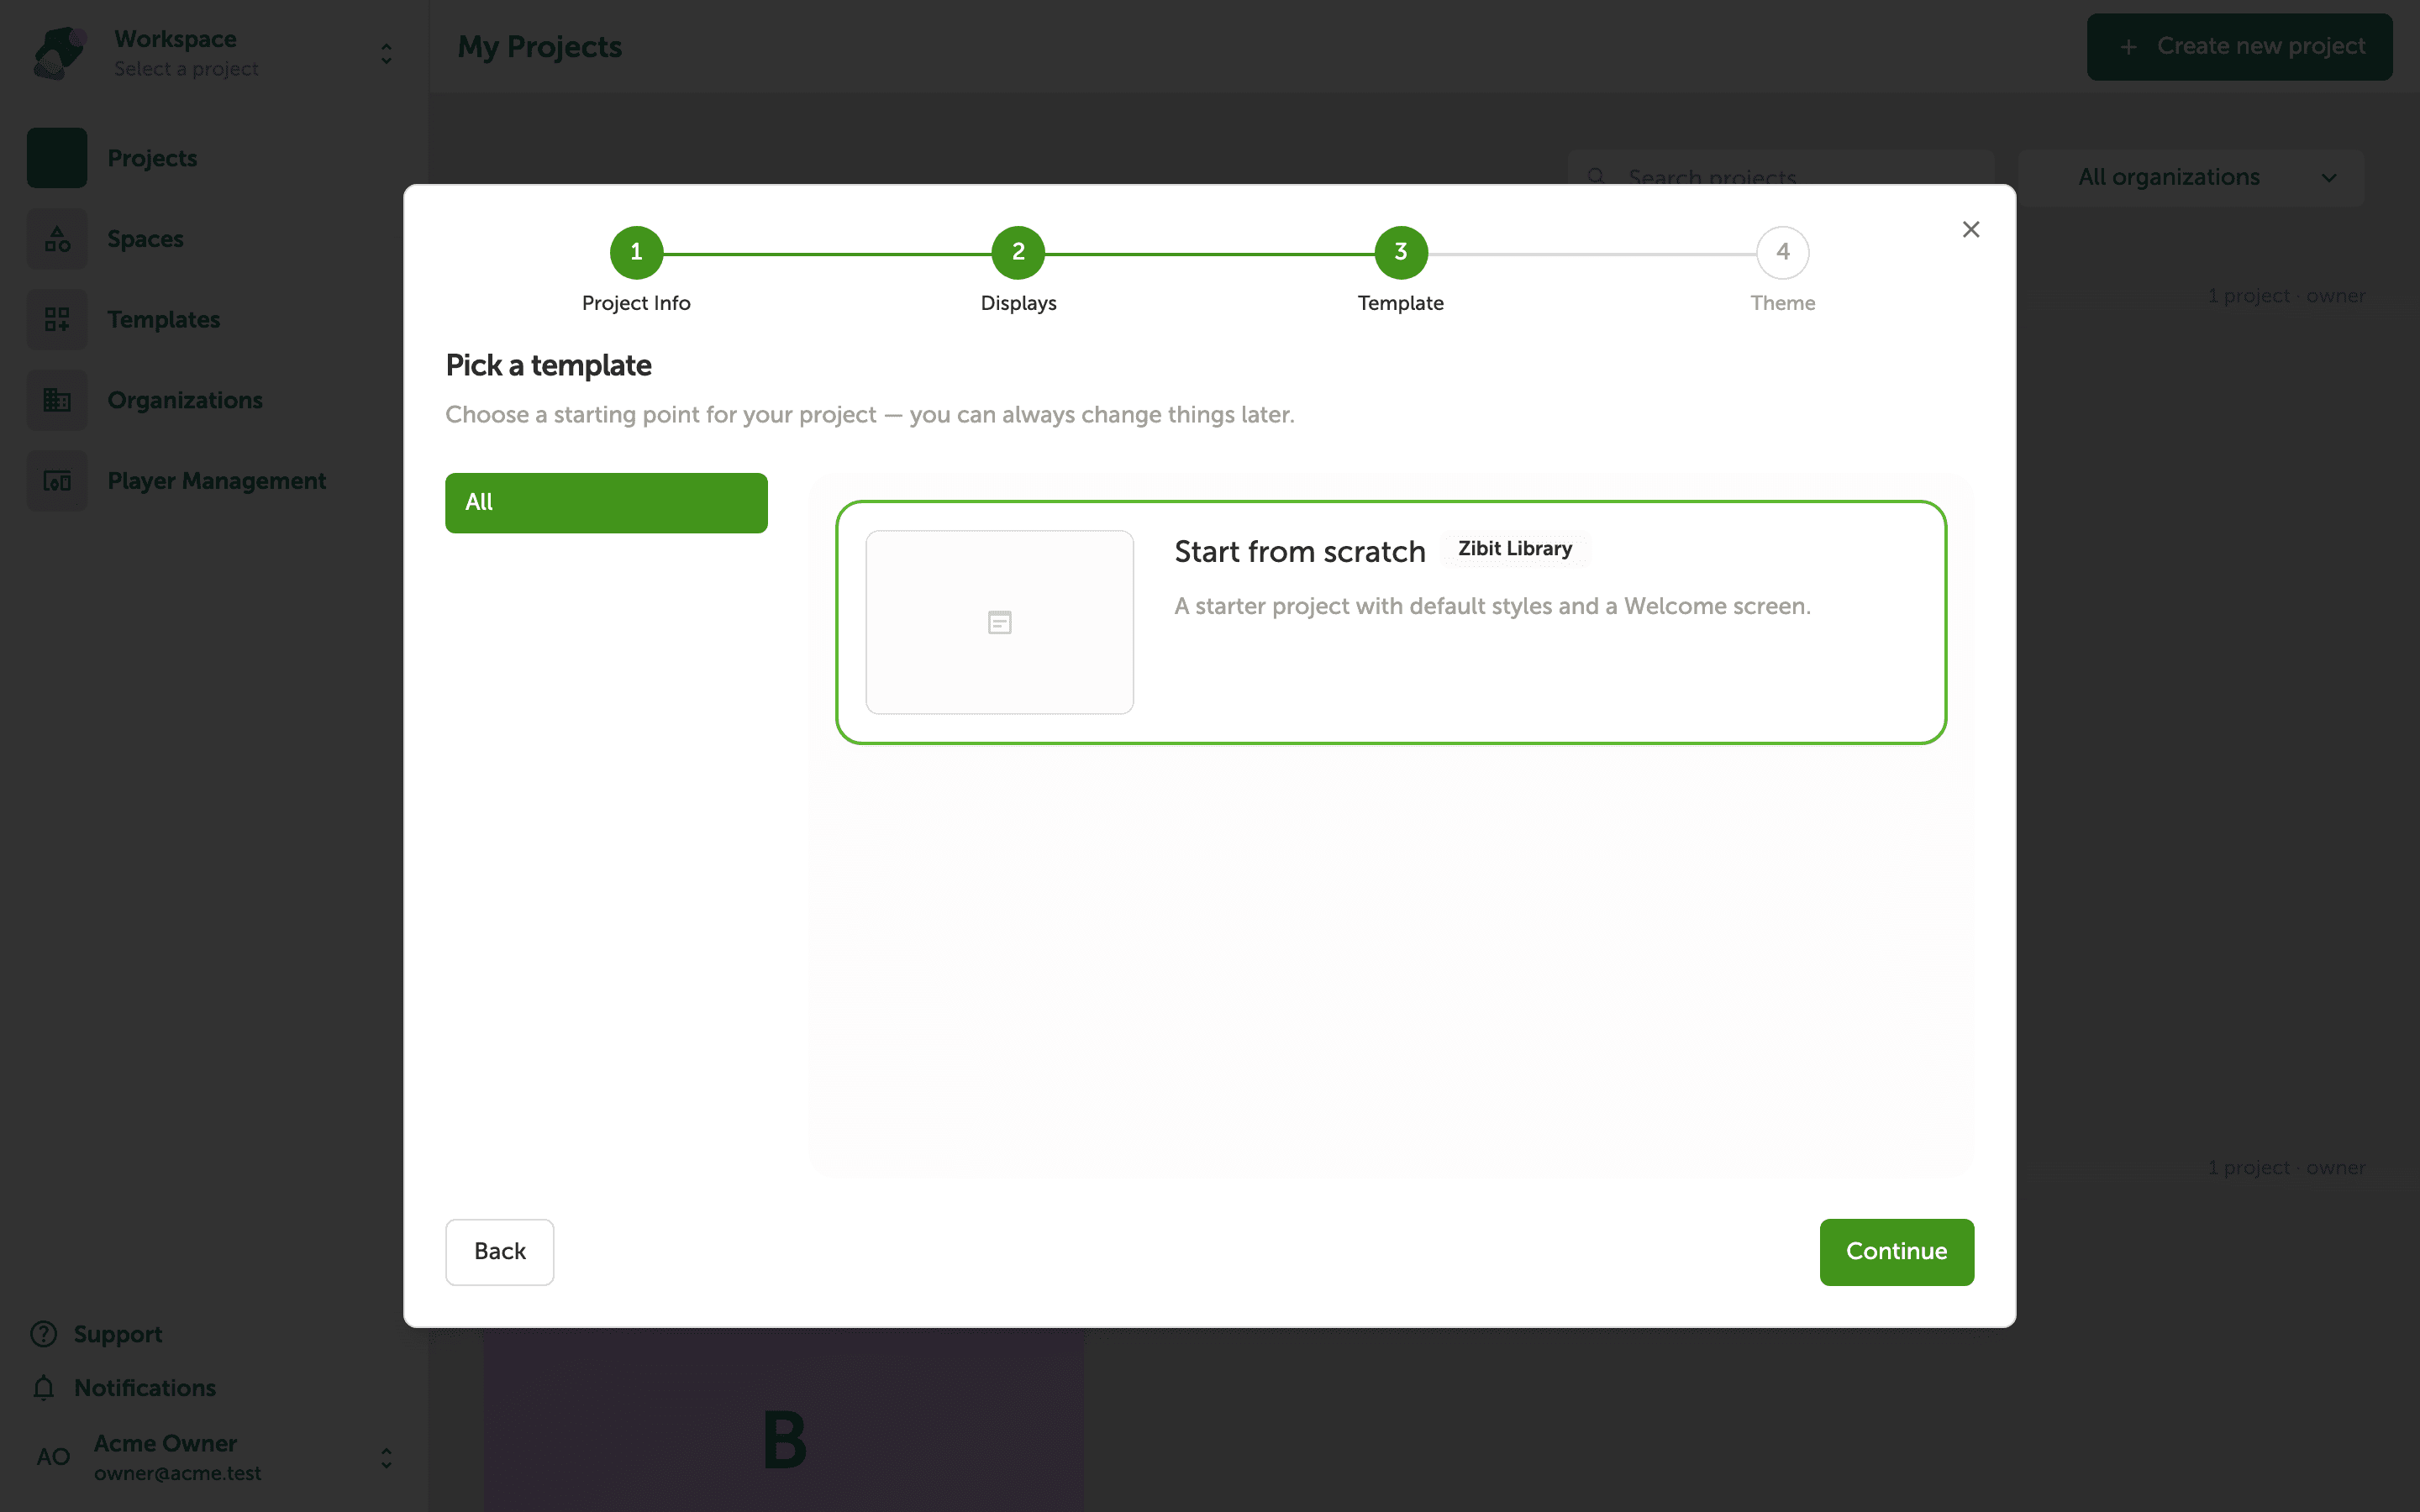
If you'd rather start with a clean slate, you can select the Start from scratch option. Otherwise, pick the template that's closest to your goals—you can always rearrange, add, or remove moments later.
Click "Continue" once your template is selected.
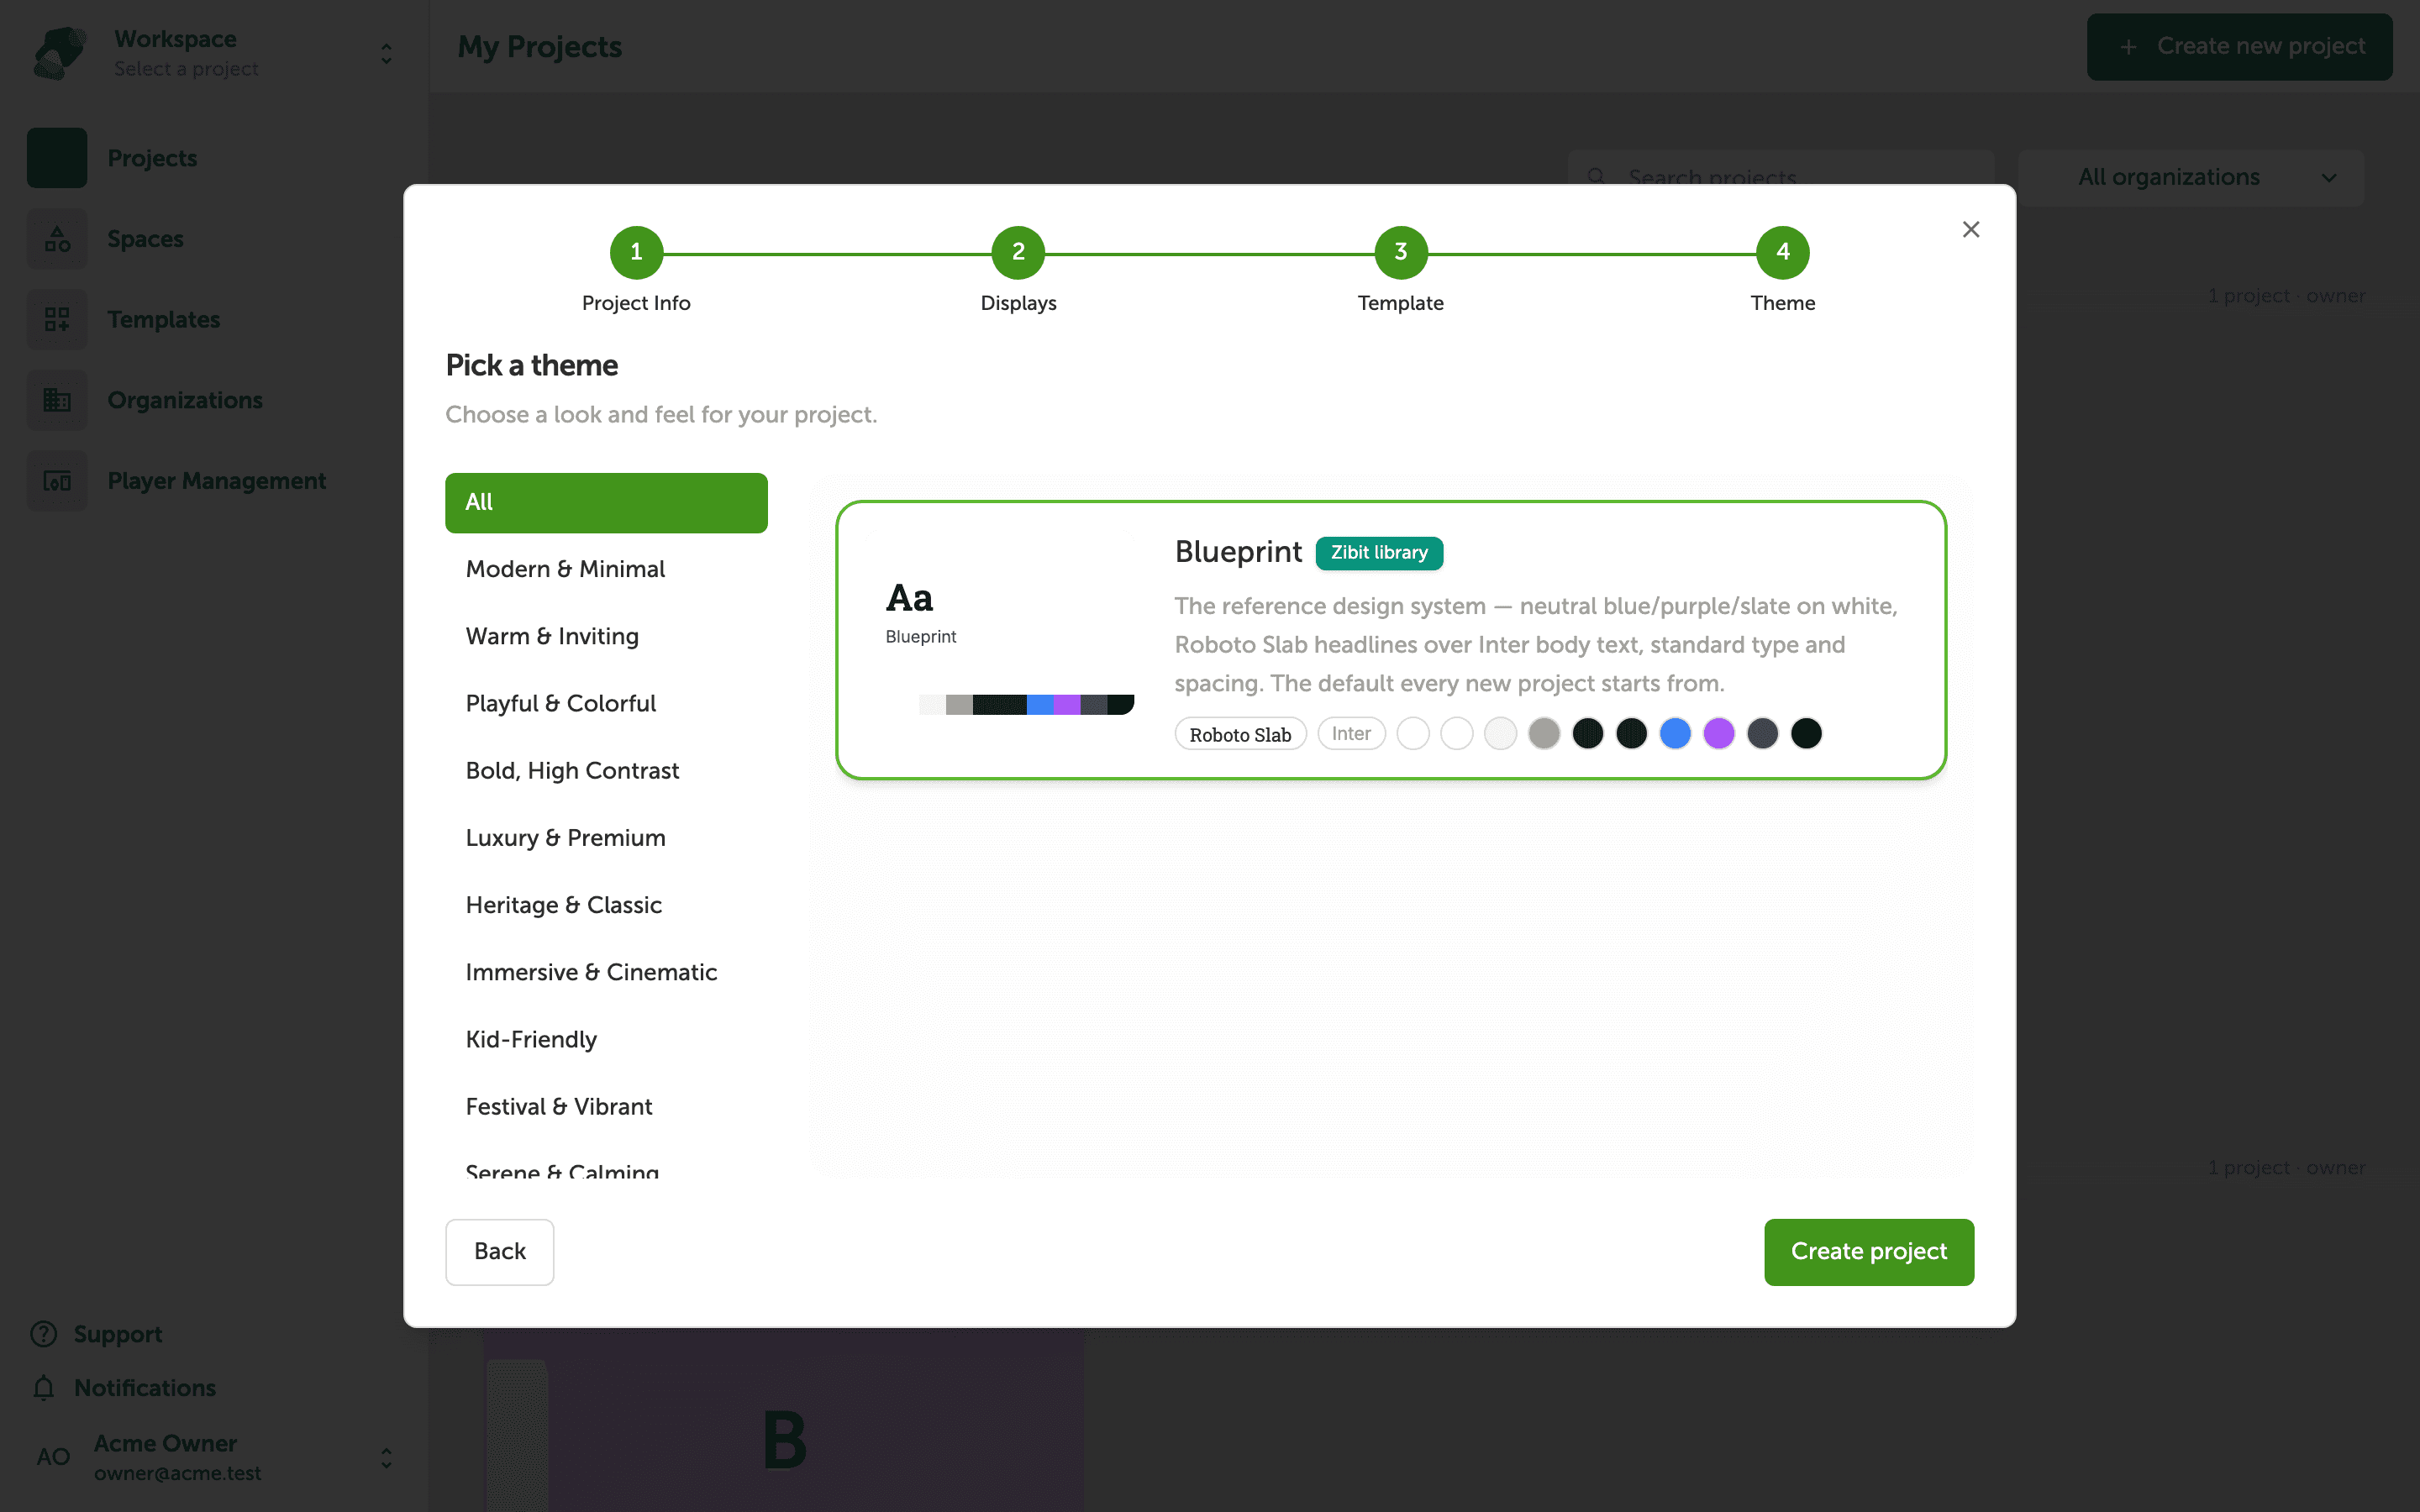
Pick a theme
Themes control the visual identity of your project—colors, typography, component styles, and overall feel. Browse the theme cards and select the one that best matches the look you're going for.
Just like templates, the selected theme gets a green border. Don't worry about locking yourself in here; you can adjust colors, fonts, and component styles from the Styles panel at any time after your project is created.
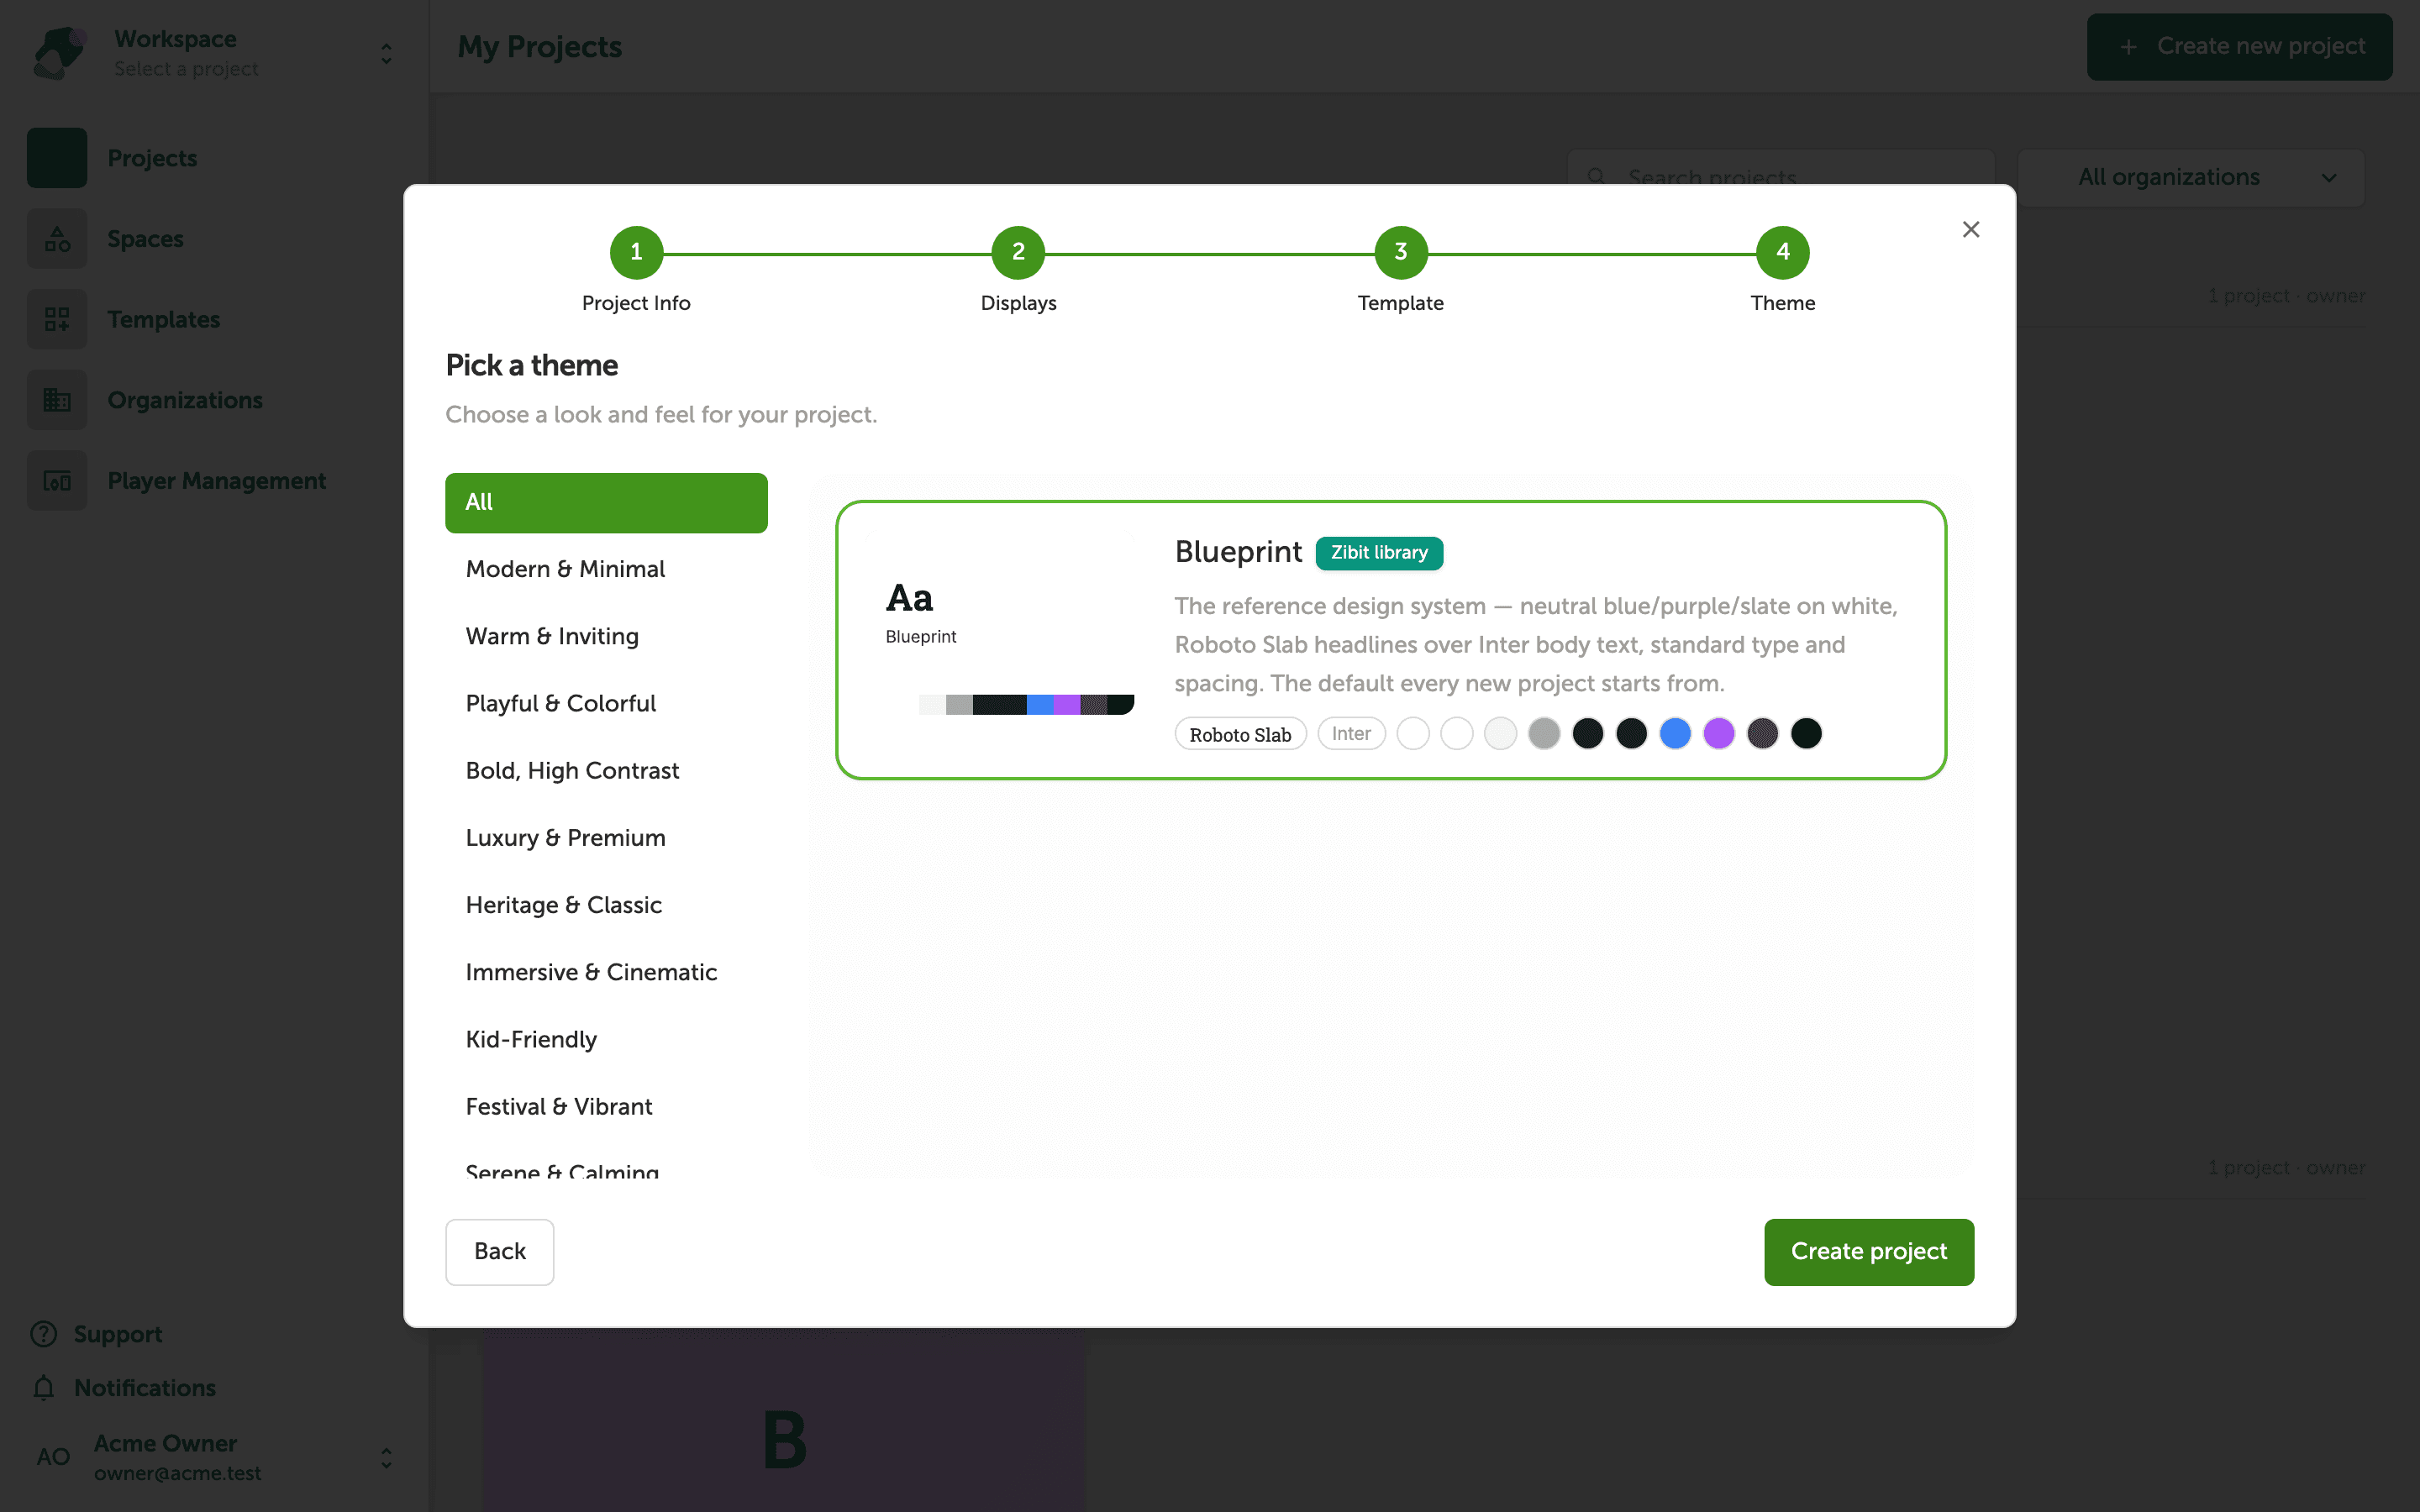
Select your preferred theme and click "Create project" to finish.
Your new project is ready
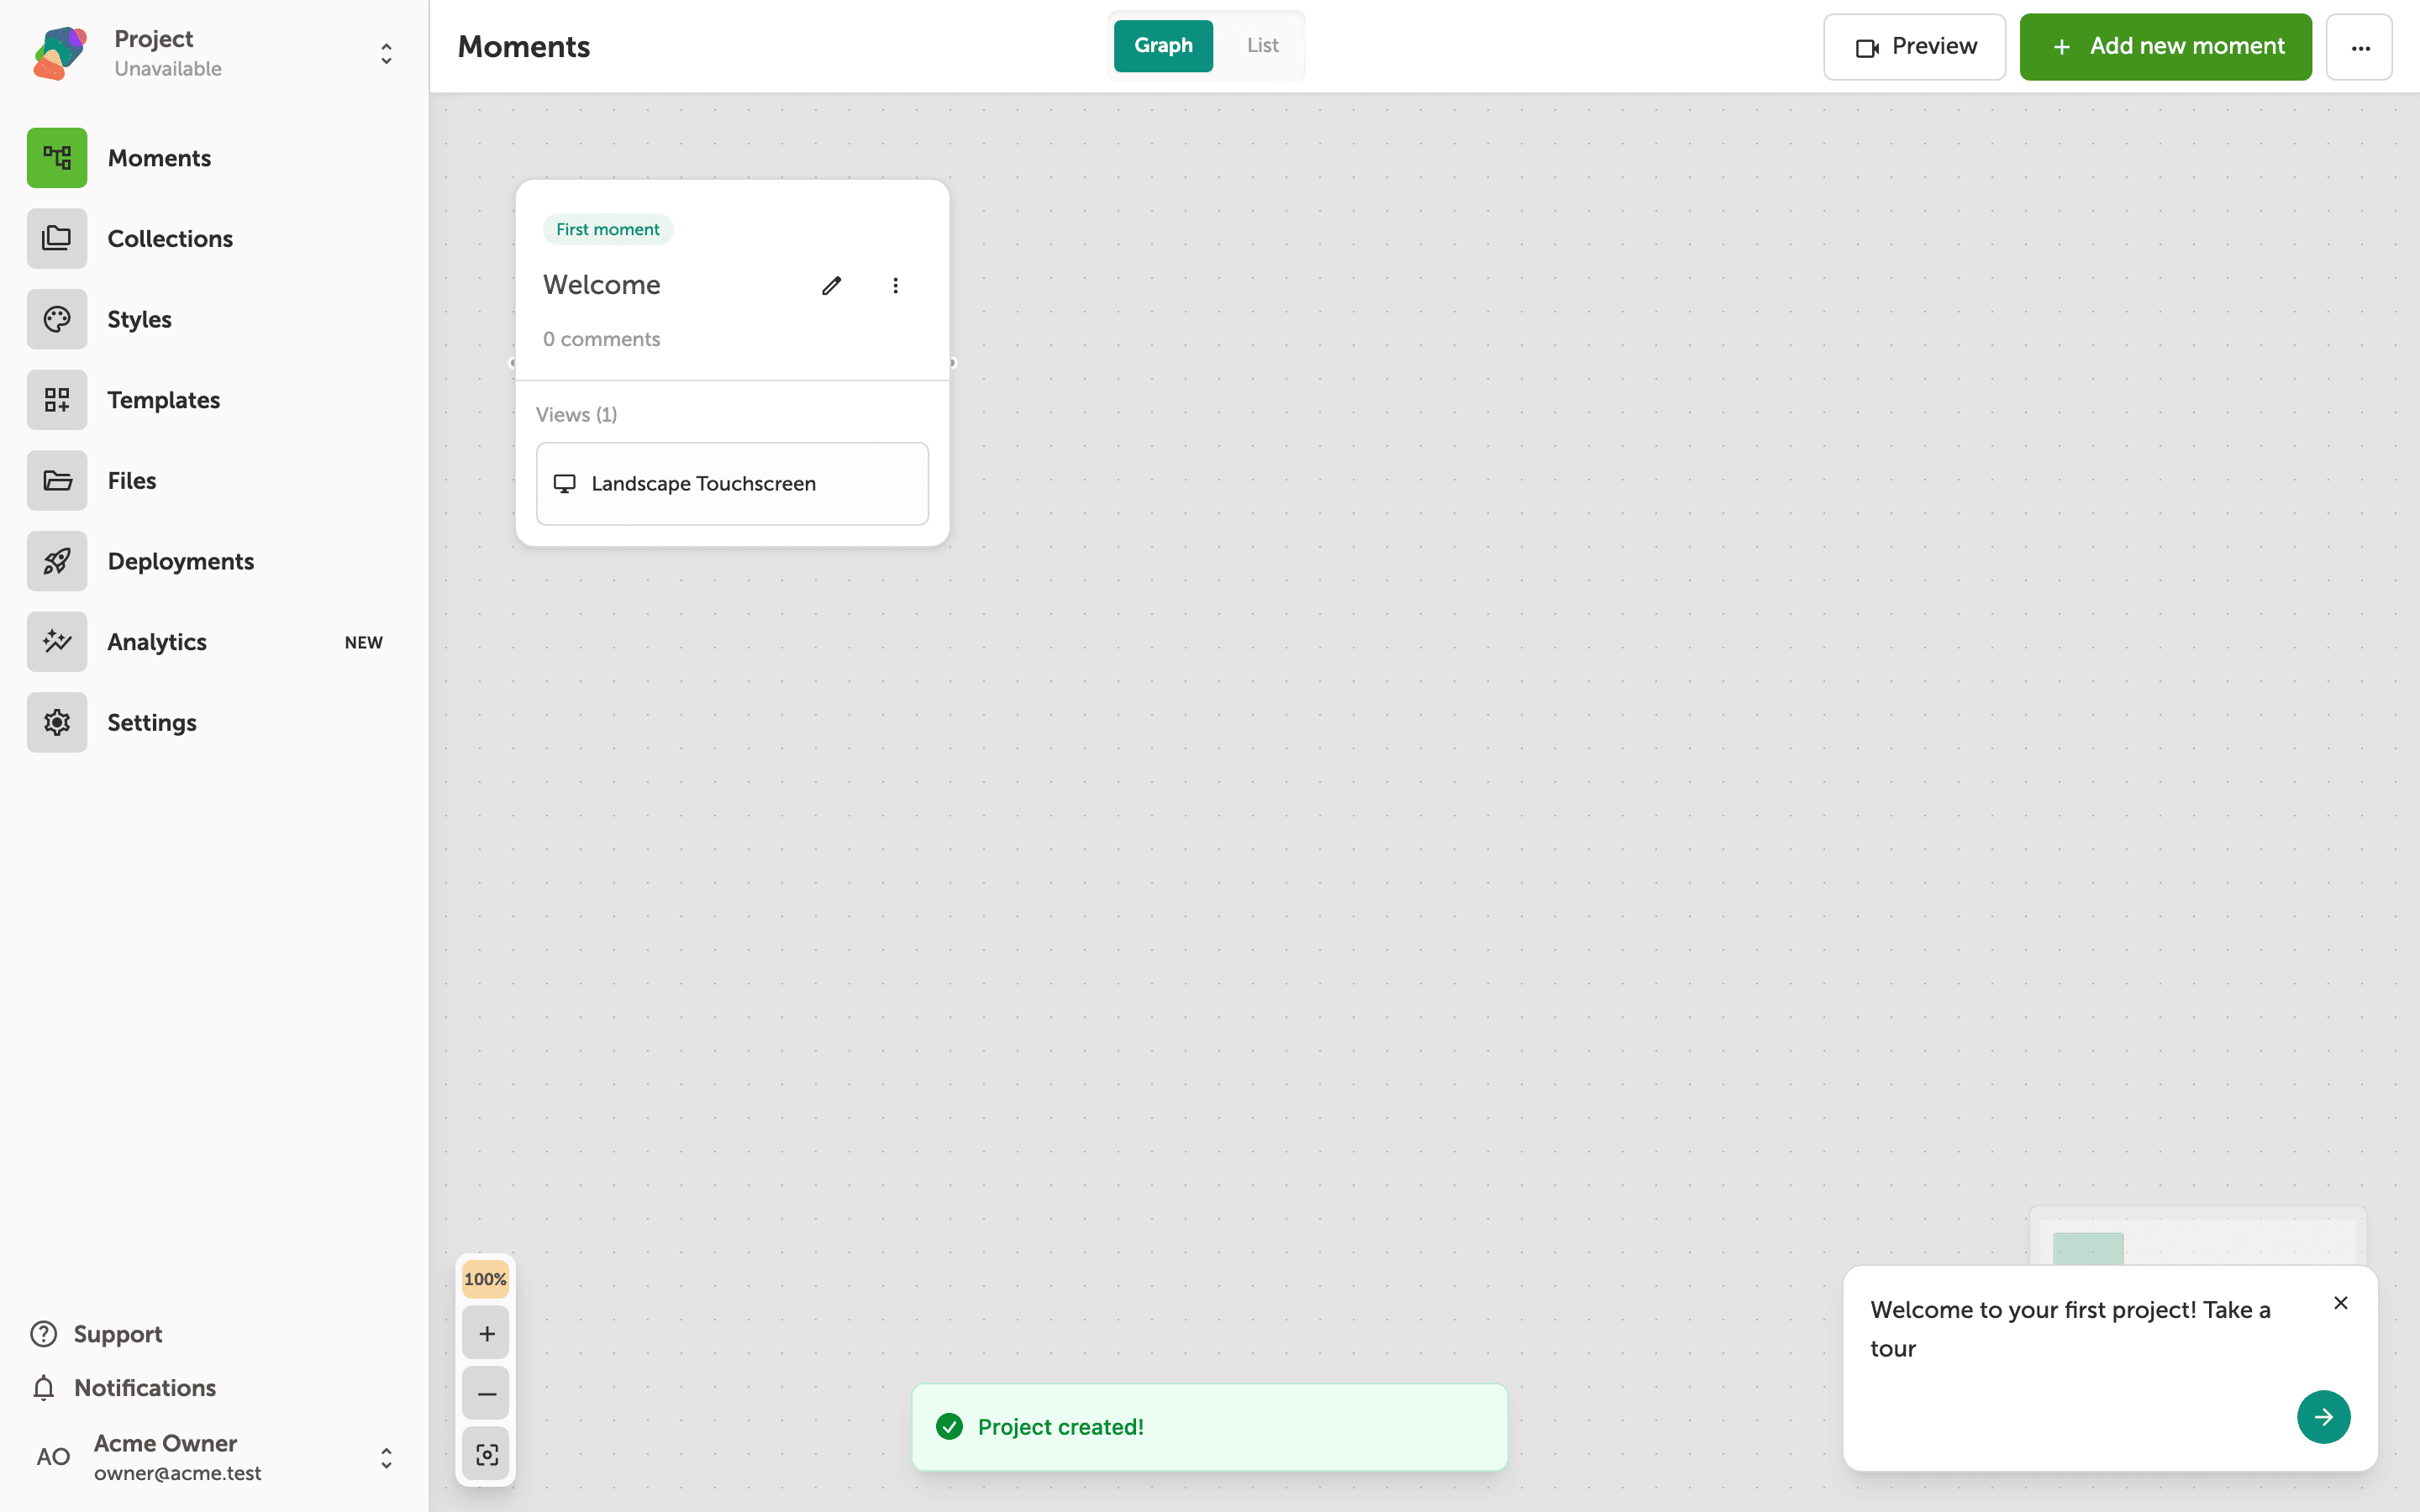
Your project is created and the Moments view opens automatically in Graph mode. You'll see a canvas with your first moment already in place, marked as the First moment. If you chose a template, you may see additional moments pre-connected in the graph.
From here you can click "Add new moment" to expand your project's flow, or click the pencil icon on any moment card to open it in the editor and start adding components.
Next steps
Your project is set up and ready to go. Here are a few things you might want to try next:
- Add your first moment: Learn how to create and name moments in the Moments graph view.
- Connect moments with flows: Set up navigation paths so your experience moves the way you intend.
- Add components to a view: Place text, images, buttons, and video onto a moment's layout.
- Customize your theme: Adjust typography, colors, and component styles to match your brand.
- Link a collection: Connect a reusable data set to drive dynamic content across your project.