
Creating a View from a Template
When you're building an exhibit kiosk, a gallery guide, or a digital sign, getting the layout right is one of the most time-consuming parts of the process. Zibit's view templates give you a head start by dropping you into a professionally structured canvas—complete with placeholder components—that you can customize to fit your content. Whether you're designing a welcome screen for a natural history museum or a wayfinding display for a cultural center, templates let you focus on your story instead of your spacing.
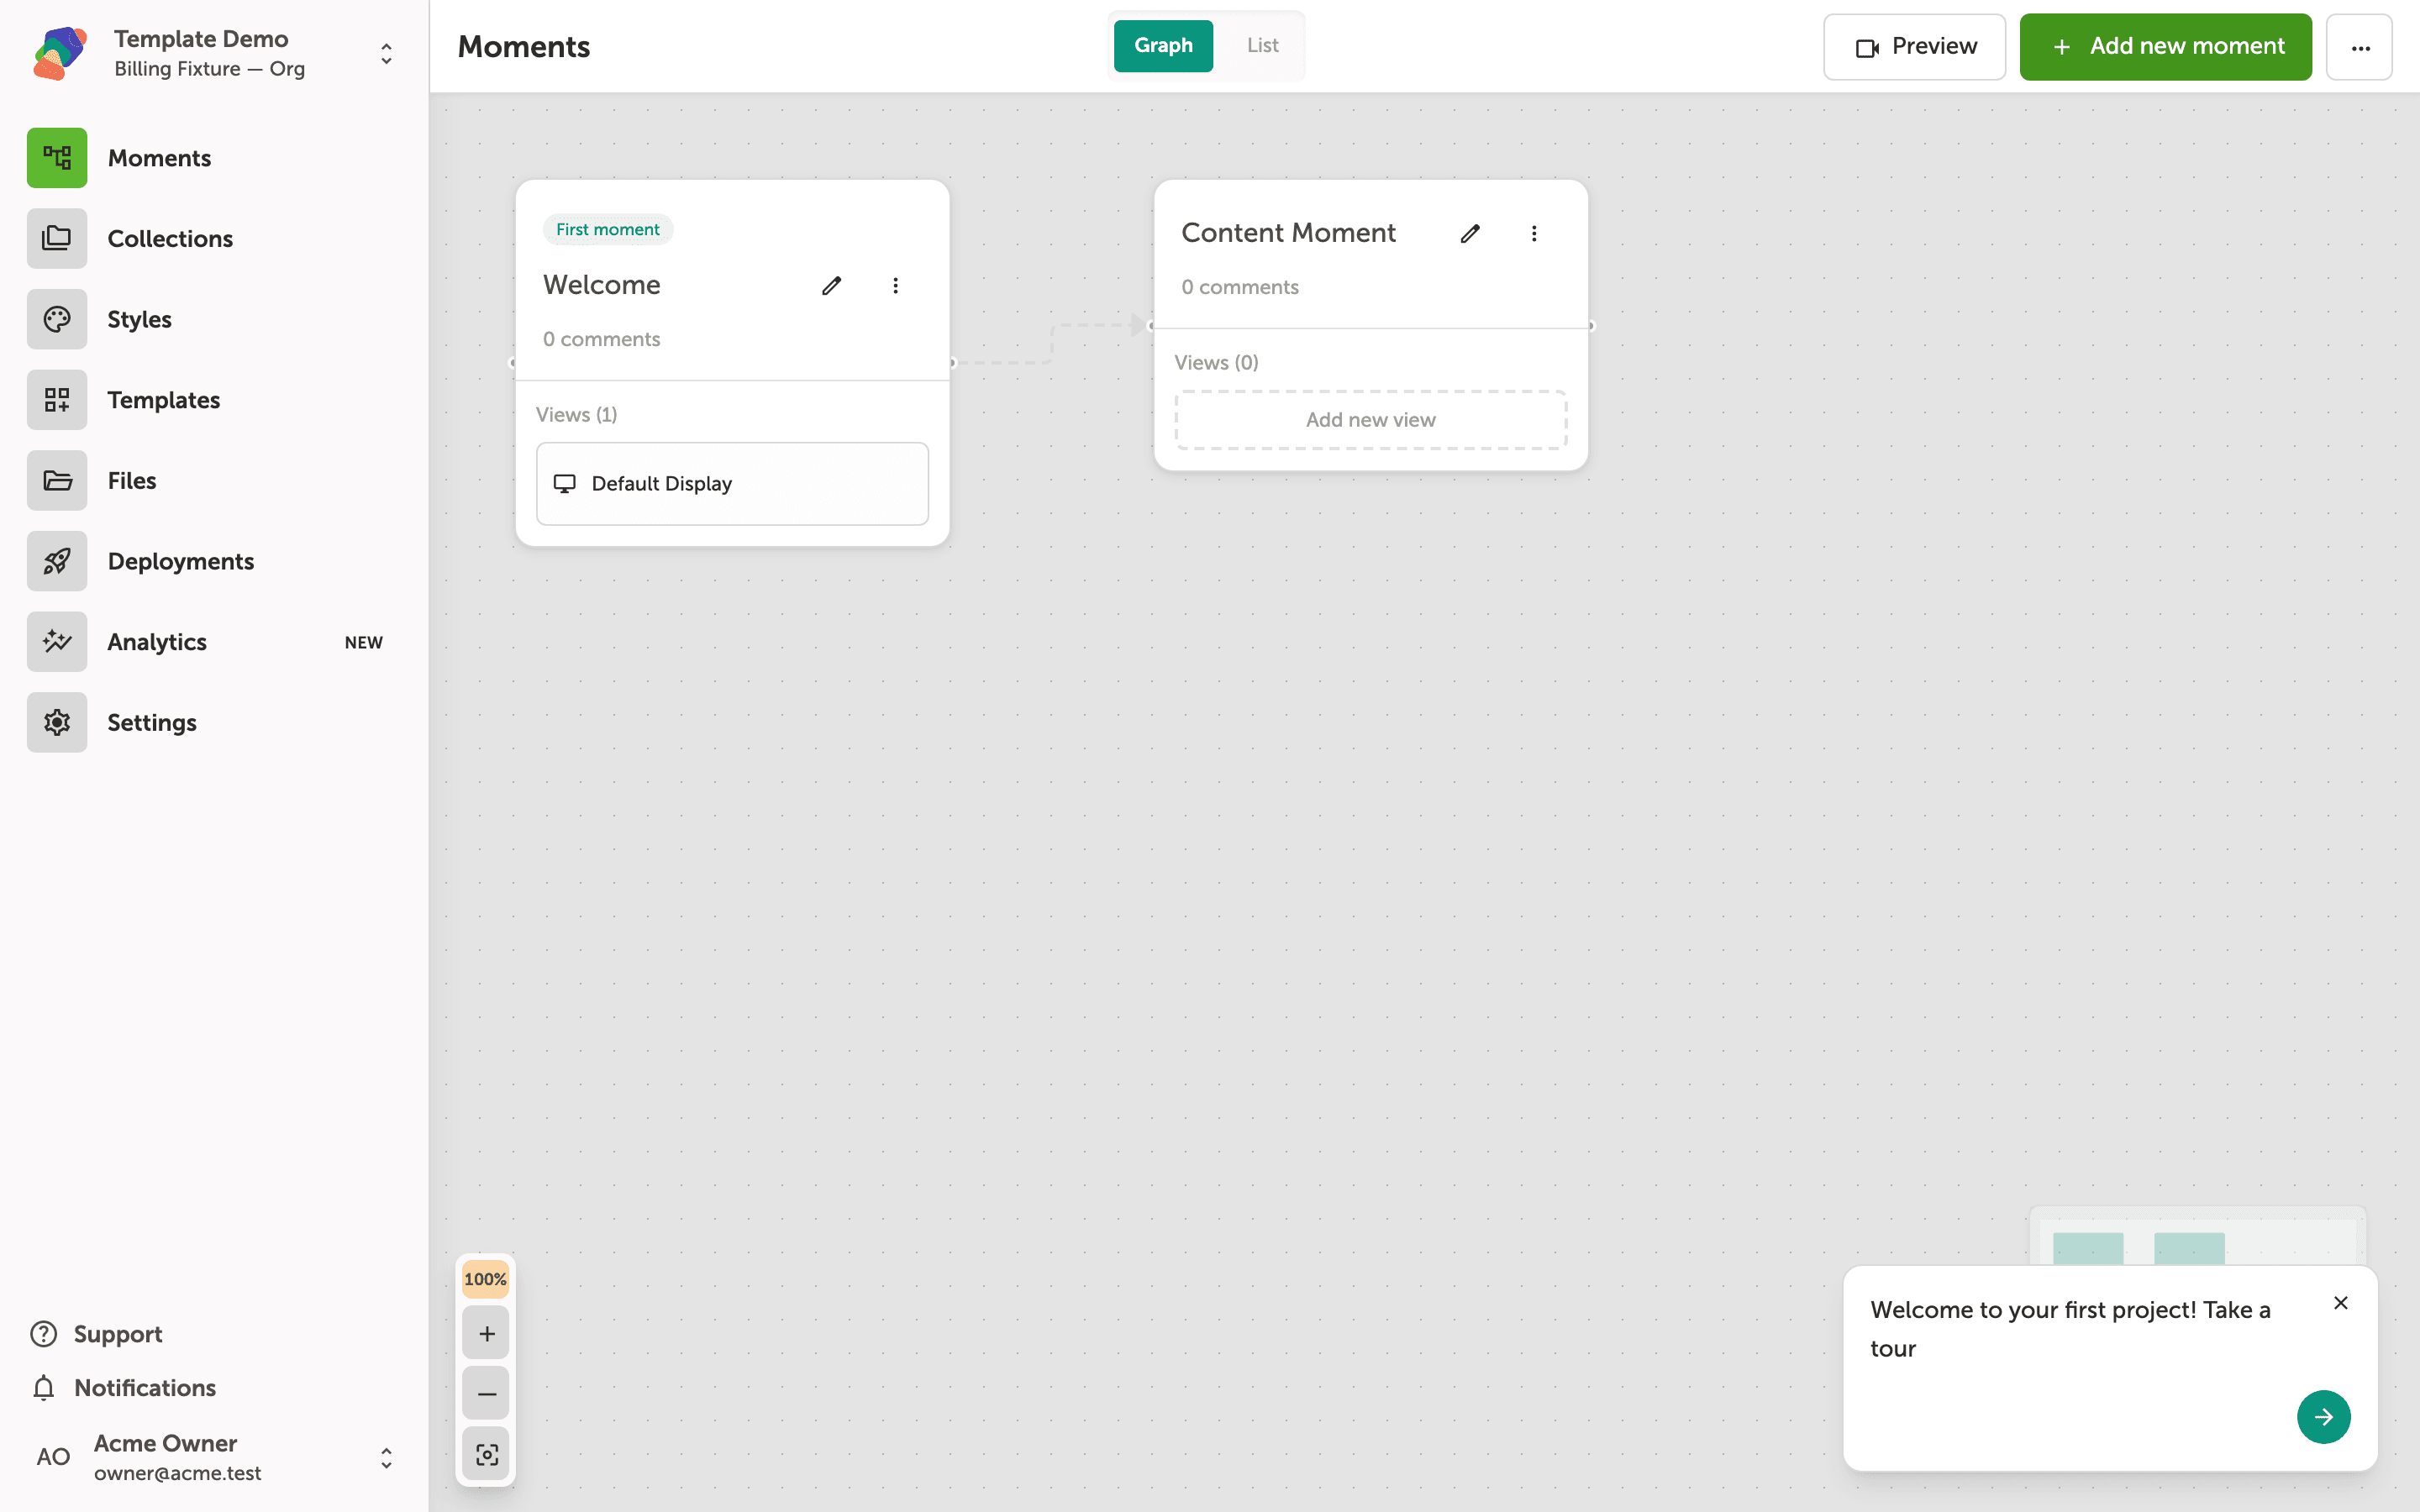
Add a view from a moment card
In the moments graph, each moment in your project appears as a node—you can see "Welcome" and "Content Moment" already in place. When a moment still needs a layout for a display, the card shows a dashed "Add new view" button.
Click Add new view on the moment you want to work with. A view defines how that moment looks on a particular display, so starting from a template is a quick way to get a polished layout.
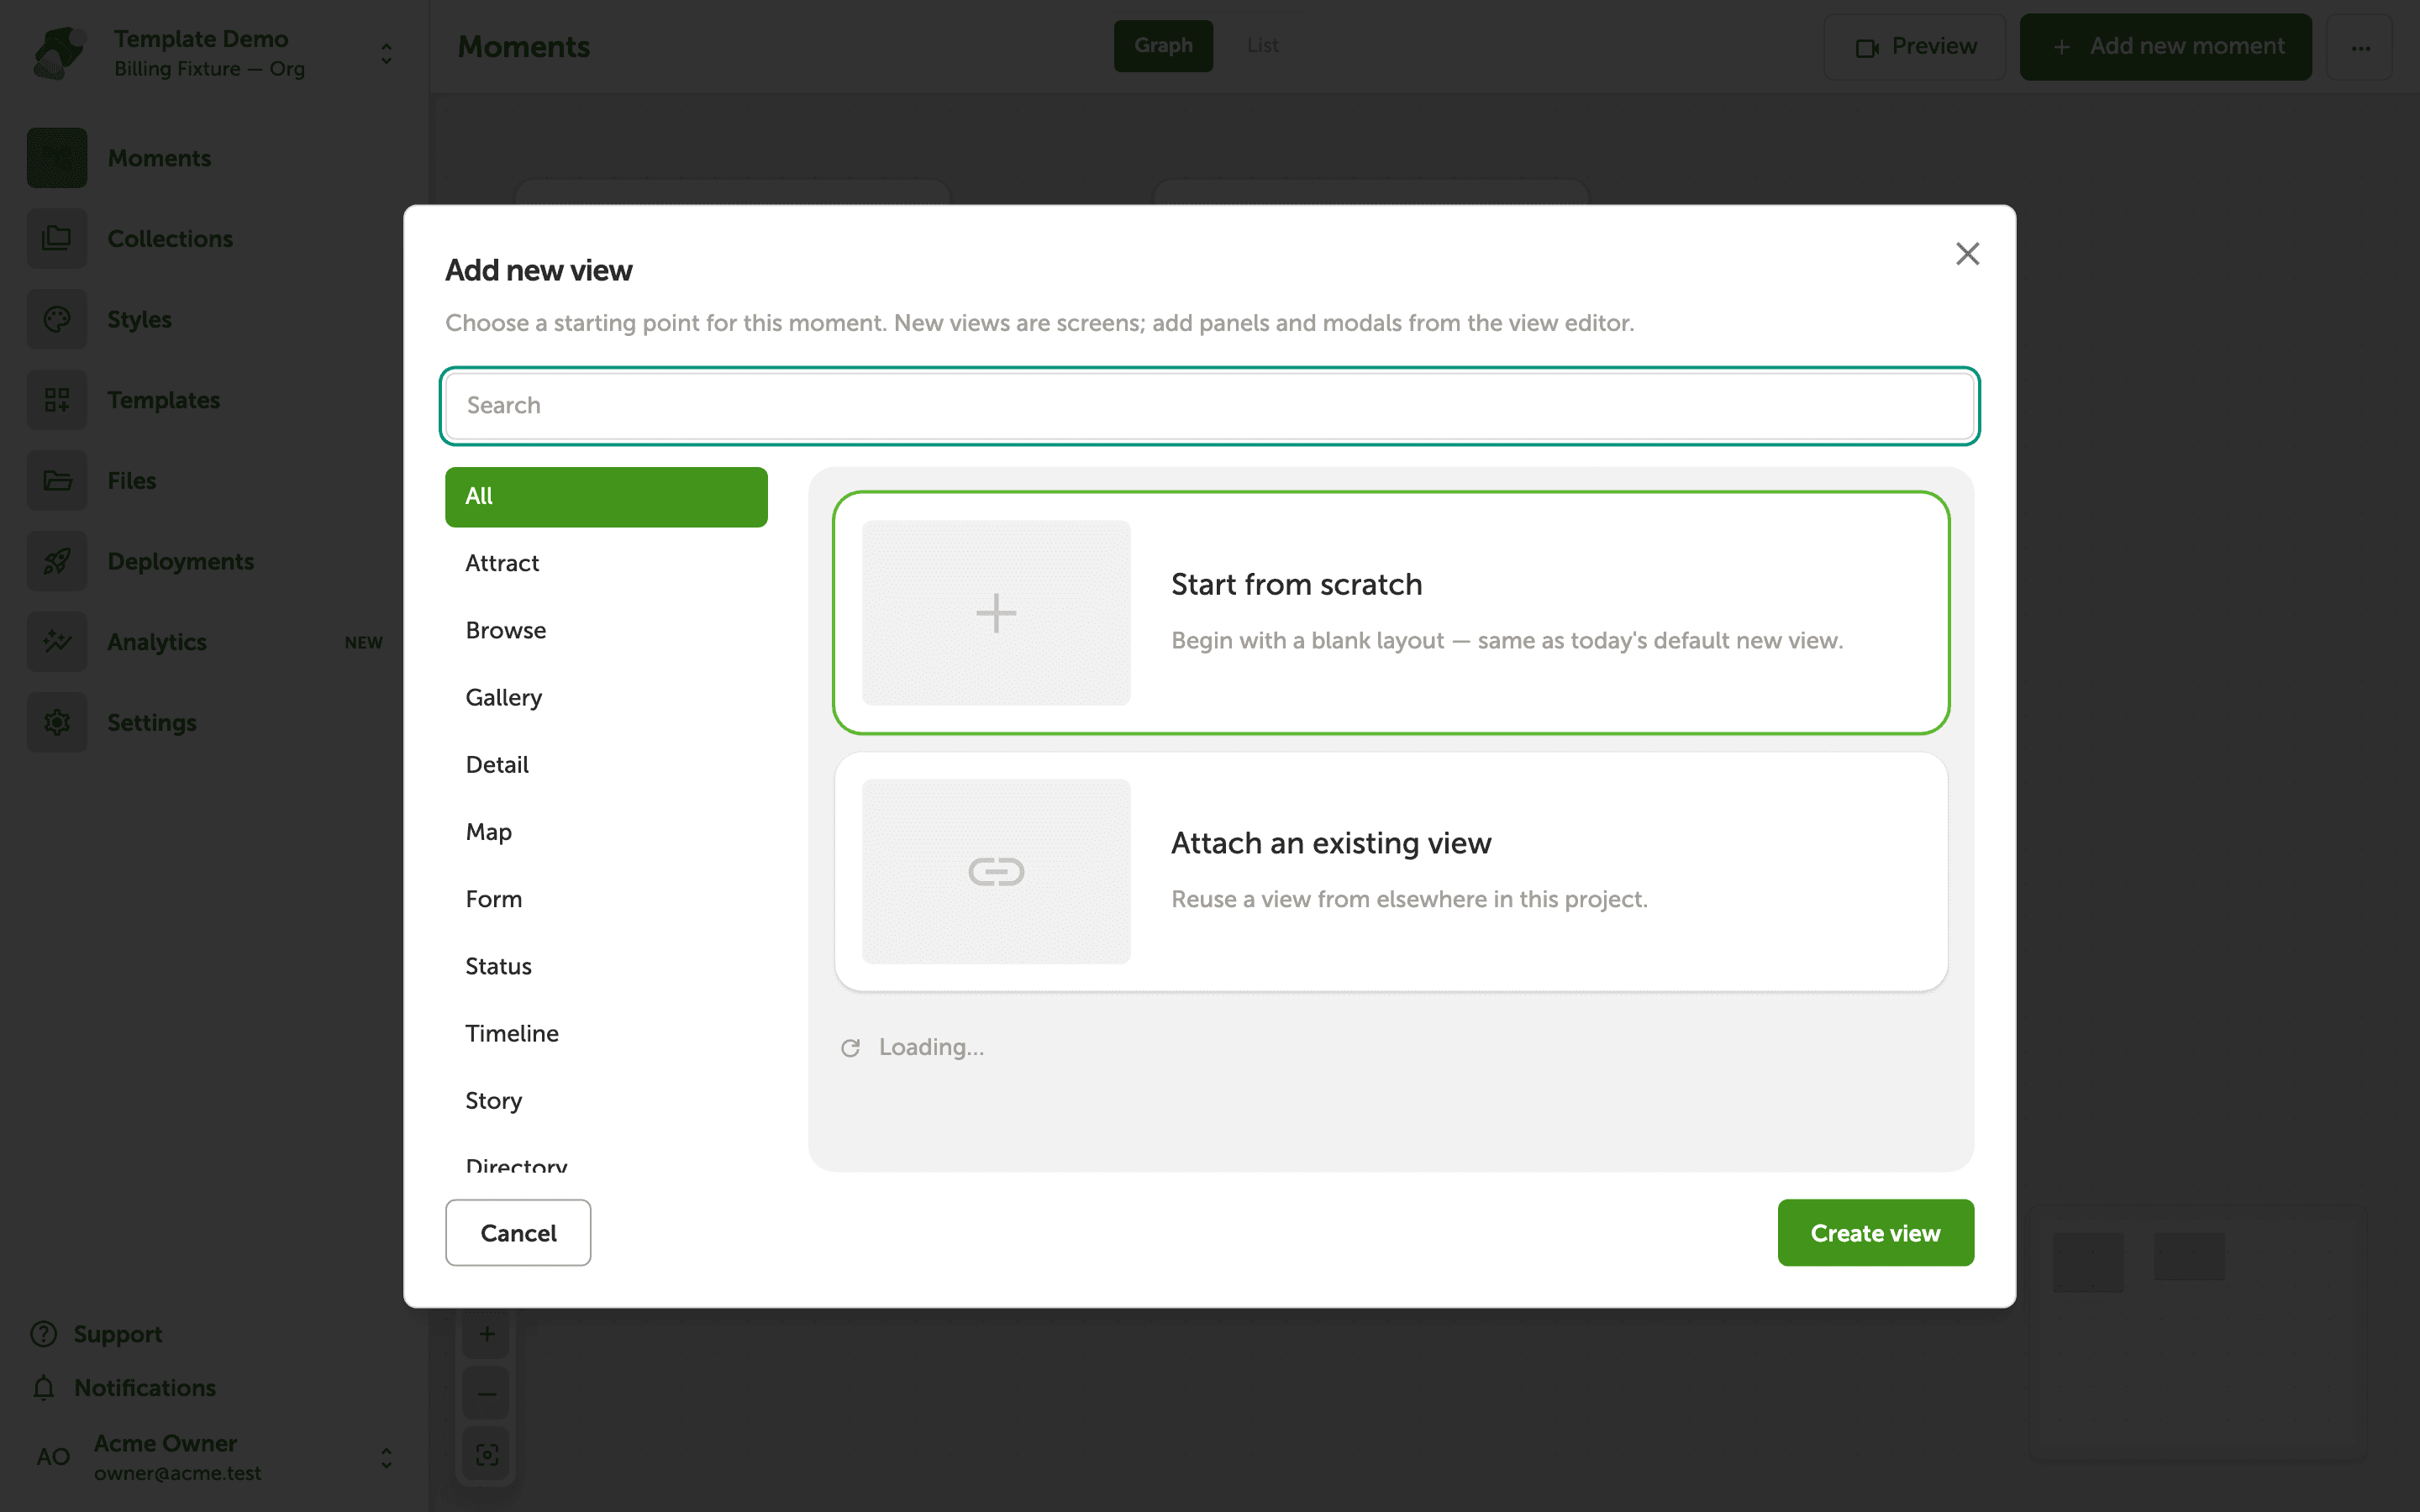
Choose a starting point for your view
The Add new view modal gives you a blank canvas, a way to attach an existing view, or a starting kit—a pre-built layout such as Full-bleed hero. Kits are a good option for common museum use cases, like a bold welcome screen.
Browse the available options by scrolling through the panel, or use the category list on the left to narrow things down. Don't worry about picking the perfect option right away—you can adjust the layout and swap out every component after the view is created.
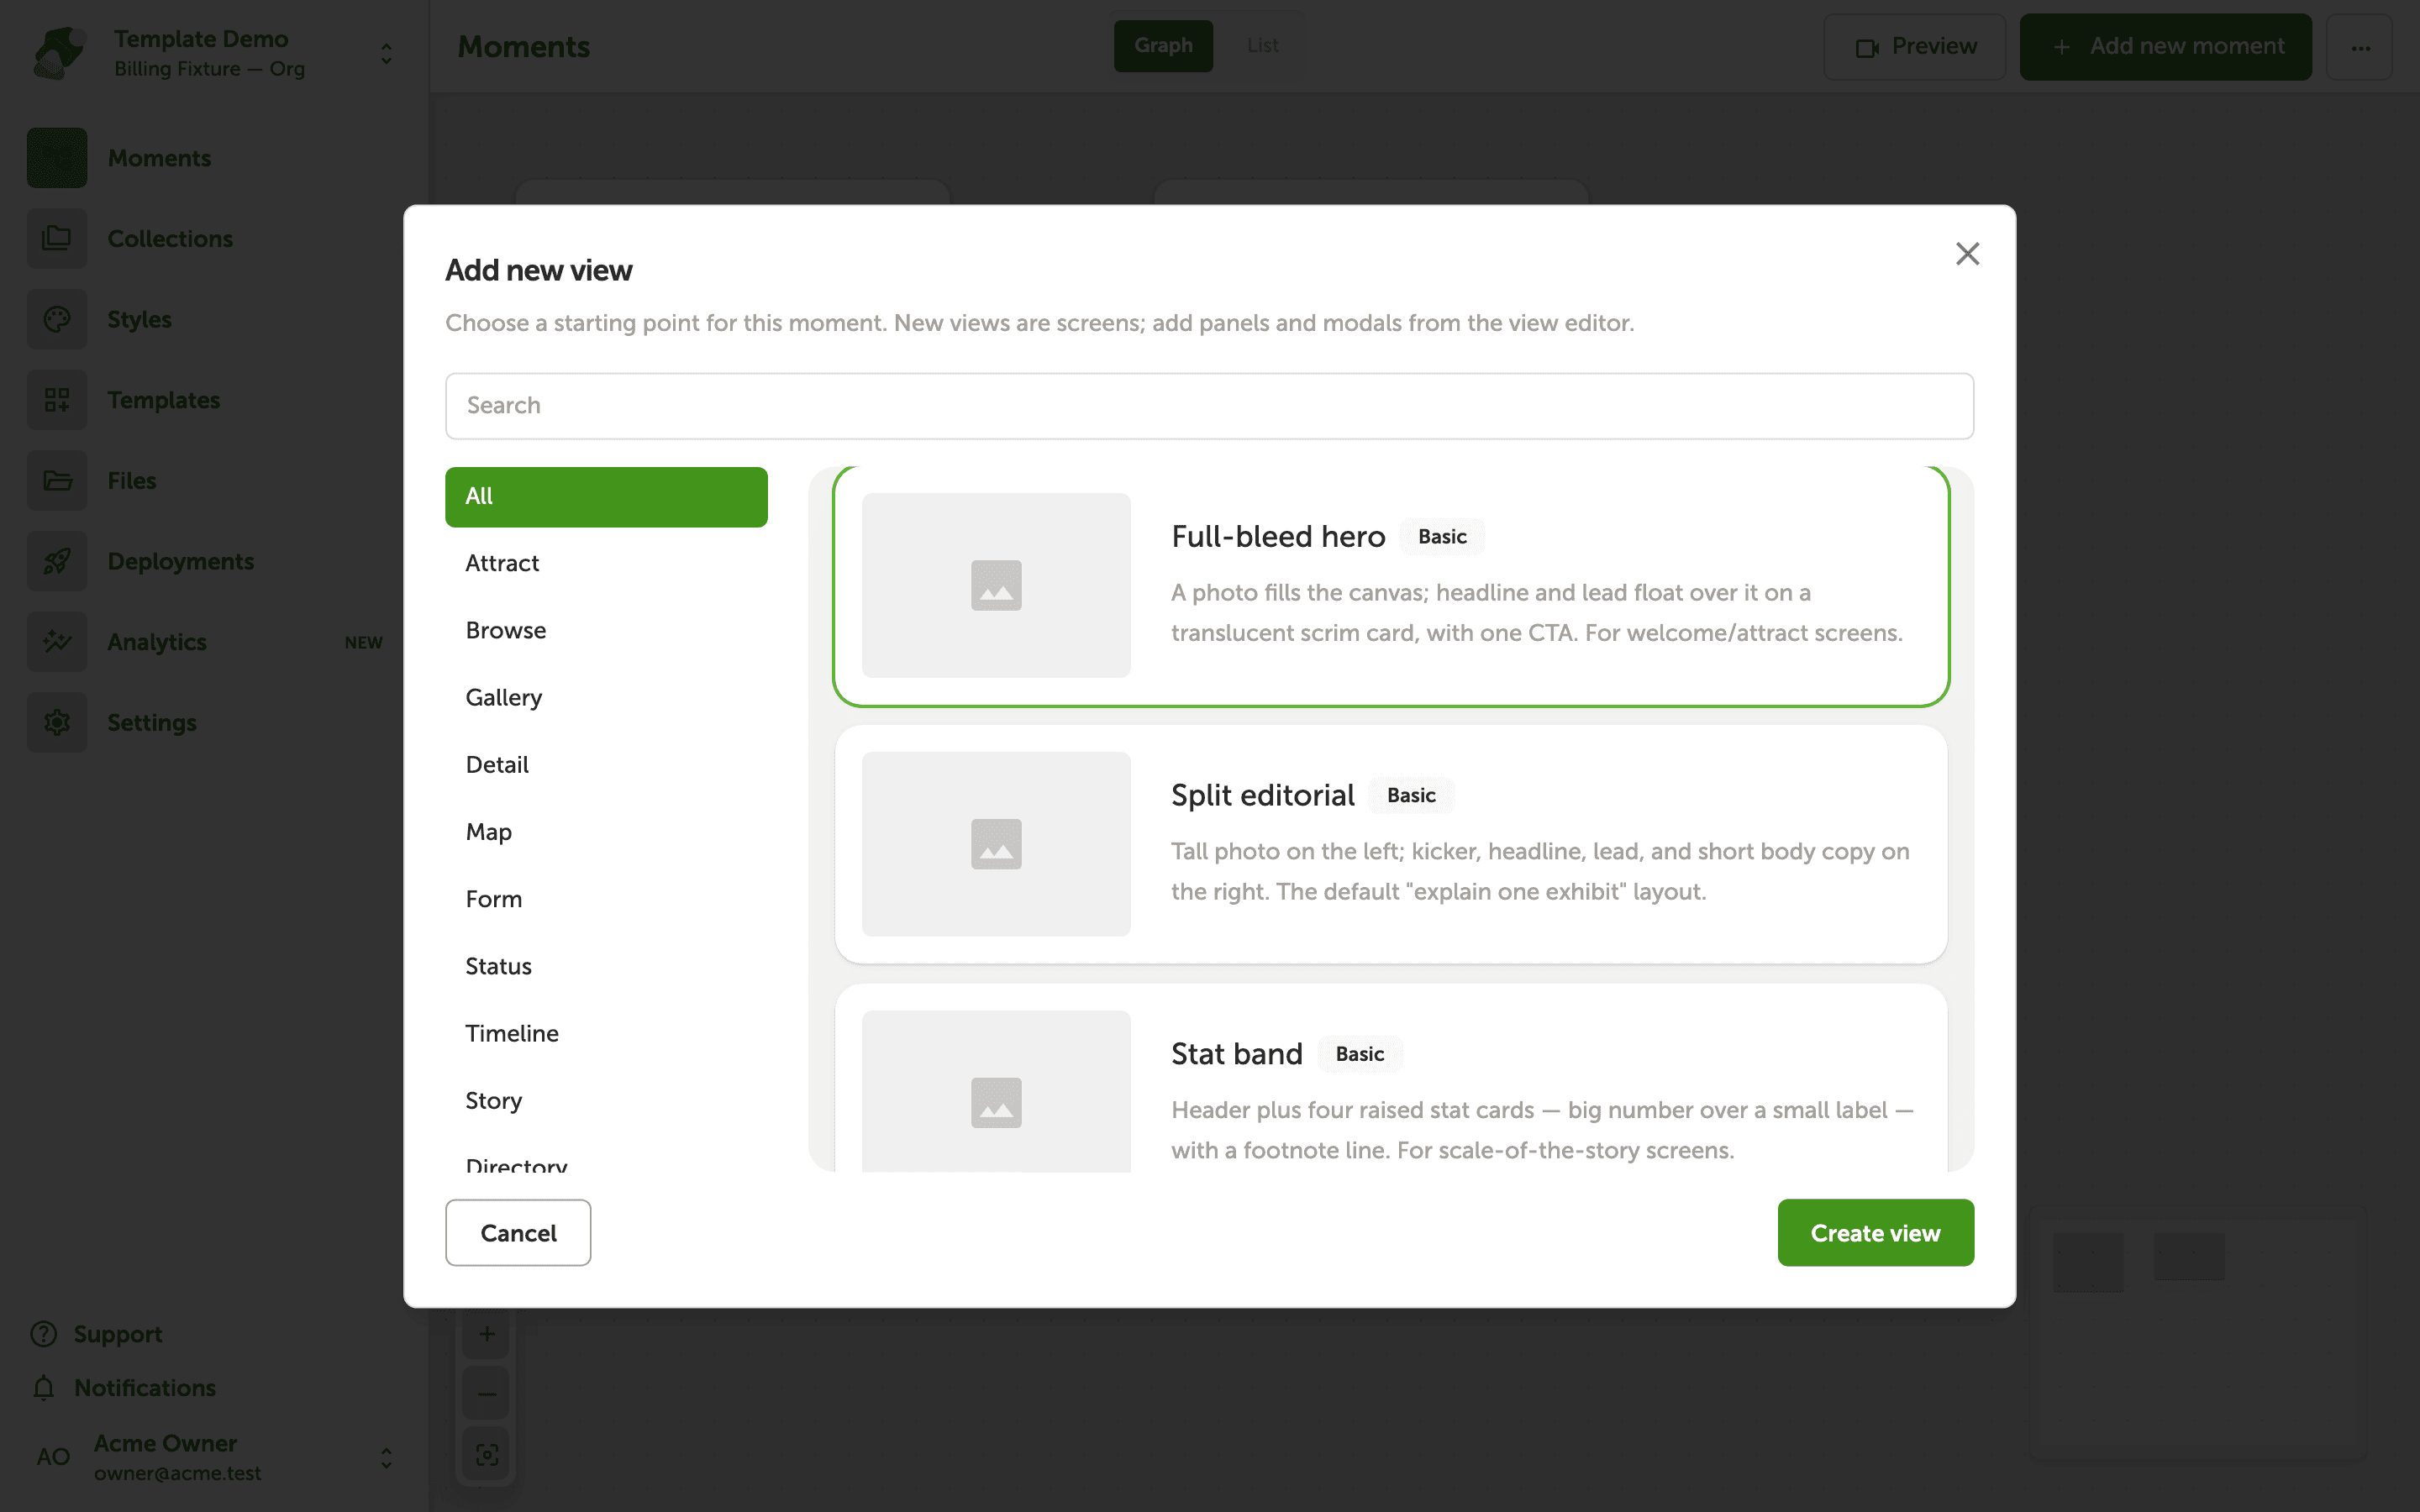
Choose a starting kit for your view
In the Add new view dialog, click the Full-bleed hero card to select it—you'll see a lime-colored ring appear around the card to confirm your choice.
Each kit gives you a ready-made arrangement of components suited to common museum experience patterns. Read the title and description against the screen you are designing for. When a kit was drawn for a different shape, Zibit scales it evenly and centers it instead of stretching the components, so you may see empty bands. Don't worry—you can rearrange, swap out, or remove any components after the view is created.
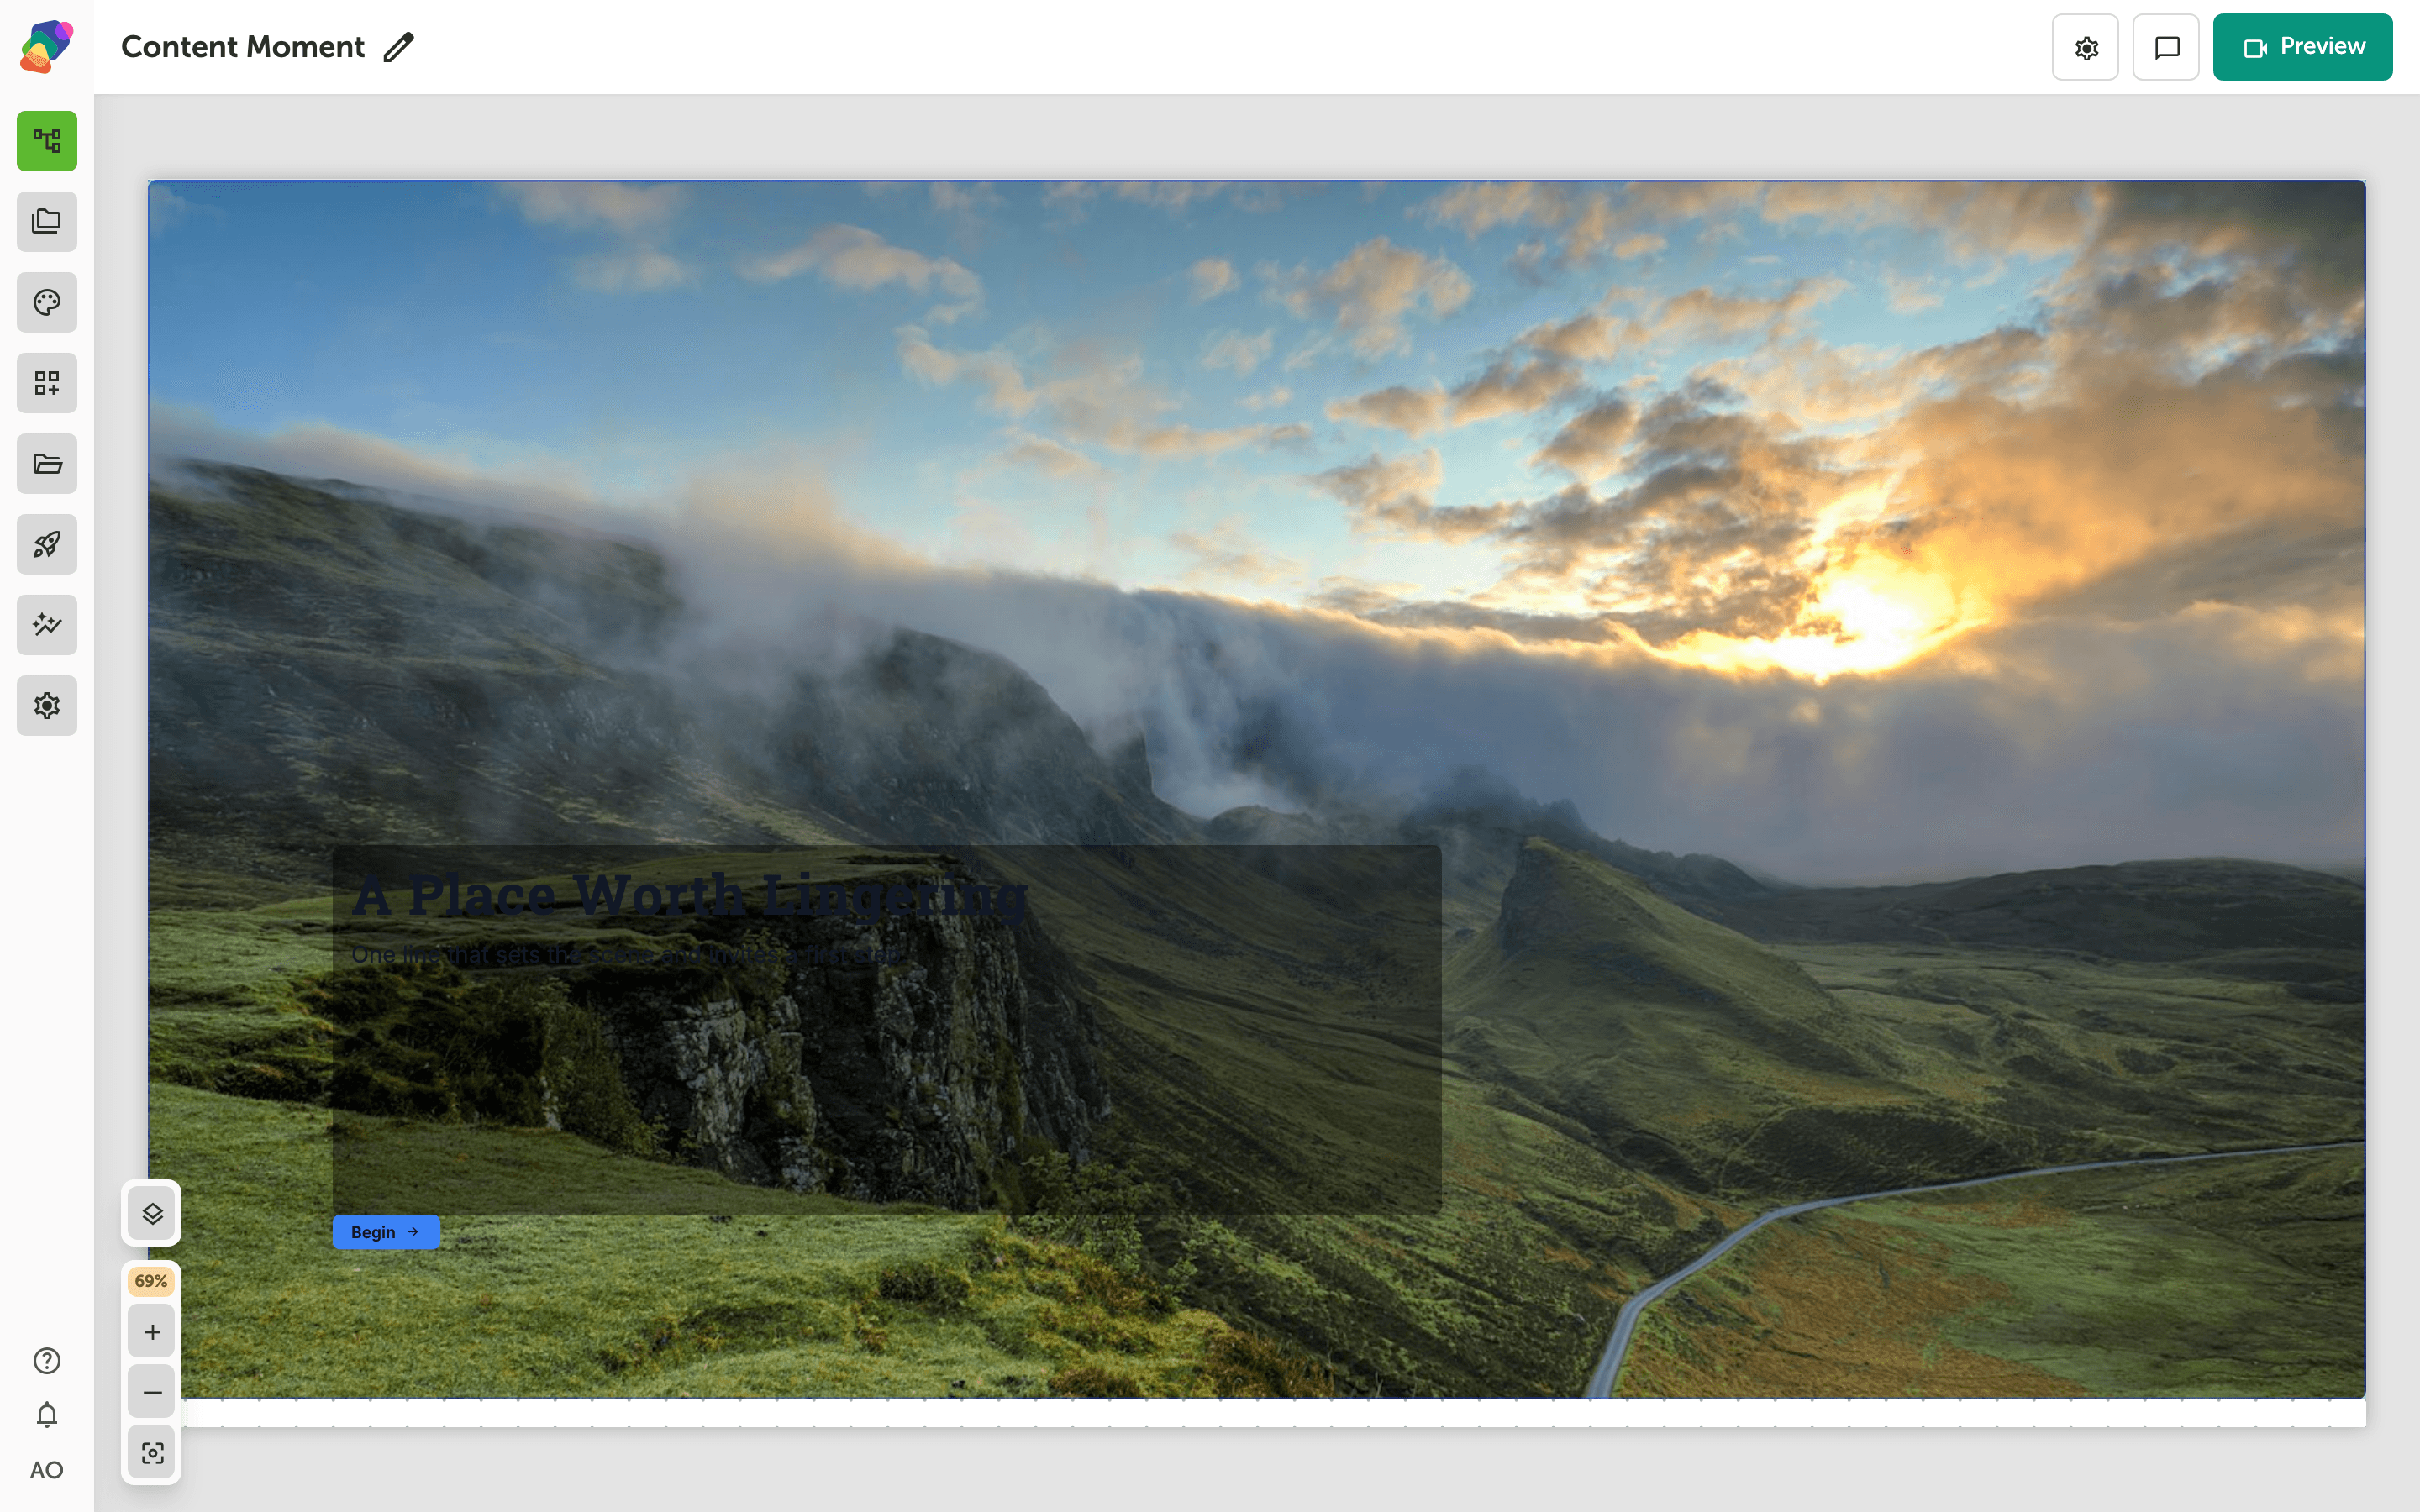
Explore Your Pre-Populated View
Your view editor is now open, and you'll notice the canvas is already populated with components from the template—including a Headline text component and a Body text component arranged on the grid. This is your starting point for customizing the experience. Everything you see here is editable, moveable, and replaceable, so there's no pressure to get it perfect right away.
Take a moment to look around the canvas. Each component on the grid represents a piece of content your visitors will see—for example, a museum exhibit title or a descriptive blurb. Click any component to select it and start exploring its settings. You can also adjust the grid layout at any time using the Grid settings control.
You've just created your first template-based view and have a canvas ready to make your own. From here, there's a lot you can do to bring your exhibit experience to life—and everything you've set up so far can be adjusted at any time.
- Choose a template for your screen—compare a kit with your display before you apply it.
- Swap out placeholder content—Replace the template's default text and images with your own by selecting each component and updating its properties in the panel on the right.
- Add or remove components—Drag new components from the component library onto the canvas, or delete any template elements that don't fit your design.
- Apply a style set—Give your view a consistent look and feel by linking a style set to your project, which controls typography, colors, and shadows across all your moments.
- Connect your view to a flow—Wire this view into your project's navigation by setting up a flow so visitors can move between moments naturally.
- Preview on your target display—Switch the display setting to match your actual screen resolution and preview how the view will look on the device in your space.