
Creating a Space
If your museum runs multiple interactive experiences — say, a gallery kiosk, a lobby welcome screen, and a traveling exhibit — keeping them organized and consistent can be a challenge. That's where Spaces come in. A Space is a shared container that lets you group related projects together and reuse the same style sets, collections, and files across all of them. Whether you're managing a single permanent installation or a suite of seasonal experiences, setting up a Space is the first step toward a more connected, efficient workflow.
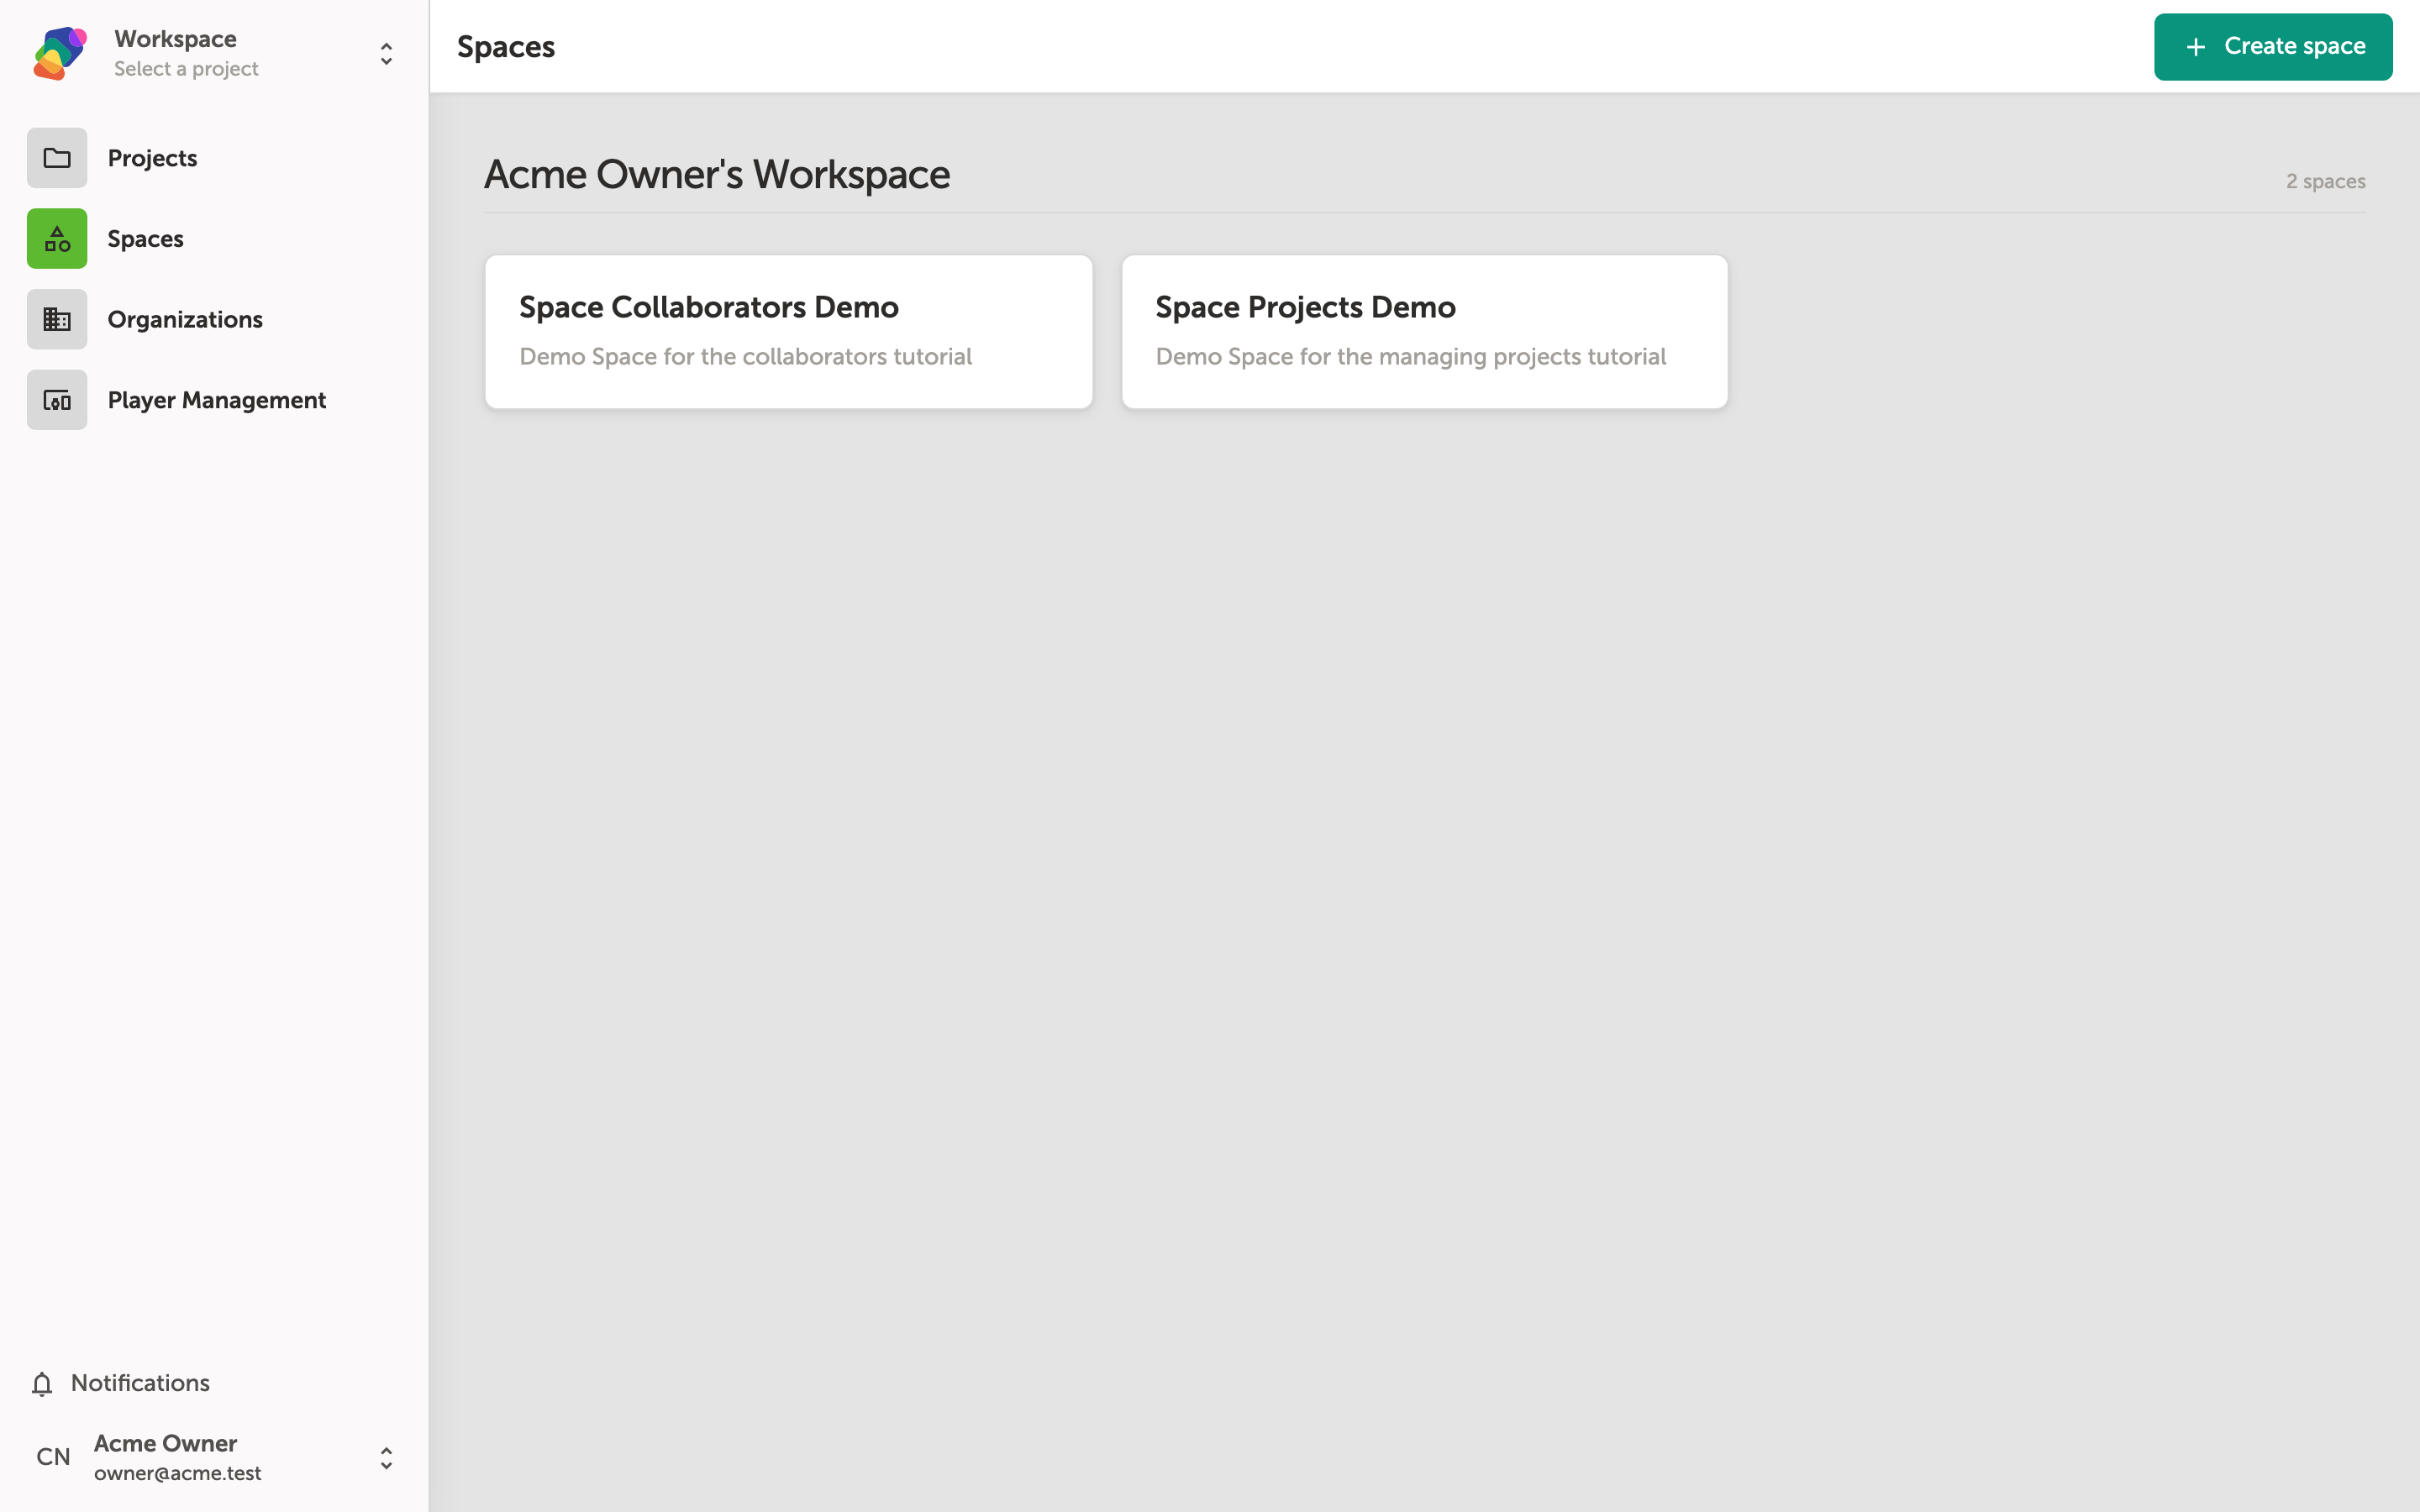
Finding Your Spaces
This is your Spaces list — the home base for all your interactive experiences. (The page heading currently reads "Exhibits" and some buttons say "Create exhibit"; these are what Zibit calls Spaces, and the label will be updated in a future release.)
If your account is new, you'll see an empty state with a "Create your first exhibit" button. If your organization already has Spaces set up, they'll appear here grouped by organization. Either way, this is where you'll start building.
Name Your New Space
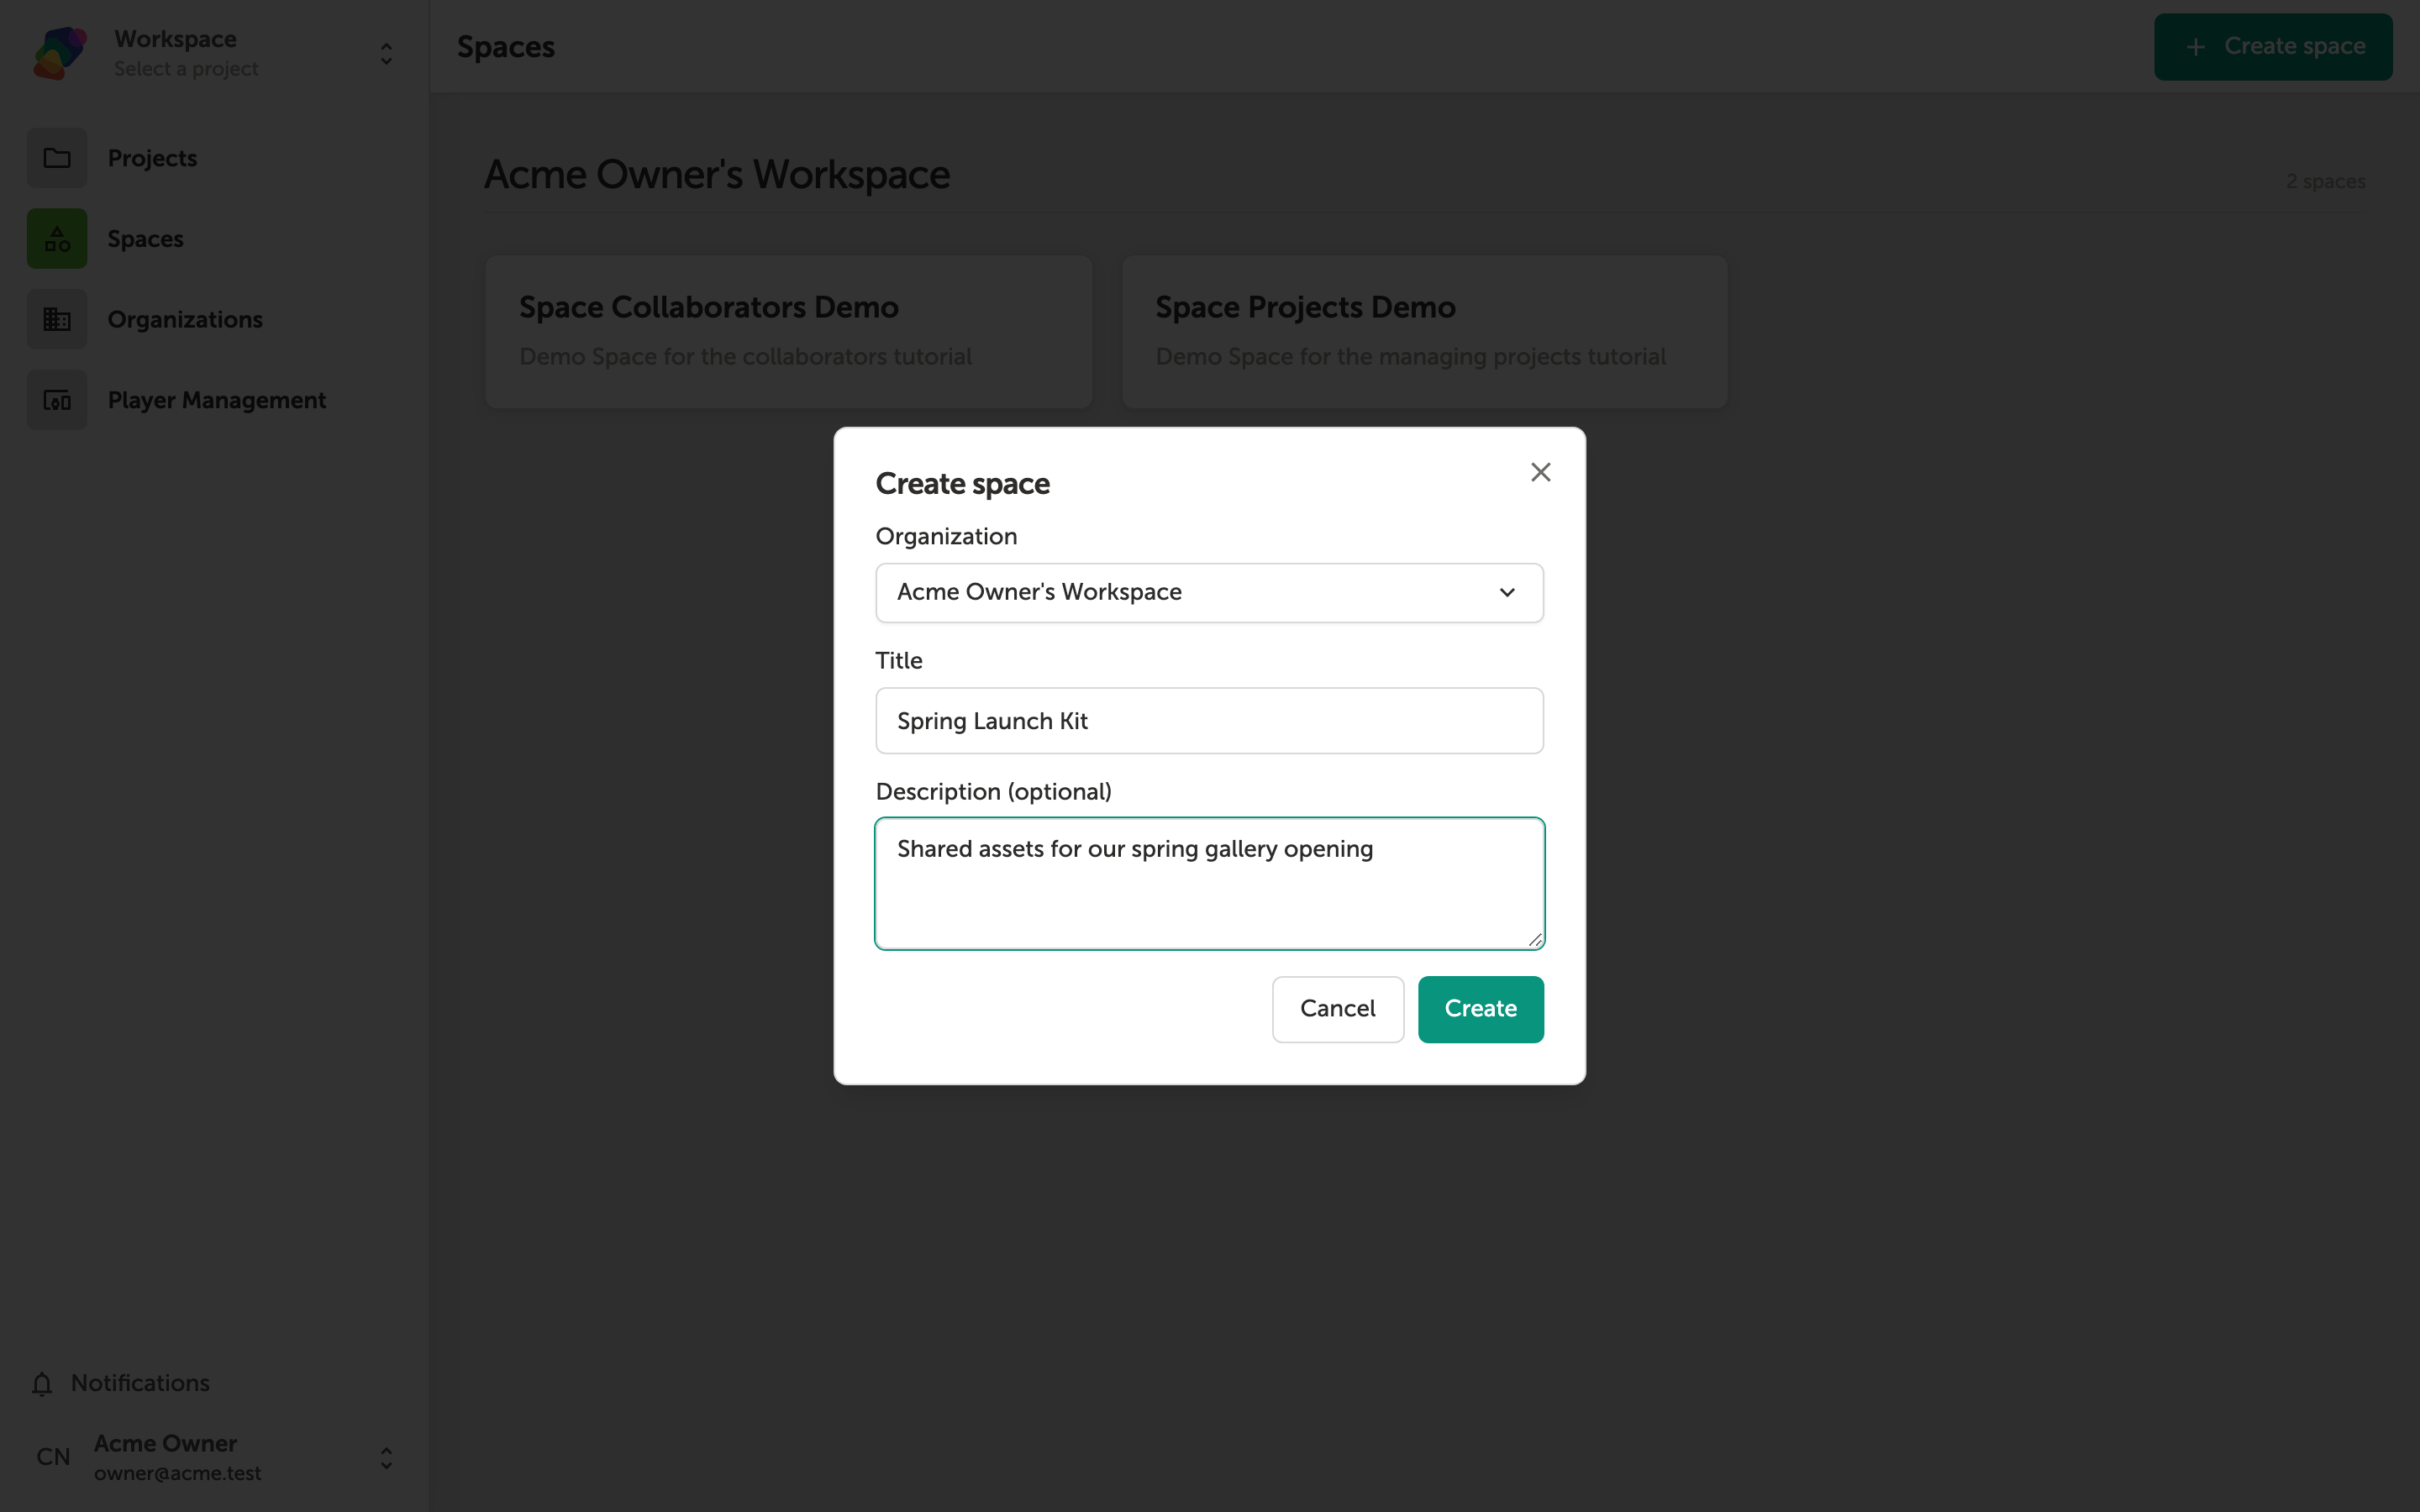
A dialog titled "Create exhibit" opens — this is what Zibit calls a Space. Give your Space a clear Title that reflects its purpose, like "Dinosaur Hall Welcome Screen" or "Gallery 4 Wayfinding." This name helps you and your team stay organized, especially as your project list grows.
Under Organization, confirm the correct workspace is selected — this determines who has access to the Space. You can also add a Description (optional) to note things like the intended display location or audience. Don't worry about getting everything perfect now; you can update these details later.
Adding Projects to Your Space
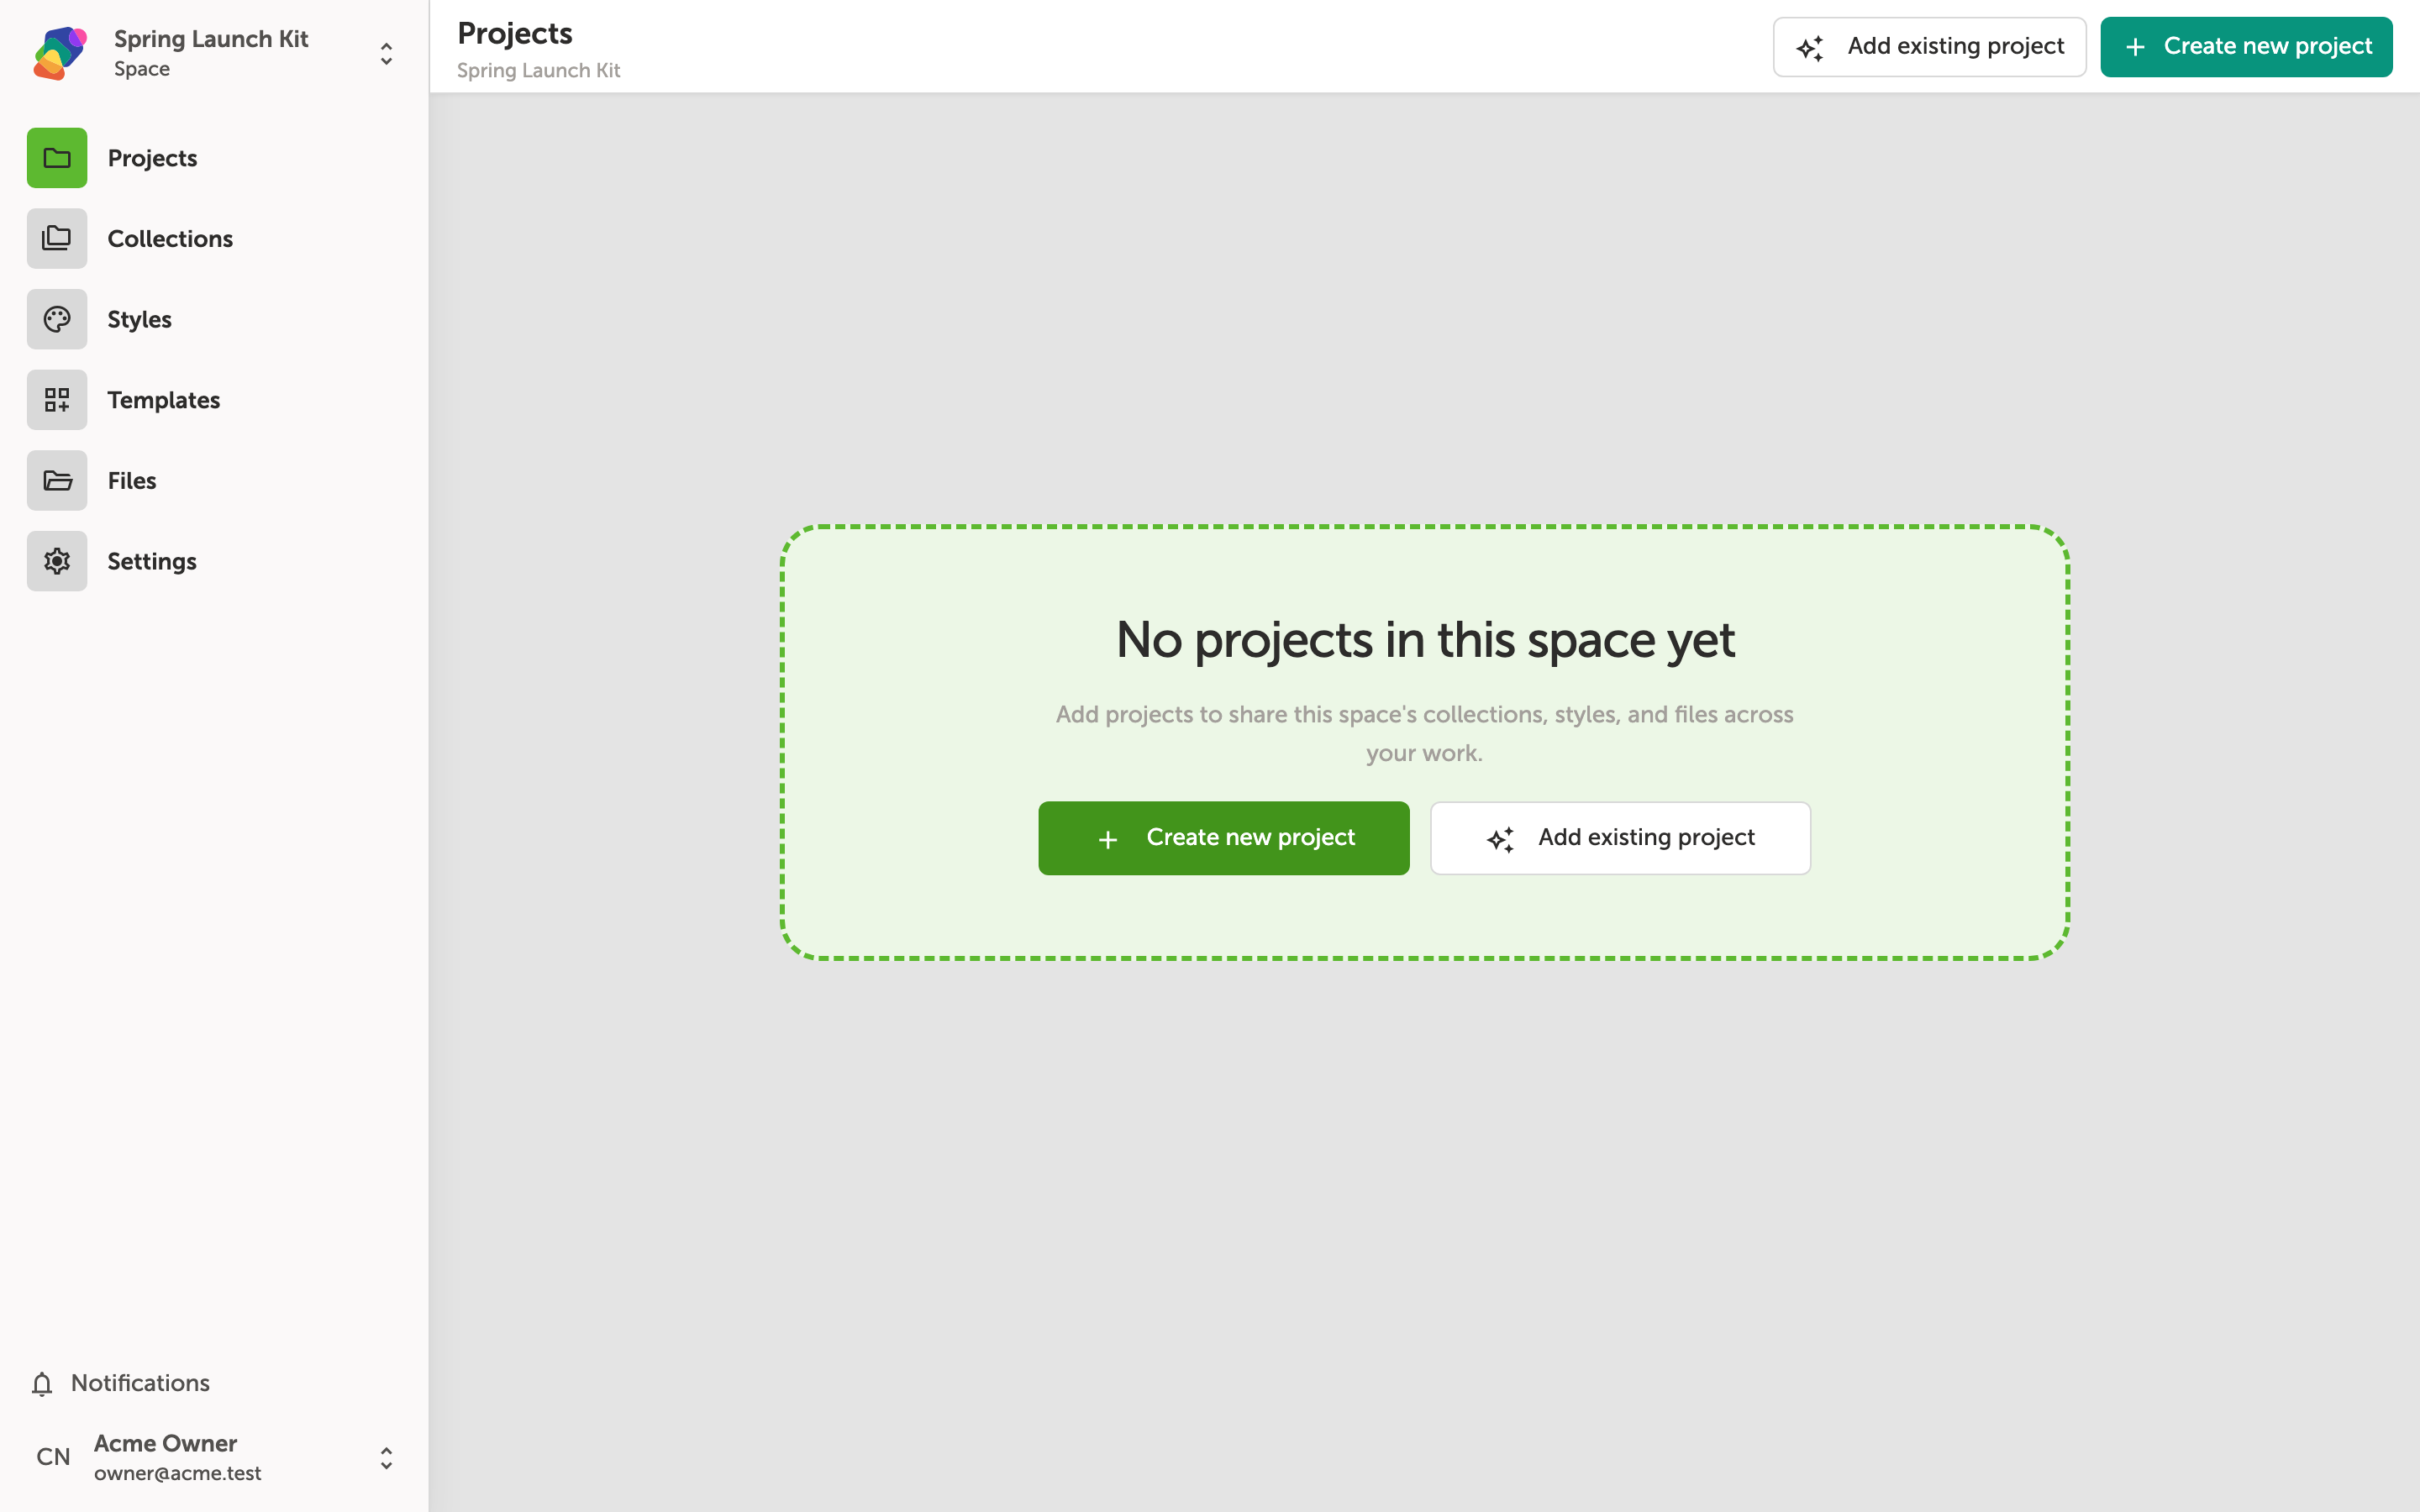
Your new Space is open and ready to go — you're on the Projects tab, which is the home for everything you build here. Right now it's empty, but you can either link projects you've already made by clicking "Add existing", or start fresh with "Create project".
Projects inside a Space automatically share collections, style sets, and files with each other, so your branding and content stay consistent across every experience — whether you're building a welcome kiosk, an interactive gallery wall, or a self-guided tour. Don't worry if you're not sure which projects belong here yet; you can add or remove them at any time.
You've created your Space and it's ready to grow. From here, there's a lot you can do to make the most of your new setup — and everything you configure now can be updated at any time.
- Invite your team: Add collaborators to your Space so curators, designers, and educators can work on projects together.
- Set up a style set: Define shared typography, colors, and shadows at the Space level so every project stays on-brand without extra effort.
- Create a collection: Build a reusable data set — like artifact records or event listings — that any project in your Space can pull from.
- Upload shared files: Add images, videos, or audio to your Space library so assets are available across all your projects in one place.
- Start your first project: Jump into the Projects tab and create your first interactive experience — your Space is ready to support it.