
Deleting a Project
This tutorial walks you through deleting a project from your My Projects dashboard. By the end, you'll have permanently removed the project and all its moments, views, and components from Zibit—and you'll understand the confirmation step that keeps accidental deletions from happening.
The My Projects dashboard and your project cards
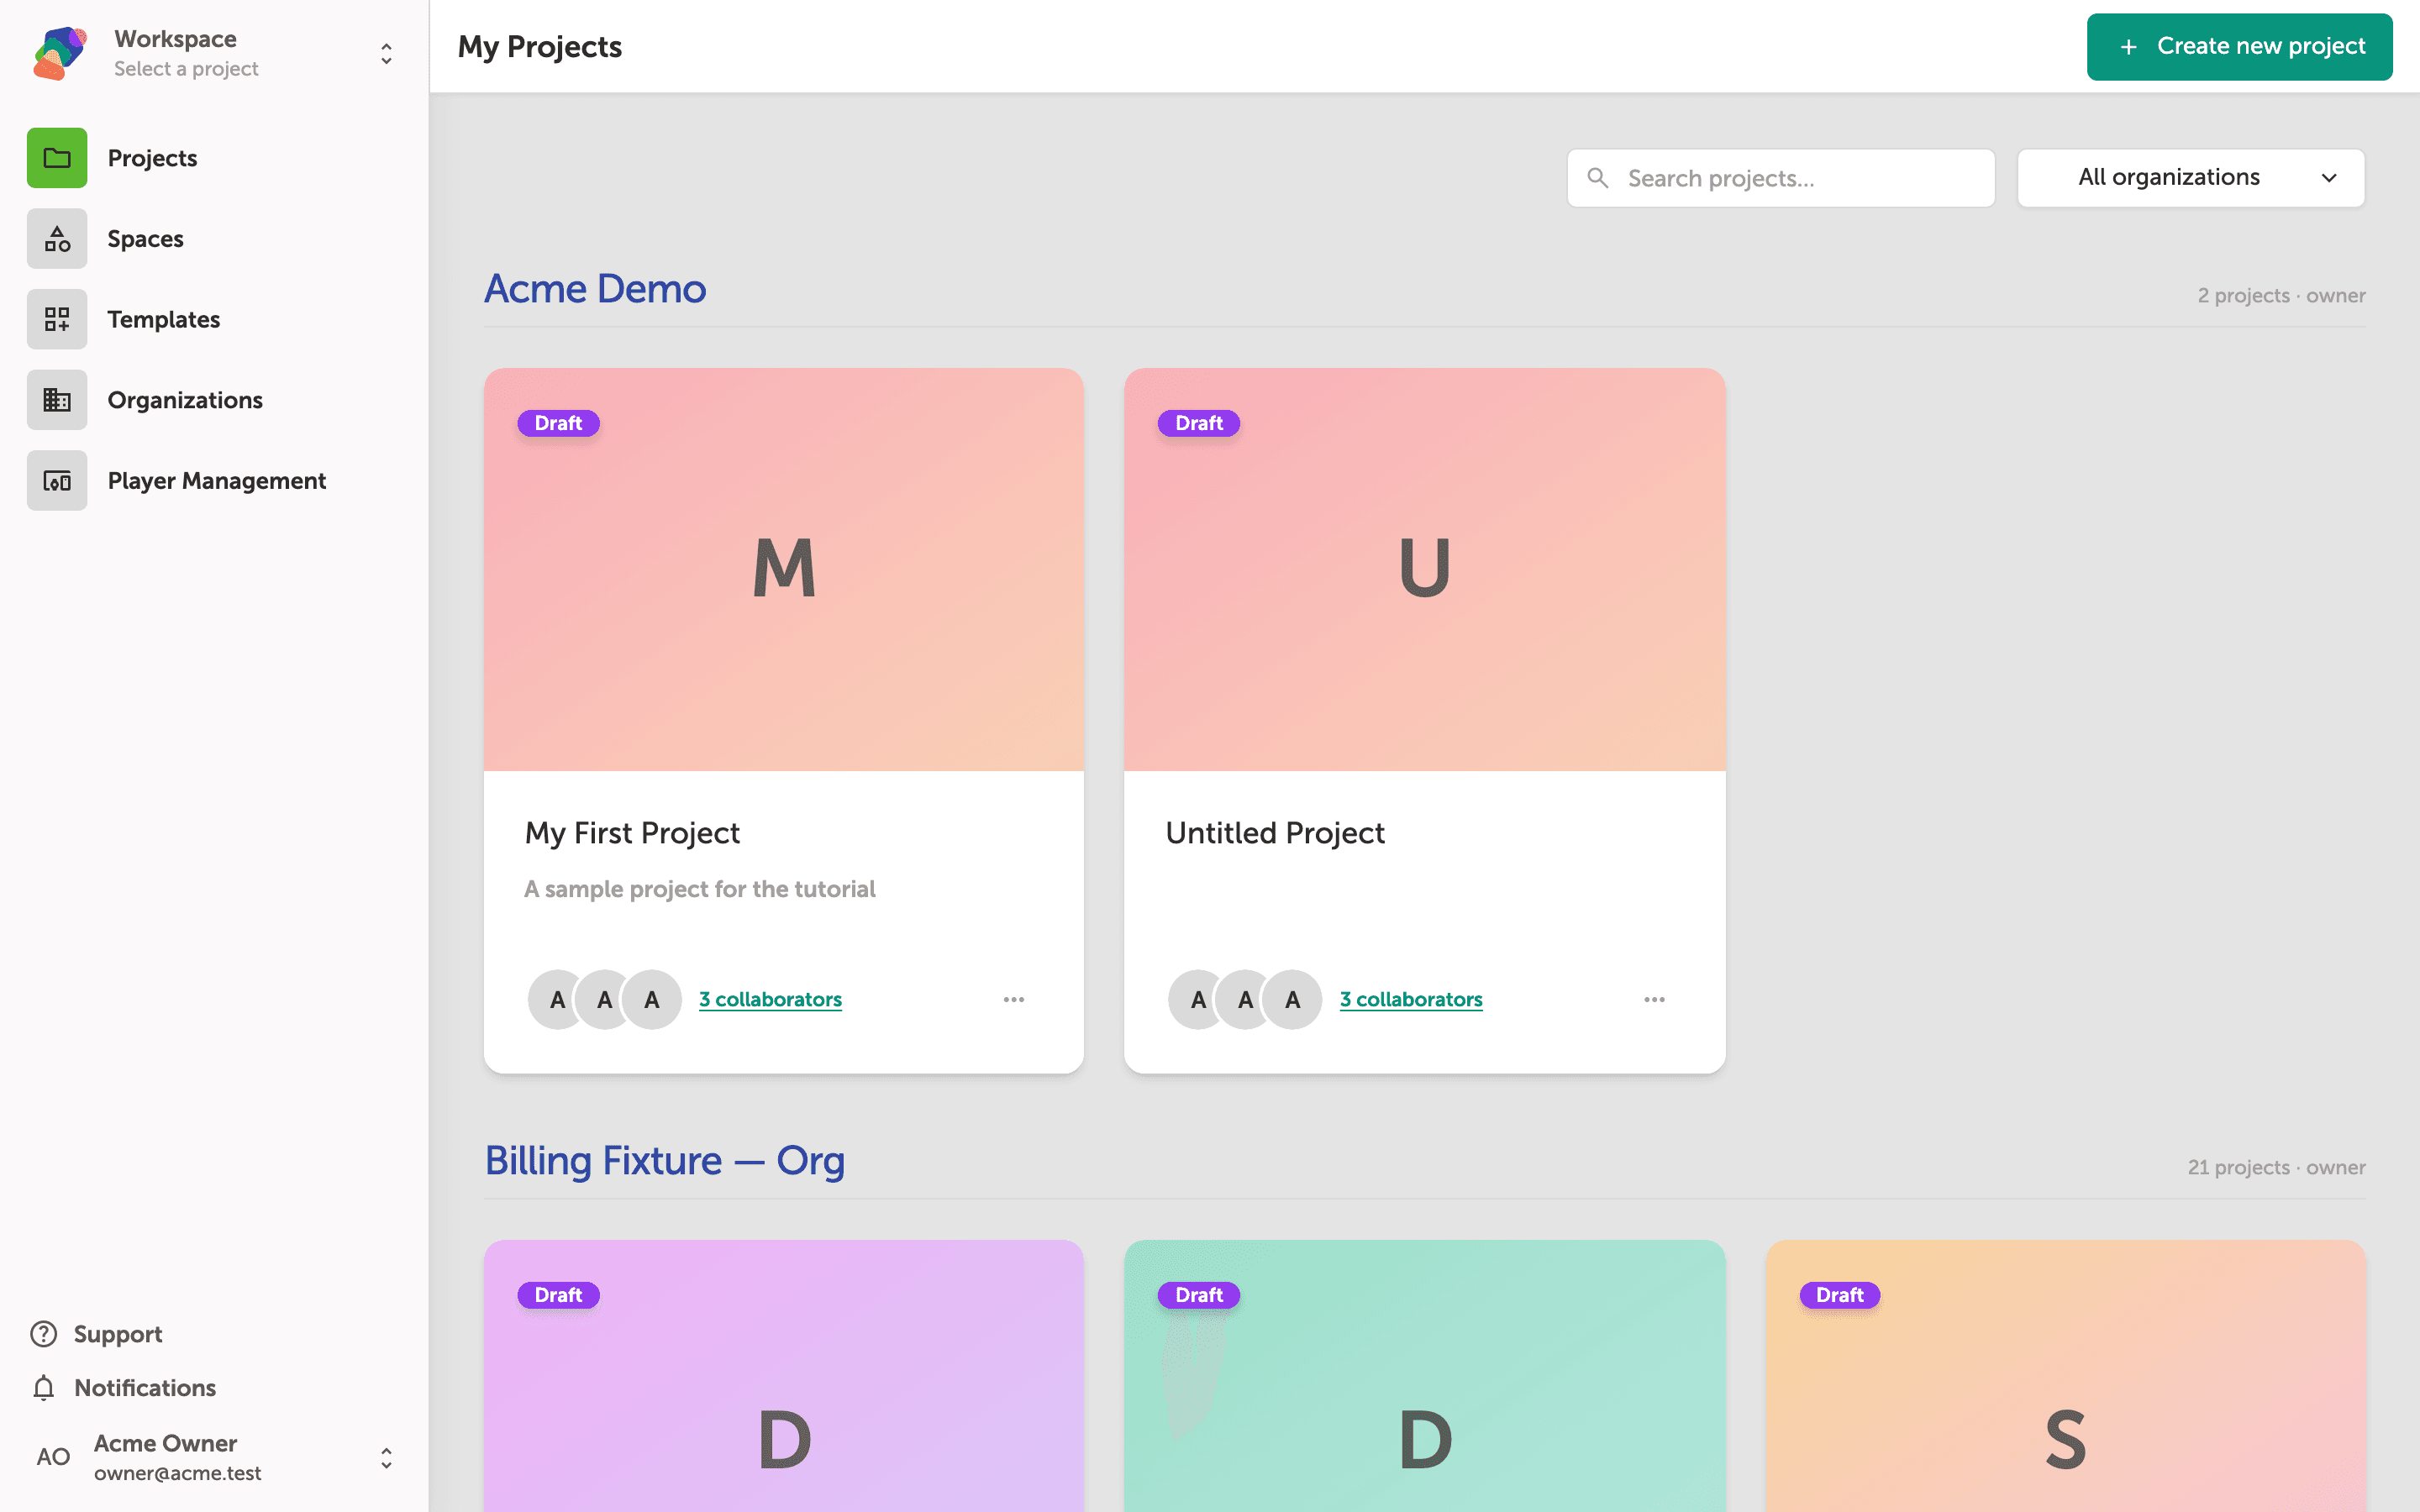
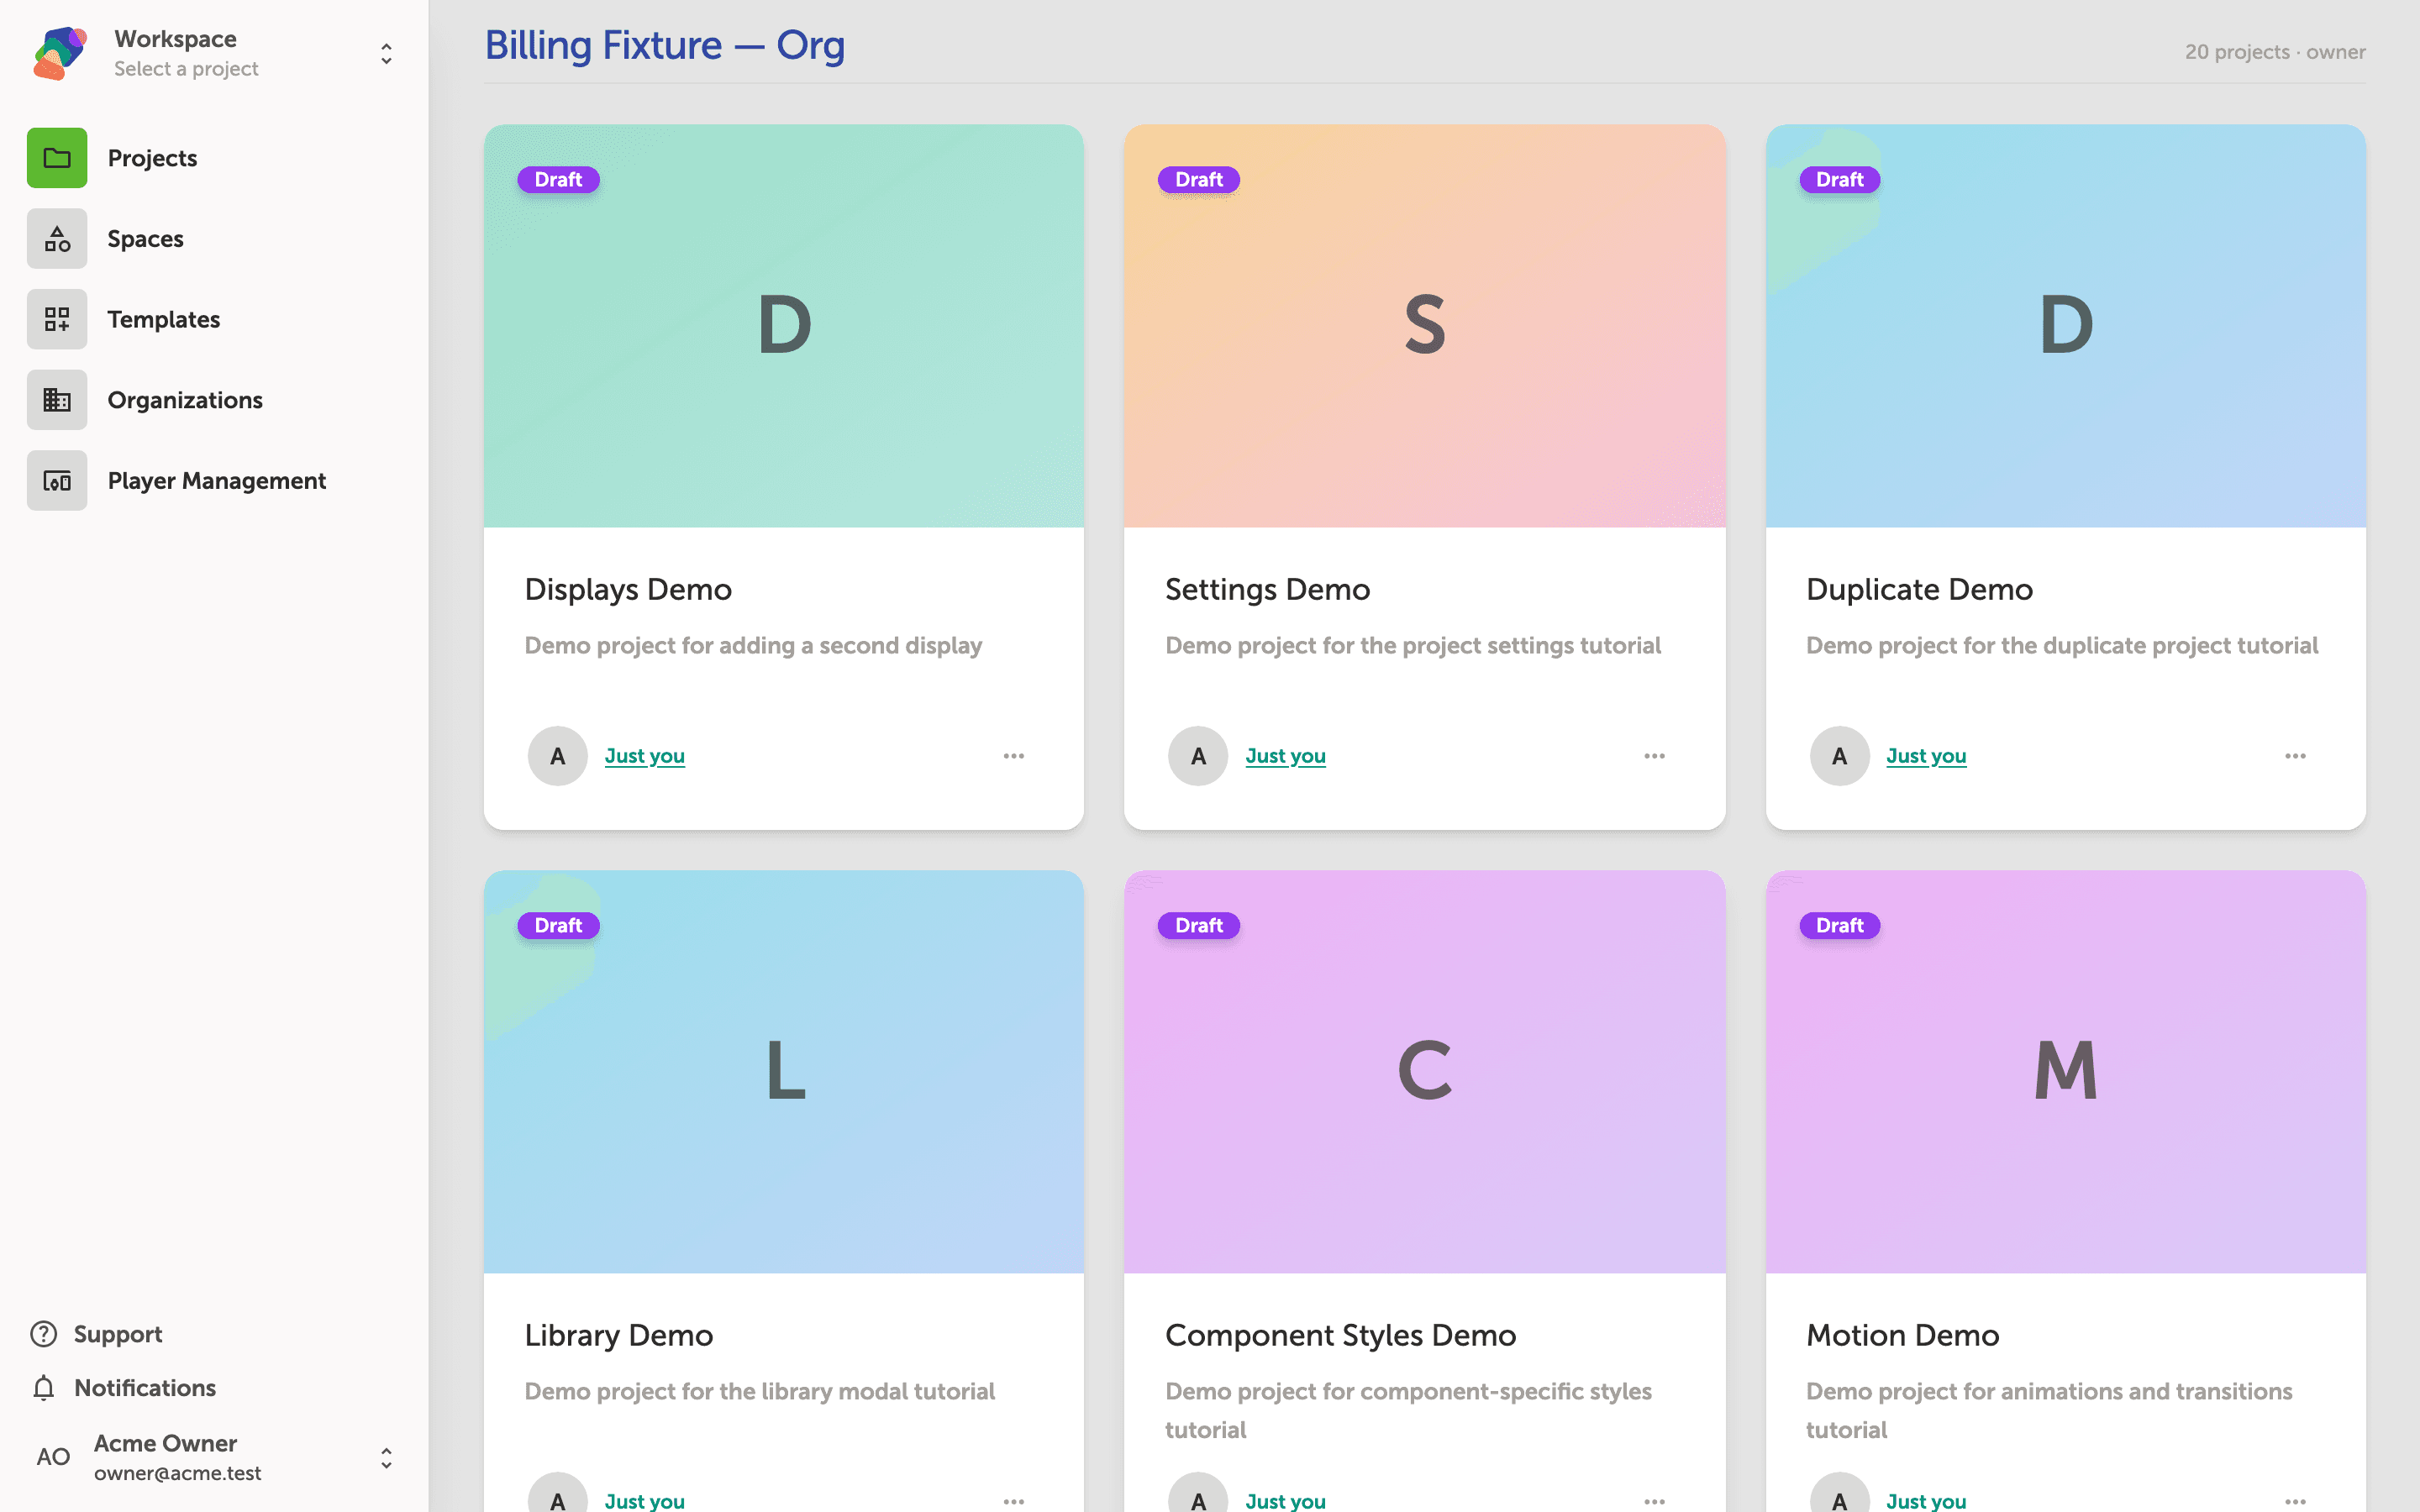
The My Projects dashboard shows all the projects you own or collaborate on, grouped by space. Each project appears as a card with its name, status badge, and collaborator list.
To start deleting a project, locate the card you want to remove and click the more_horiz (three-dot) button in its lower-right corner. This opens the project actions menu for that card.
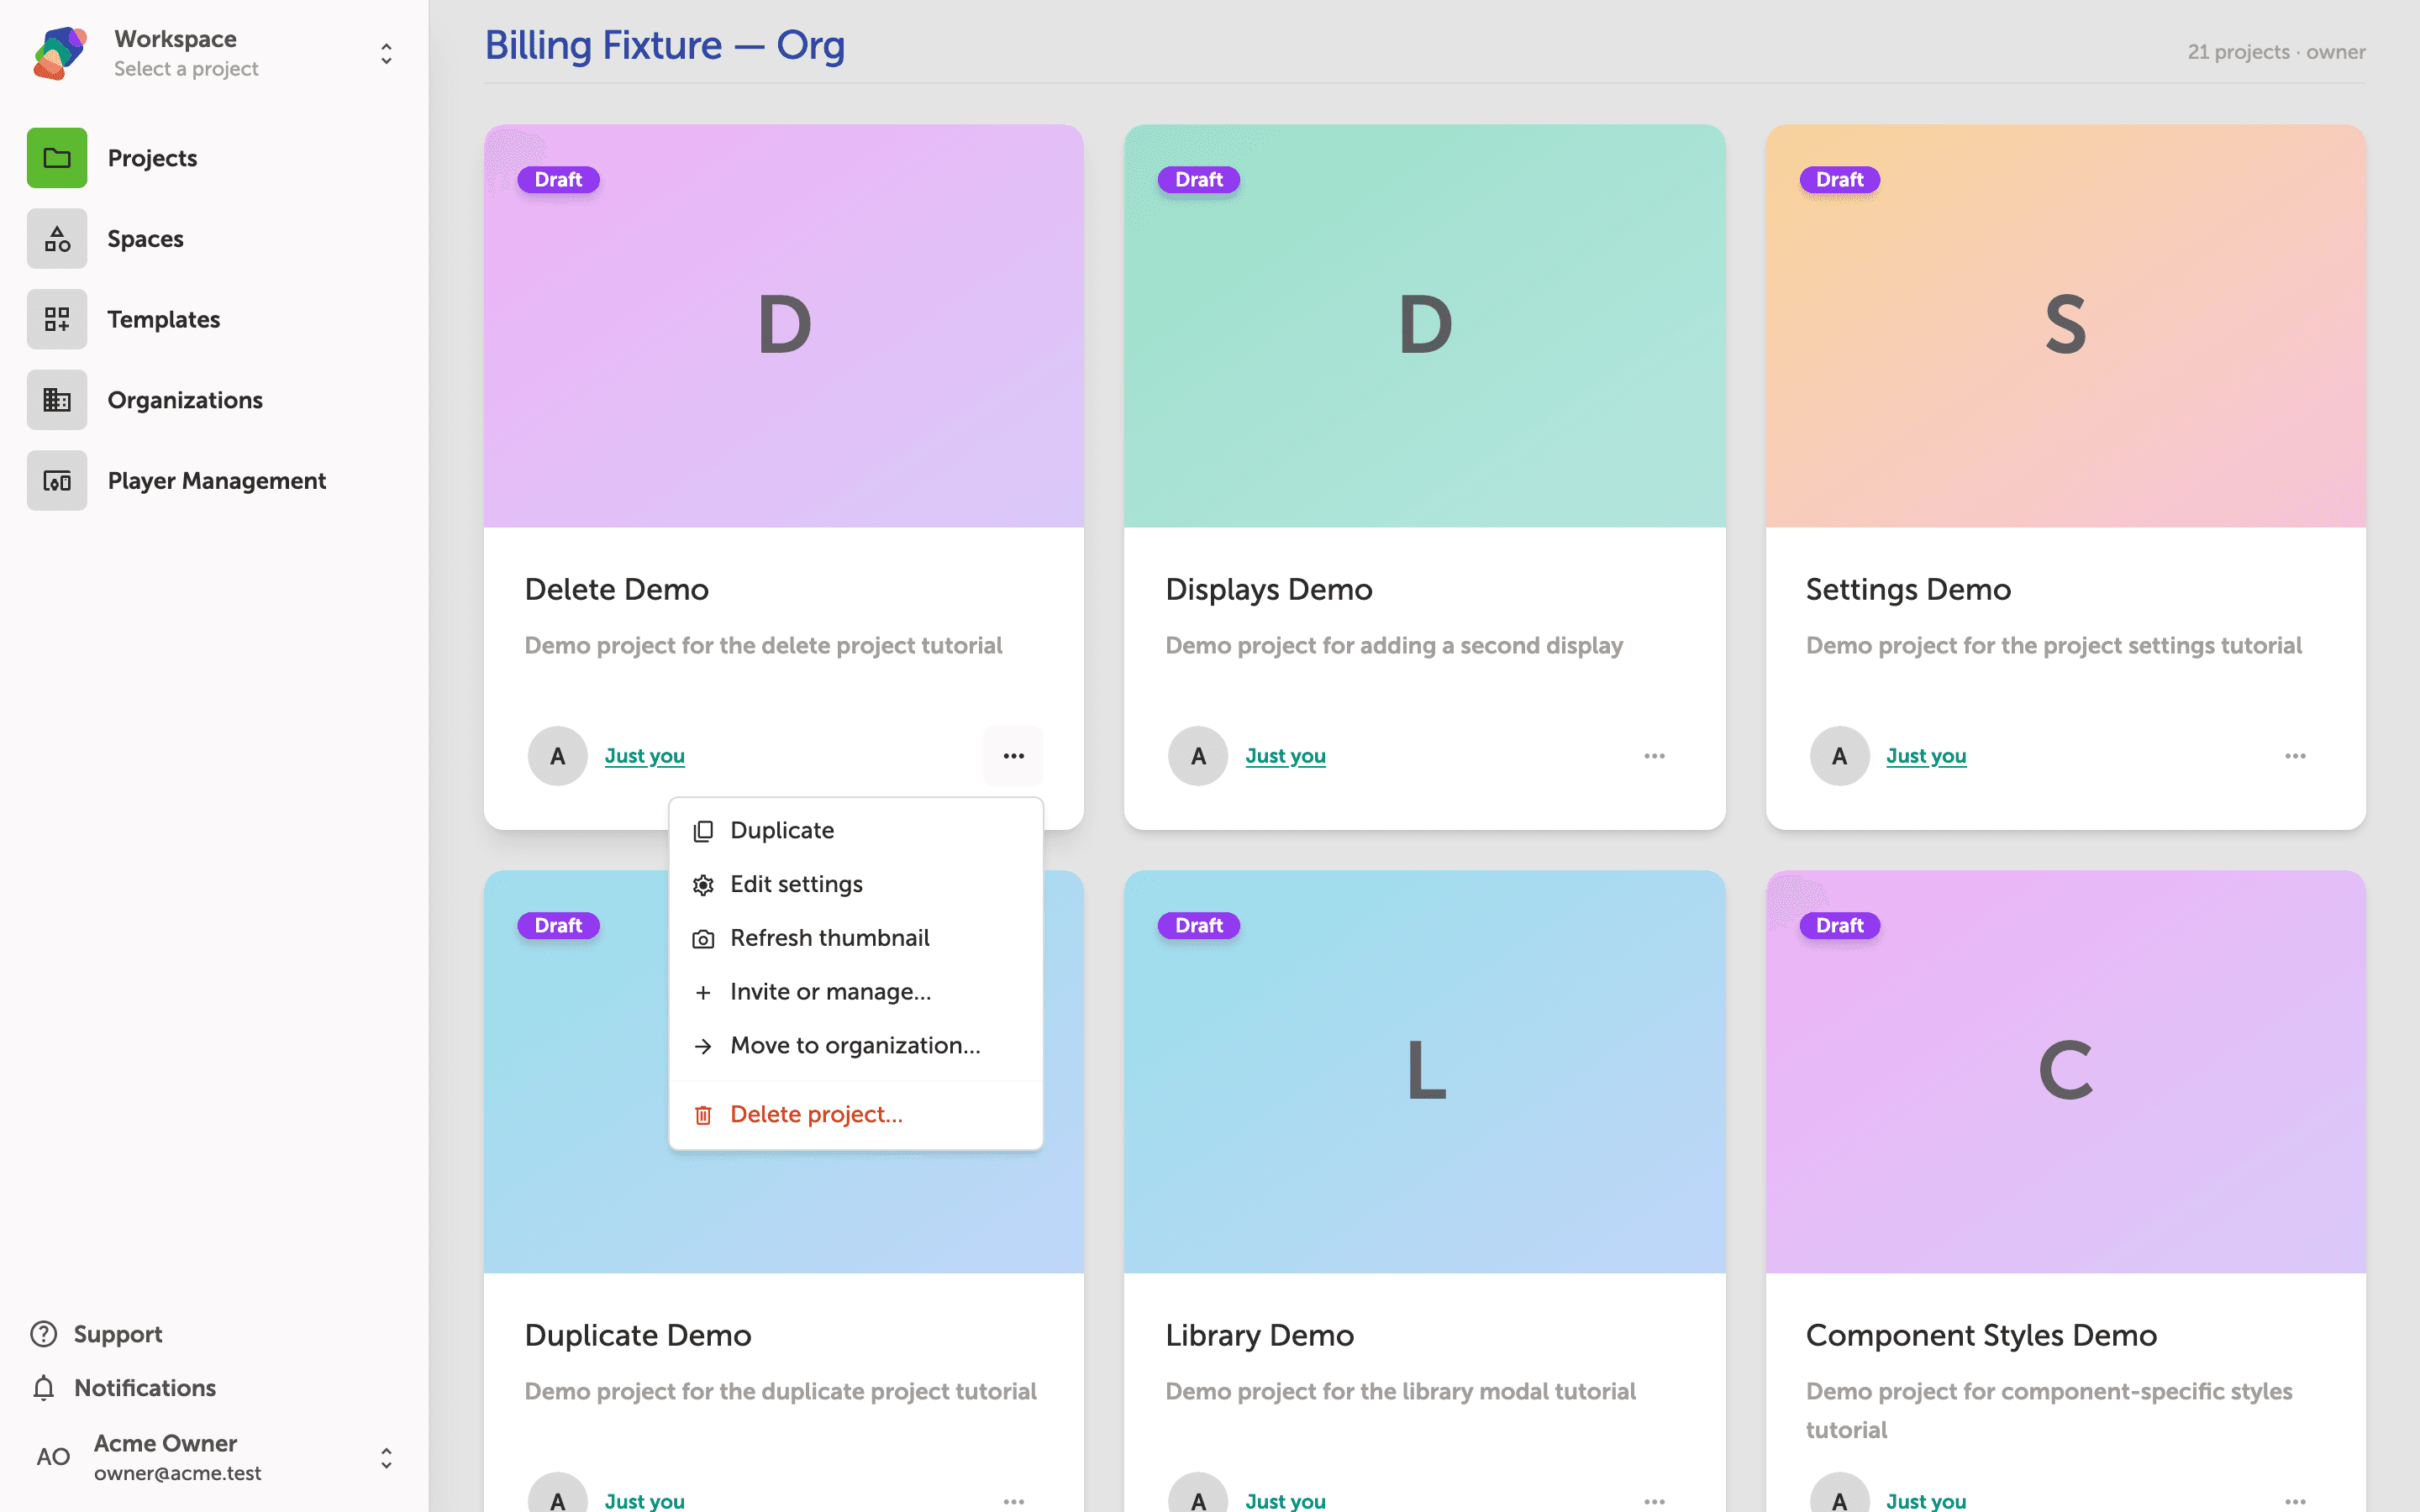
Opening the project card actions menu
Click the more_horiz (three-dot) button on any project card to open its actions menu. You'll see options including Duplicate, Edit settings, Refresh thumbnail, Invite or manage..., Move to organization..., and Delete project....
To begin removing a project, select Delete project... from this menu. This opens a confirmation dialog—covered in the next step.
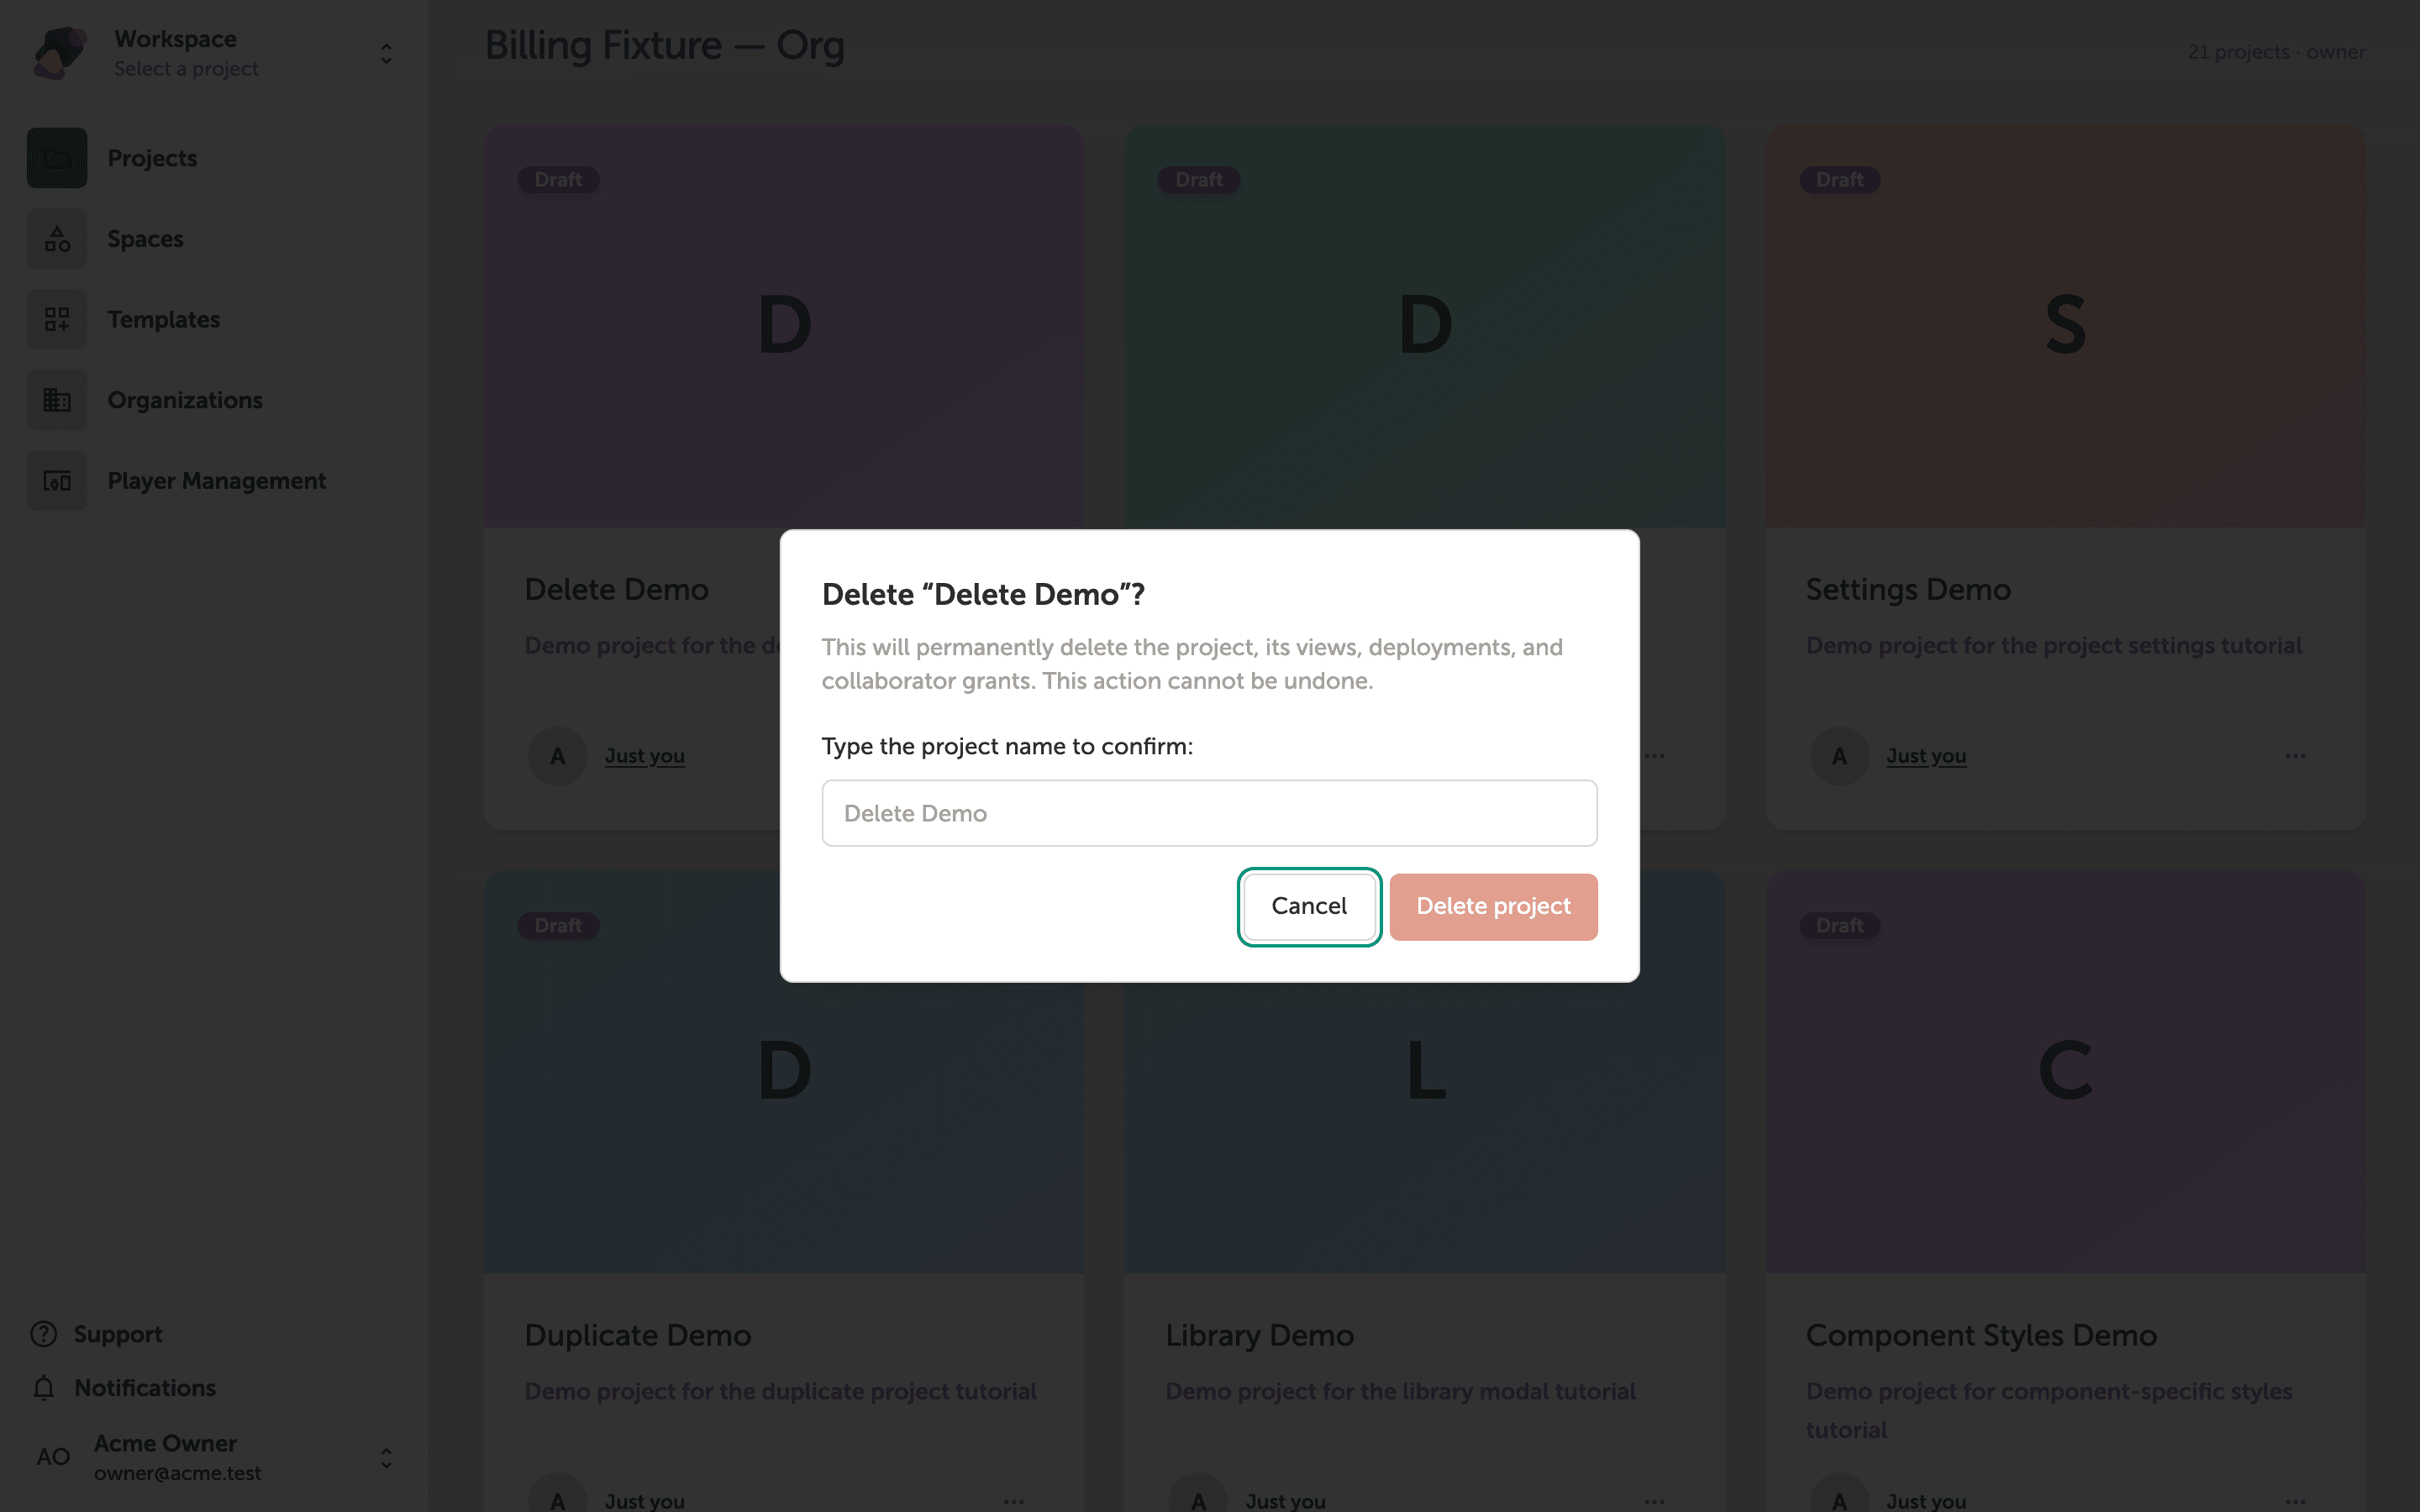
Confirming the deletion by typing the project name
The Delete "Delete Demo"? dialog warns you that this will permanently delete the project, its views, deployments, and collaborator grants. This action cannot be undone.
To confirm, type the project name exactly as shown into the text field—in this case, Delete Demo. The Delete project button becomes active only once your entry matches exactly. If you've changed your mind, click Cancel to close the dialog and return to your workspace with no changes made.
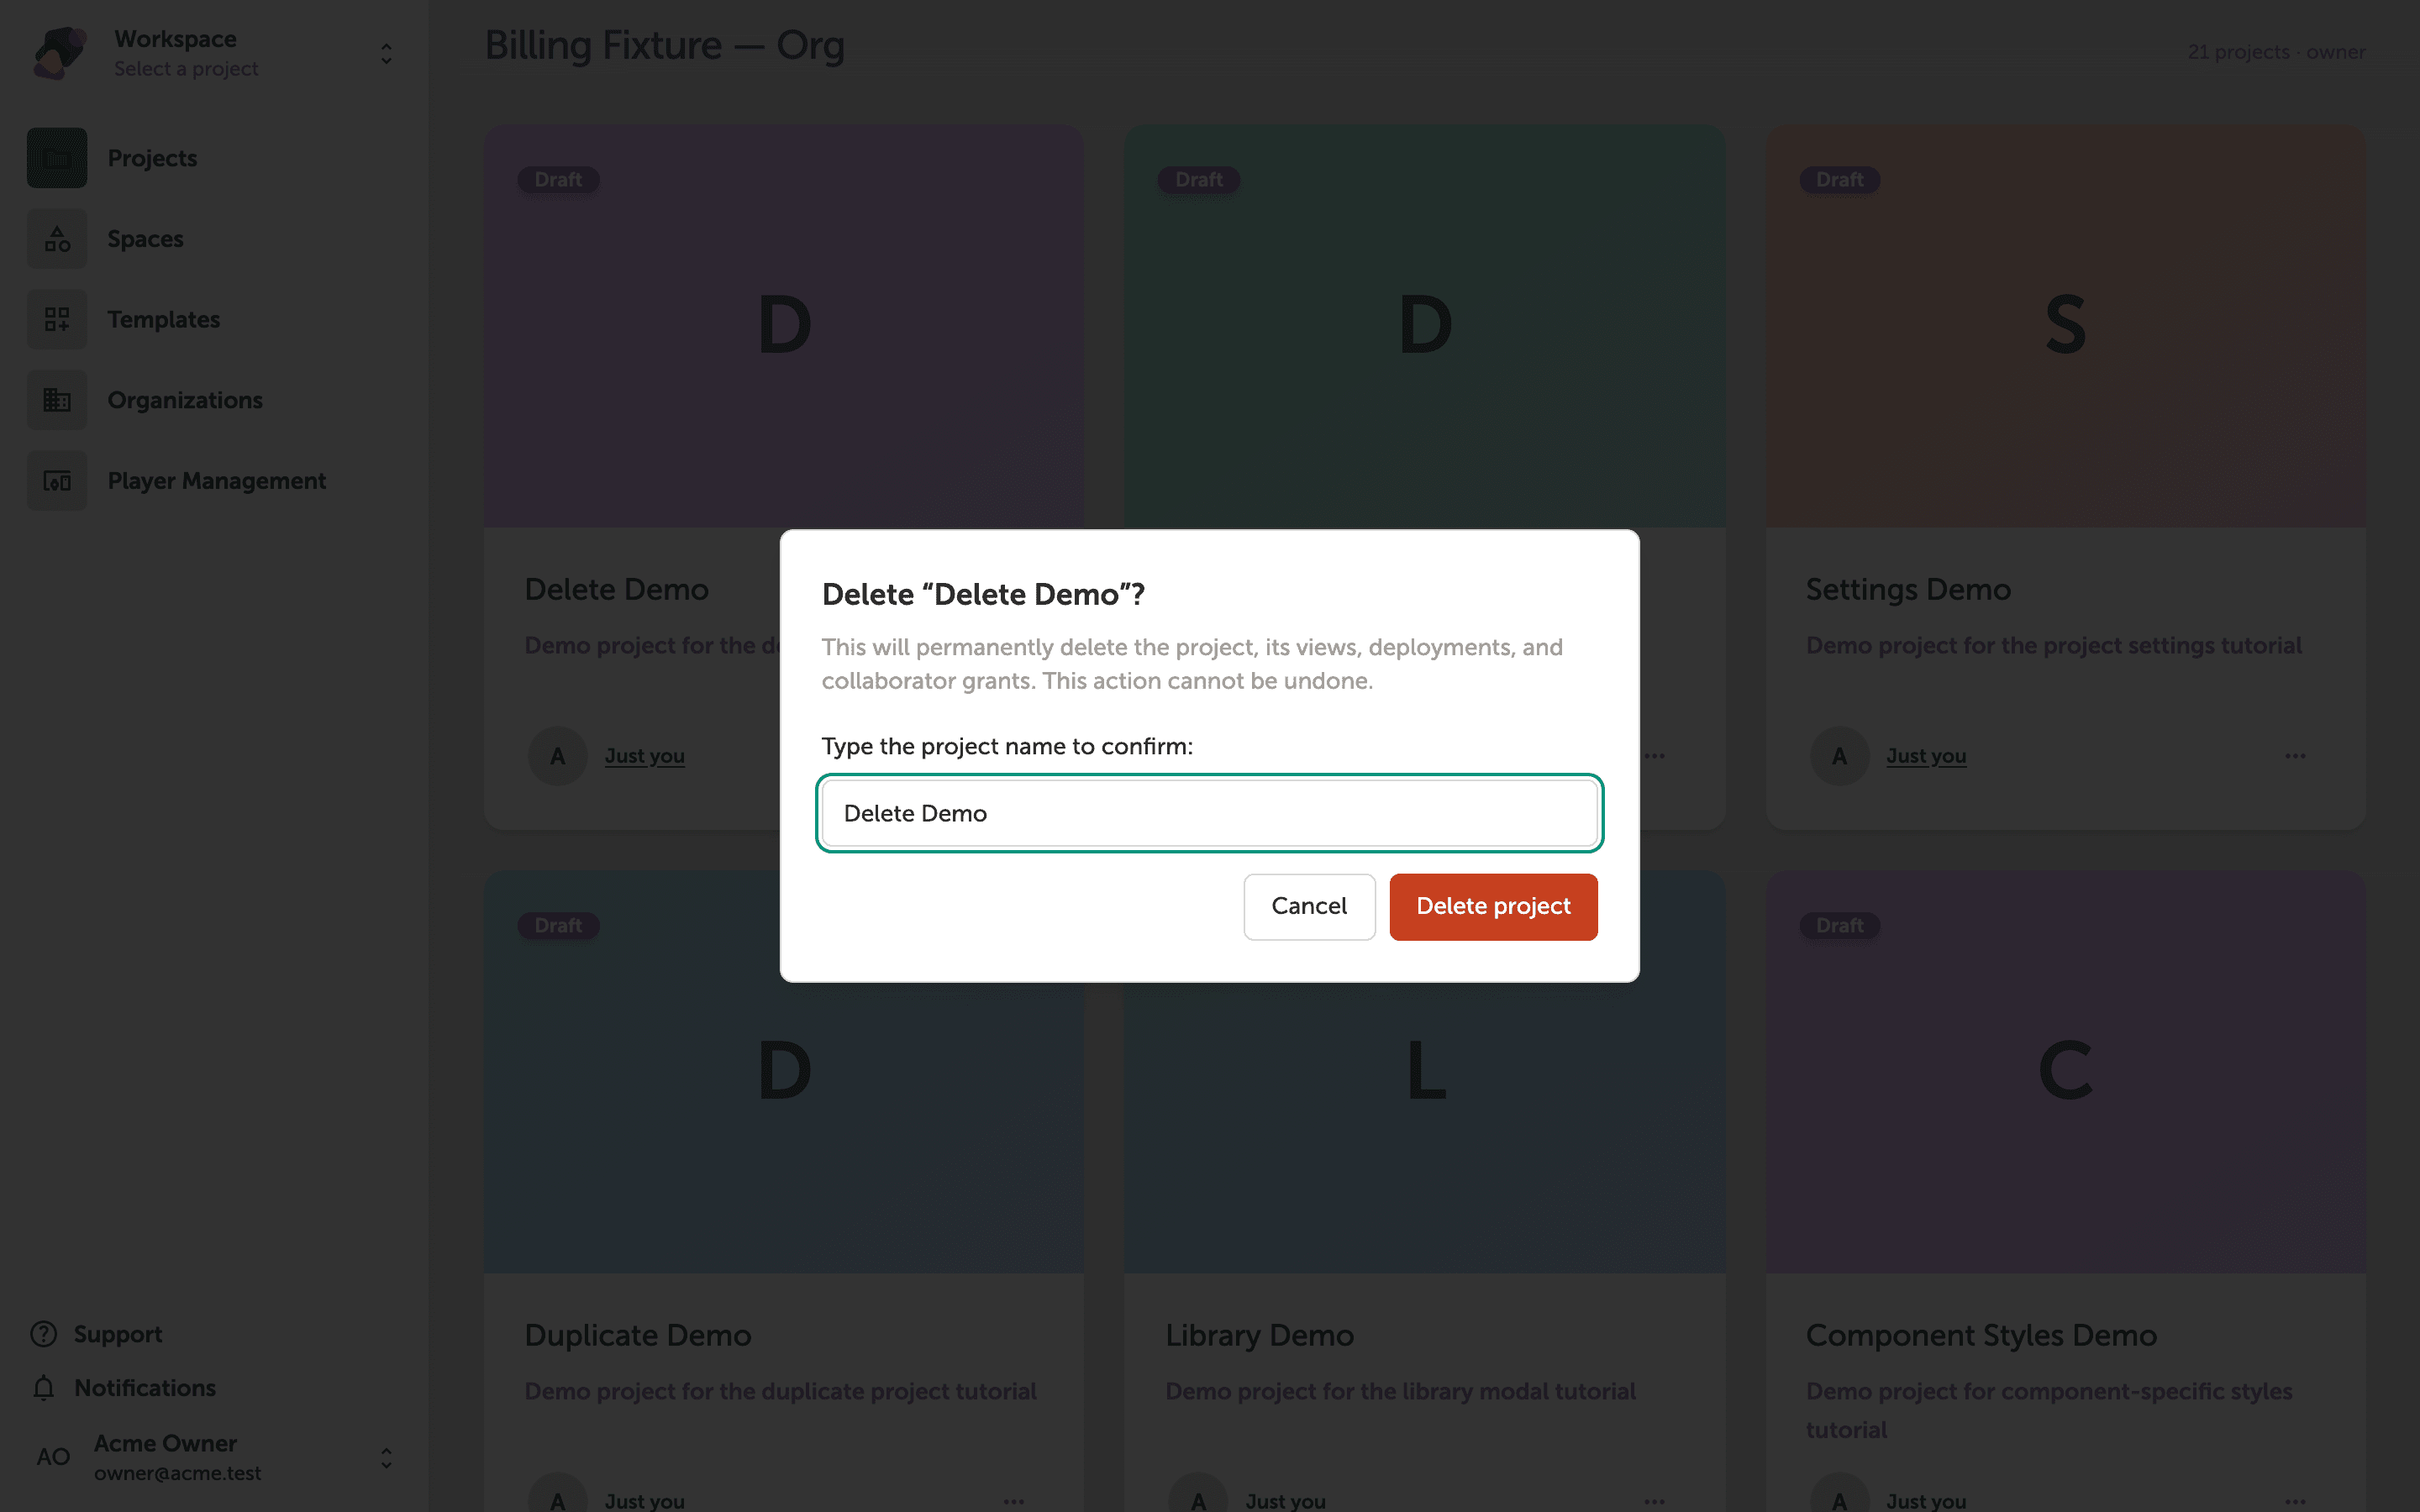
The delete confirmation dialog with the project name typed in
The dialog warns you that deleting this project is permanent—it removes the project, its views, deployments, and collaborator grants, and cannot be undone. Type the exact project name into the text field labeled "Type the project name to confirm:" to activate the "Delete project" button.
Once the name you typed matches the project name exactly, "Delete project" becomes clickable. If you change your mind, select "Cancel" to close the dialog and return to your projects without making any changes.
Deletion confirmed and the dashboard updated
The green "Deleted 'Delete Demo'" banner at the bottom of the screen confirms that the project was permanently removed. The project card no longer appears in your workspace grid, and your project count updates automatically.
You're back on the Projects dashboard, where you can open any remaining project or create a new one using "Create new project".
With the project removed, your dashboard reflects only the work that's active and relevant to your team. From here, there are a few natural directions to explore.
- Start a new project: Learn how to create a project and configure its first display and style set.
- Manage spaces: Organize your remaining projects by moving them into shared spaces.
- Archive instead of delete: Explore whether archiving fits better for projects you may revisit later.
- Transfer ownership: Find out how to hand a project off to another collaborator before stepping away.
- Recover lost work: Learn what version history and autosave options are available within an active project.