
Managing Space Collaborators
Whether you're building a touchscreen exhibit for a natural history museum, a wayfinding display for a gallery, or an interactive learning experience for a school, collaboration is key to bringing your project to life. Zibit lets you invite individual colleagues and entire organization teams to work on a Space together — and with role-based access, you stay in control of who can edit, publish, or simply view your work. You can update permissions at any time, so there's no need to get everything perfect from the start.
Finding Your Space
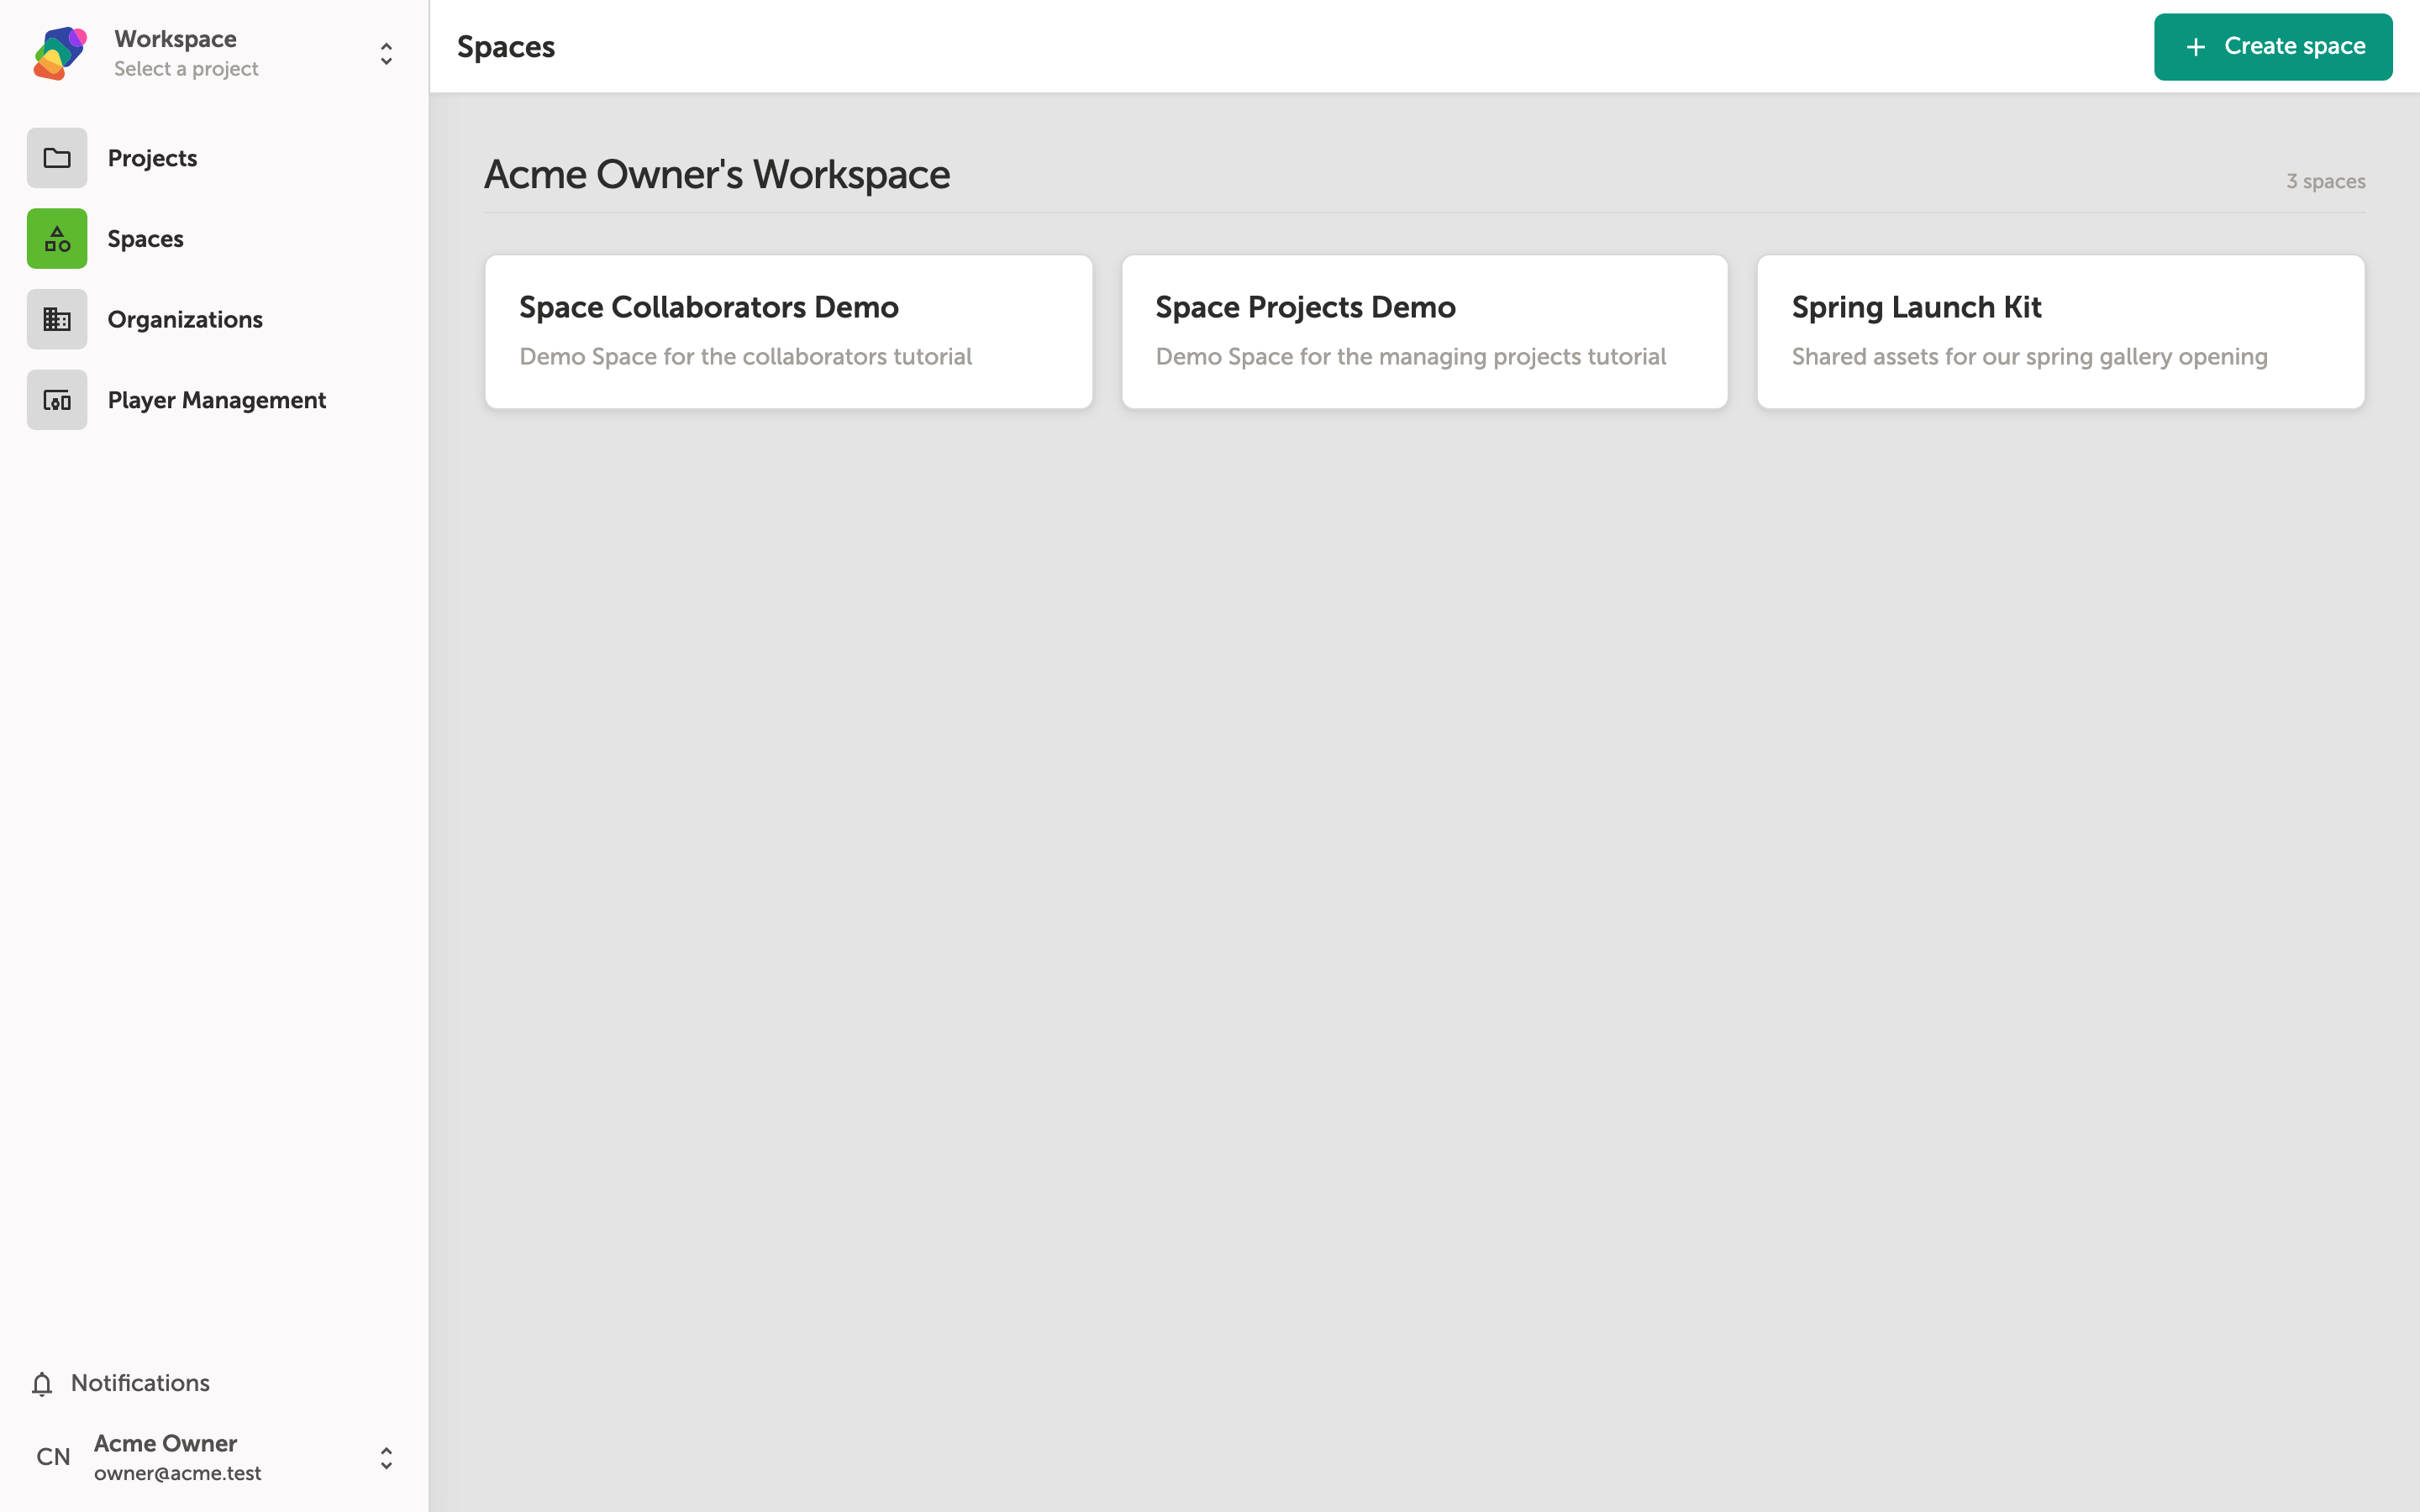
The Exhibits page is your home for all Spaces in Zibit — "Exhibits" is the current UI label for what Zibit calls a Space. You'll see each Space listed by name under your workspace, such as "Space Collaborators Demo" or "Spring Launch Kit".
To manage who can access a Space, start by clicking its name to open it. From there, you'll navigate to its Settings to add or remove collaborators. Don't worry — any changes you make to access can be updated again at any time.
Sharing Your Space with Team Members
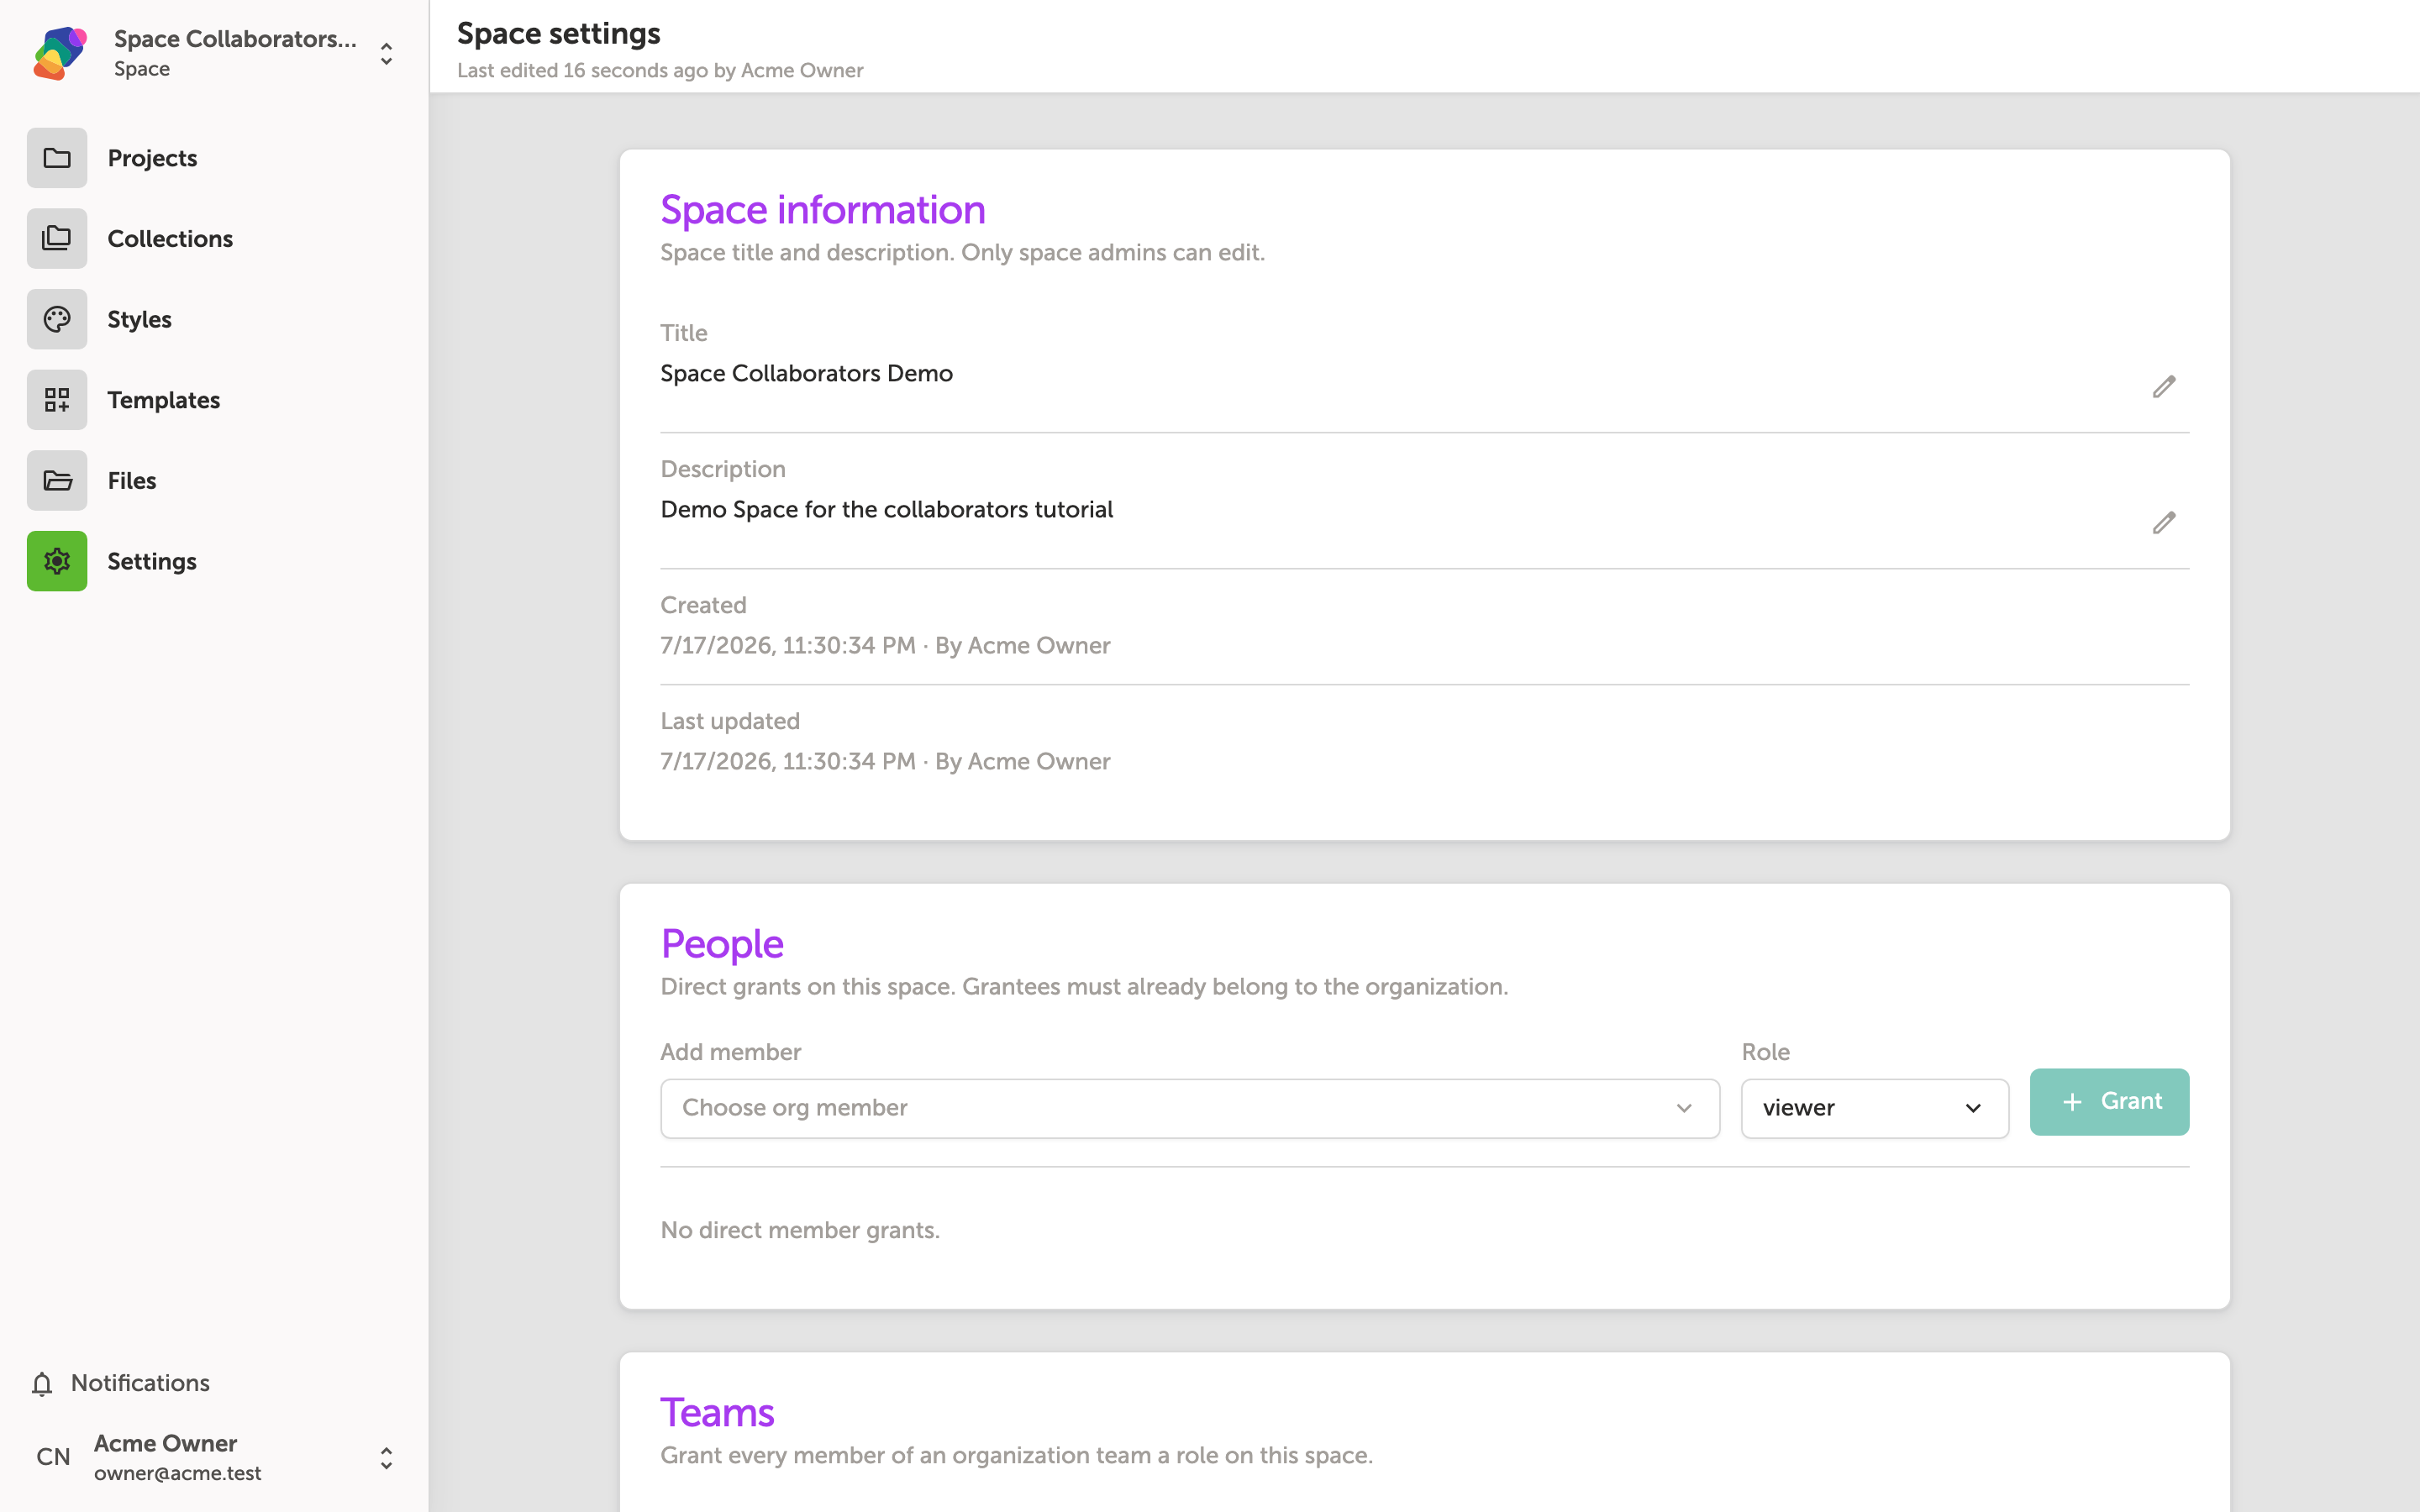
The People section of your Space's Settings lets you invite colleagues from your organization and control what they can do. Select a person using the "Choose org member" dropdown, then pick a role — "viewer", "editor", or "admin" — from the Role field. Once you're happy with your selection, click "Grant" to give them access. (The UI labels this area under "Exhibit" settings — that's Zibit's name for a Space.)
Anyone you've already added appears in the list below, and you can update their role or remove them at any time. This is useful when a colleague needs temporary access during an install, or when a new team member joins your museum project mid-way through.
Granting Access to a Space
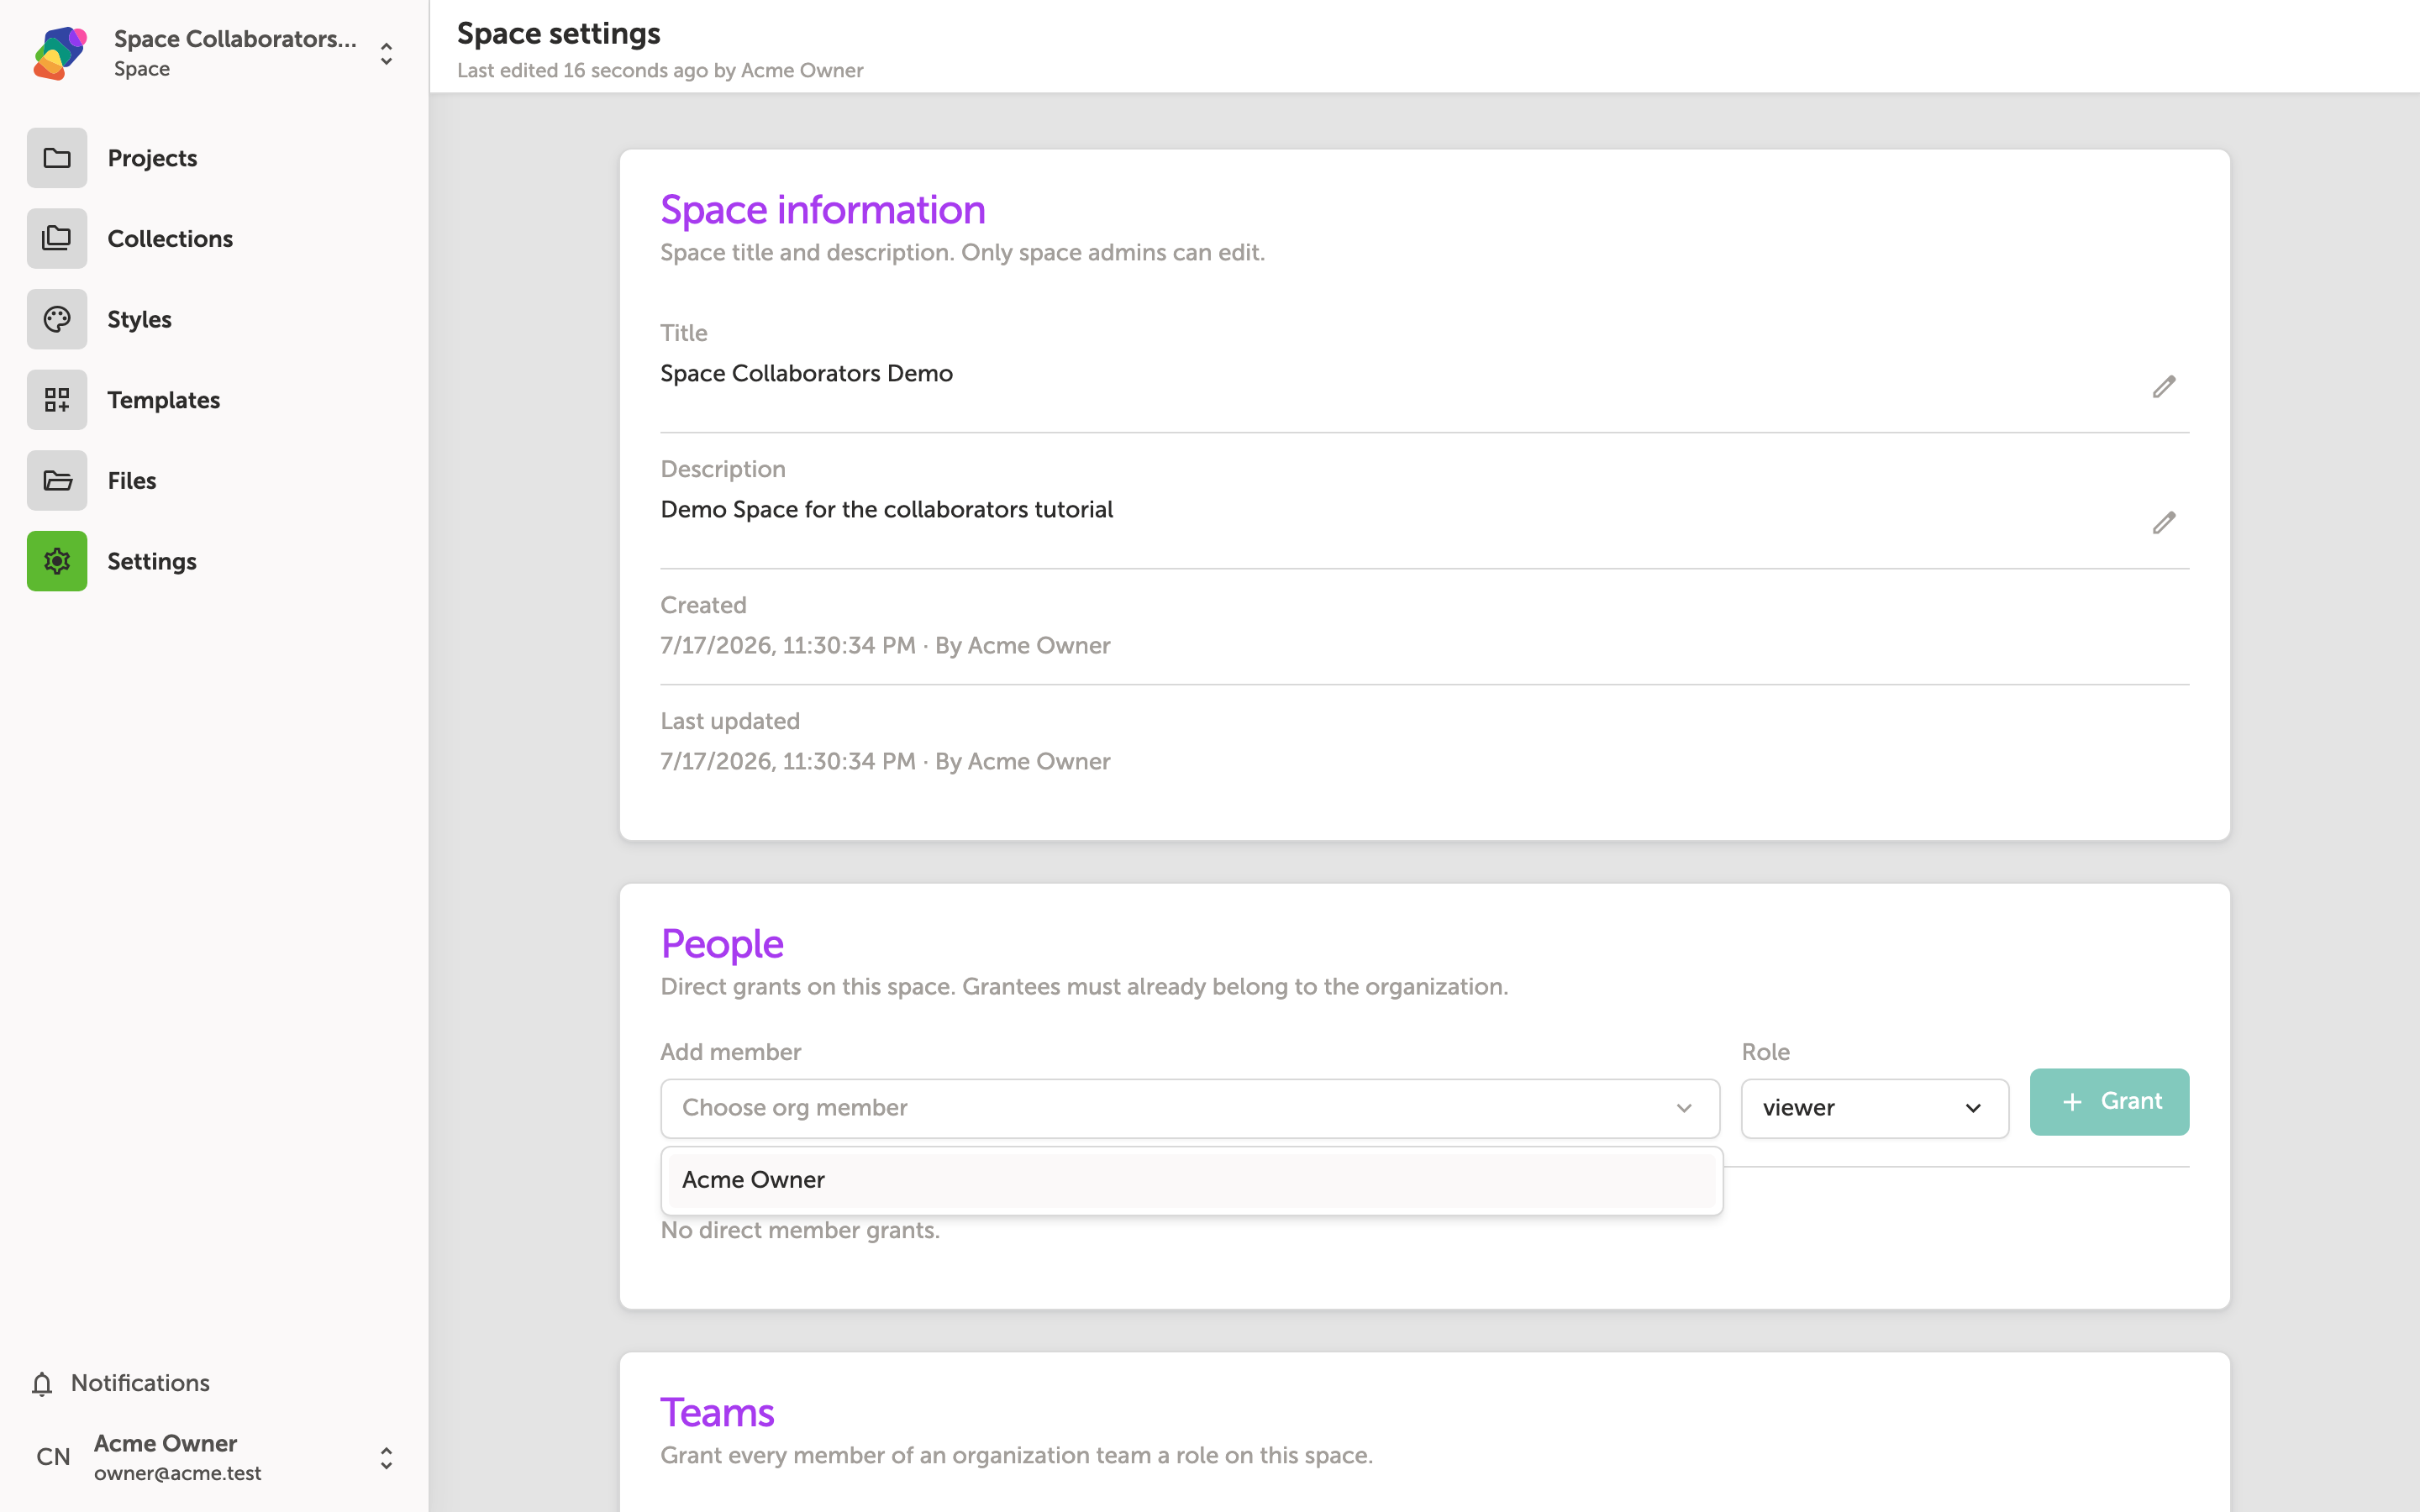
To share your Space with a teammate, use the "Add member" section under Settings. Click "Choose org member" to pick someone from your organization — only people who are already part of the organization can be granted access to a Space. Once you've selected a member, choose their "Role" (such as "viewer") and click "Grant" to confirm.
For example, if you're building a museum kiosk experience, you might grant a curator view access so they can preview the Space without making edits. You can update or remove access at any time, so don't worry about getting it perfect right away.
Managing Team Access in Space Settings
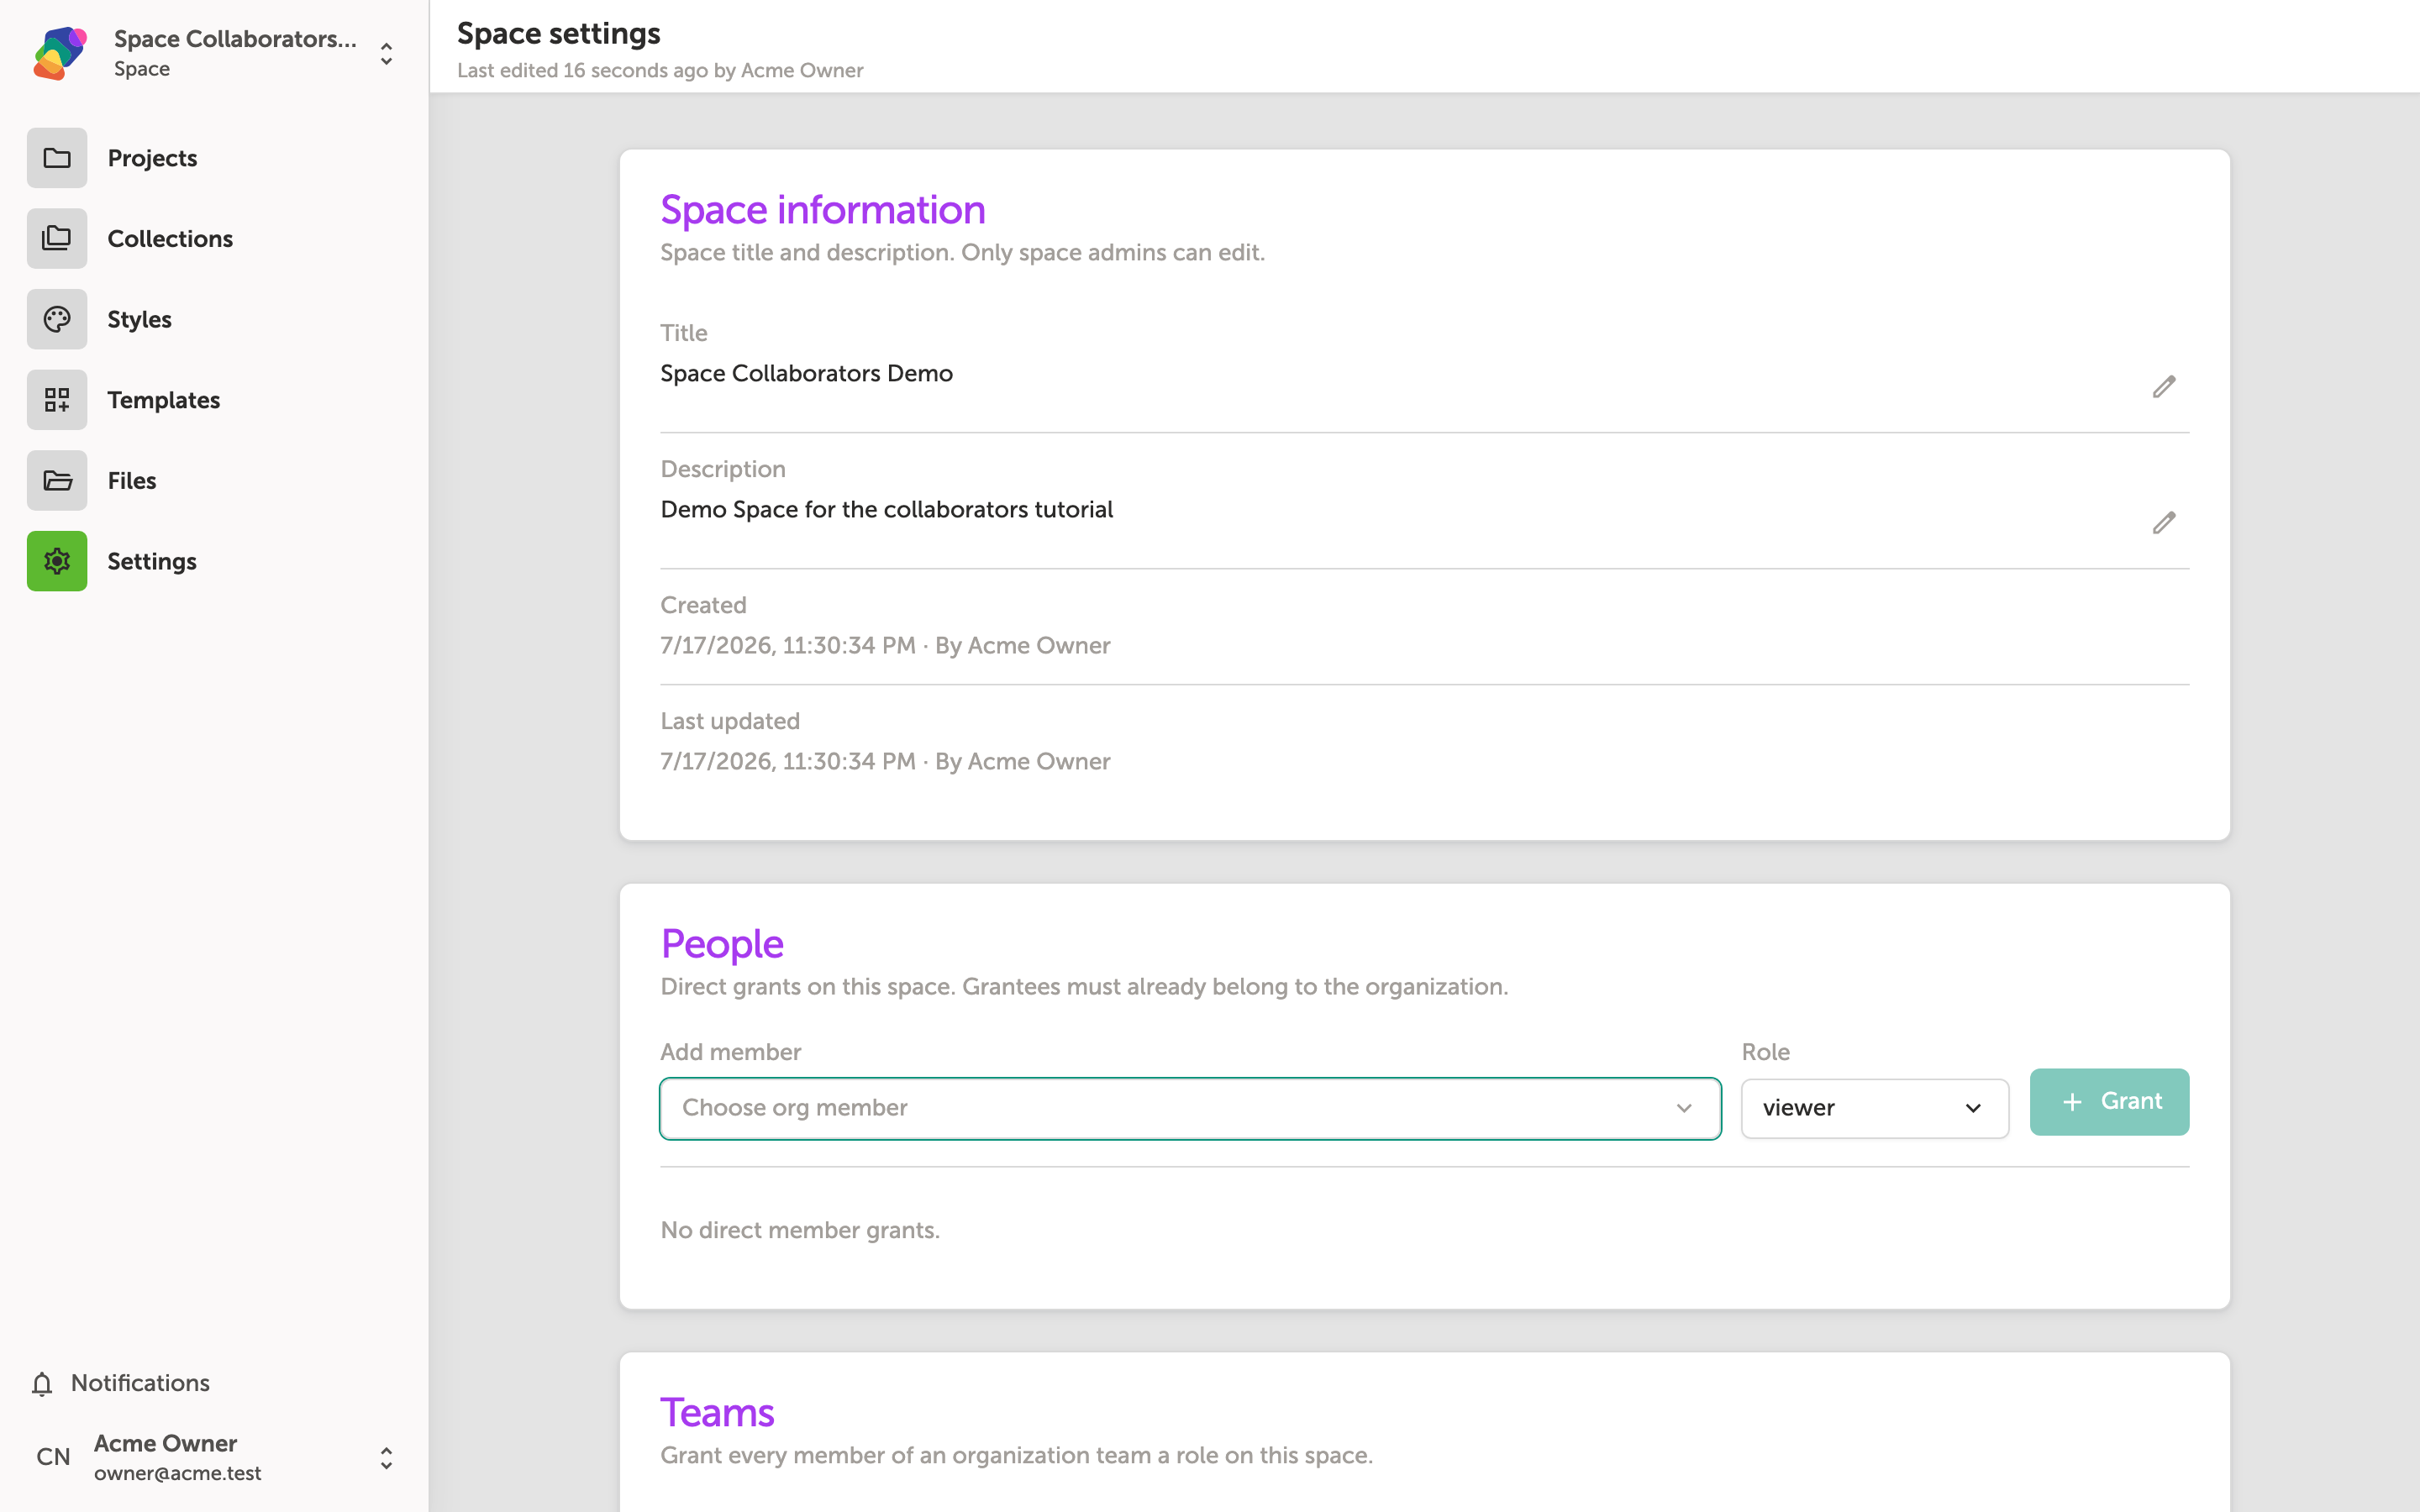
The Teams card in your Space's settings lets you grant entire organization teams access to a Space at once — a real time-saver if your museum has separate teams for content editors, AV staff, or exhibit designers. If your organization hasn't set up any teams yet, this area will show an empty state until teams are created by an org admin.
When teams are available, use the "Add member" dropdown to select a team, choose a Role (such as "viewer"), and click "Grant" to give that team access. Note that the UI currently labels this page under "Exhibit" — that's what Zibit calls a Space. Any access changes you make here can be updated again at any time from the same Settings page.
You've now got everything you need to bring the right people into your Space and keep your collaboration running smoothly. Here are some great ways to build on what you've just set up:
- Organize collaborators into teams — If your organization has departments like Design, Education, or A/V, ask your Zibit admin to set up teams so you can grant access to whole groups in one step.
- Review and adjust roles regularly — As your project evolves, revisit your Settings to make sure each person's role still matches their responsibilities.
- Explore project-level permissions — Some access settings apply across all Spaces in a project; check your project's settings to see how top-level permissions interact with Space-level ones.
- Start building your moments — With your team in place, head into your Space and begin creating moments, adding components, and defining flows for your experience.
- Check out the Style Sets guide — Establish a shared look and feel for your Space early so all collaborators are working from the same typography and color foundations.