
Managing Space Projects
Whether you're building a multi-room museum installation, a series of digital kiosks, or a collection of educational touchscreen experiences, Spaces give you a way to group related projects together. A Space might represent a single gallery, a themed exhibition, or a physical venue — and the projects inside it are the individual interactive moments visitors actually see and use. This tutorial walks you through opening a Space, linking existing projects to it, and getting a clear view of everything inside.
Opening a Space to Manage Its Projects
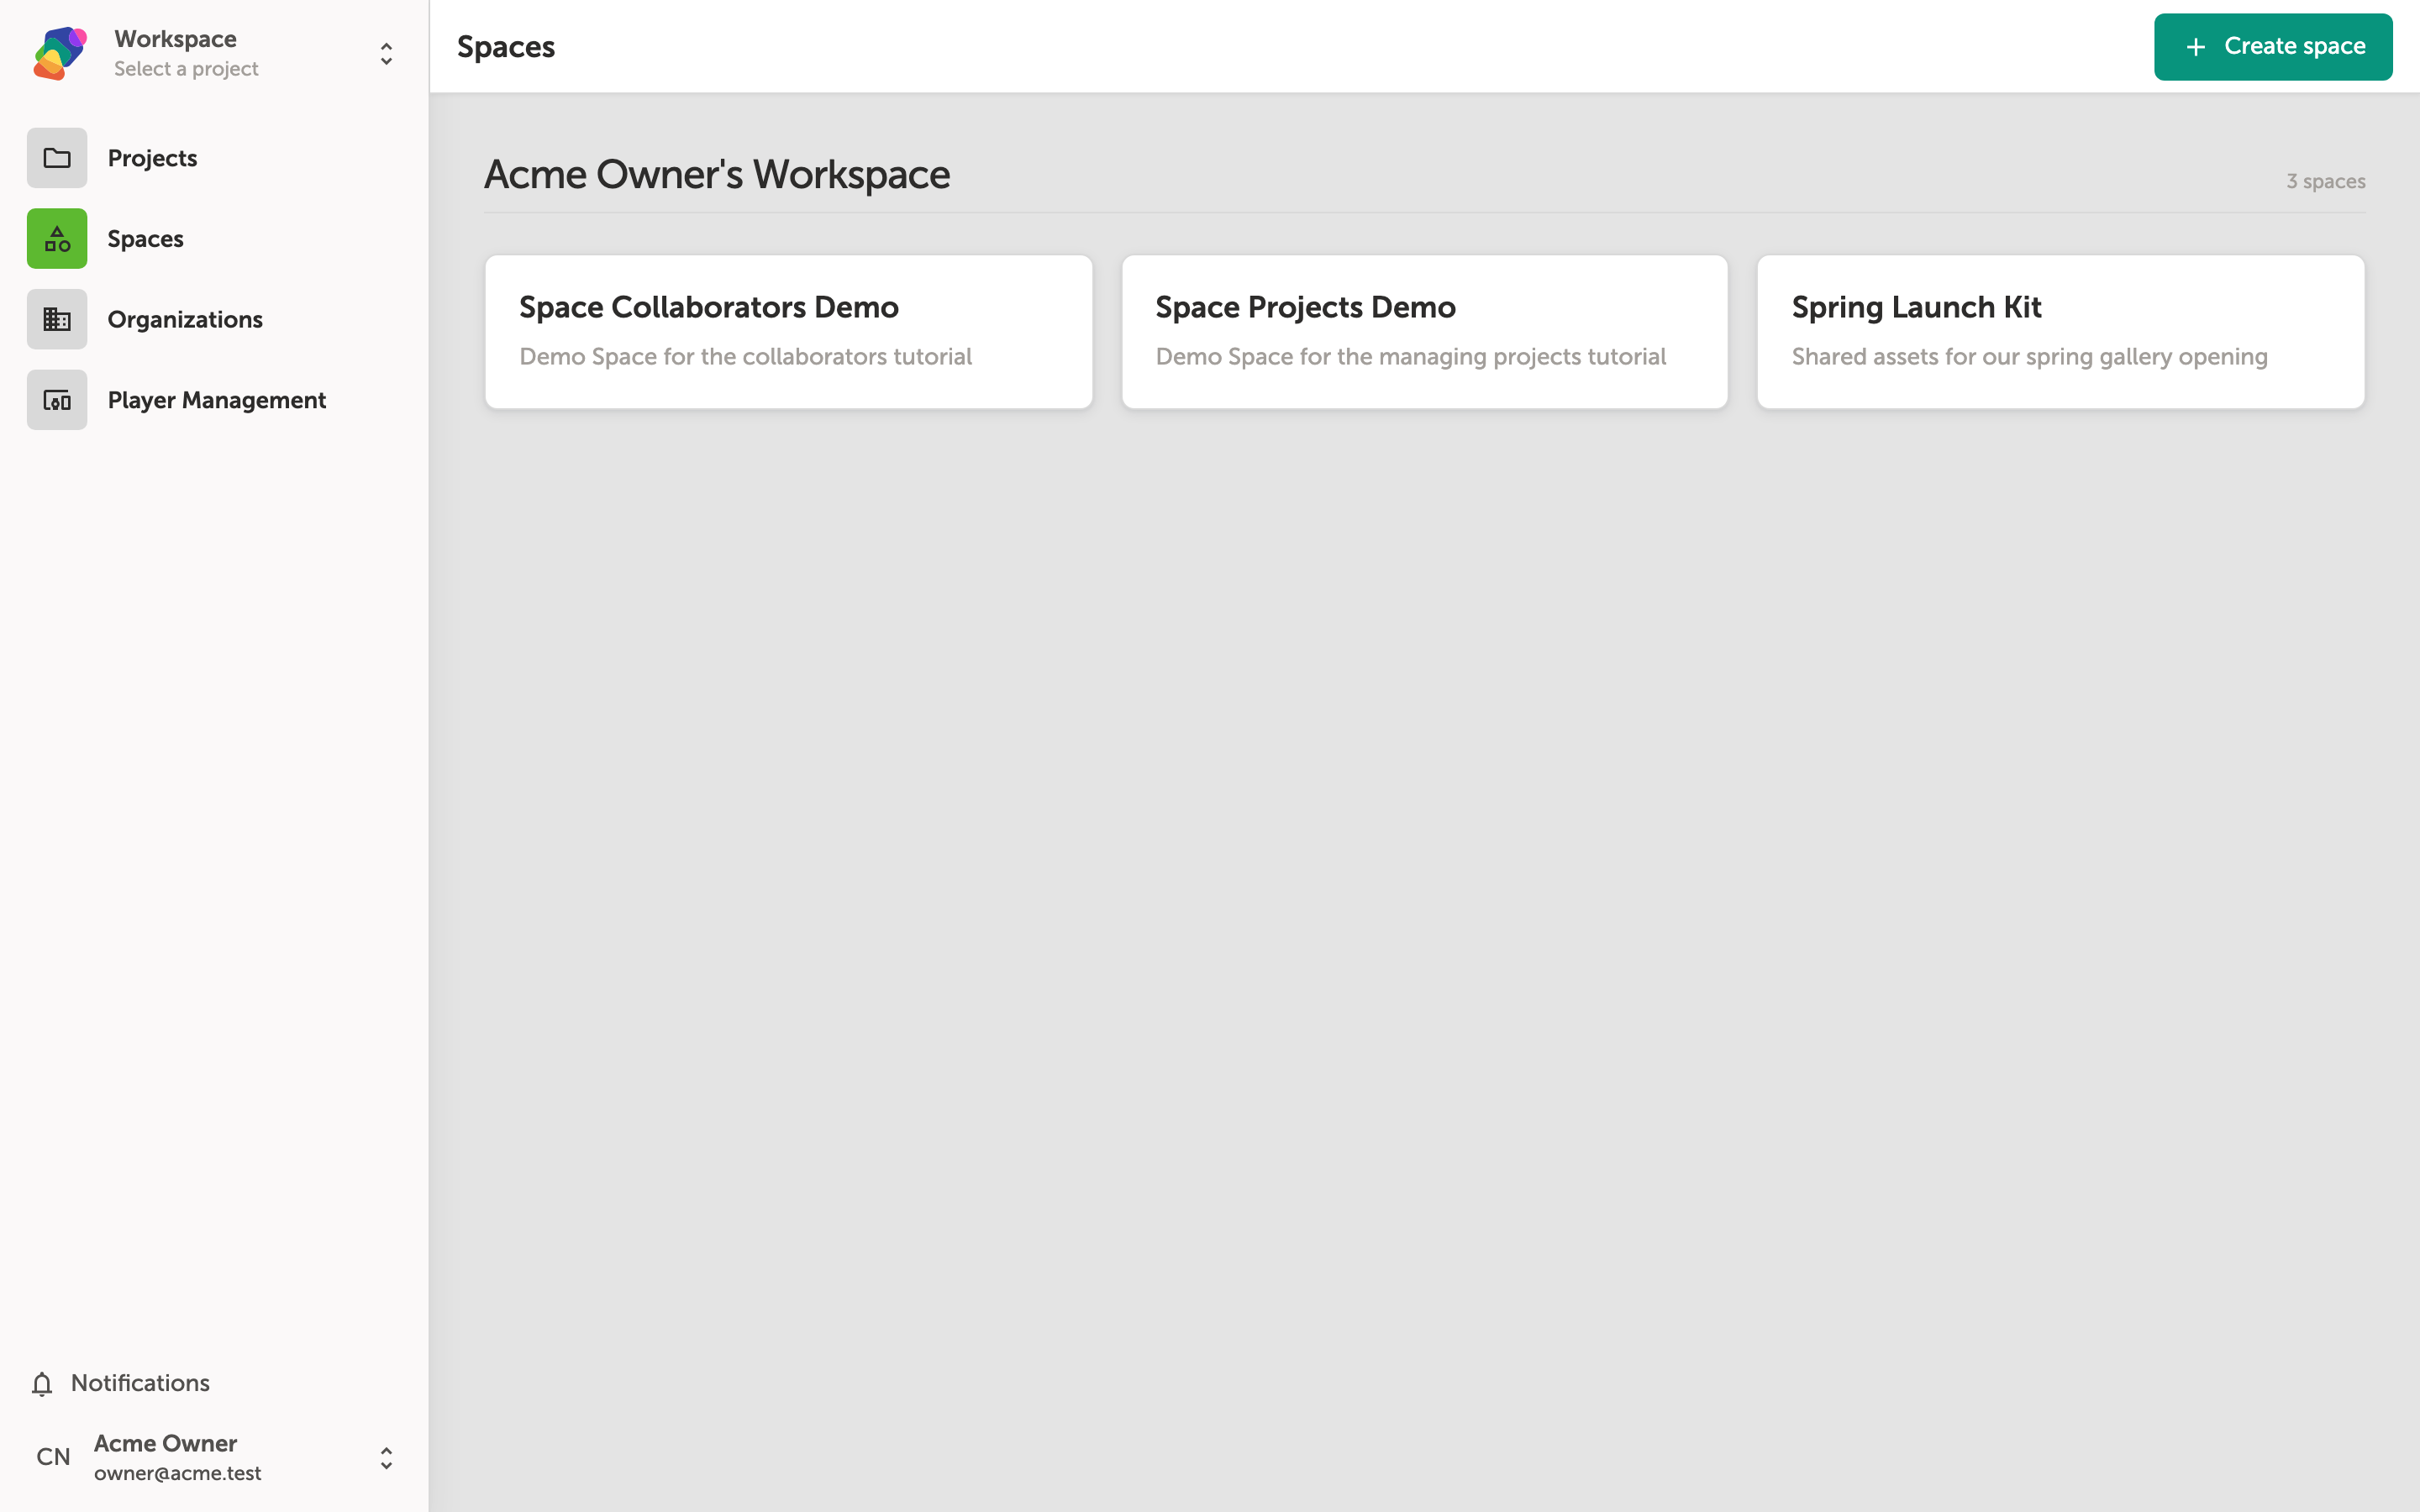
The Exhibits page is where Zibit lists all of your Spaces — "Exhibit" is the current on-screen label, but this is what Zibit calls a Space. You'll see each Space displayed as a card under your workspace name. Here you can find two ready-to-explore Spaces: Space Projects Demo and Spring Launch Kit.
Click the card for the Space you want to work in. This opens that Space so you can view, add, or organize the projects linked to it. Don't worry — you can return to this list at any time, and any changes you make inside a Space can be adjusted later.
Adding Projects to Your Space
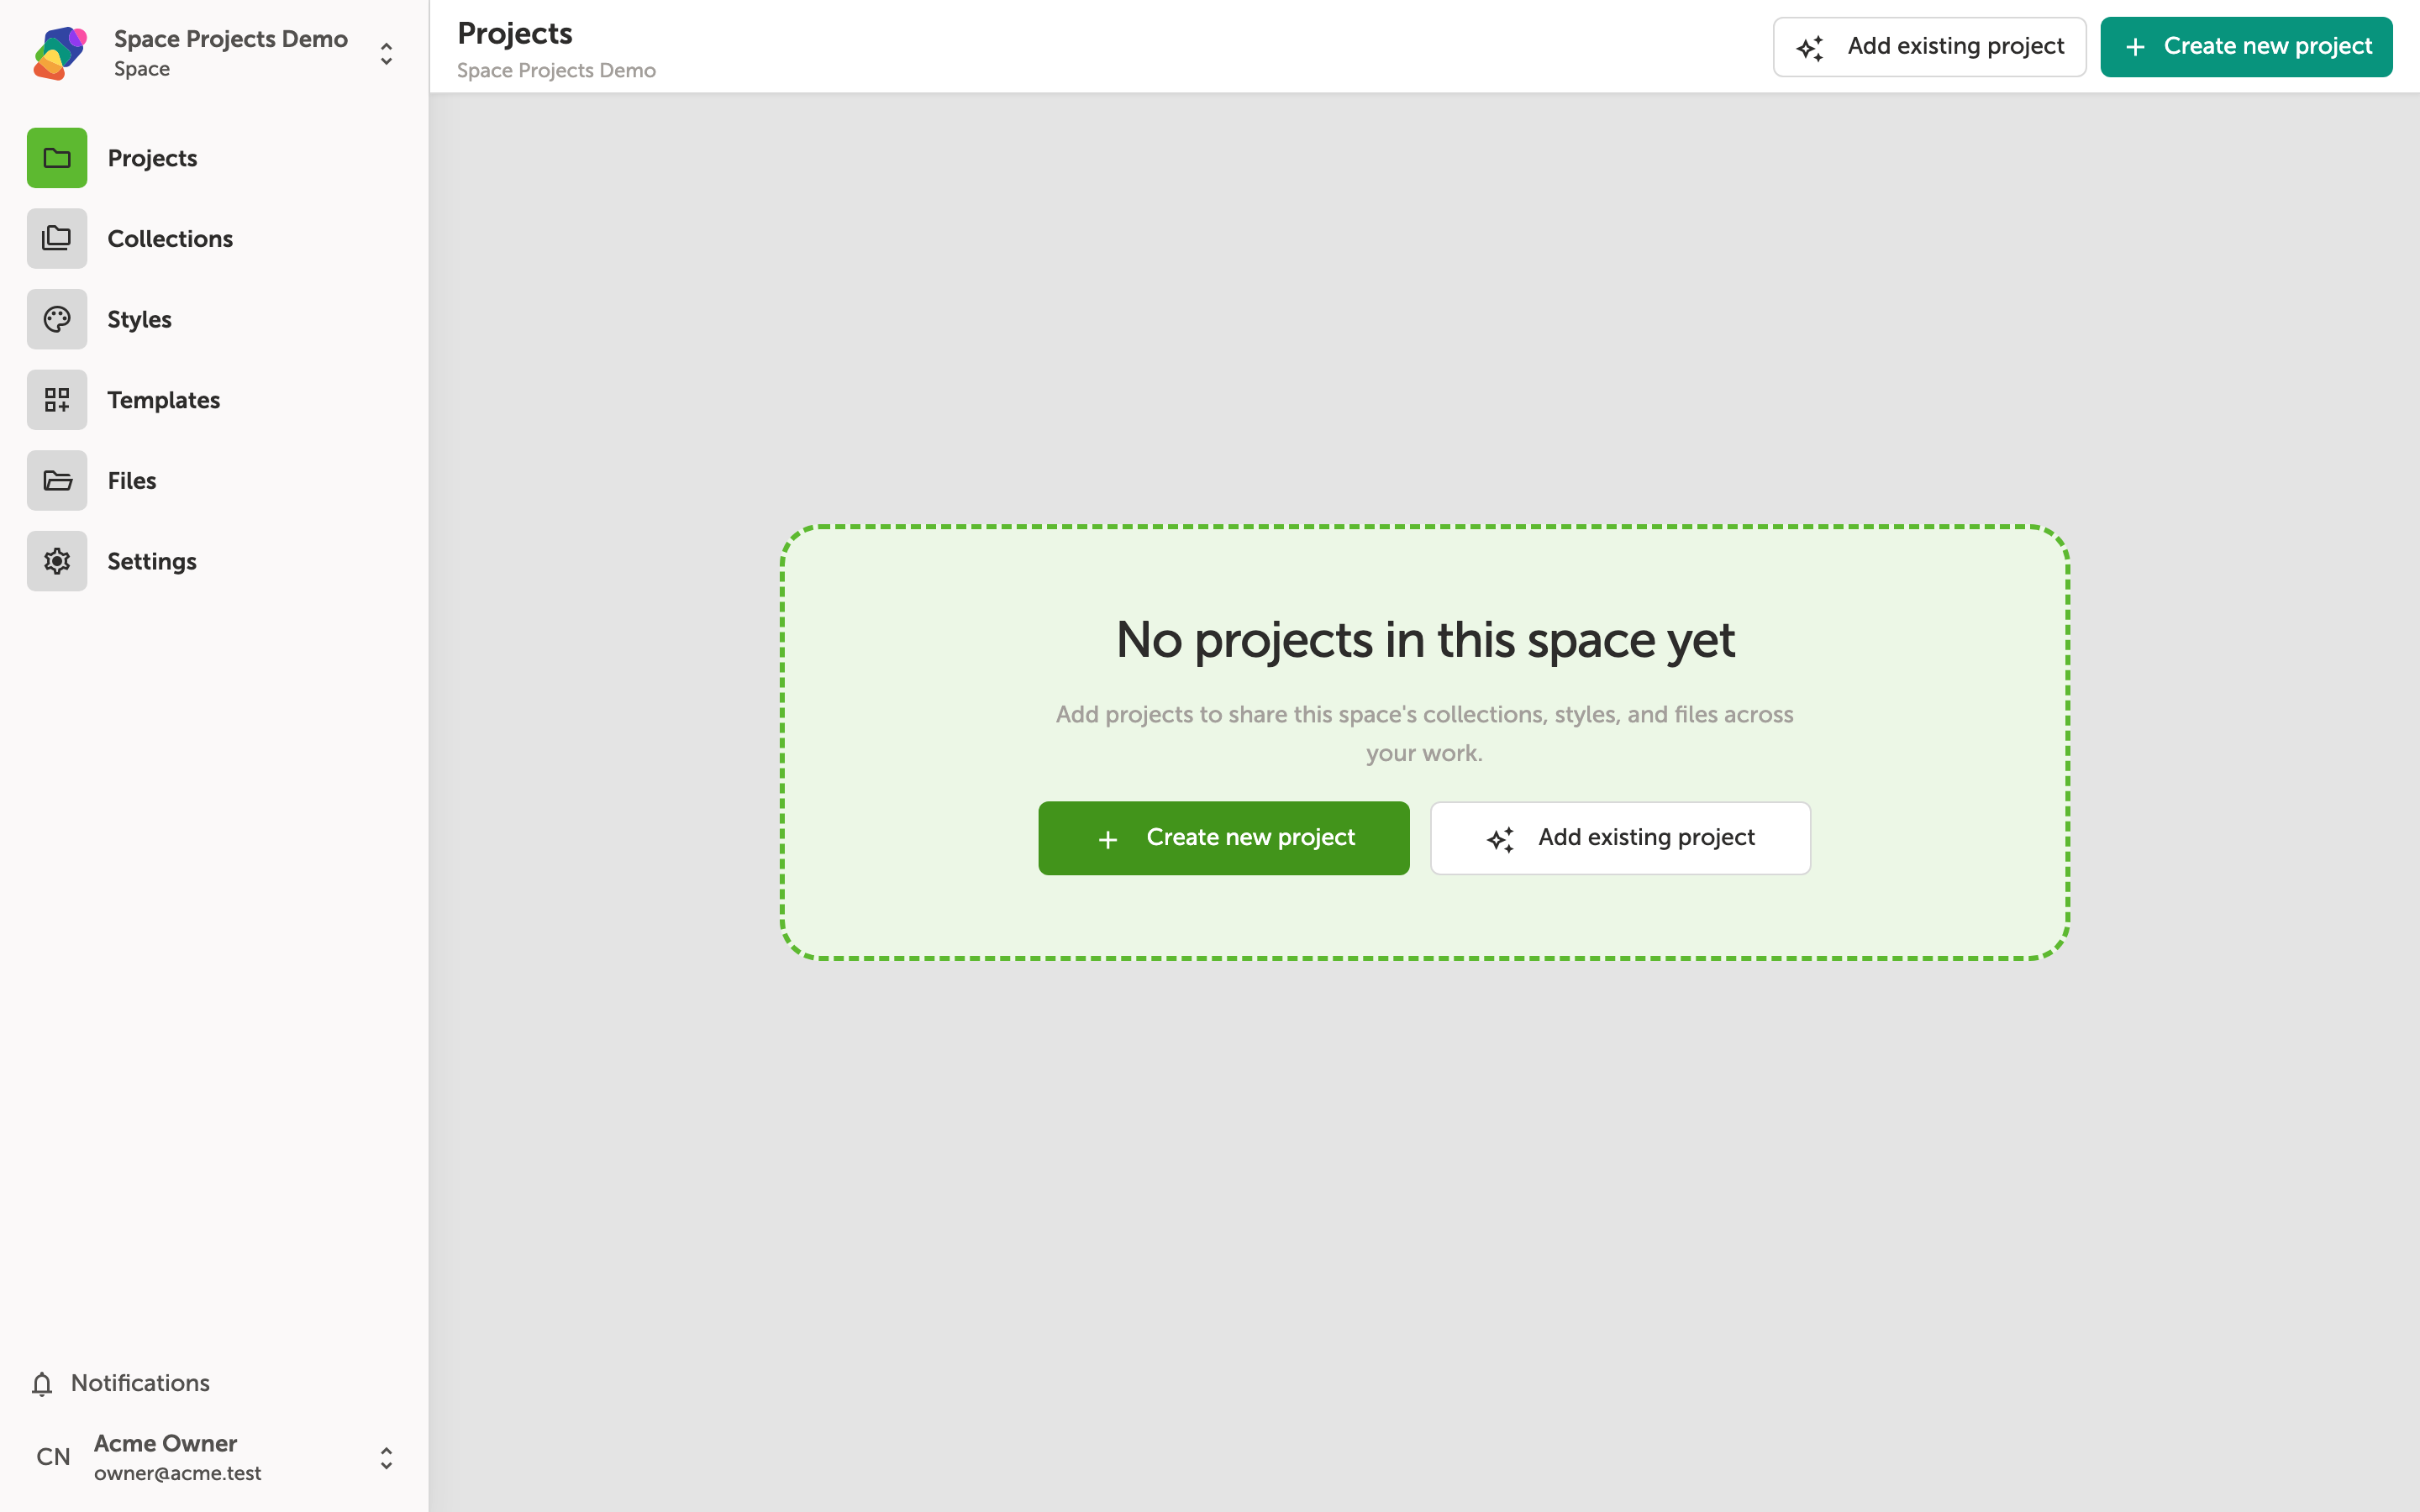
The Projects tab is where you connect all the interactive experiences that belong to this Space. Right now it's empty — but that's expected if you've just created your Space. You can either link a project you've already built by clicking "Add existing", or start fresh with "Create project".
One of the biggest benefits of grouping projects inside a Space is that they automatically share the same collections, style sets, and files. That means a collection of artifact data or a brand color palette you set up once is instantly available across every project in the Space — no duplicating work needed. Don't worry, you can add or remove projects at any time.
Link a Project to Your Space
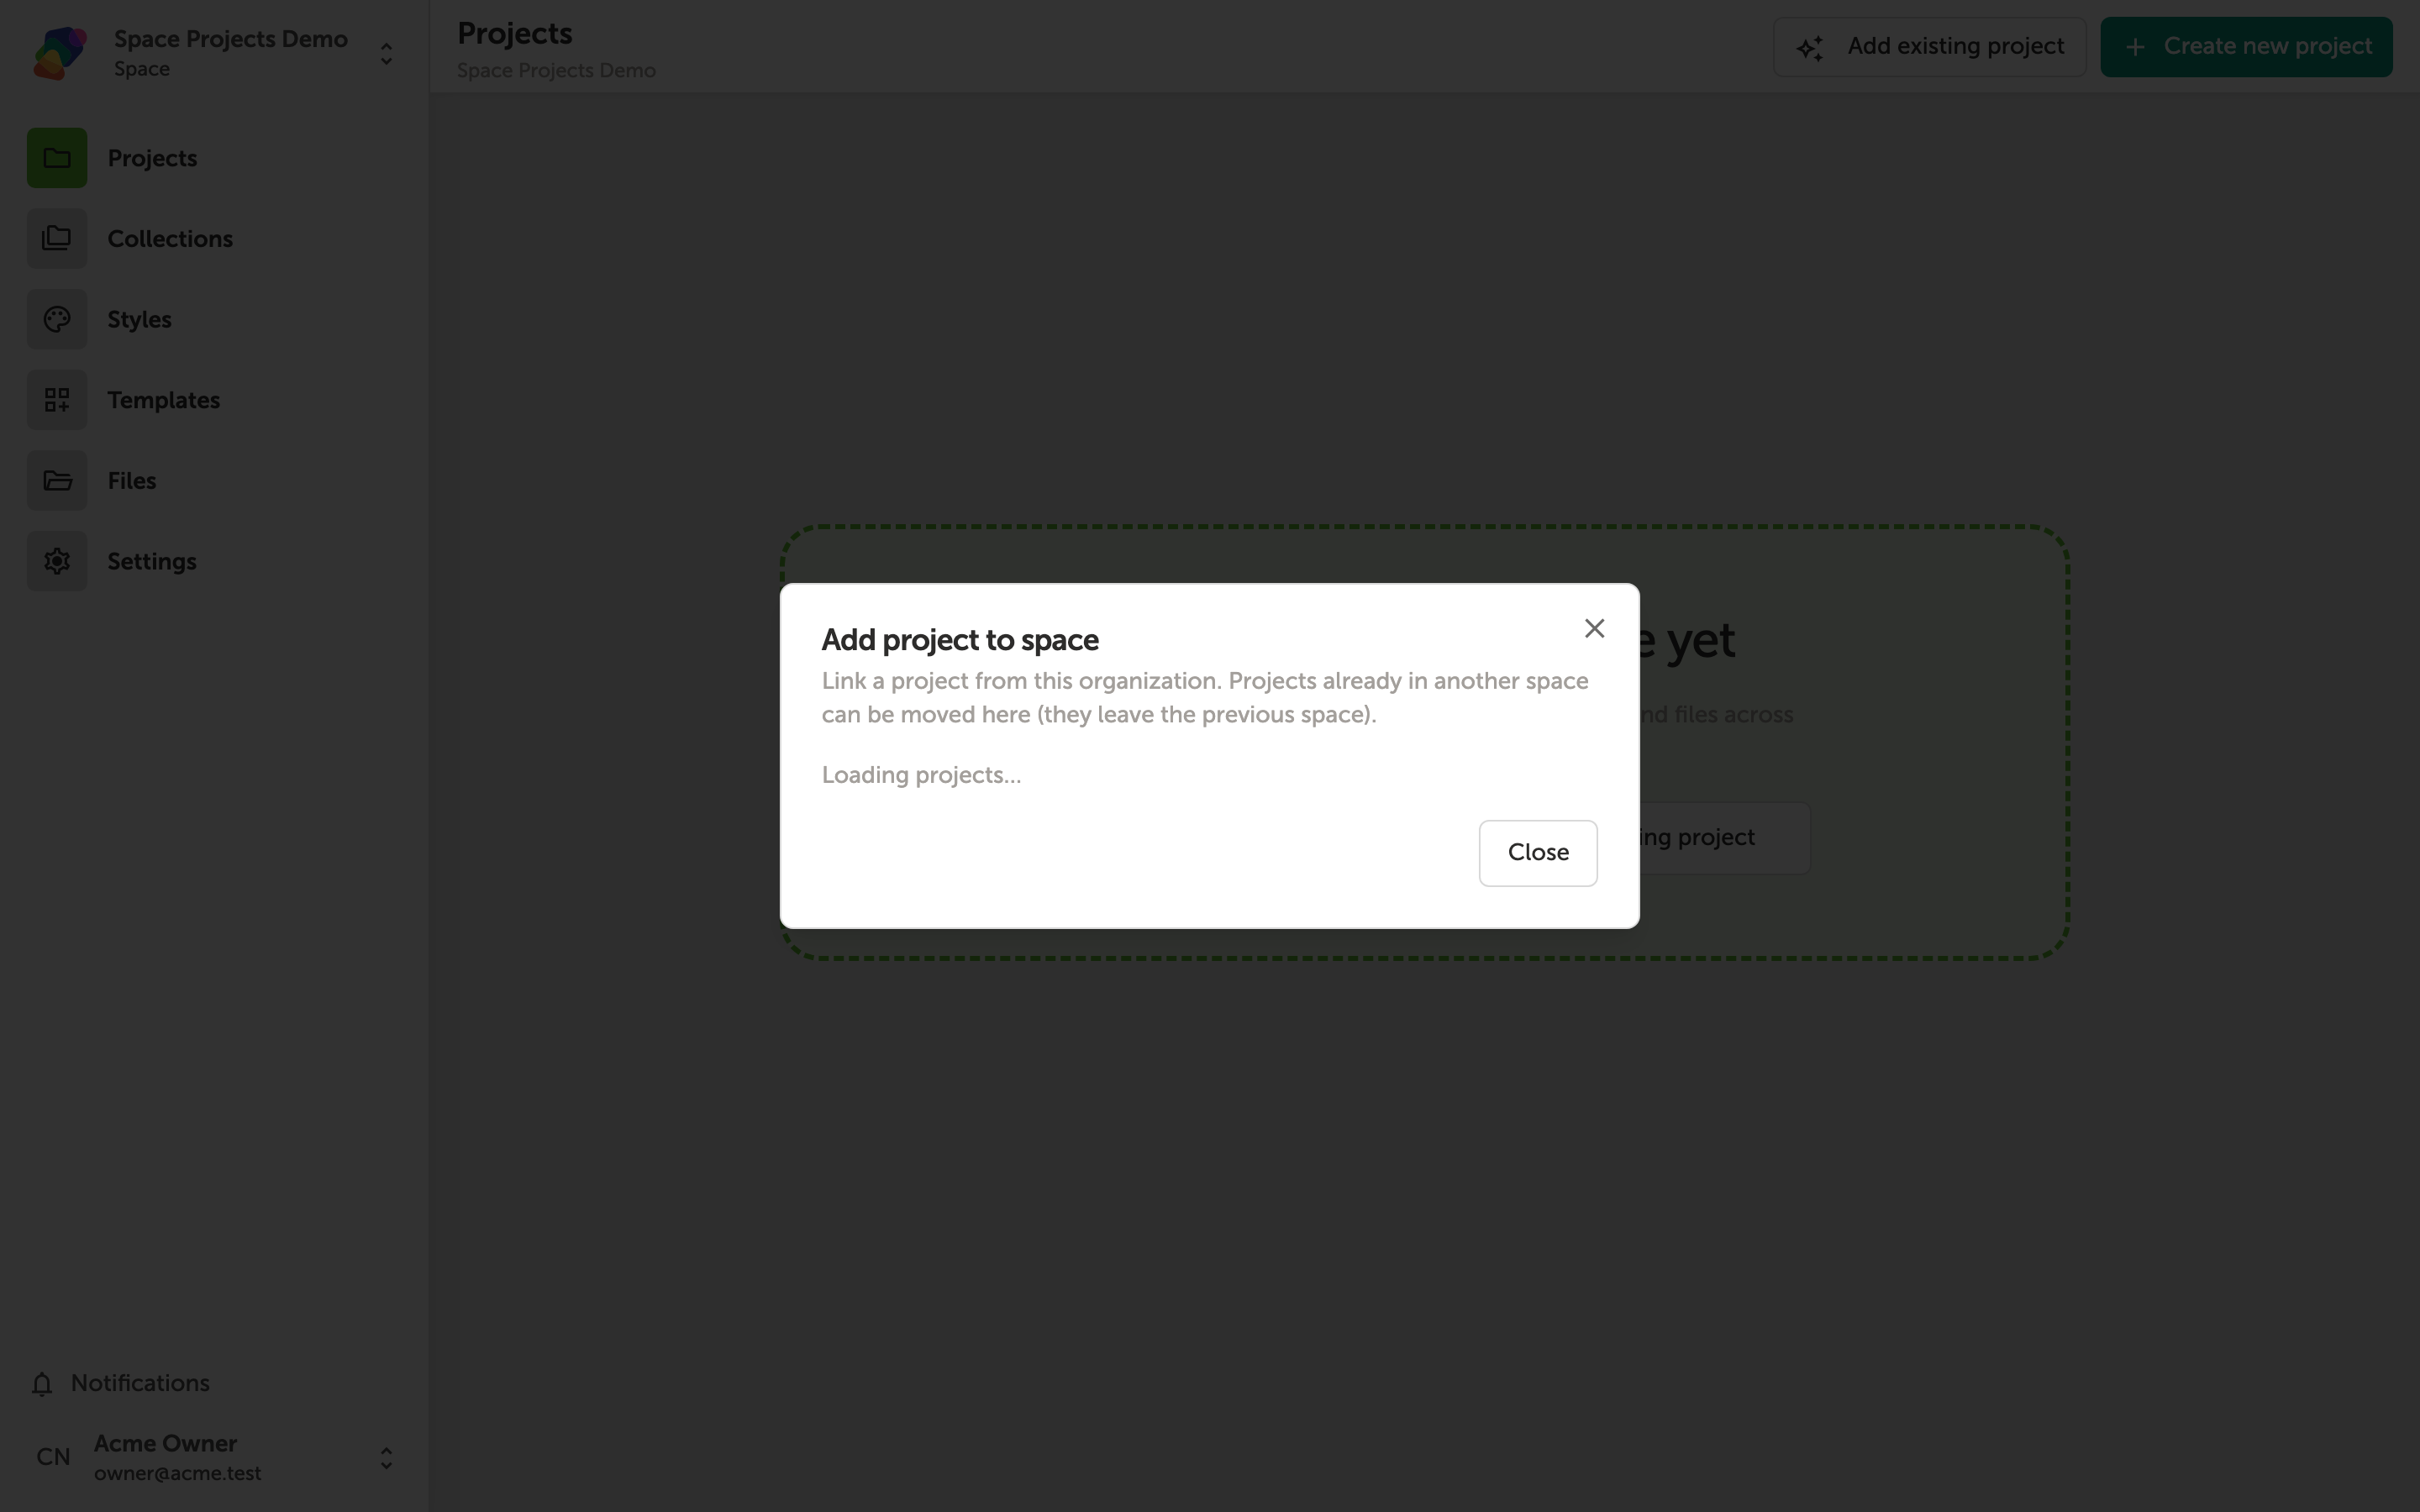
The "Add project to exhibit" dialog lists all your projects that aren't already linked to a Space. You'll see Space Link Demo listed under the "Not in an exhibit" section — this is what Zibit calls a Space.
Click the Space Link Demo row to link it to this Space. That's all there is to it — no confirmation step needed, and you can always remove or reassign a project to a different Space later.
Exploring Your Space's Projects
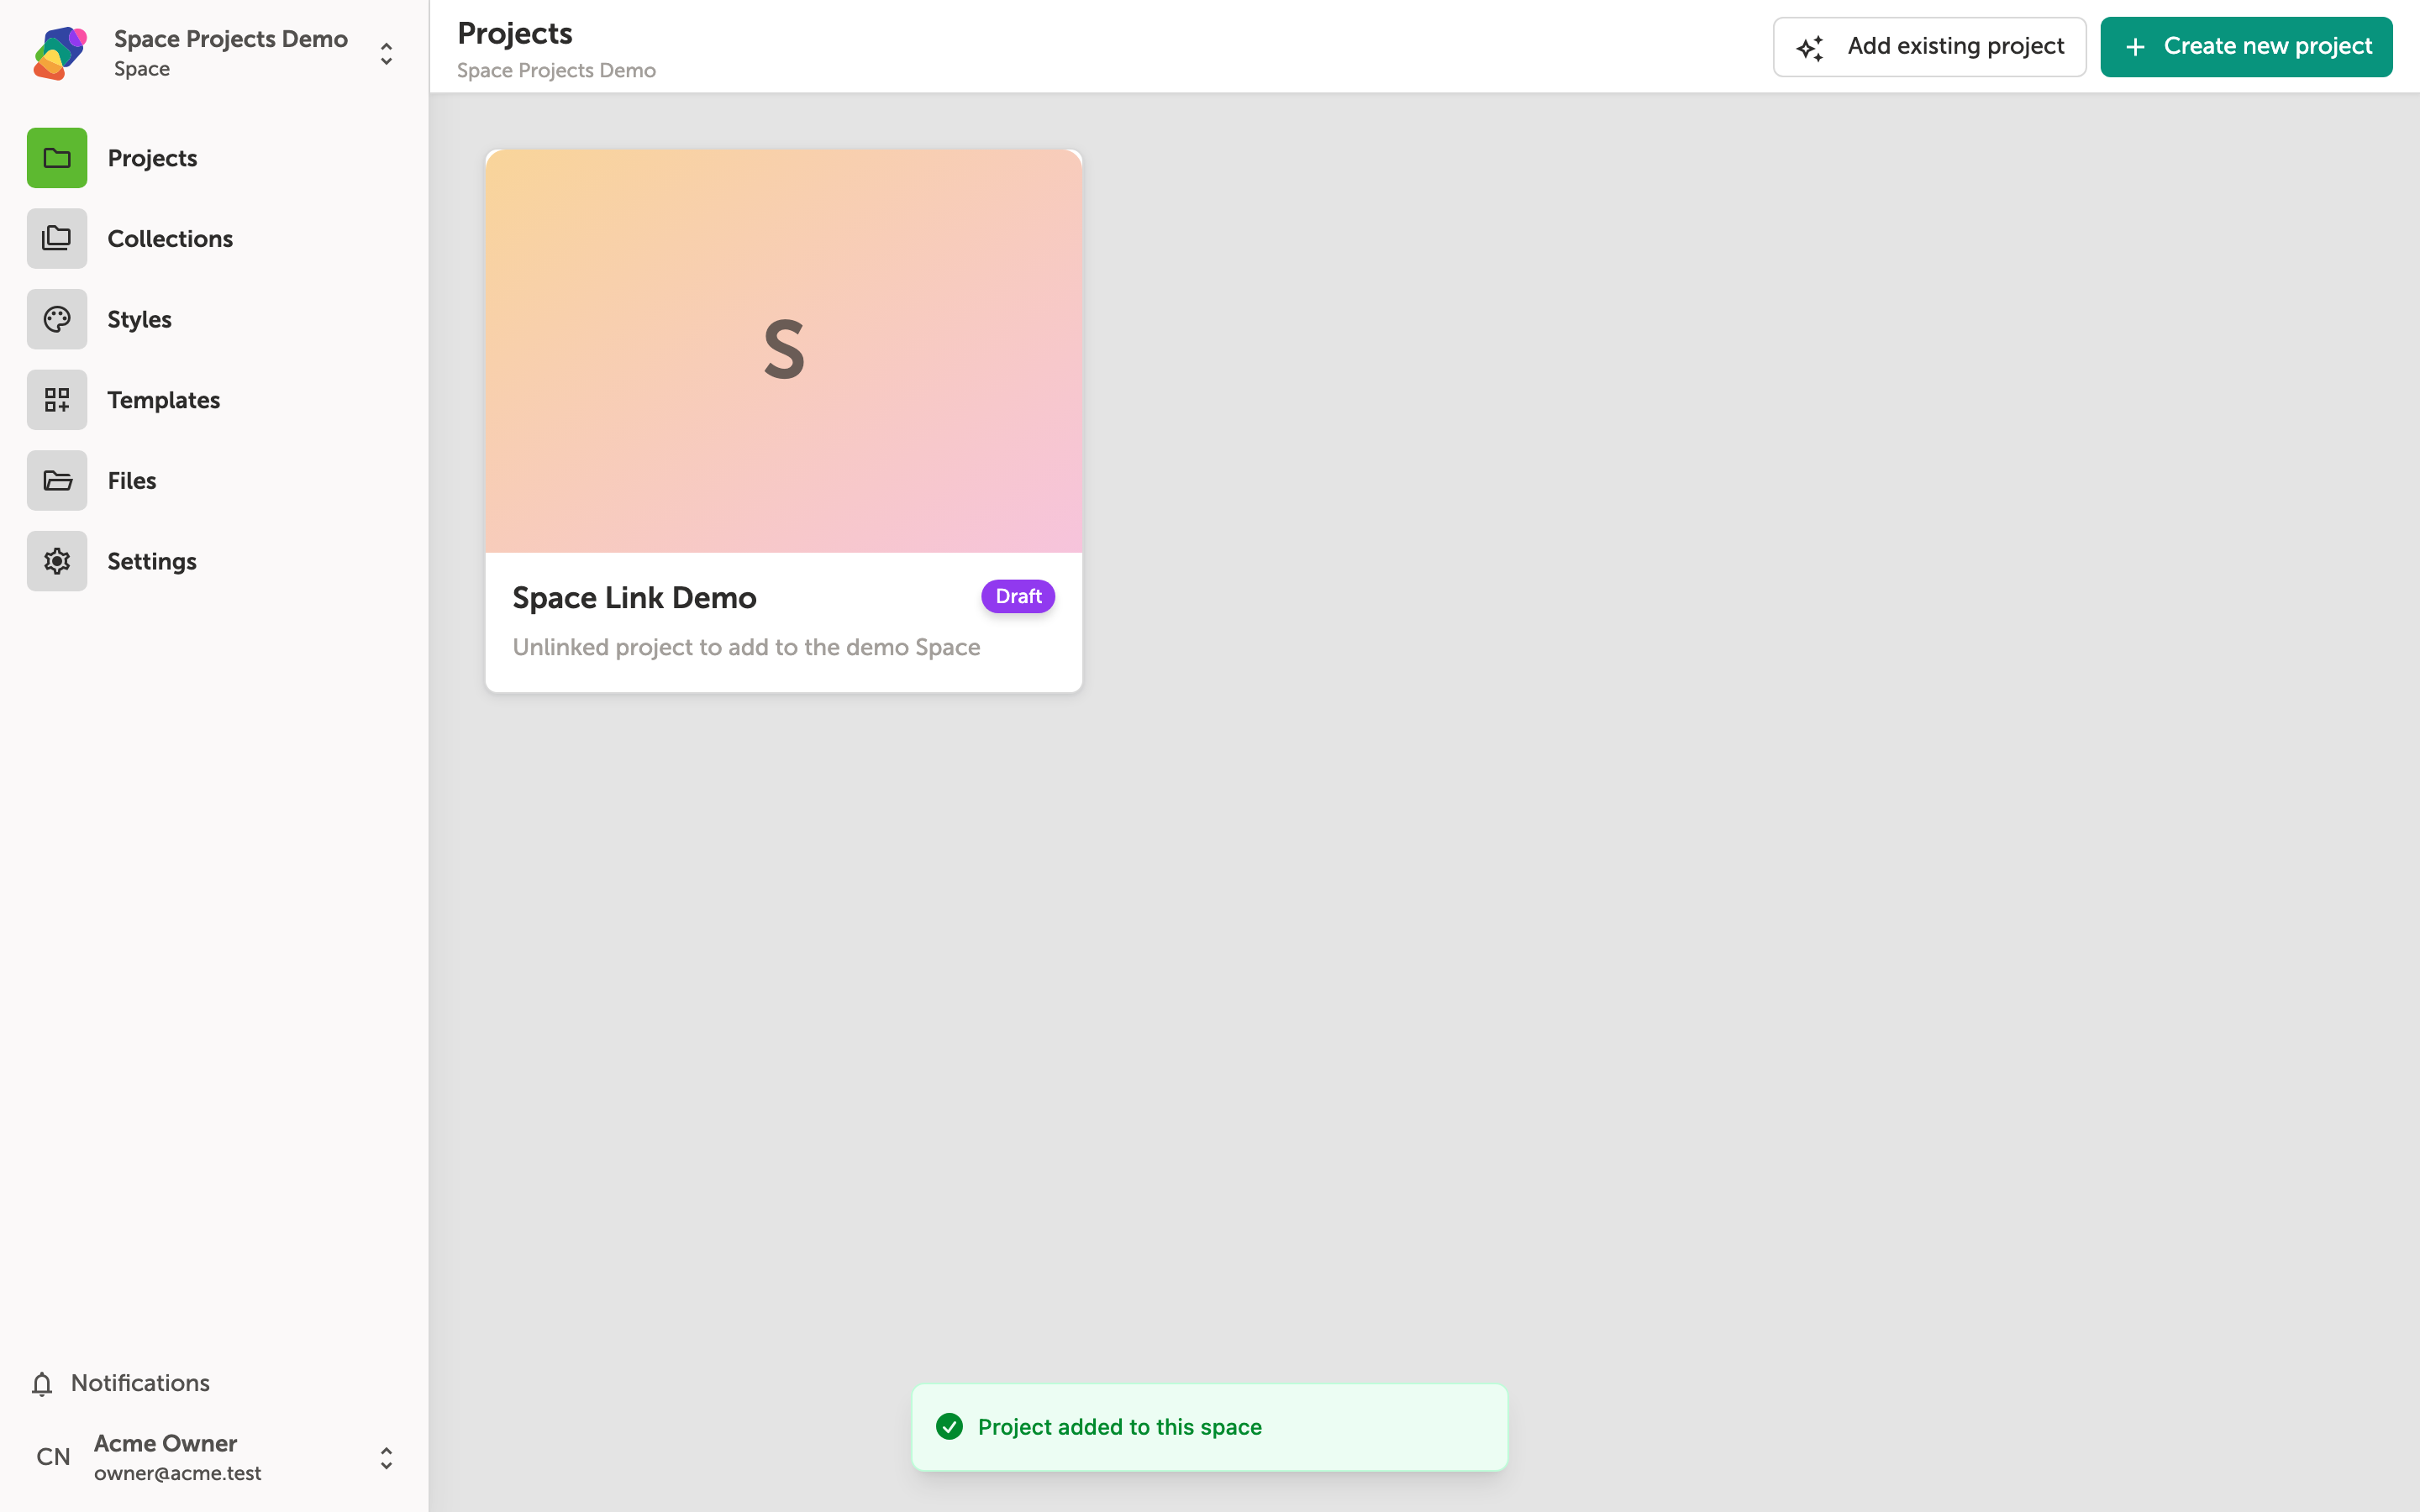
You're now inside your Space — what the Zibit UI currently labels as an "Exhibit" (this label will be updated in a future release). This page shows every project linked to the Space. Each card represents a separate project, and clicking one takes you straight into its editor.
Any assets and style sets you've set up at the Space level are automatically shared across all linked projects, so your museum's branding and media stay consistent everywhere. You can add an existing project to this Space using "Add existing", or start fresh by clicking "Create project" — don't worry, you can always add, remove, or reorganize projects later.
Your Space is now set up with projects and ready to grow alongside your exhibit. As your installation evolves, you can keep adding, rearranging, or removing projects without starting over — everything is adjustable. Here are some great next steps to explore:
- Customize a project's moments — Open any linked project and start building or editing the individual screens visitors will interact with.
- Set up flows between moments — Define the navigation paths that guide visitors through your experience in a logical, engaging order.
- Apply a style set — Give your Space's projects a consistent look by attaching a shared bundle of typography, colors, and shadows.
- Configure displays — Match each project's views to the exact screen resolution and orientation of your physical devices.
- Create a new project from scratch — If you need a fresh experience for this Space, start a new project directly within the Space context so it's organized from day one.