
Managing Organization Members
This tutorial walks you through managing the people who have access to your Zibit organization. By the end, you'll know how to open your organization's settings, review who currently has access and what role they hold, and invite new members with the right permissions—whether you're building out a team for a museum installation or onboarding a colleague to a shared workspace.
The Organizations page and how to open an organization's settings
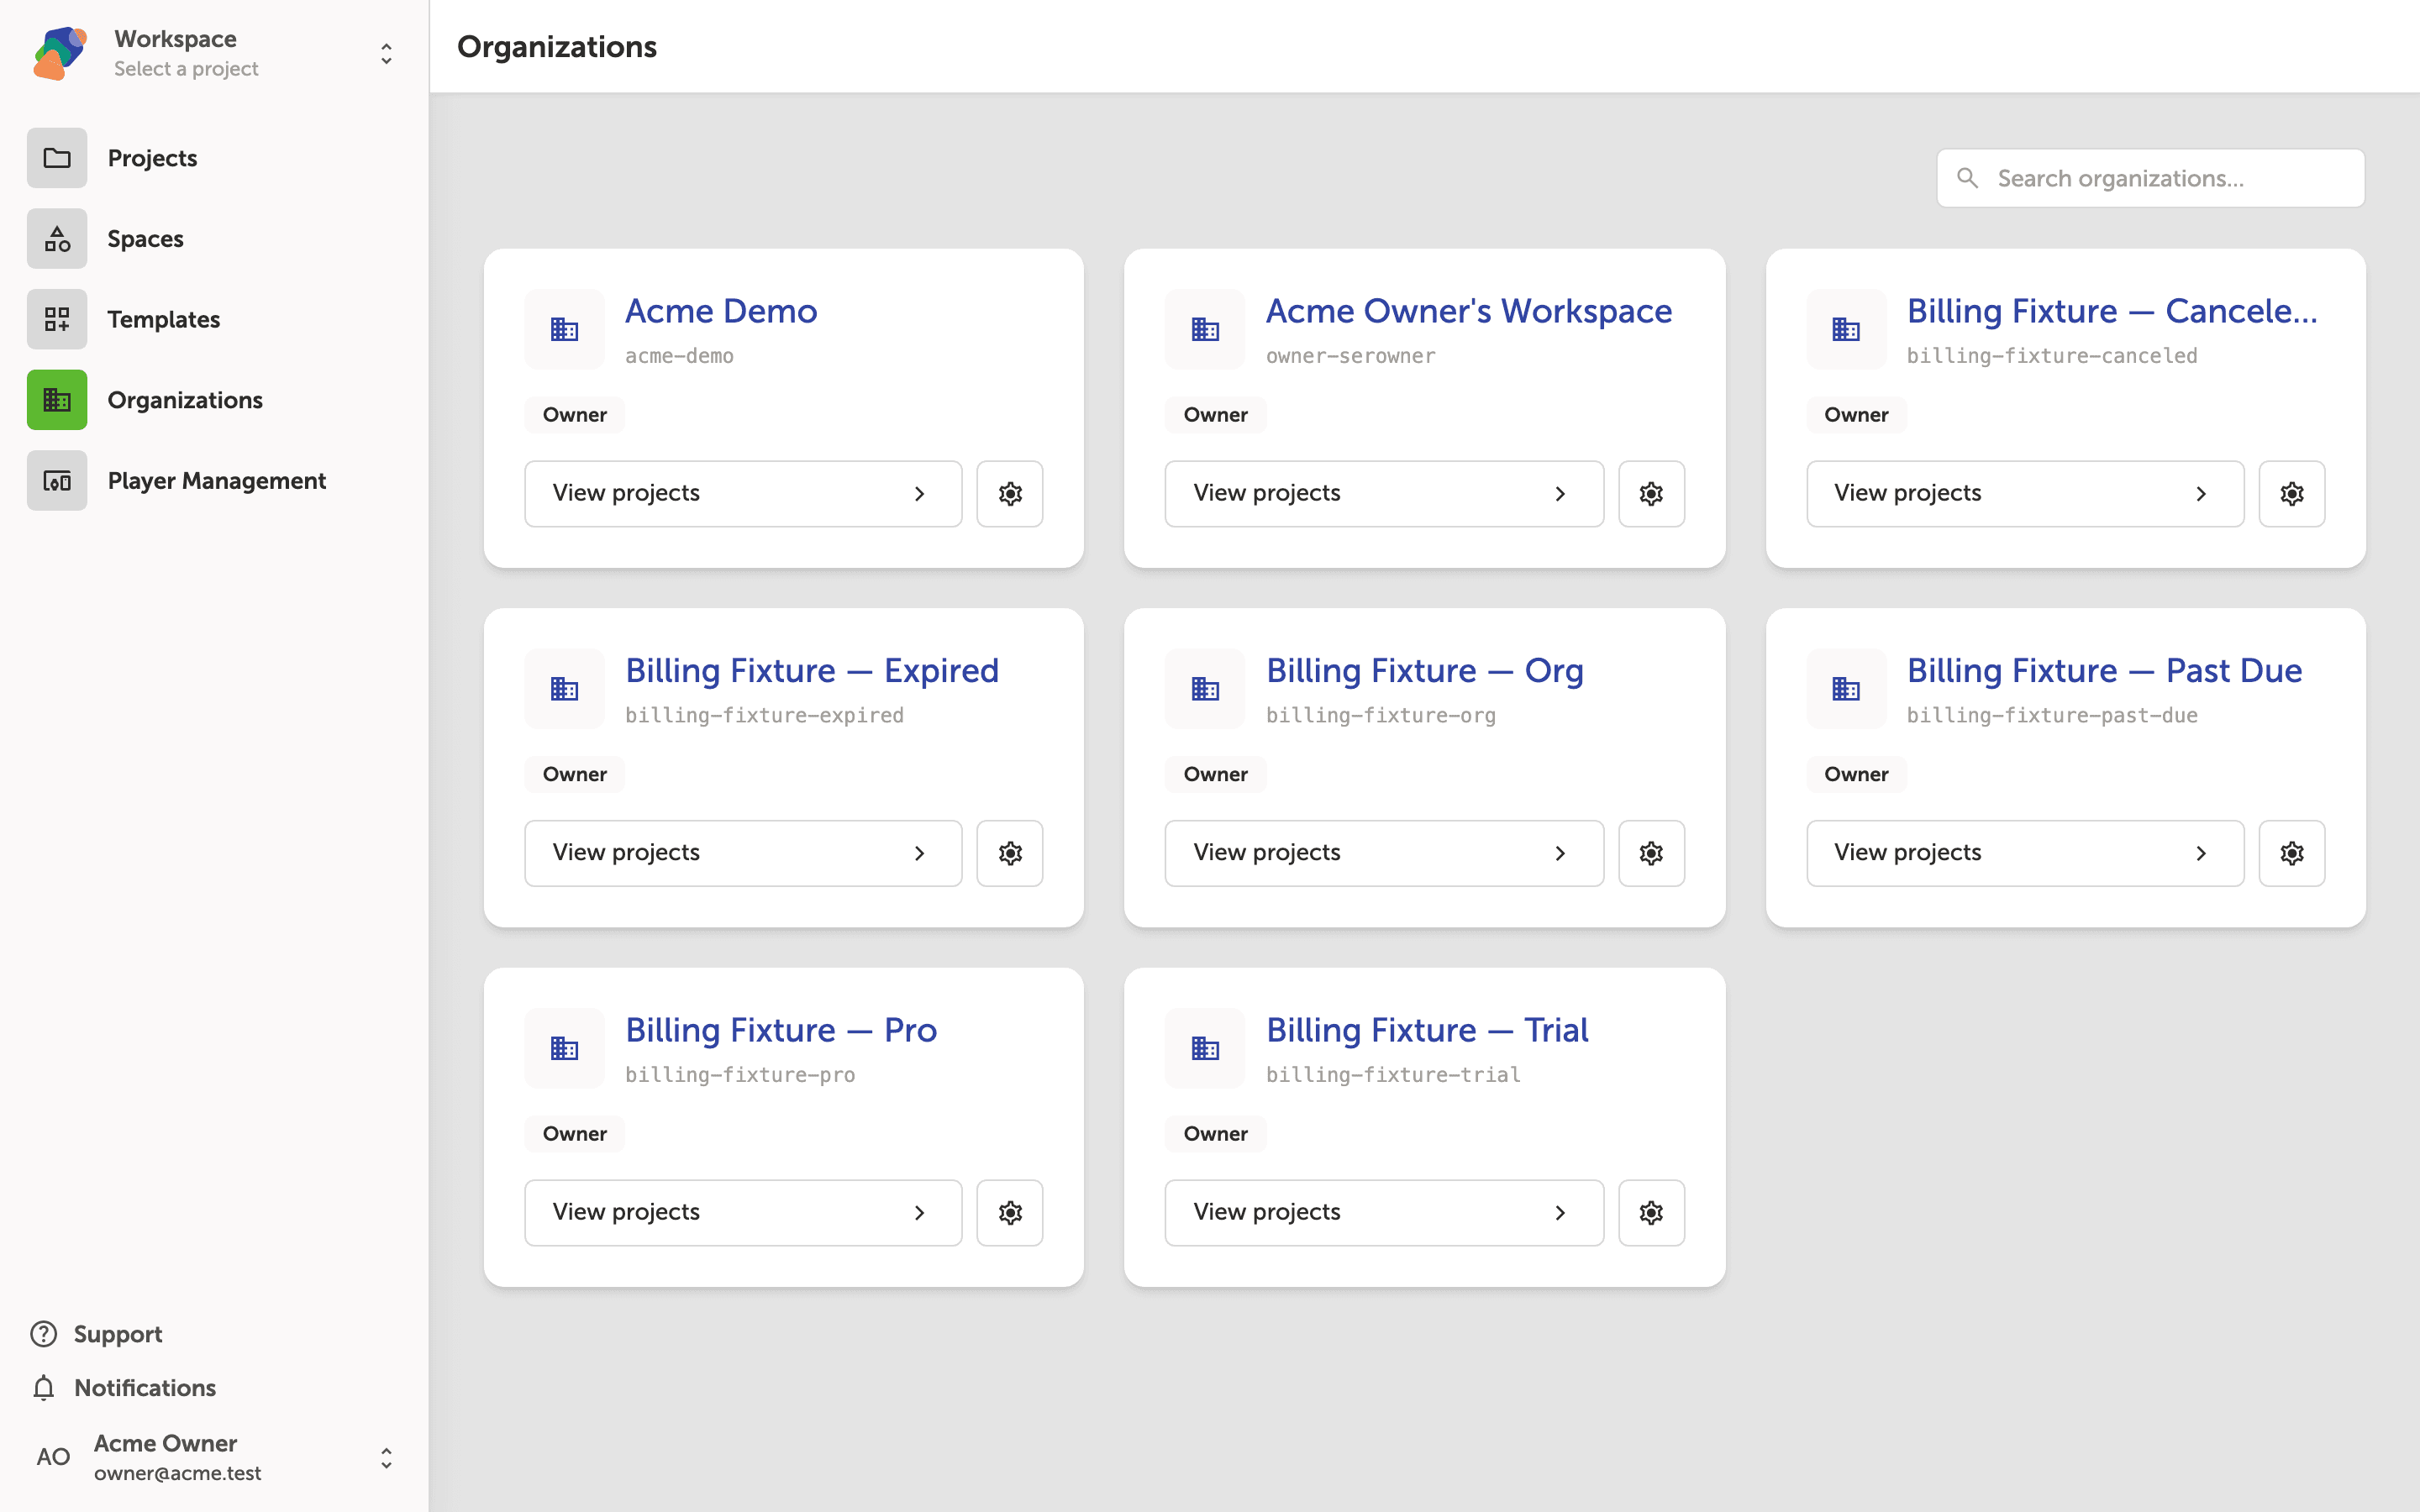
The Organizations page lists every organization your account belongs to. Each card shows the organization name, its URL slug, your role, and two actions: View projects to browse that organization's projects, and a settings icon to manage the organization itself.
To begin managing members, click the settings icon on the organization card you want to work with. The icon is labeled Settings for [organization name] and appears to the right of the View projects button.
Reviewing current members and their roles
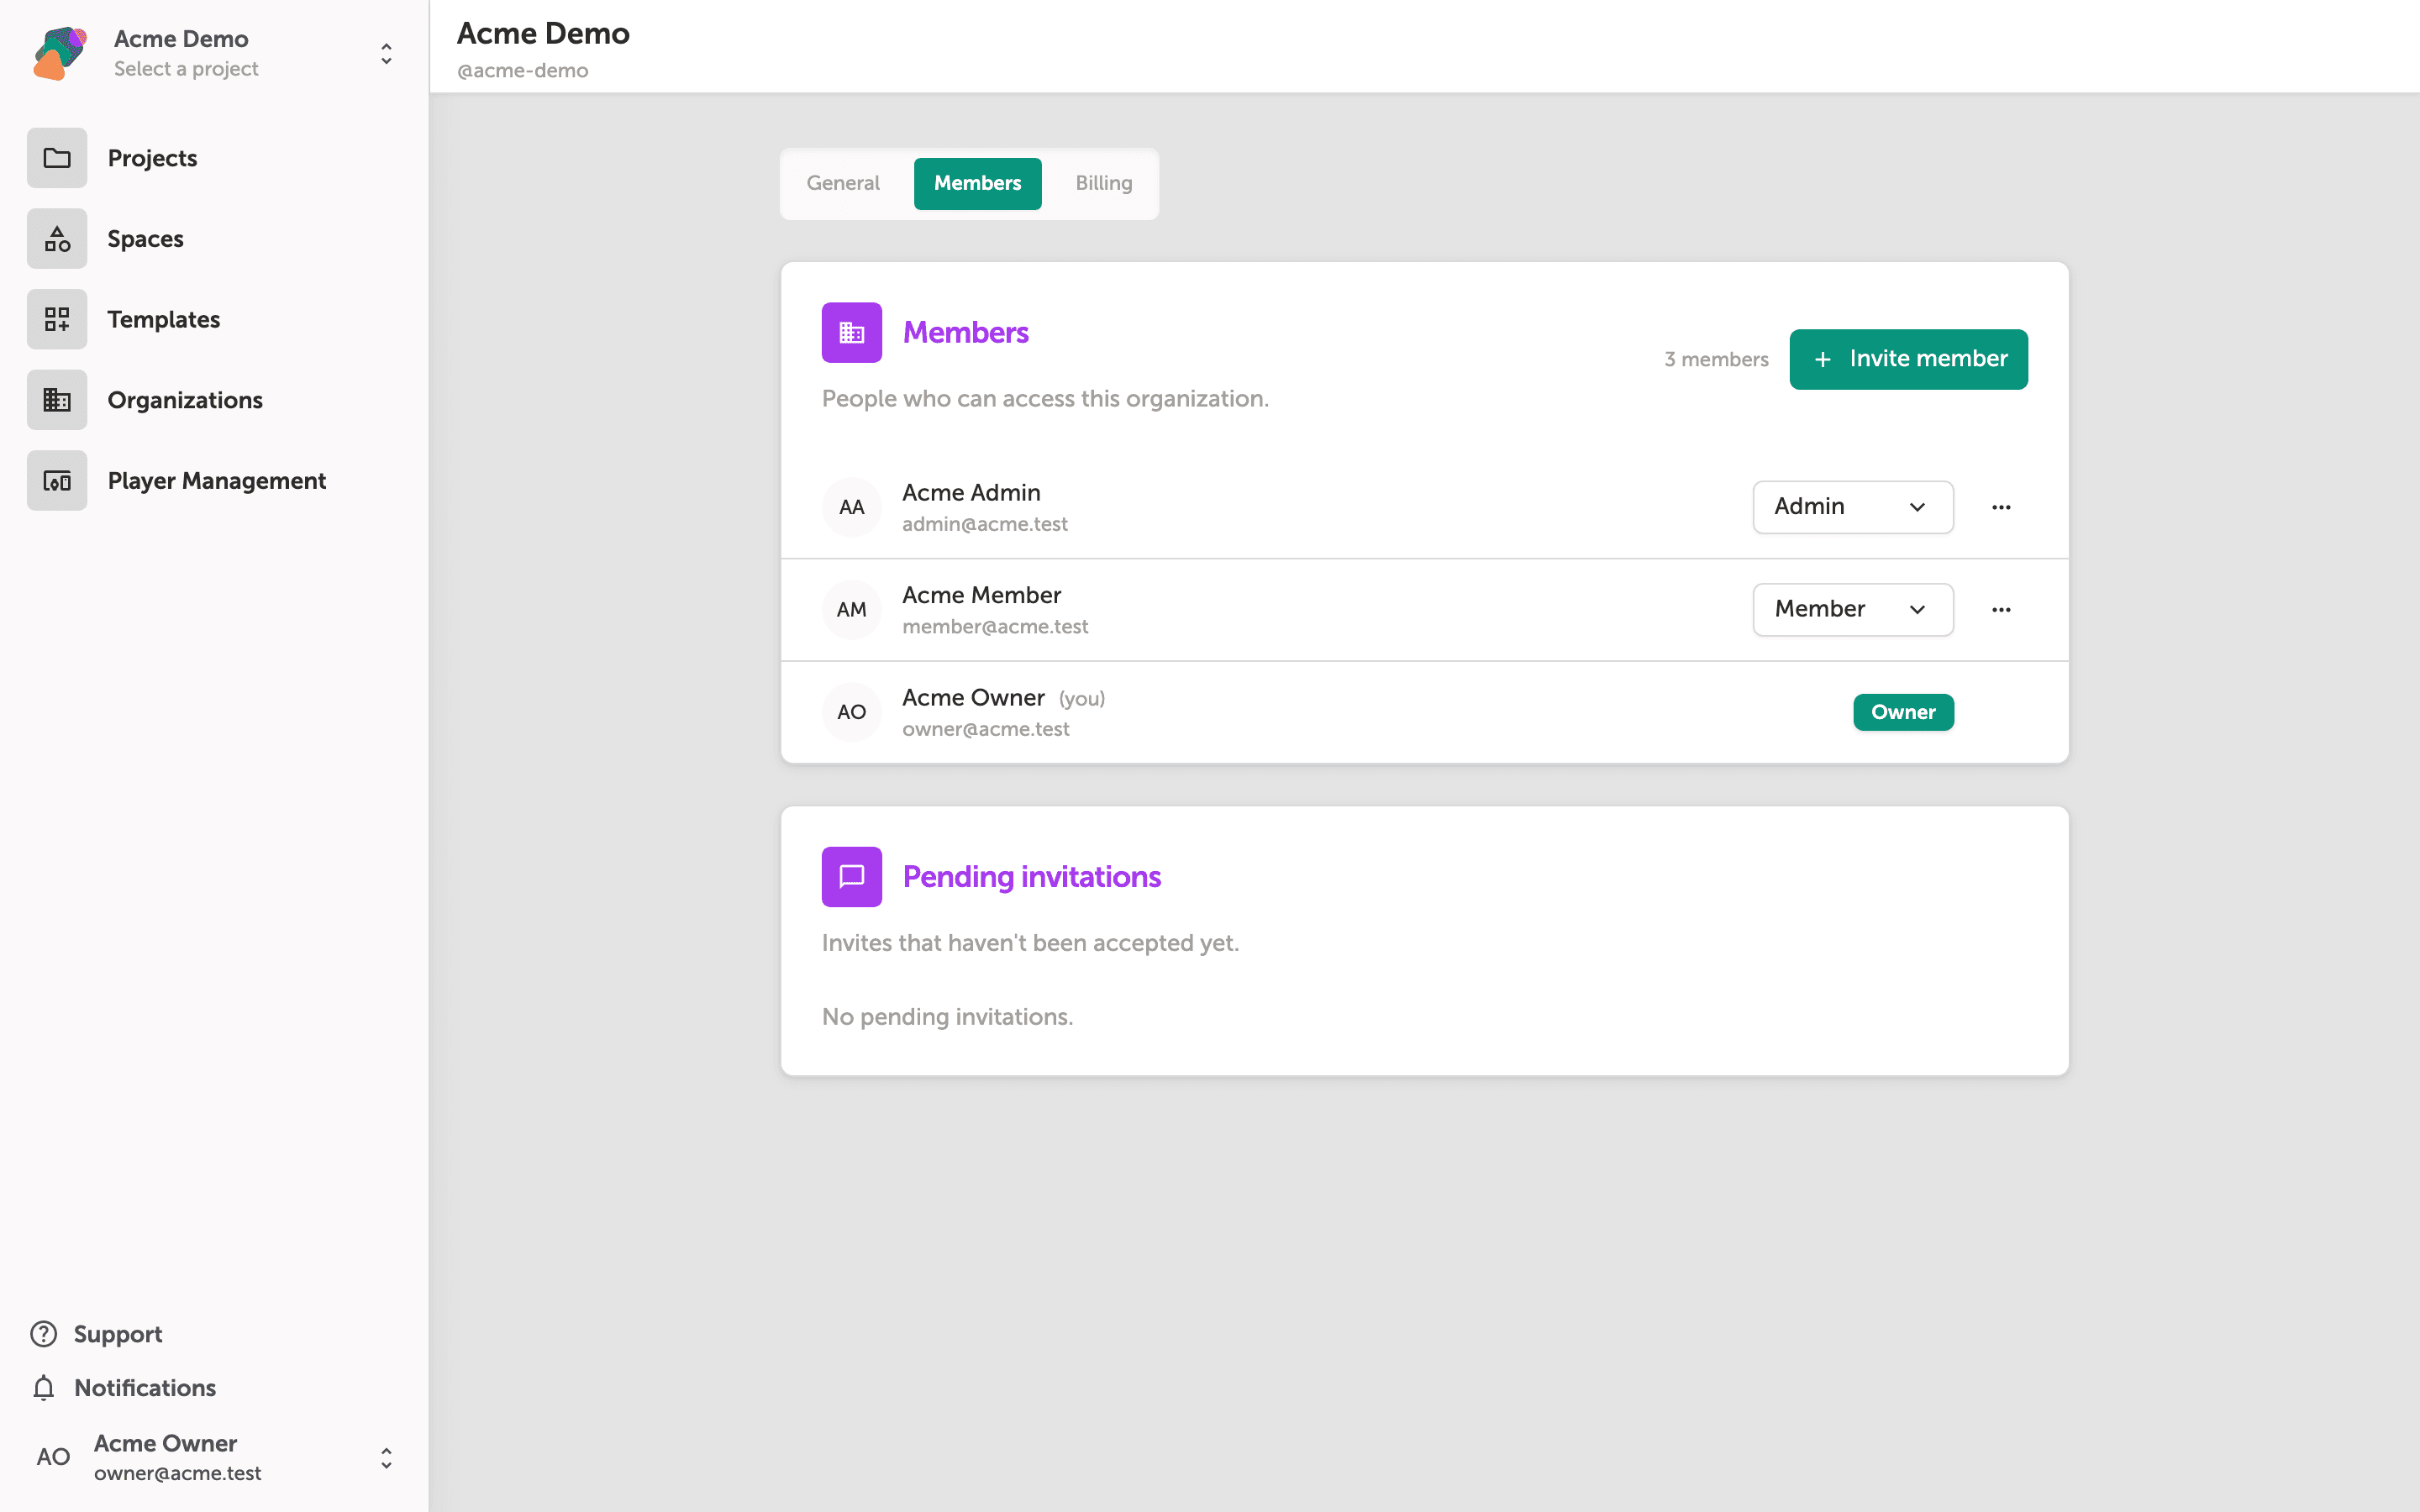
The Members tab shows everyone who has access to your organization, along with their email address and assigned role. Each person listed has a role badge or dropdown—Admin, Member, or Owner—that controls what they can do within the organization.
To change a member's role, open the role dropdown next to their name. To access additional actions for a member, click the more_horiz (⋯) button on their row. The Pending invitations section below the member list shows any invites that haven't been accepted yet—it will display "No pending invitations" when the queue is clear.
Filling in the Invite member dialog
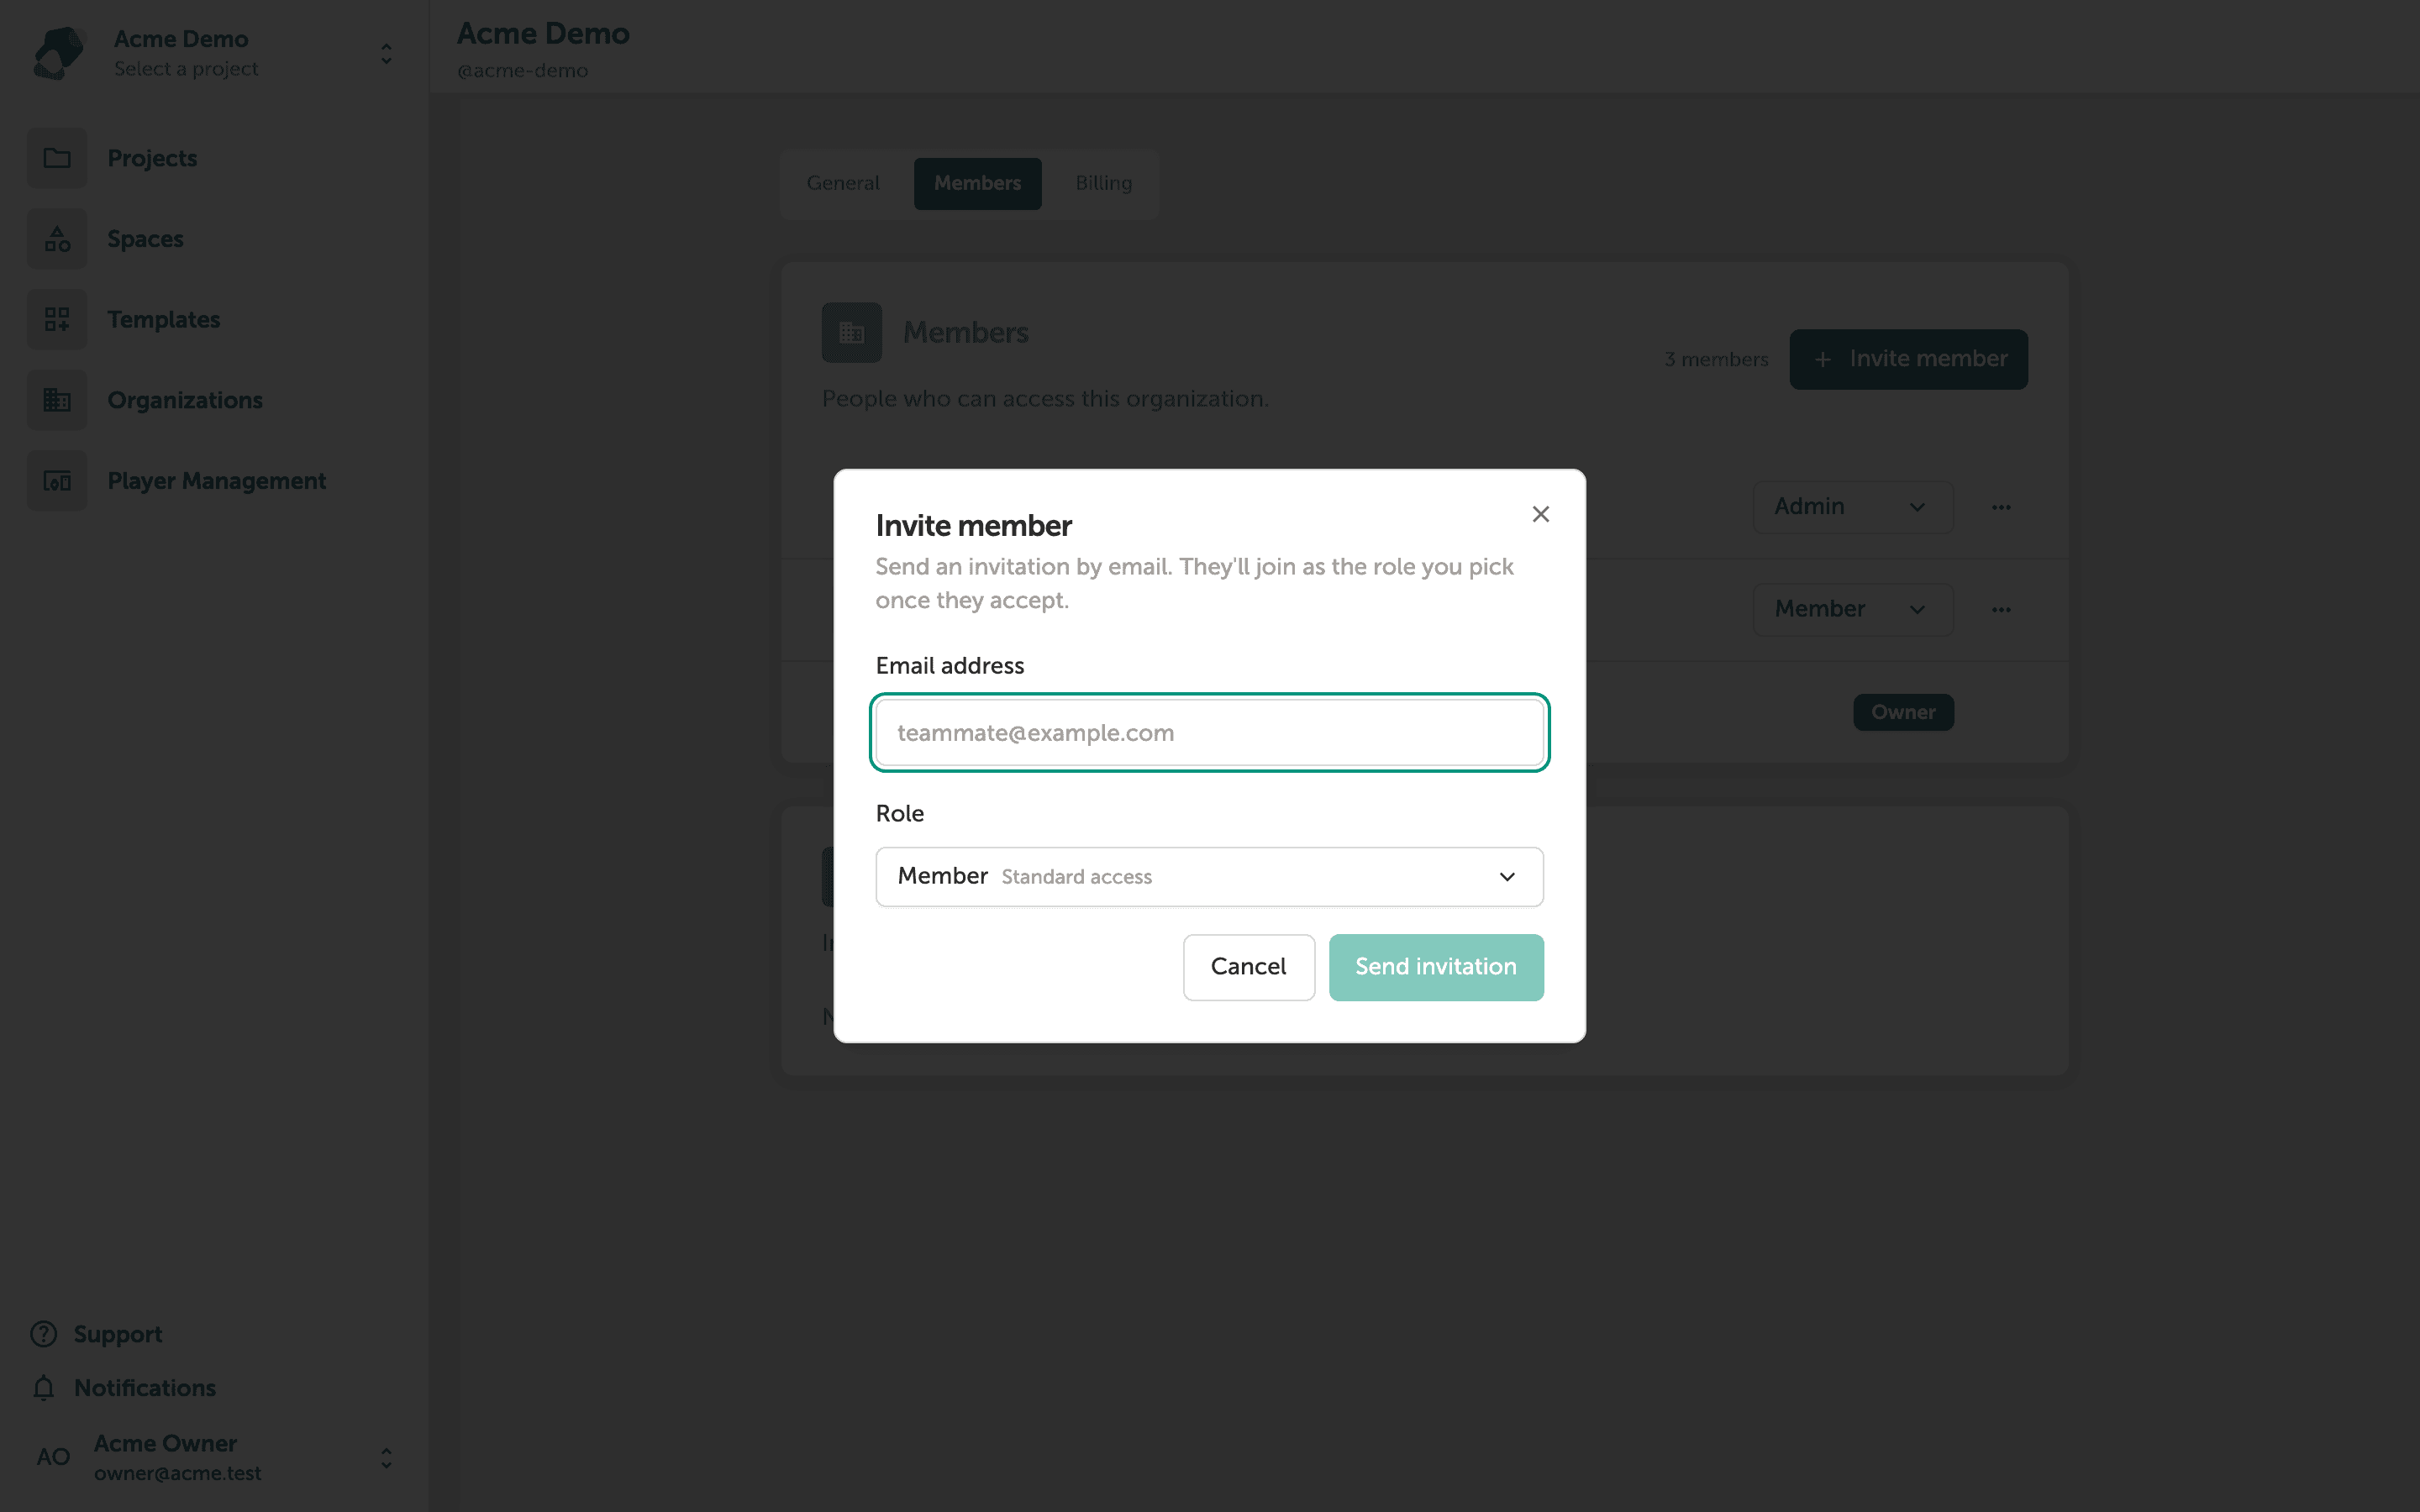
Enter your new member's email address in the Email address field. The Role dropdown is set to Member (Standard access) by default—open it if you need to grant a different level of access before sending.
Once both fields are set, click Send invitation. Zibit sends an email to that address, and the person joins your organization as the chosen role when they accept. Click Cancel to close the dialog without sending.
Your organization's membership is now under control. From here, you can start shaping how your team works together inside Zibit by exploring spaces, projects, and role-based permissions in more depth.
- Create and organize spaces: Group related projects into spaces so team members see only what's relevant to their work.
- Adjust roles over time: Revisit the Members tab whenever someone's responsibilities change and update their role to match.
- Set up a style set: Establish shared typography and colors so every member builds to the same visual standard.
- Explore collections: Connect a reusable data set to your projects so the whole team works from a single source of truth.
- Configure displays: Define the target screen resolutions your team should design for before they start building moments.