
Navigating the Project Editor
This tutorial walks you through the main areas of the Zibit project editor so you know where everything lives before you start building. By the end, you'll be able to open a project, move between its key sections, read the moments graph, and launch a preview—the foundation for everything you'll do in Zibit.
The My Projects dashboard
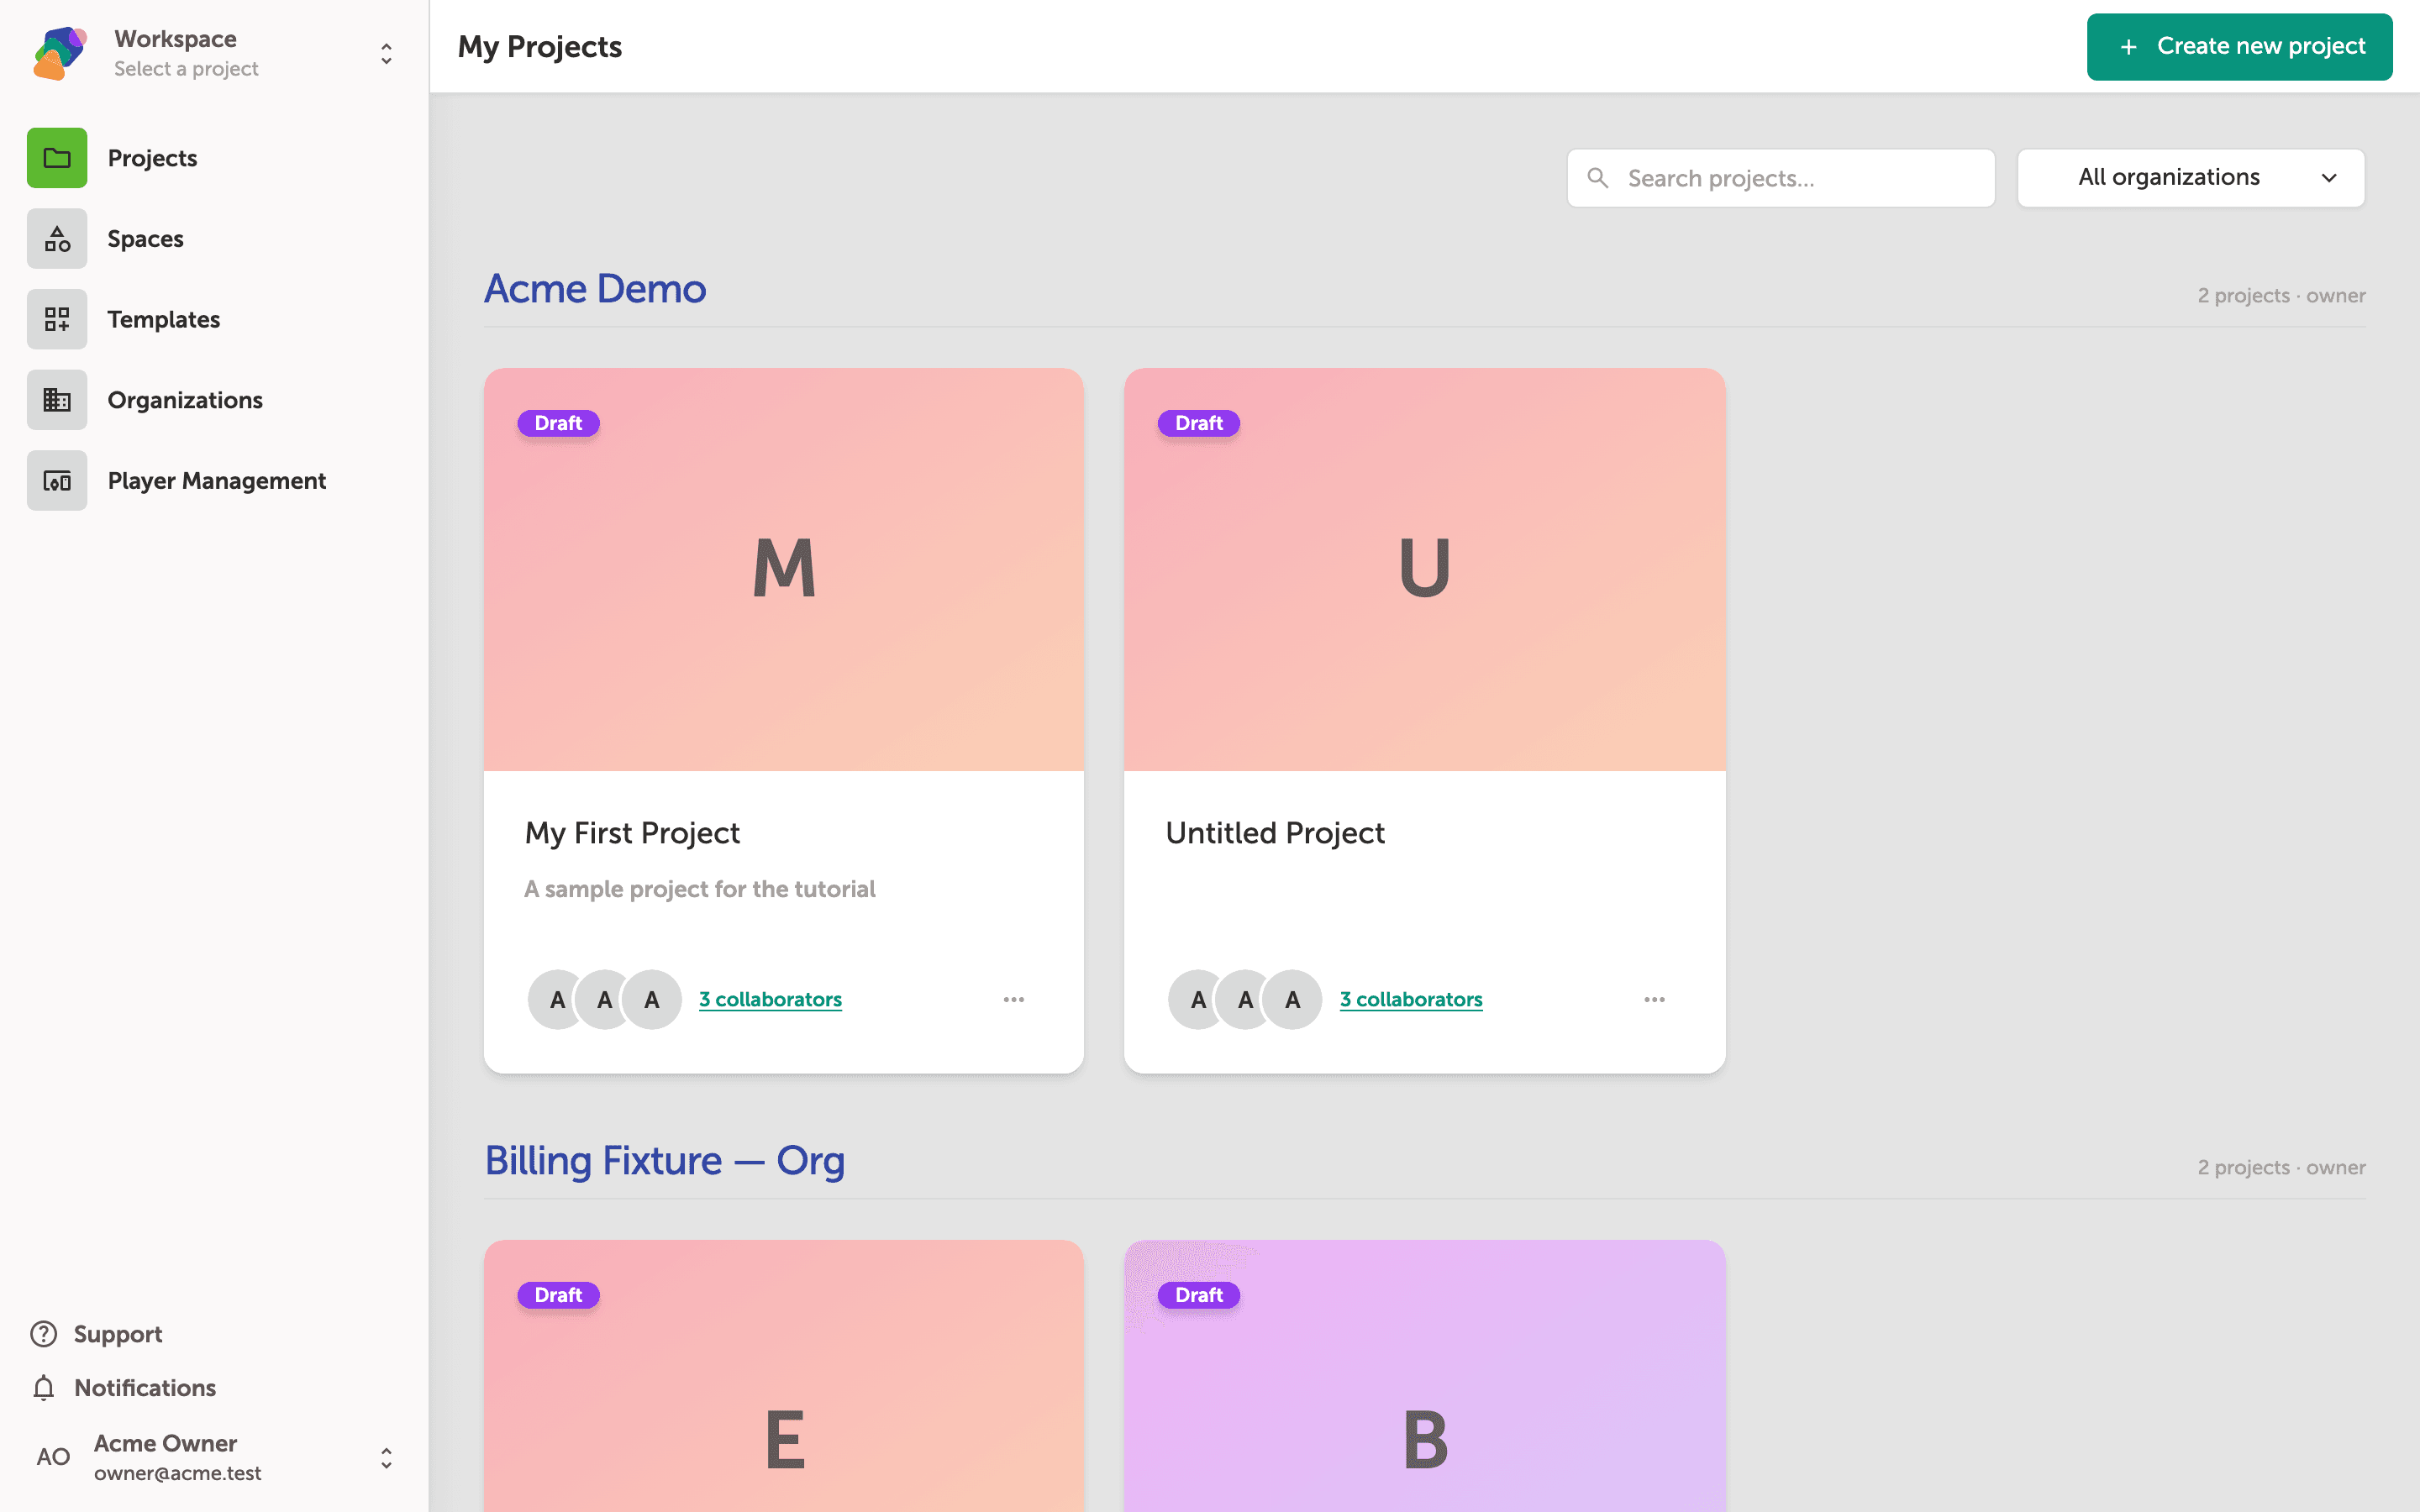
My Projects is your home base in Zibit. Every project you own or collaborate on appears here, grouped by space. Each card shows the project name, its current status (such as Draft), and the collaborators working on it.
To start a brand-new project, click "Create new project" in the top-right corner. To open an existing project and enter its editor, click directly on a project card.
The Moments graph canvas and moment cards
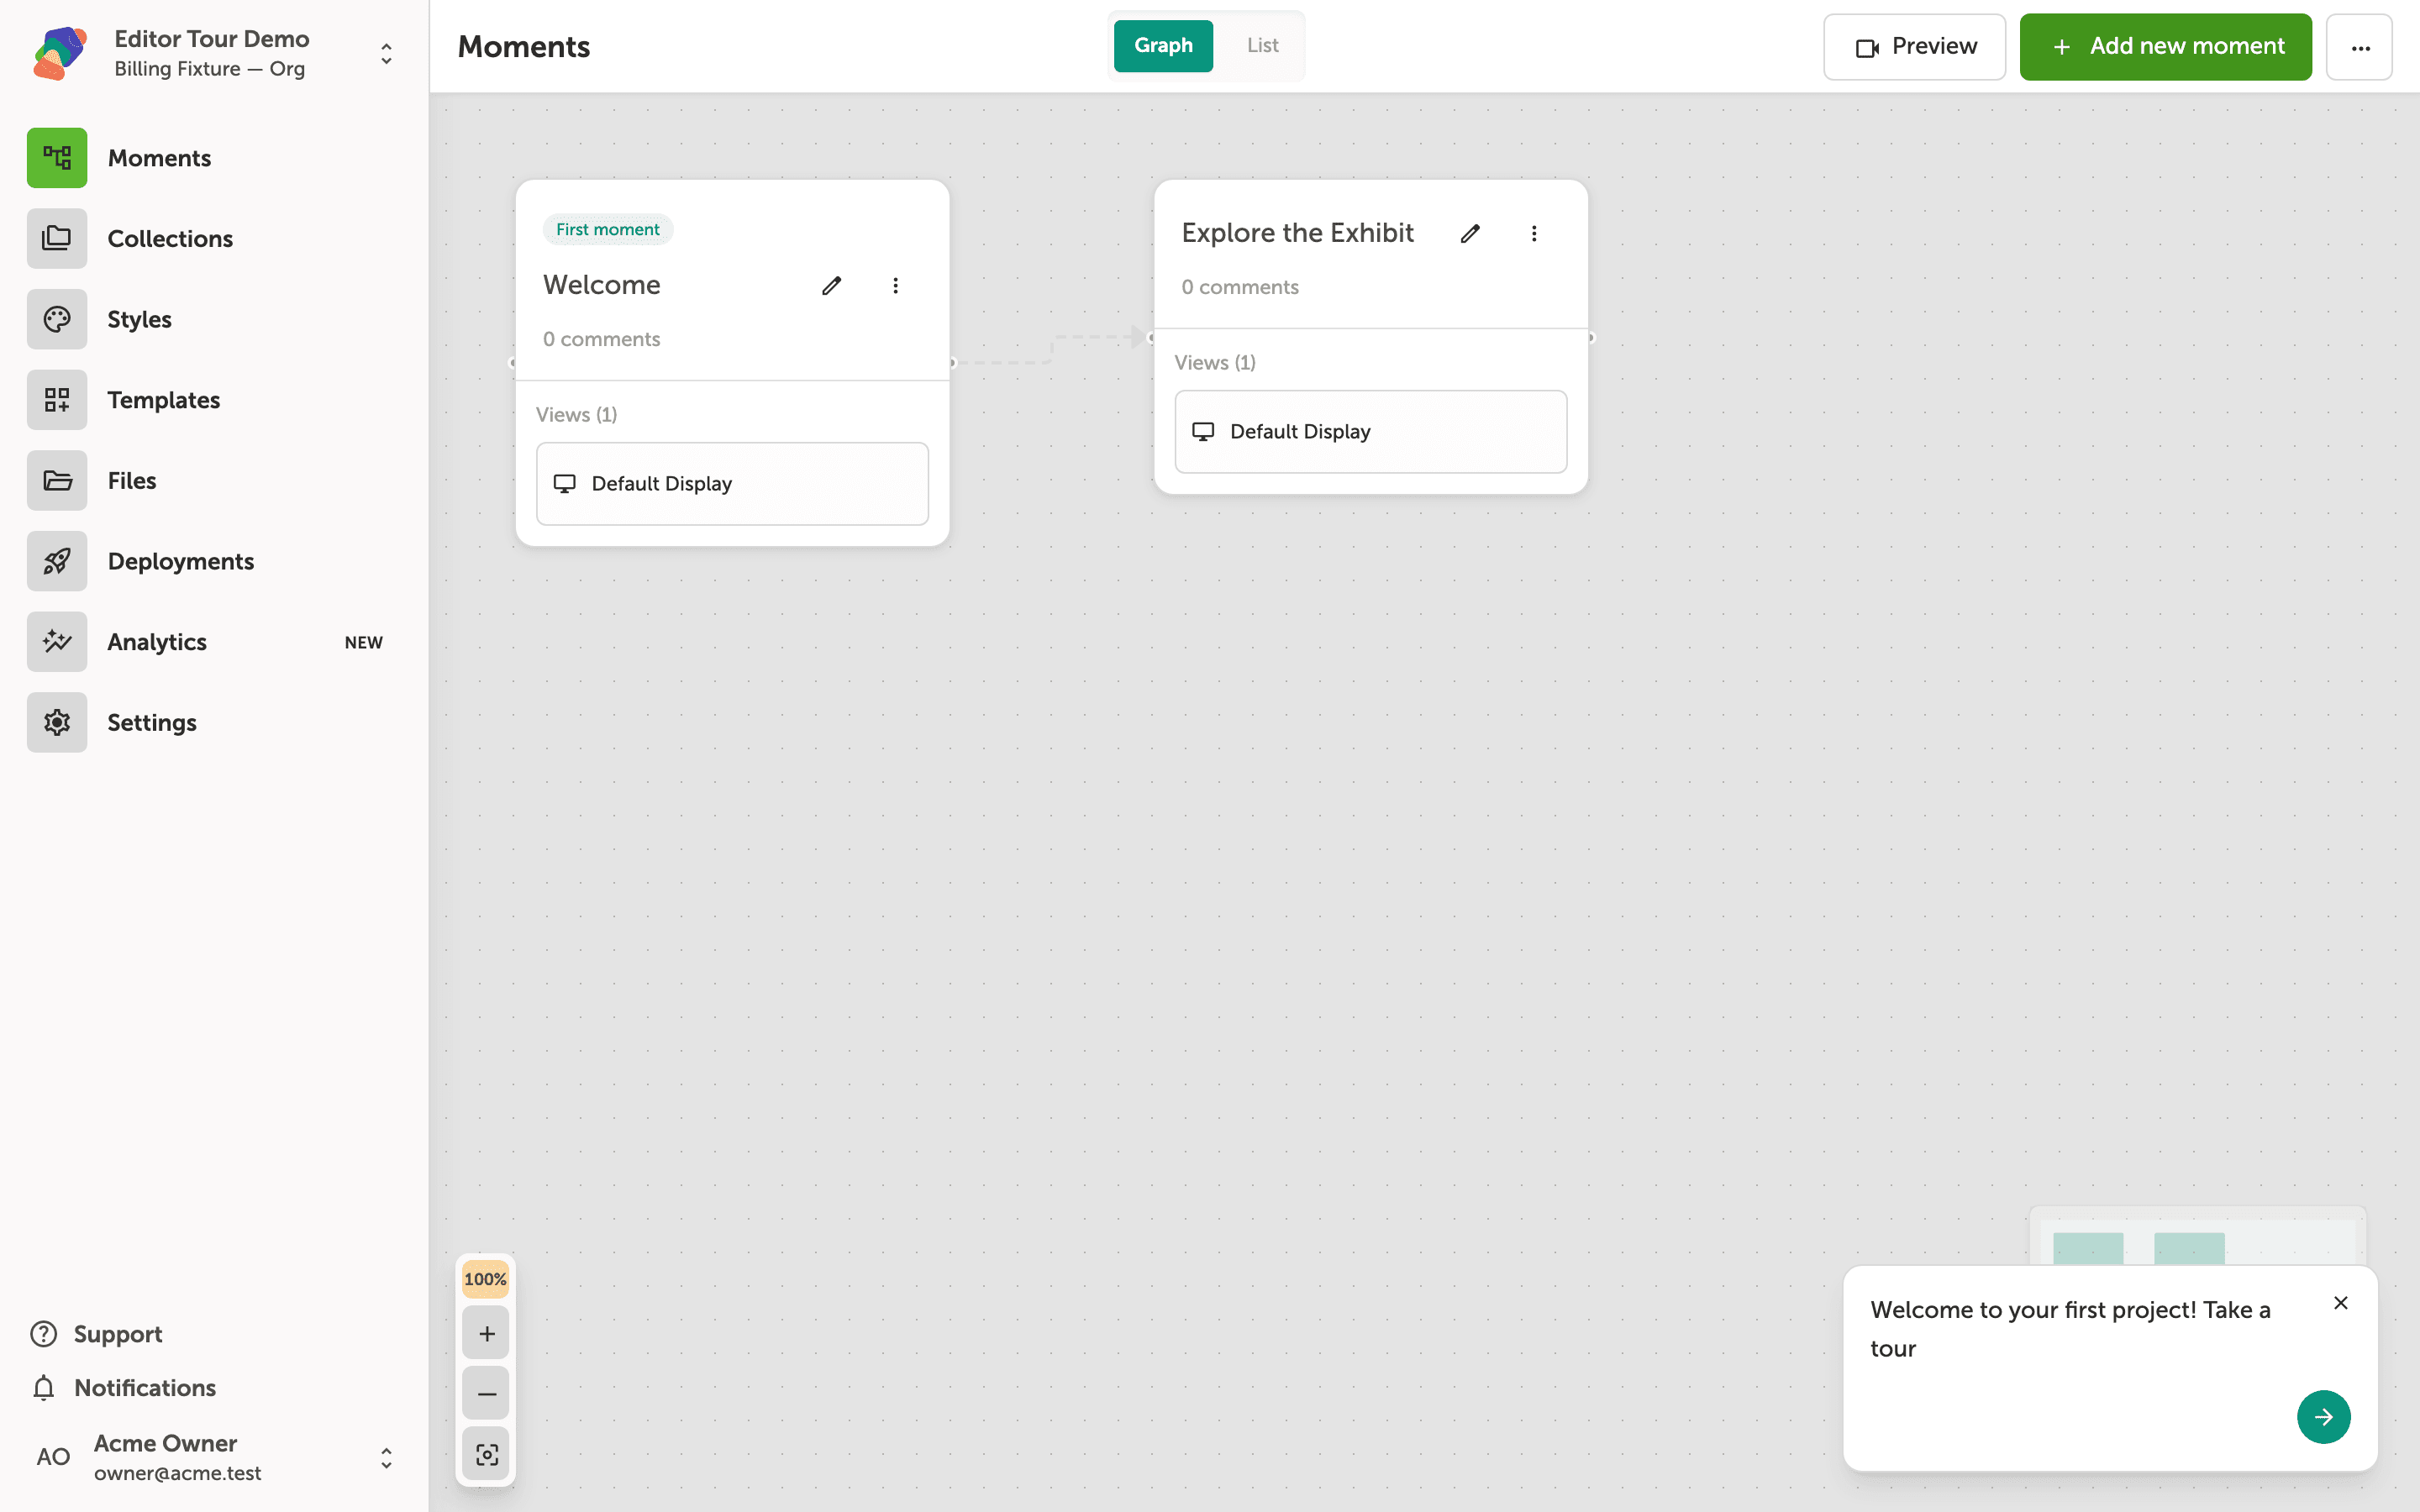
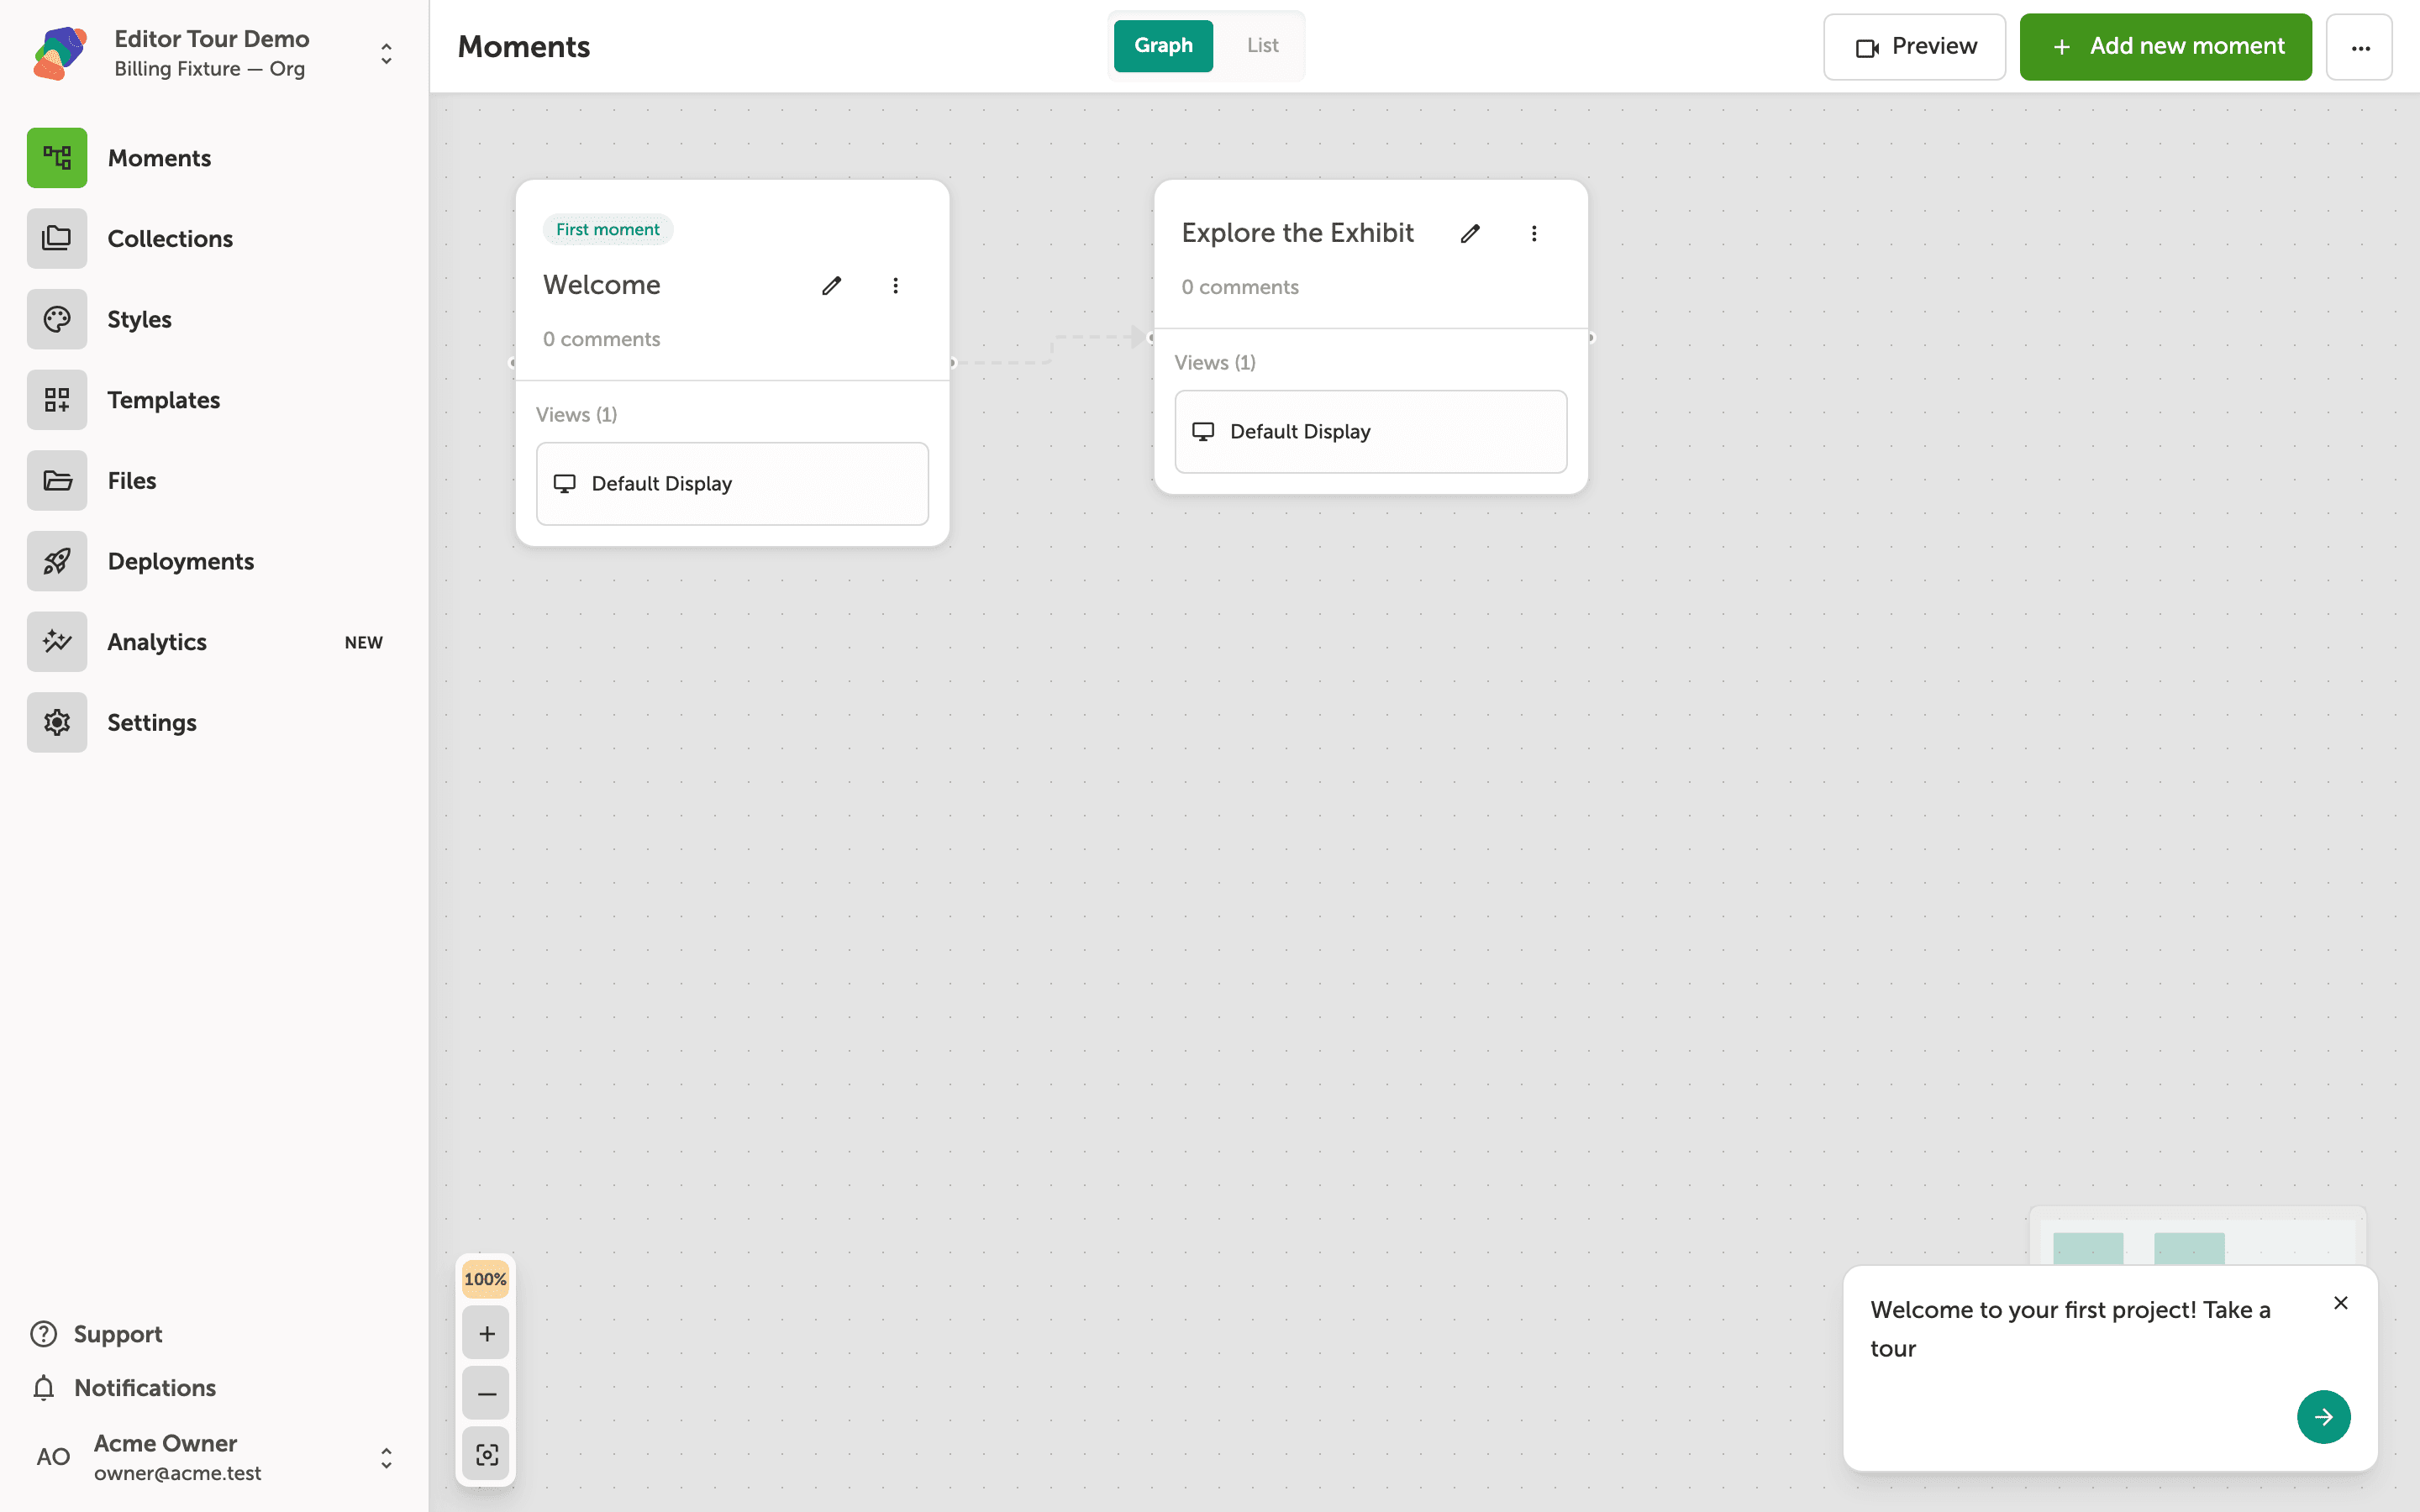
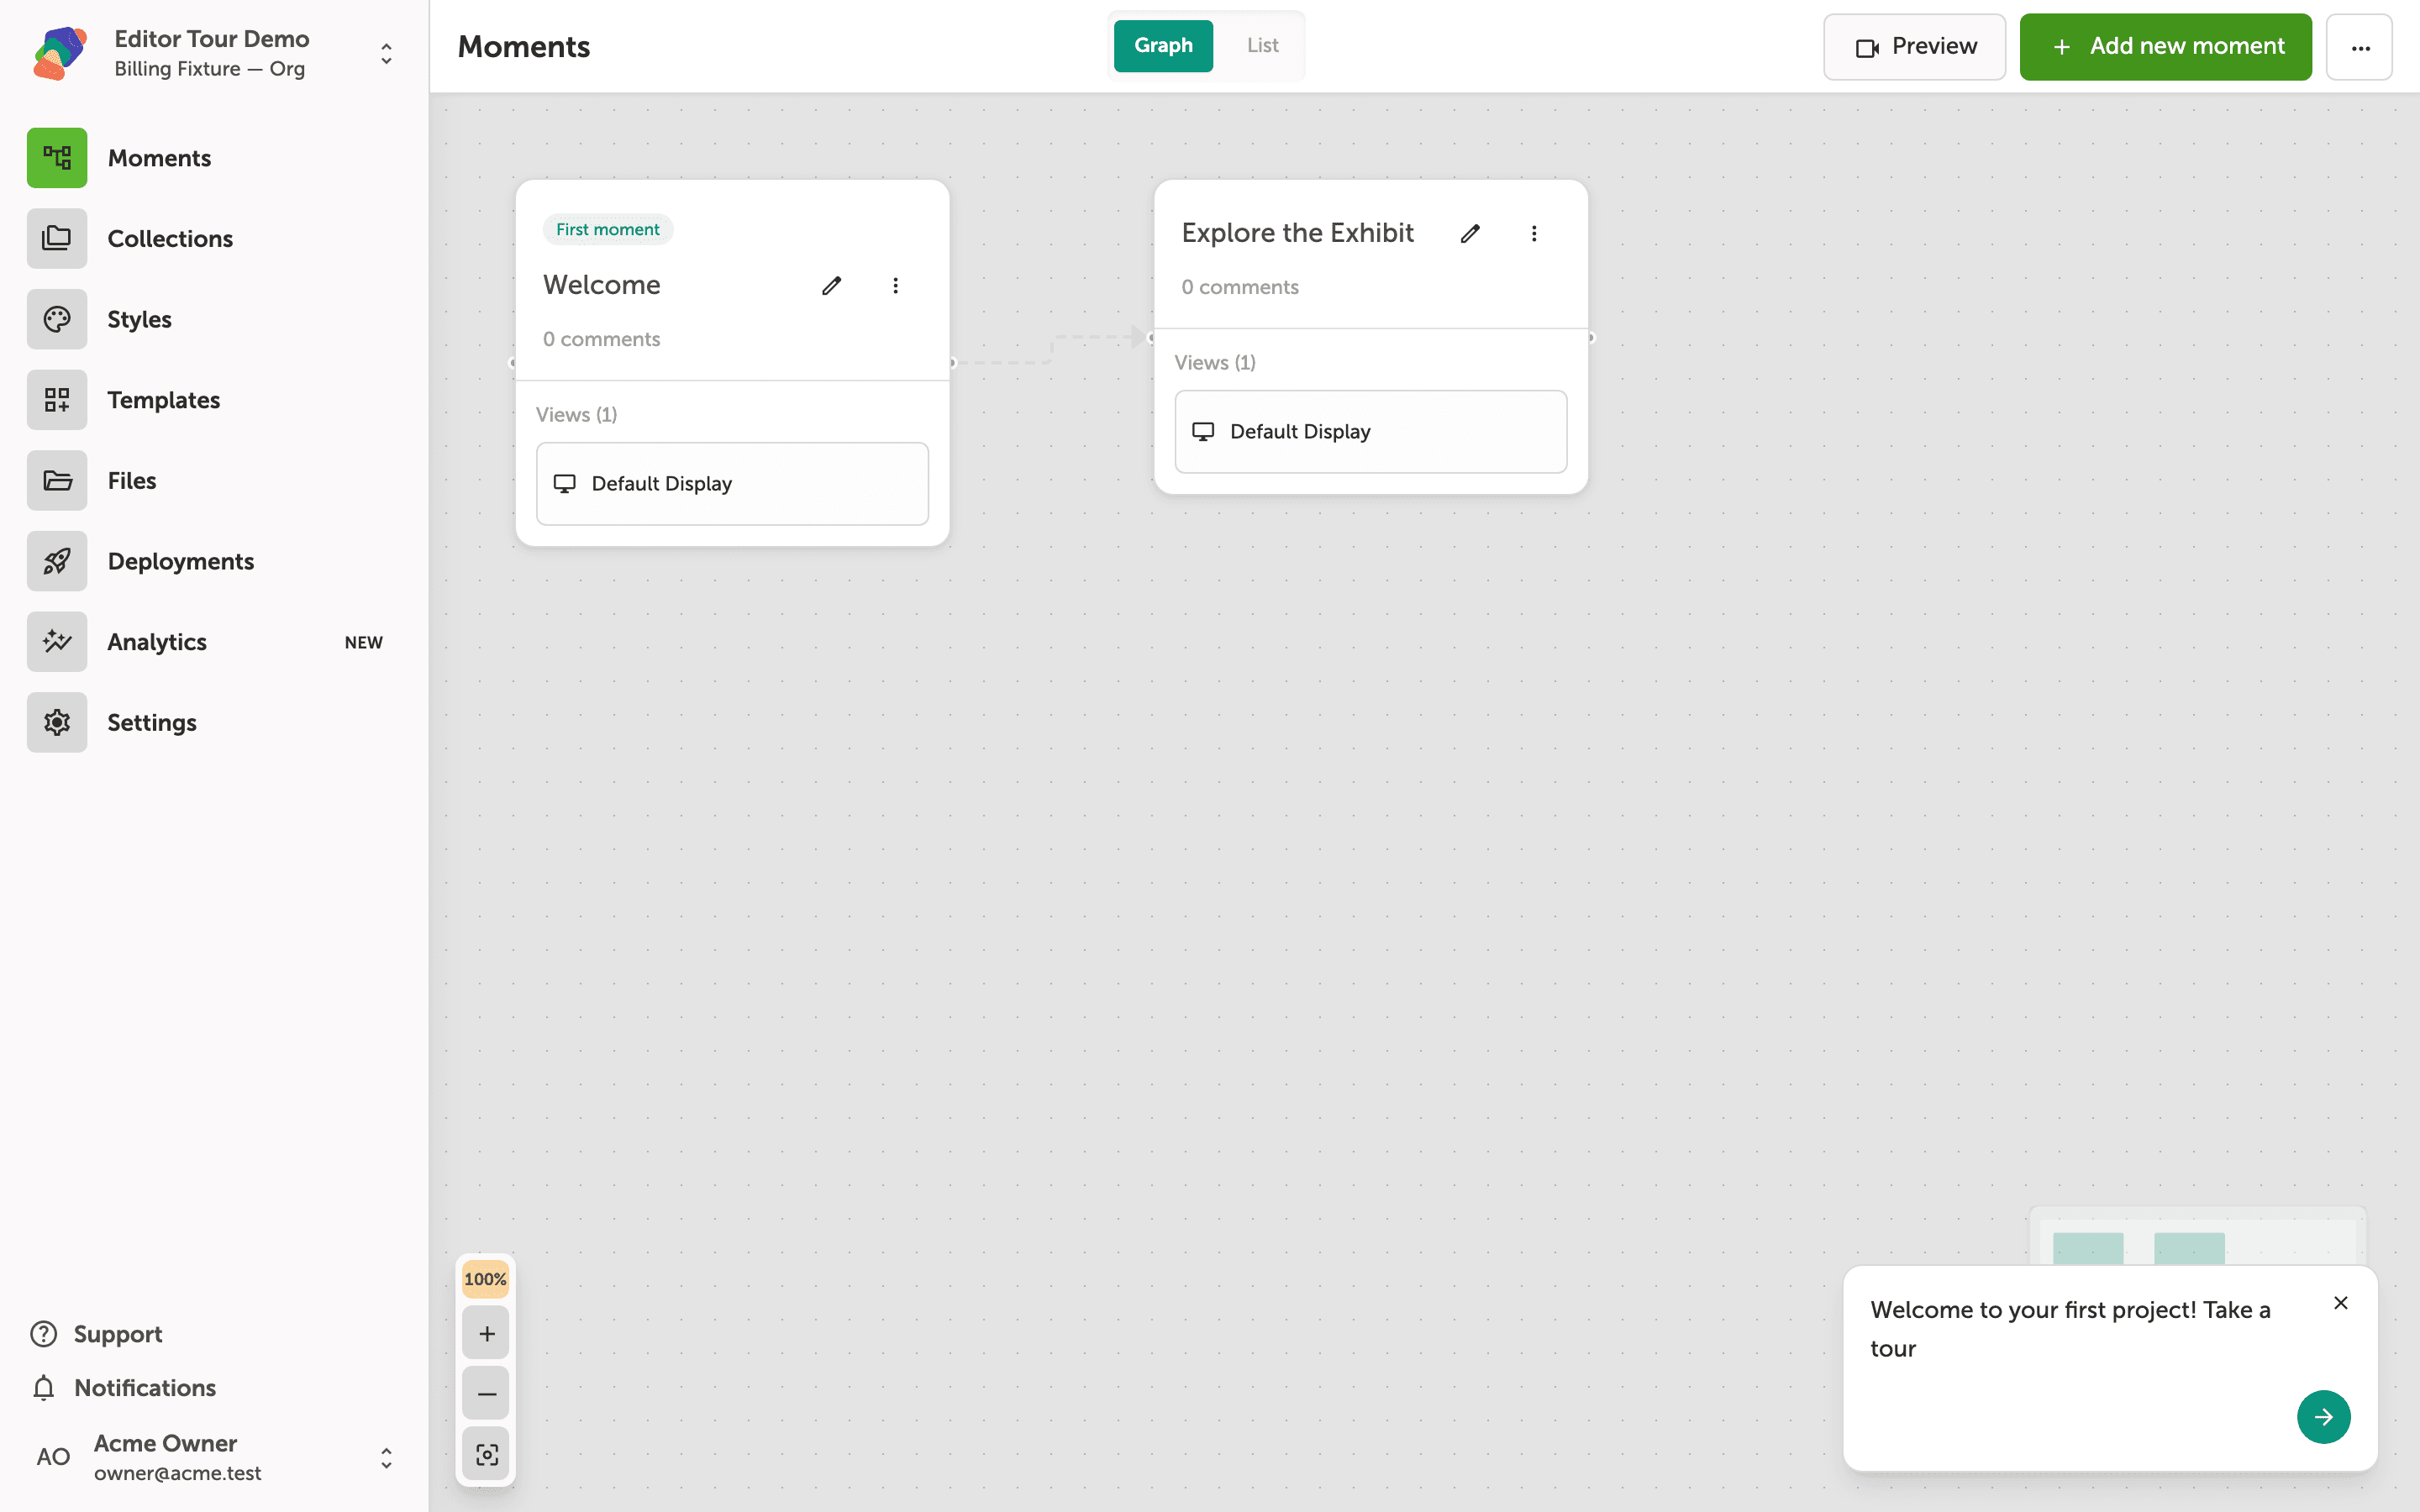
After opening a project, you land on the Moments page in Graph view. Each card on the canvas represents a moment—a single screen in your project. The card labeled First moment is your project's entry point. Here that's Welcome, and it already has one view attached: Library Display.
A dashed arrow from Welcome to Explore the Exhibit is a flow: the path a visitor follows when they navigate from one moment to the next. Explore the Exhibit has no views yet, which is normal for a moment you have added to the structure but have not designed. Use Add new moment in the top-right corner to add another screen, or switch to List view with the toggle next to it.
Using the project sidebar to switch sections
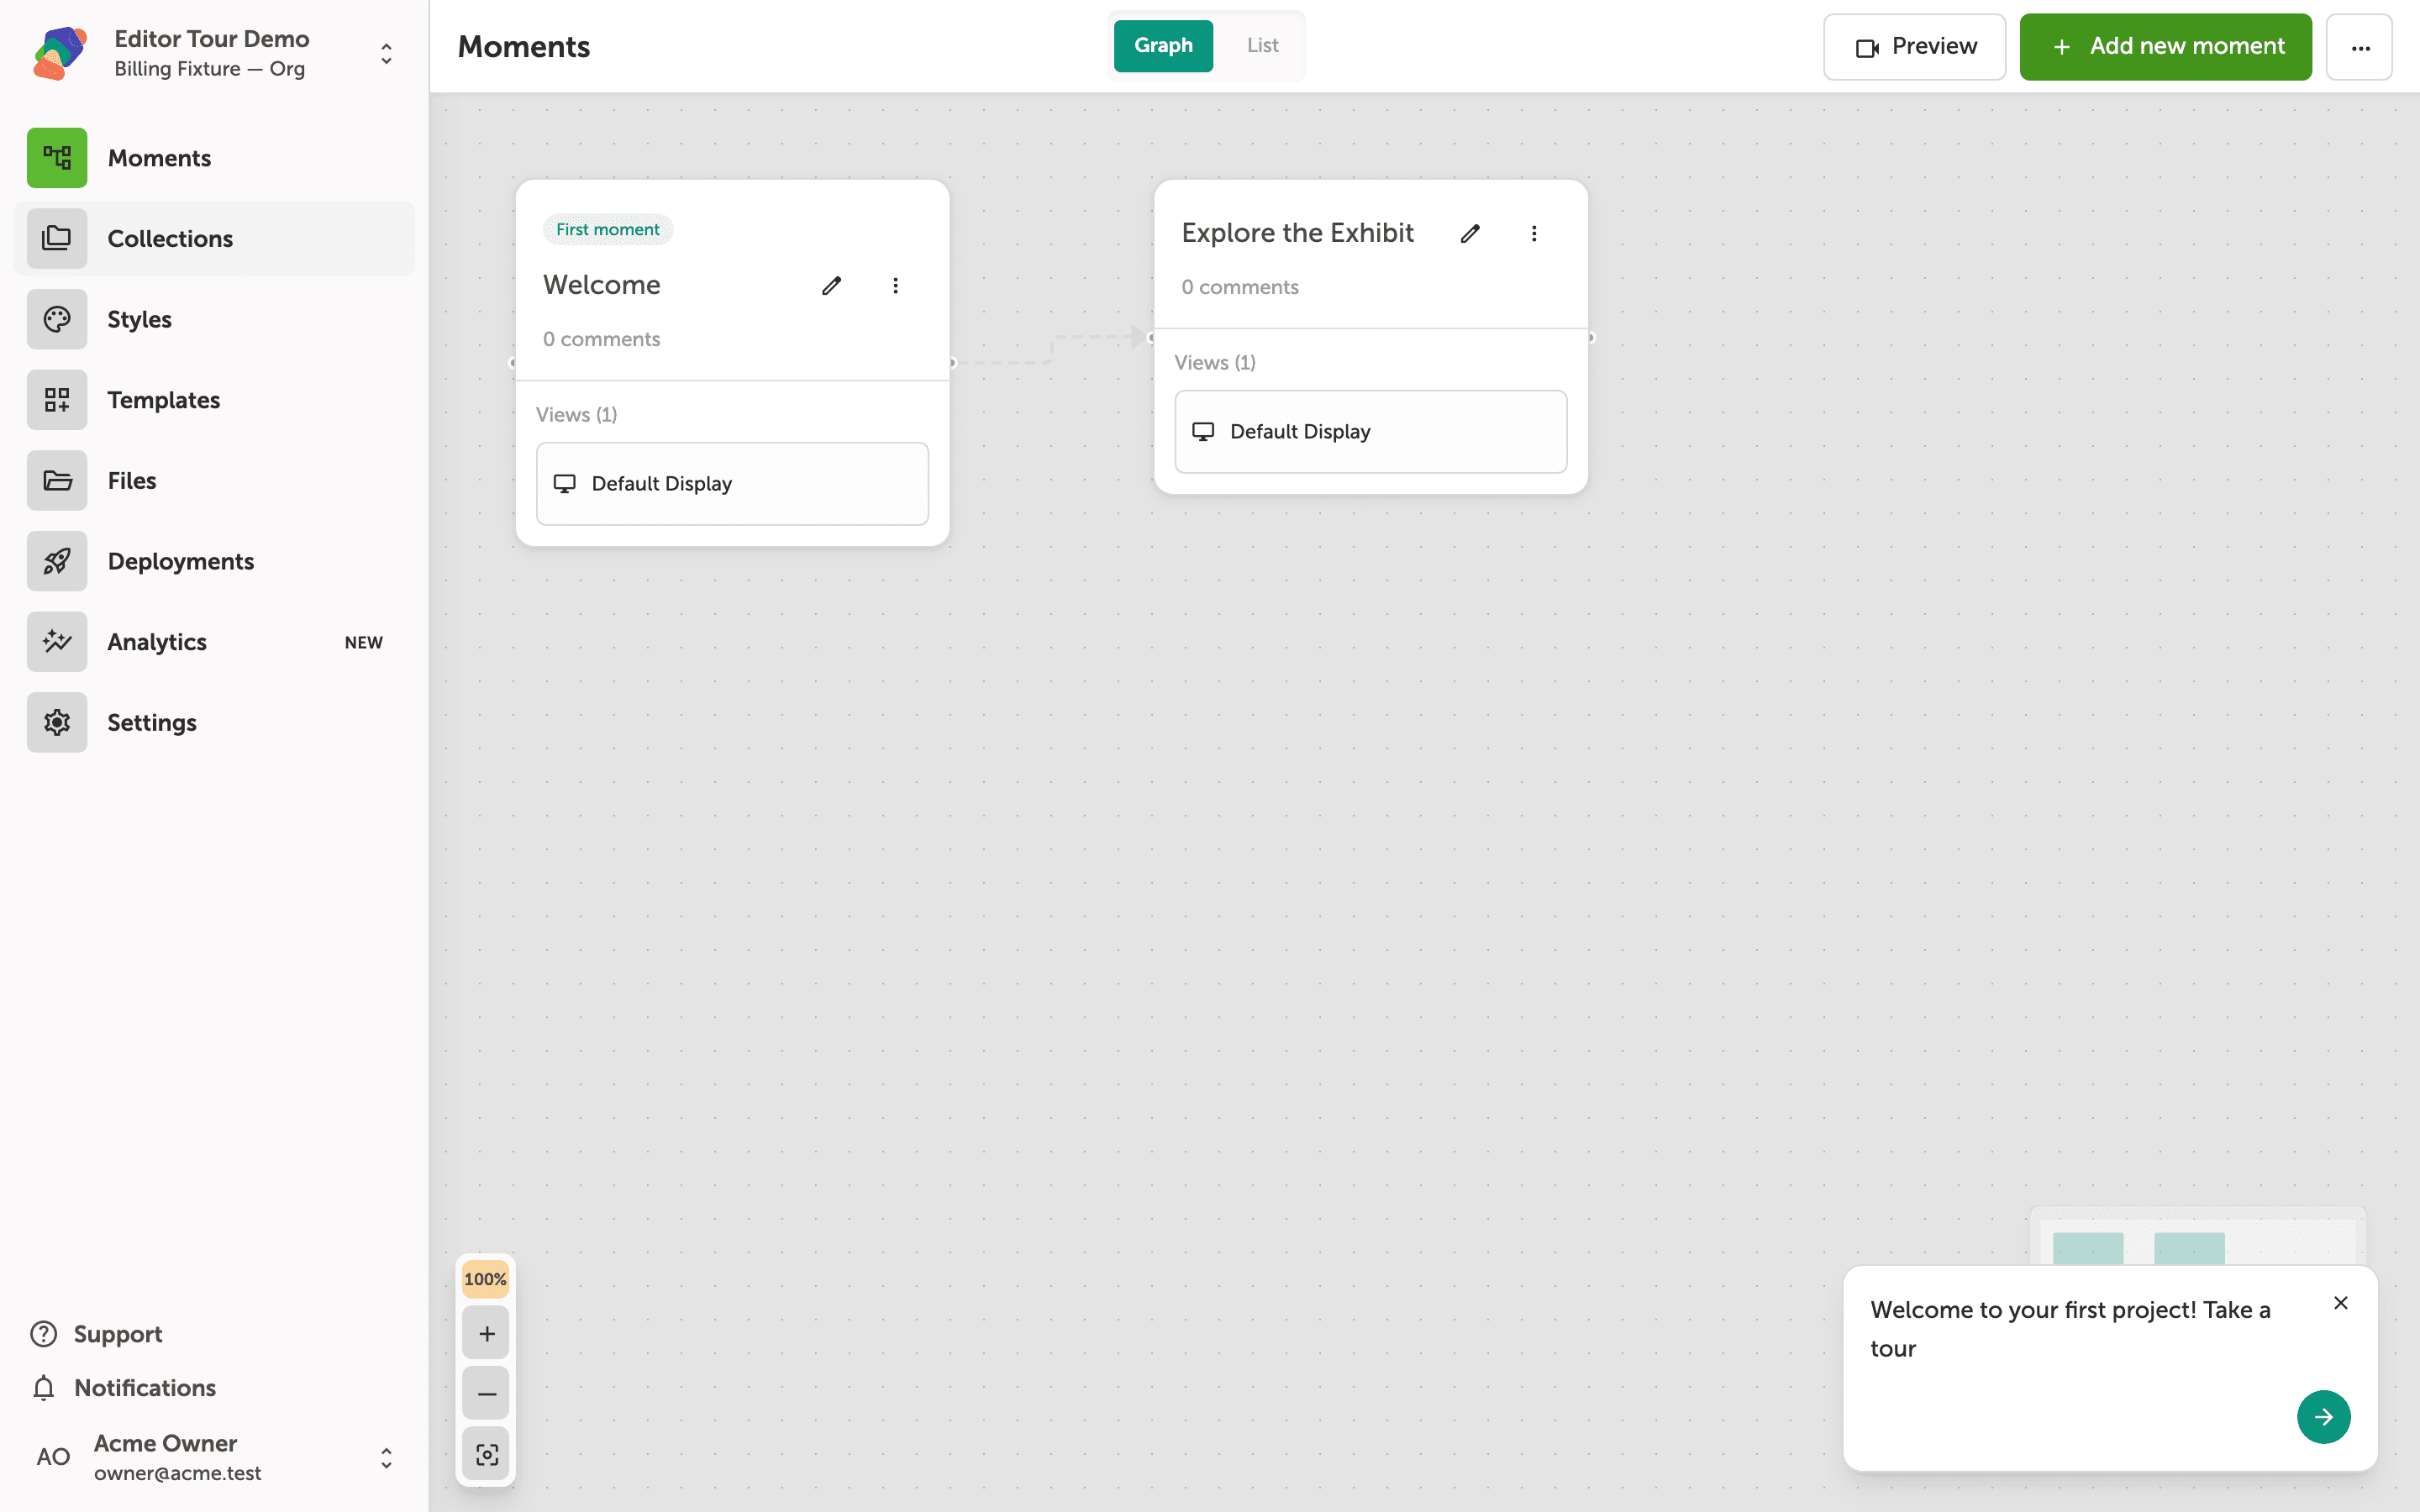
The left sidebar is your main navigation within a project. Each item—Moments, Collections, Styles, Templates, Deployments, Analytics, and Settings—opens a different section of the editor. Click any item to switch views without leaving the project.
The section you are currently in is highlighted. Right now Moments is active, showing the graph canvas. The sidebar is always visible as you work, so you can move between sections at any time.
Reviewing moments in List view
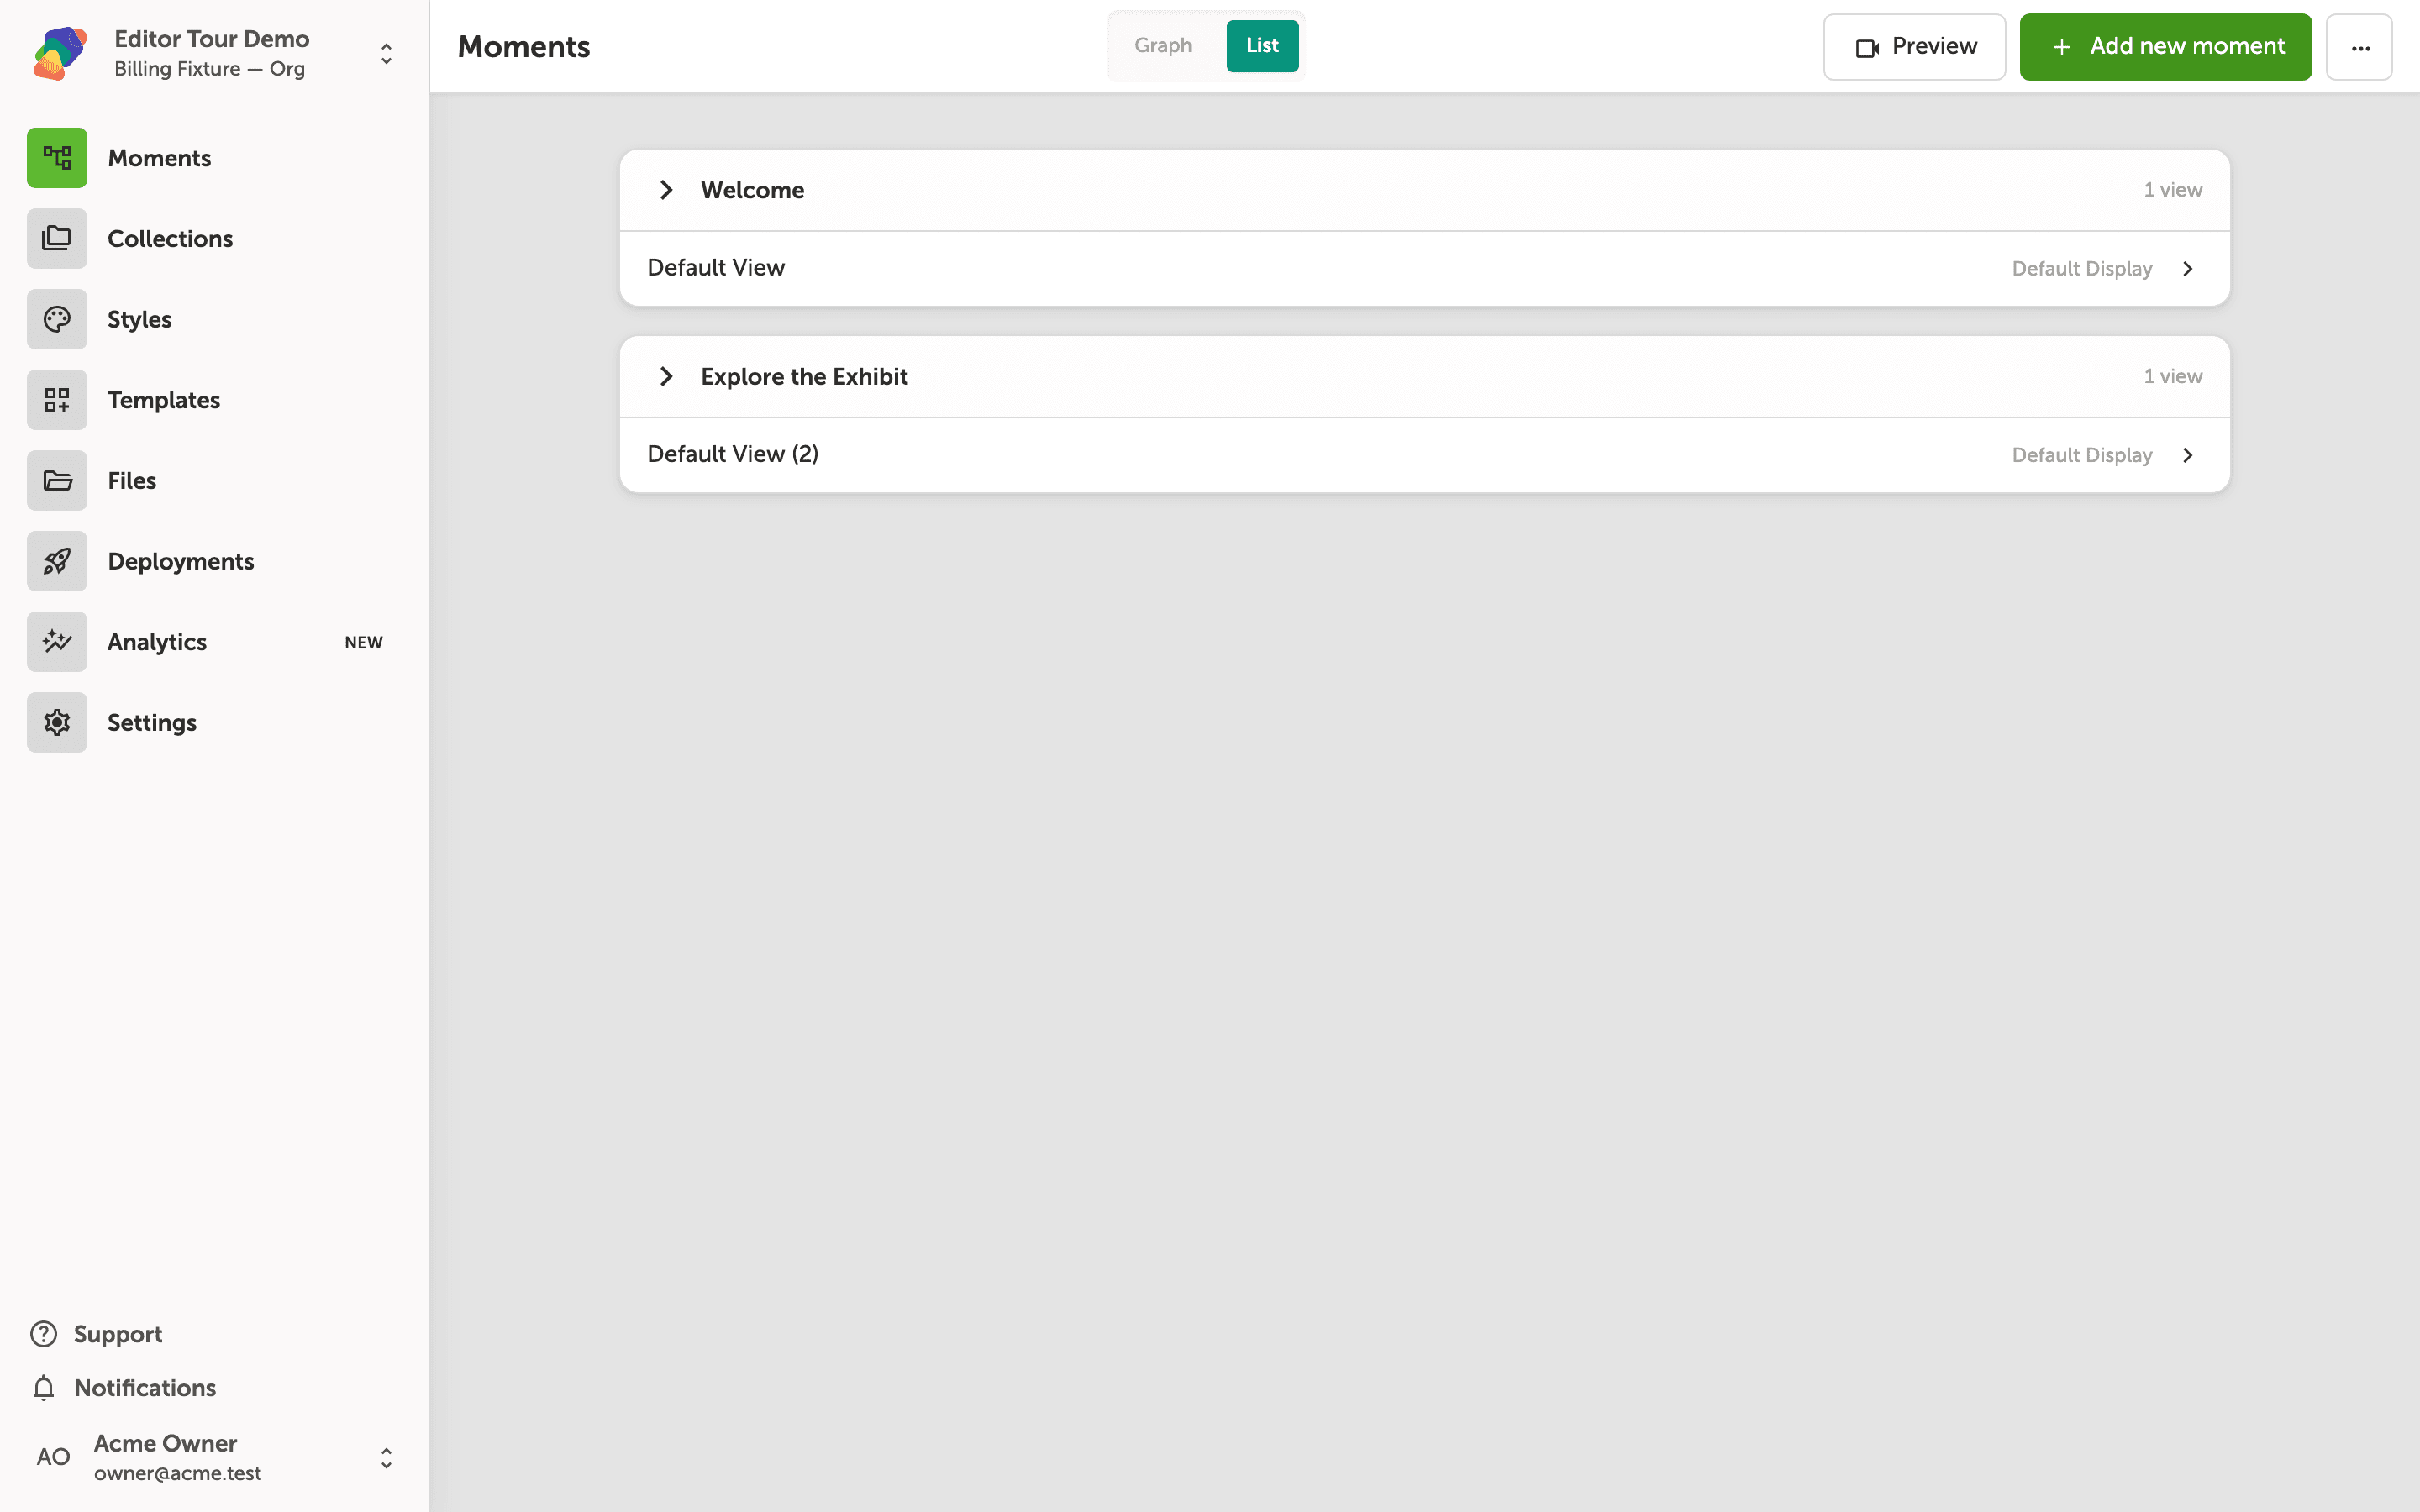
The List toggle (top right of the canvas area) switches the Moments page from graph layout to a vertical stack. Each moment appears as a collapsible row—click the expand arrow on the left to reveal the views assigned to it. Welcome, for example, shows one view named Hero screen targeting Library Display.
Moments with no views yet—like Explore the Exhibit—display a message explaining how to add one: use the ⋮ menu on the graph, or add a view from the toolbar when the moment is selected. Use Add new moment in the top-right corner whenever you need another screen in the project.
Navigating the graph canvas with the minimap and zoom controls
Switch back to Graph whenever you need a spatial overview of how moments connect. Welcome sits on the left as the First moment, with a flow arrow into Explore the Exhibit.
The minimap in the bottom-right corner shows the full canvas at a glance, and the zoom controls next to it let you zoom in, zoom out, fit everything to the screen, or toggle a focus view. Use these to stay oriented as your project grows.
Launching a live preview from the header
The Preview button in the top-right header opens a full, interactive preview of your project in a new browser tab. This lets you experience the project exactly as a visitor would—navigating between moments, triggering flows, and interacting with components—without leaving the editor.
Click Preview any time you want to check your work. The preview always reflects the current saved state of the project, so what you see is what your display will show.
You now have a clear picture of the editor's layout and how its main sections fit together. From here, you're ready to start shaping your own project.
- Add your first moment: Learn how to create moments and connect them into a flow.
- Set up a collection: Link a reusable data set to your project to power dynamic content.
- Configure a display: Define the target screen resolution so your views are sized correctly from the start.
- Apply a style set: Bundle typography and colors across your project for a consistent look.
- Invite collaborators: Add teammates to your space so you can build together.