
Uploading and Managing Project Files
Every image, video, audio clip, and document you want to use in your project lives in the project file library. This tutorial walks you through adding files, finding them quickly, and keeping the library tidy—so when you're building moments and placing components, the right asset is always within reach.
The project file library at a glance
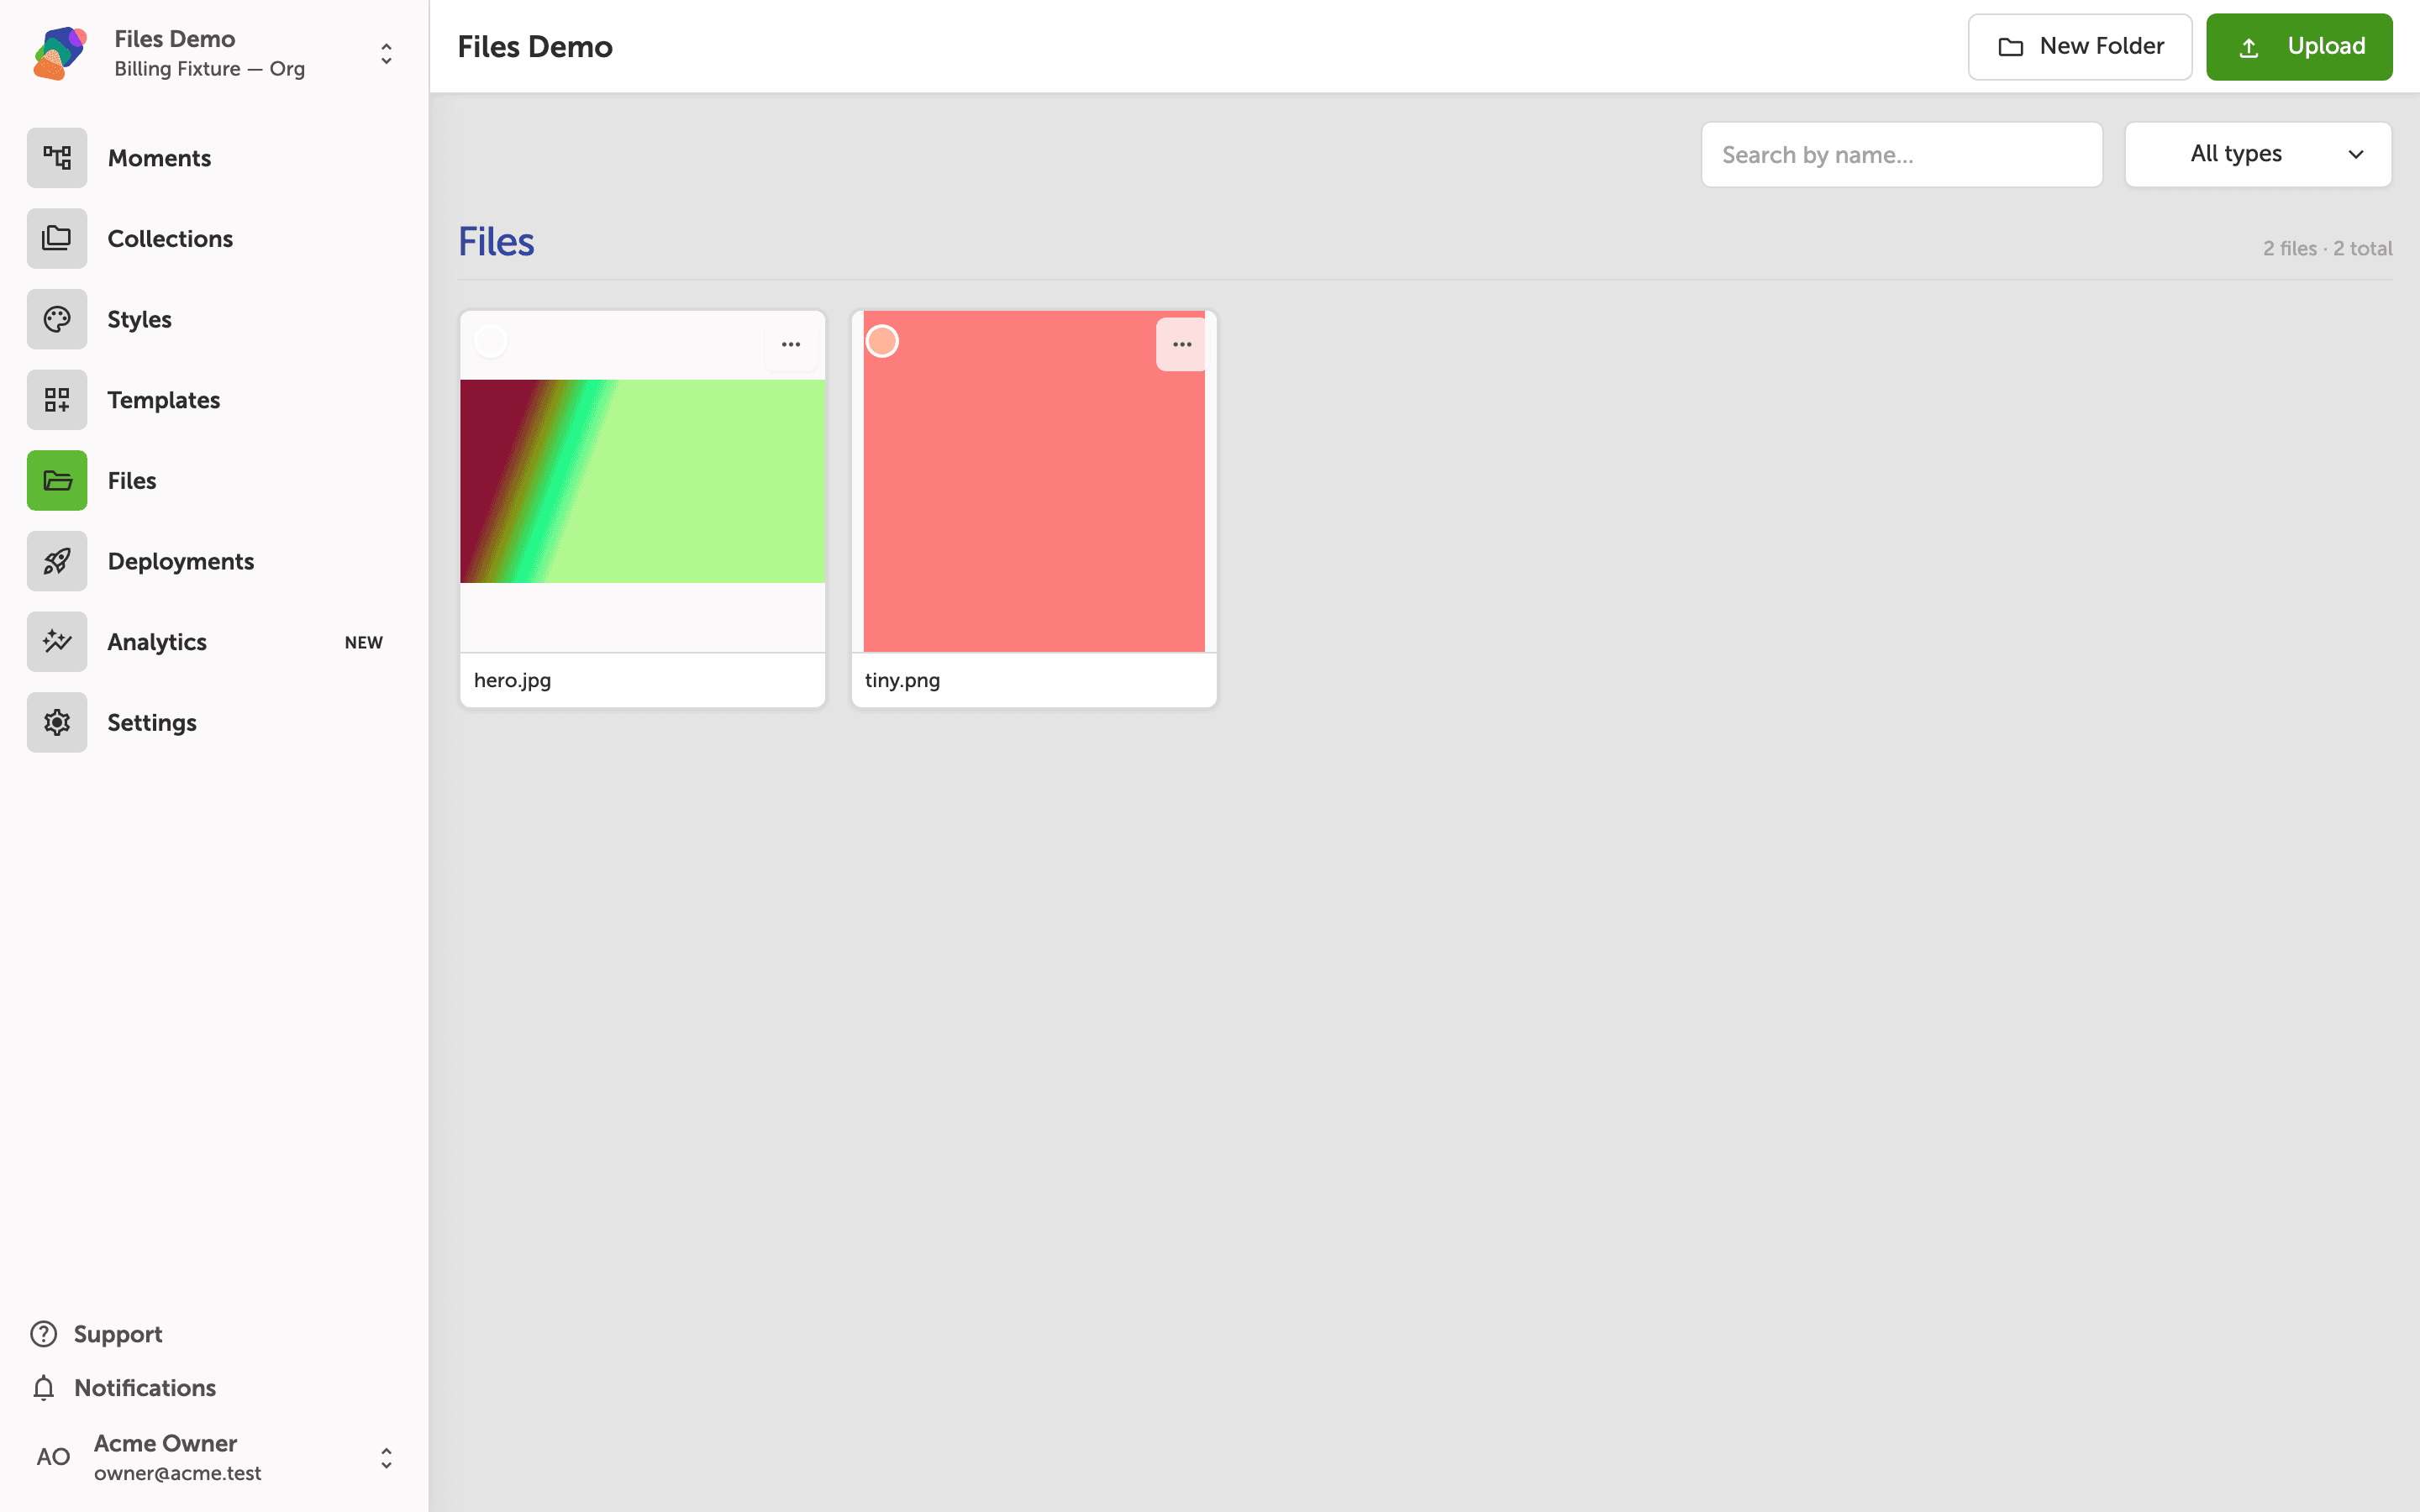
The Project files page is where all uploaded assets for your project live. Each file appears as a card showing a preview thumbnail and filename—you can see hero.jpg and tiny.png already uploaded here.
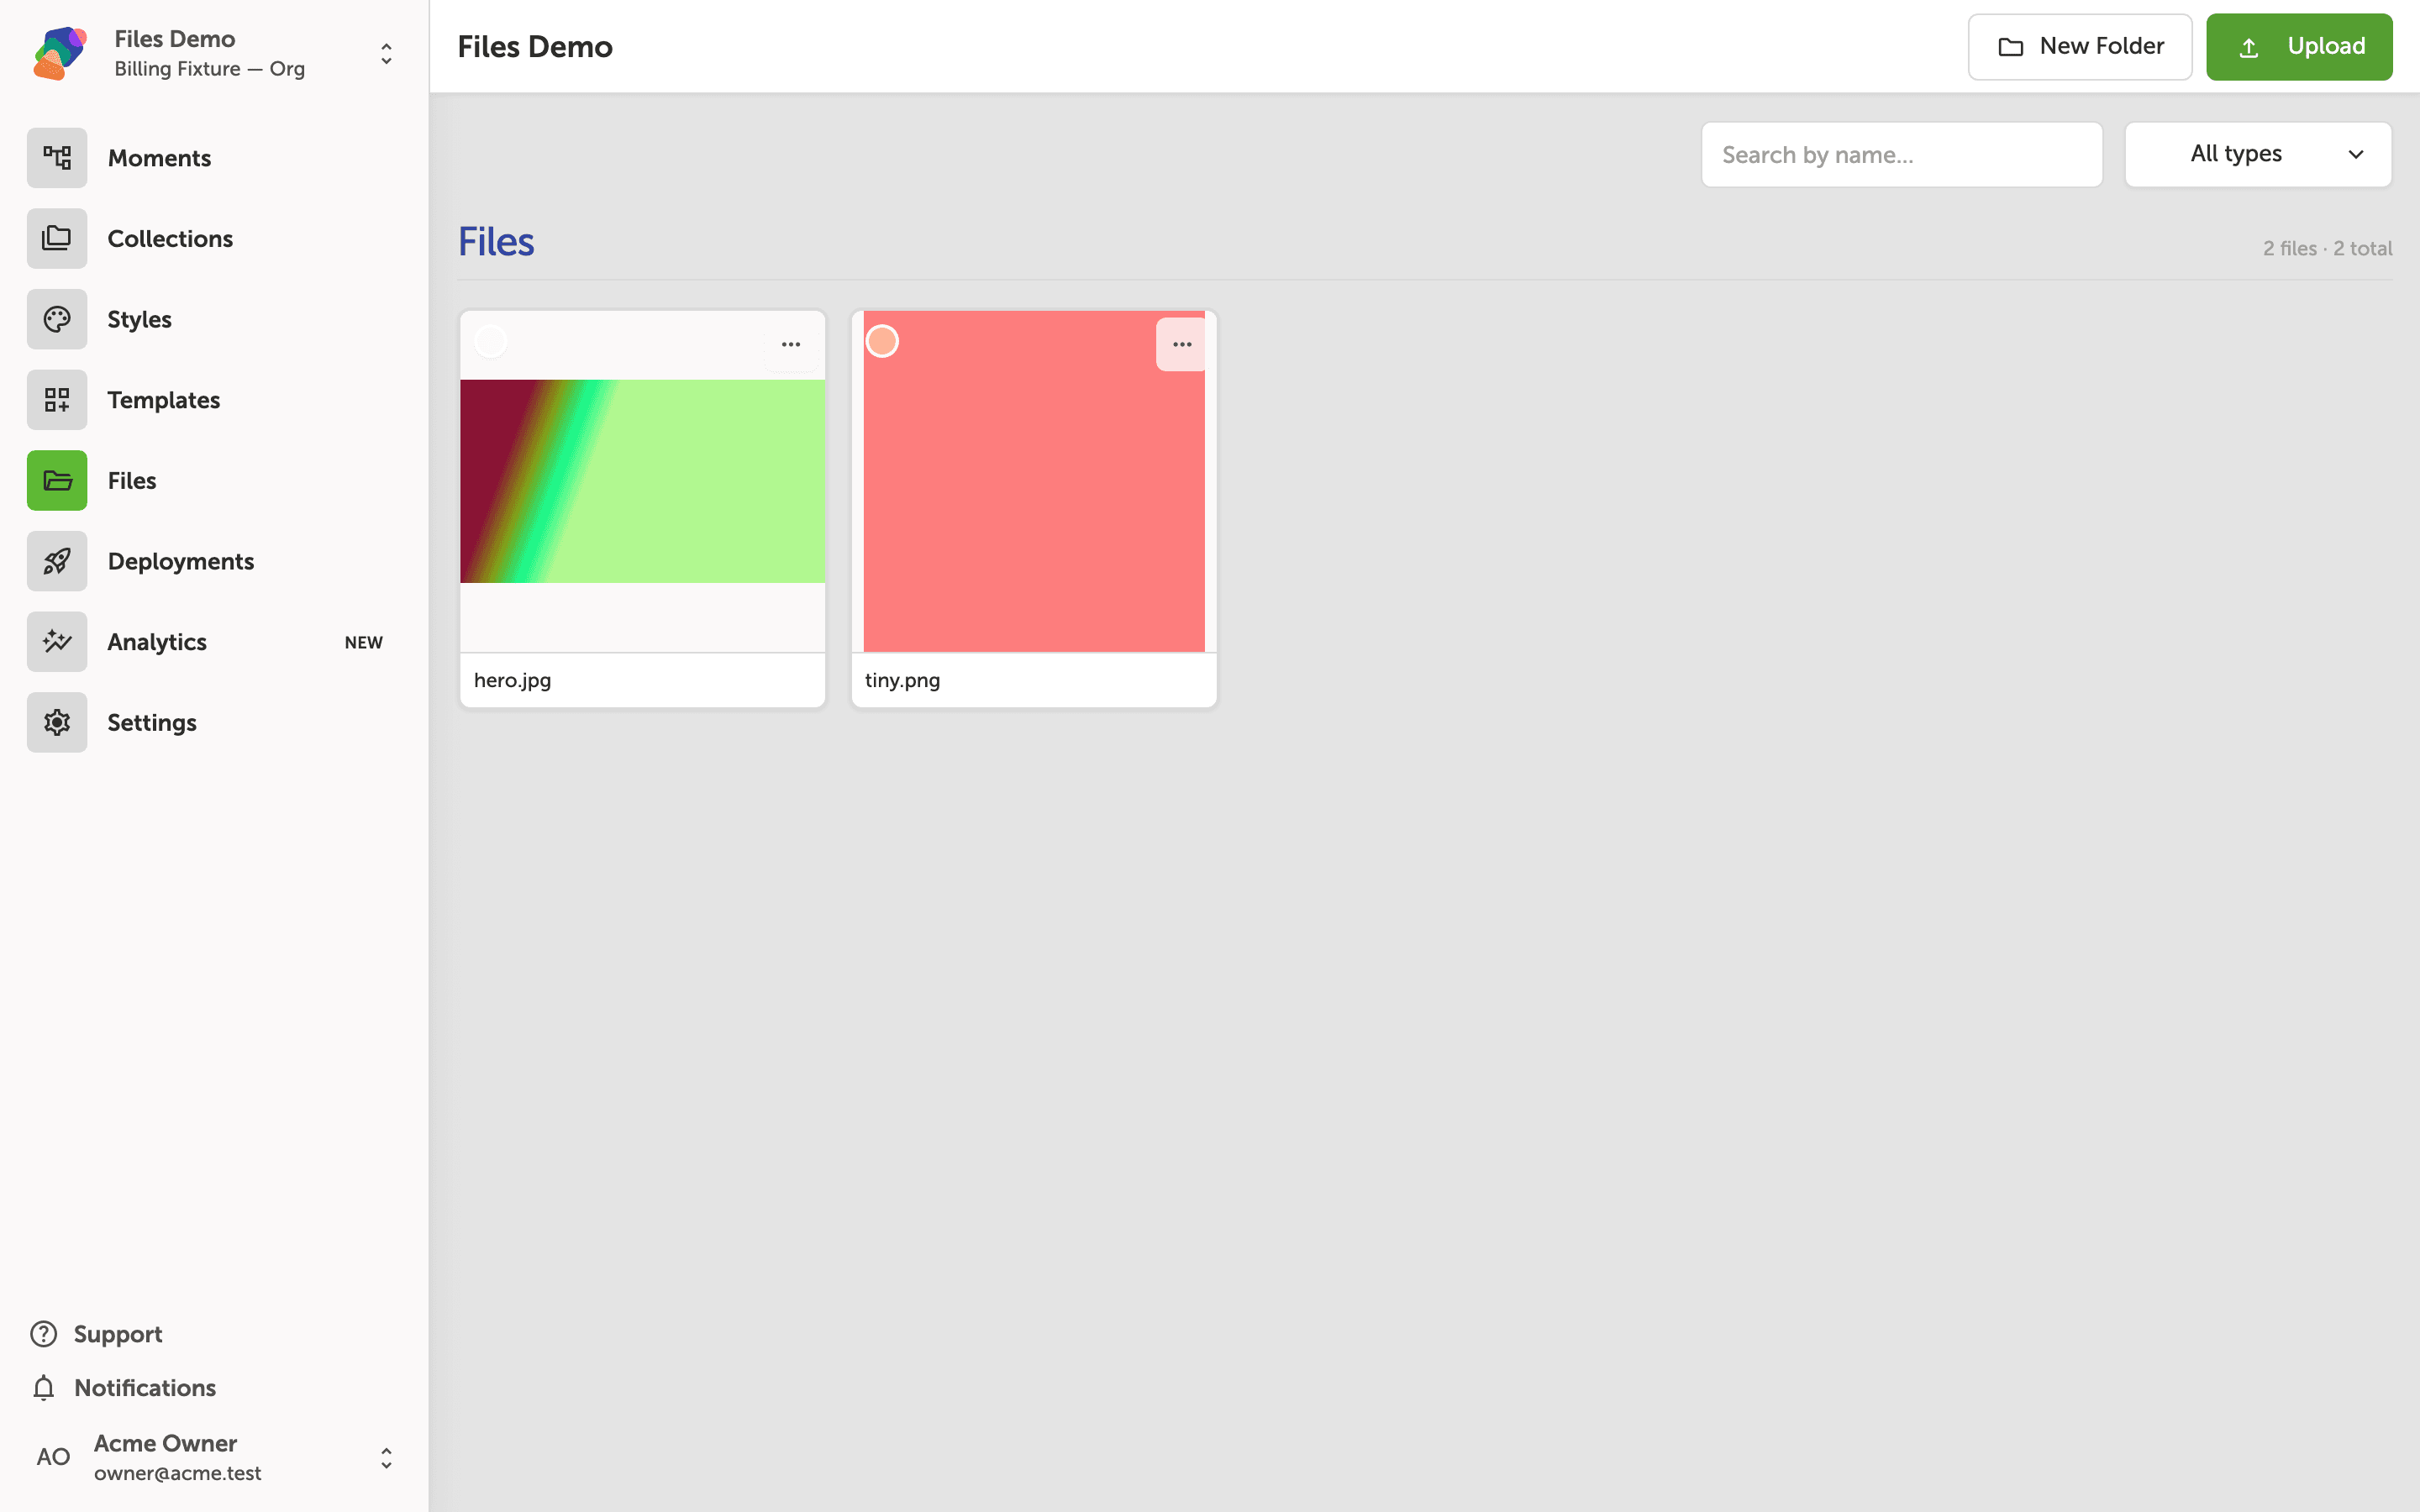
Use the Search by name... field to find a specific file quickly, or open the All types dropdown to filter the view by file type. The ... button on each card gives you actions for that individual file.
Adding files to your project library
To bring an image, video, audio file, or document into your project, click "Upload file" in the top-right corner. A file picker opens so you can select one or more files from your device. Once uploaded, each file appears as a card in the library grid.
Every file you upload here is available to use as a component across all moments in the project. Use the "Search by name..." field or the "All types" filter to quickly find a specific file as your library grows.
Filtering and searching files in the library
Use the "Search by name..." field to locate a specific file quickly. As you type, the library narrows to matching results.
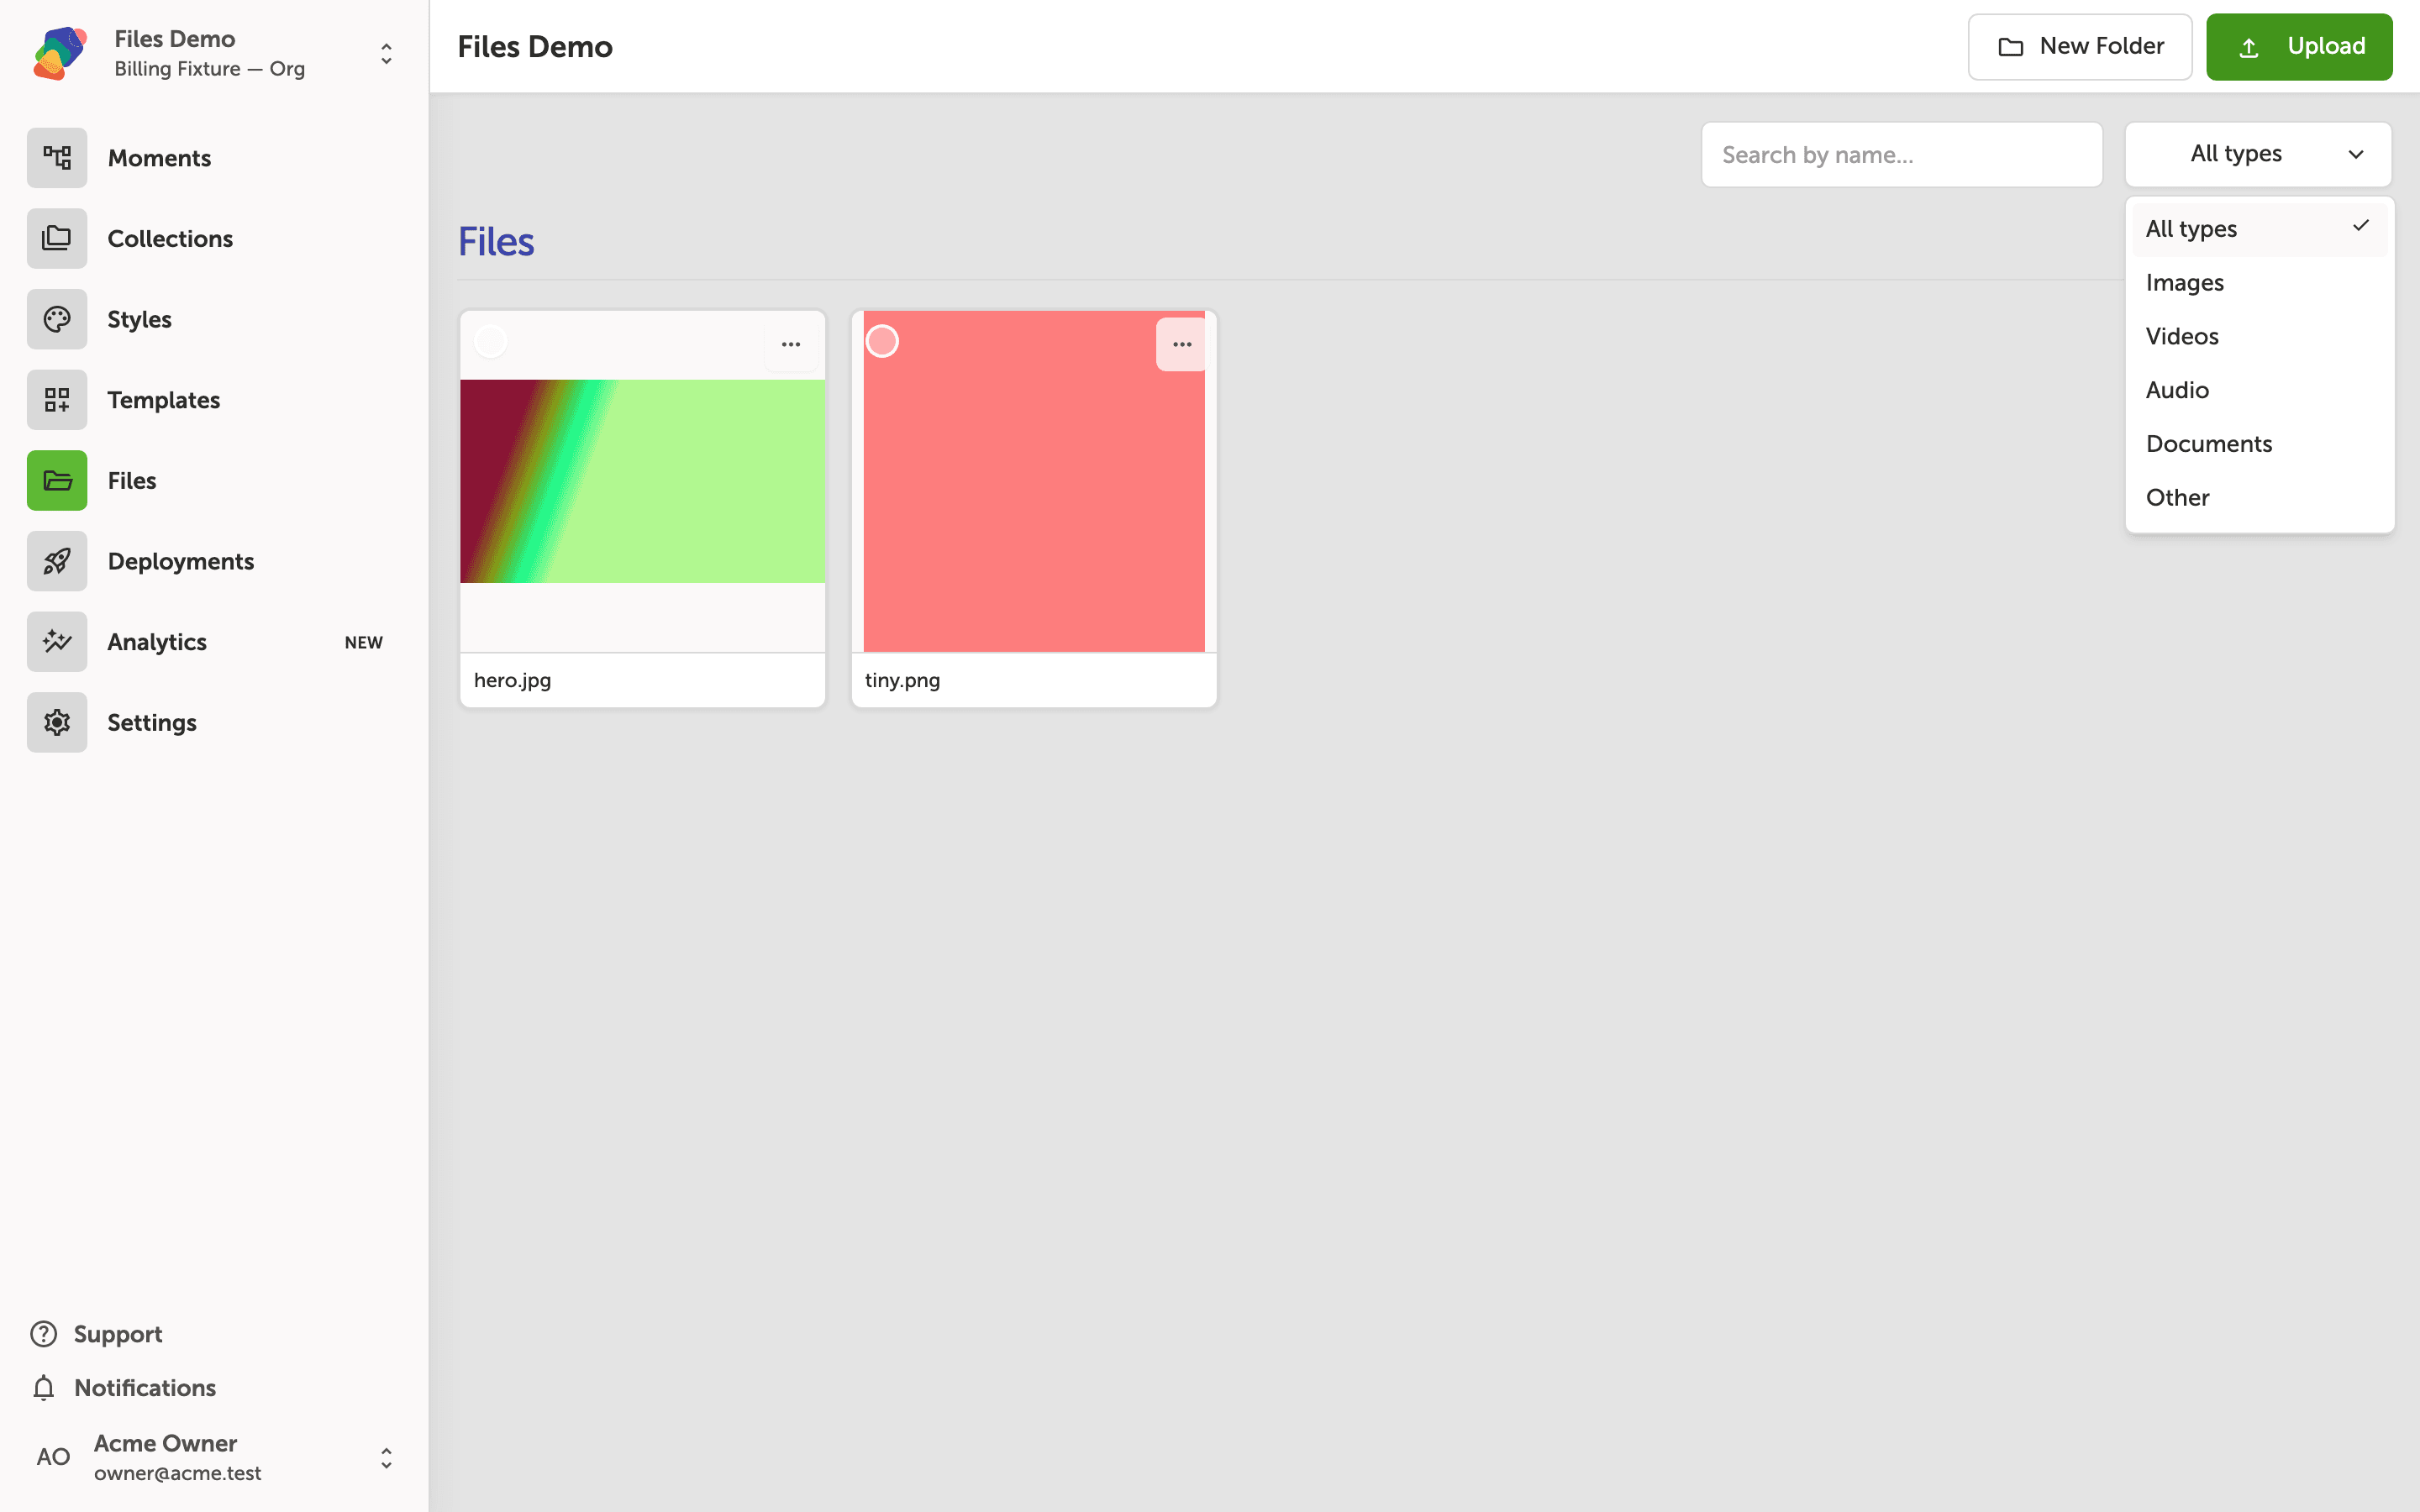
To filter by file type, open the "All types" dropdown. You can select Images, Videos, Audio, Documents, or Other to show only files of that category. Select All types again to return to the full library view.
Managing individual files with the card menu
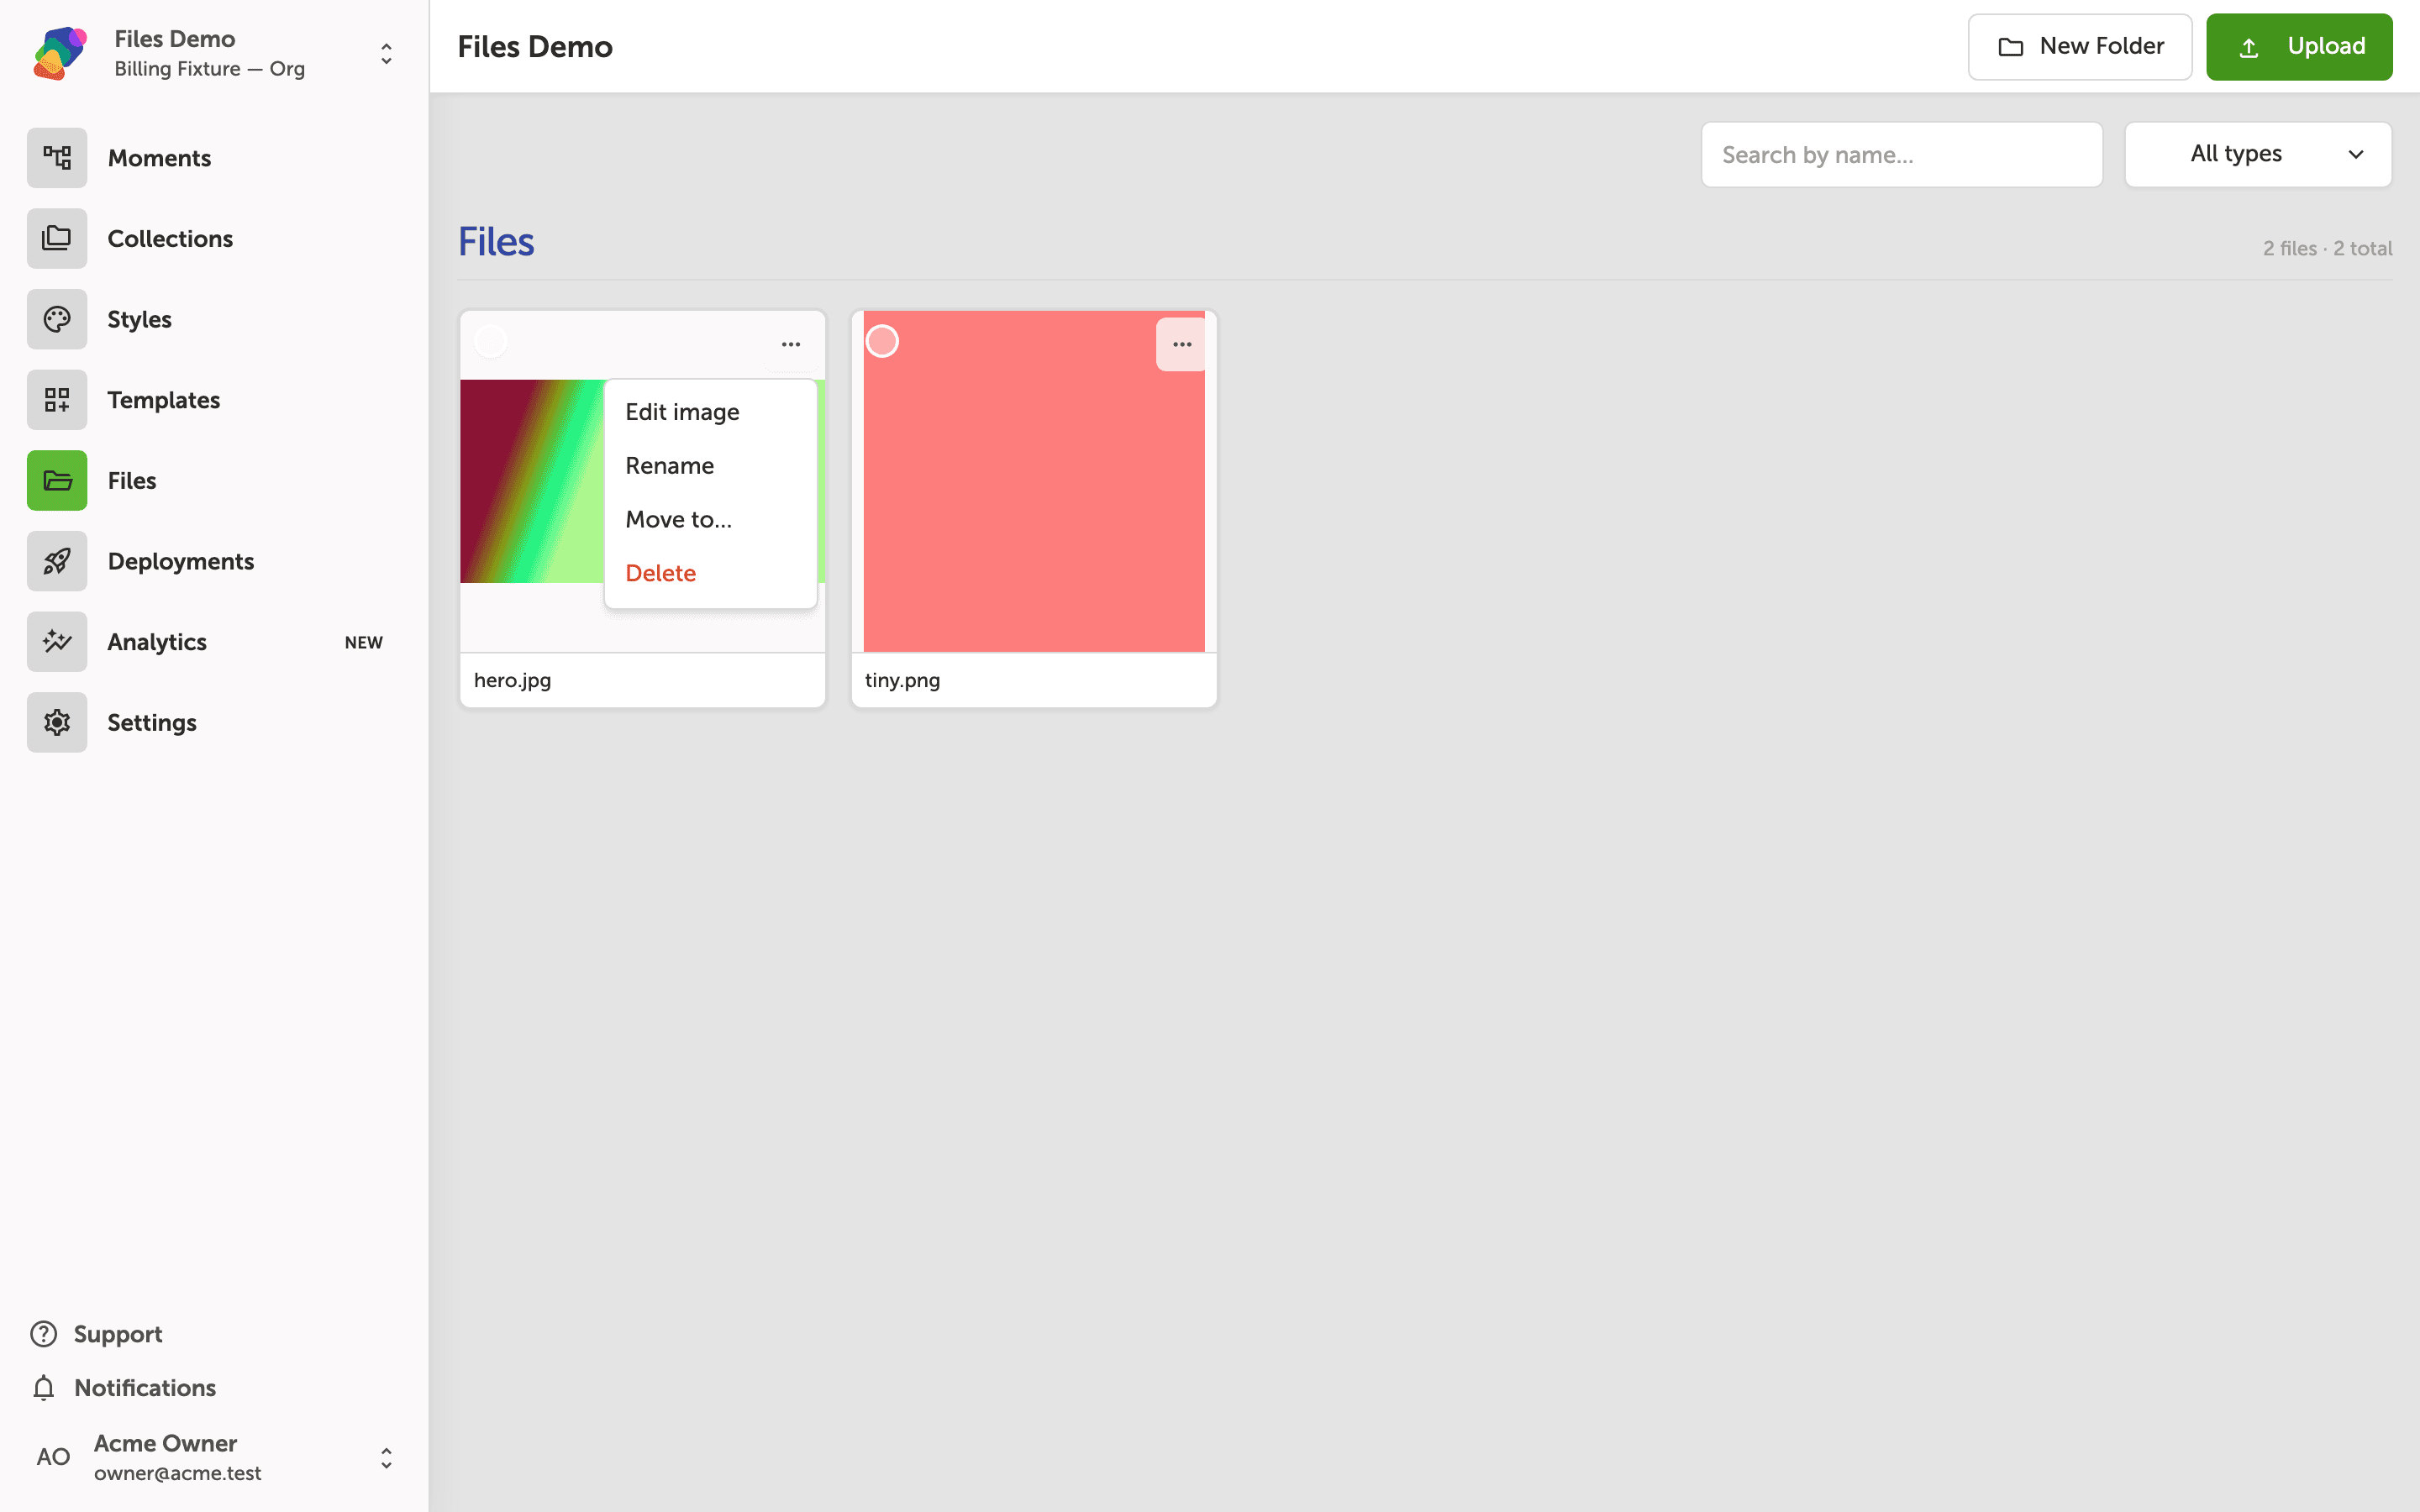
Click the more_horiz (three-dot) button on any file card to open its actions menu. From here you can choose Edit to update the file's metadata, or Delete to remove the file from the project library.
Delete is shown in red as a reminder that it permanently removes the file. Before deleting, confirm you no longer need the file in any moments within your project.
With your files uploaded and organized, you're ready to start placing assets directly into your project. Here are some natural next steps to build on what you've learned:
- Add components to a moment—drag images, videos, or documents from your library onto a view and configure how they appear.
- Link a collection to your project—connect a structured data set to drive dynamic content across multiple moments.
- Apply a style set—define typography and color rules so your media and text components share a consistent look.
- Set up displays—configure target screen resolutions so your views scale correctly on the devices your audience will use.
- Share your space—invite collaborators so your team can work with the same file library and project assets together.