Creating a Project Snapshot
A snapshot captures your project exactly as it is at a given moment, giving you a stable version you can deploy to a player without affecting your ongoing editing work. By the end of this tutorial, you'll have created your first snapshot and seen it appear in the Player snapshots list, ready for deployment—for example, to a gallery kiosk that needs to stay on a tested version while you continue refining the project behind the scenes.
The Deployments page and your first snapshot
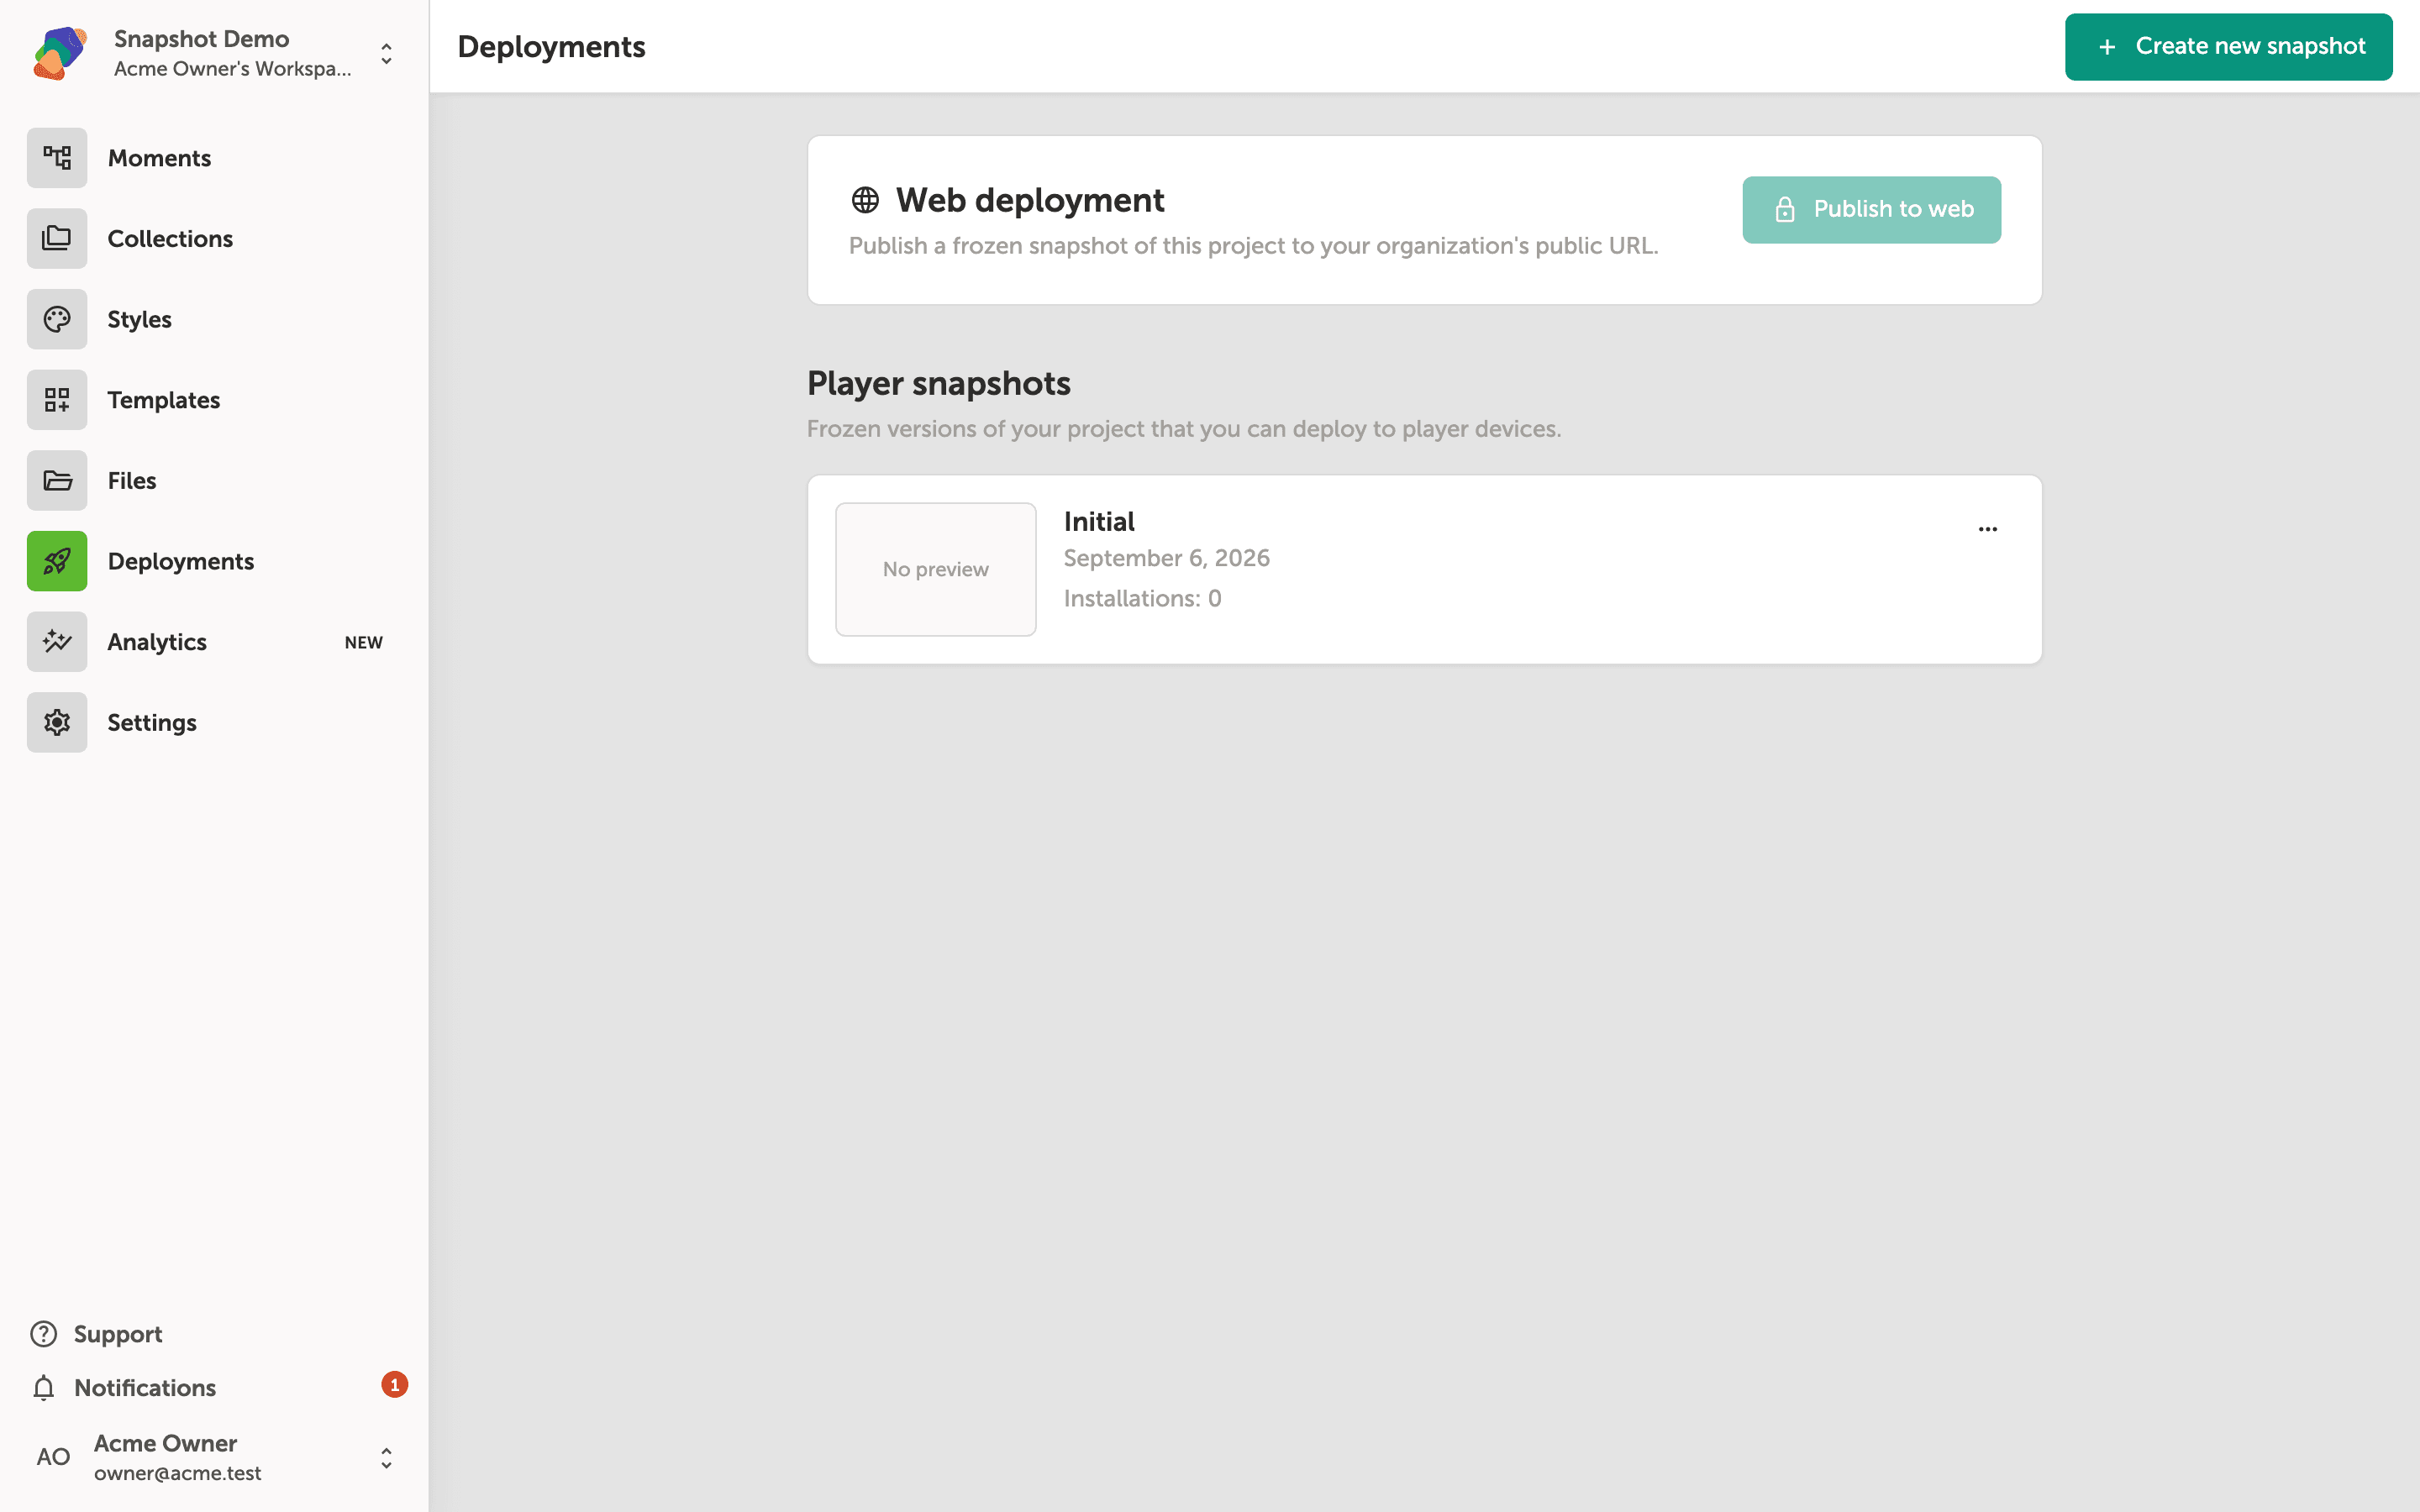
The Deployments page is where you control how your project reaches its audience. At the top, Web deployment lets you publish to a public URL. Below that, the Player snapshots section lists frozen versions of your project that you can push to physical player devices.
Every new project includes an Initial snapshot, created automatically. To freeze the current state of your project as a new snapshot, click "Create new snapshot" in the top-right corner.
Filling in the Create new snapshot dialog
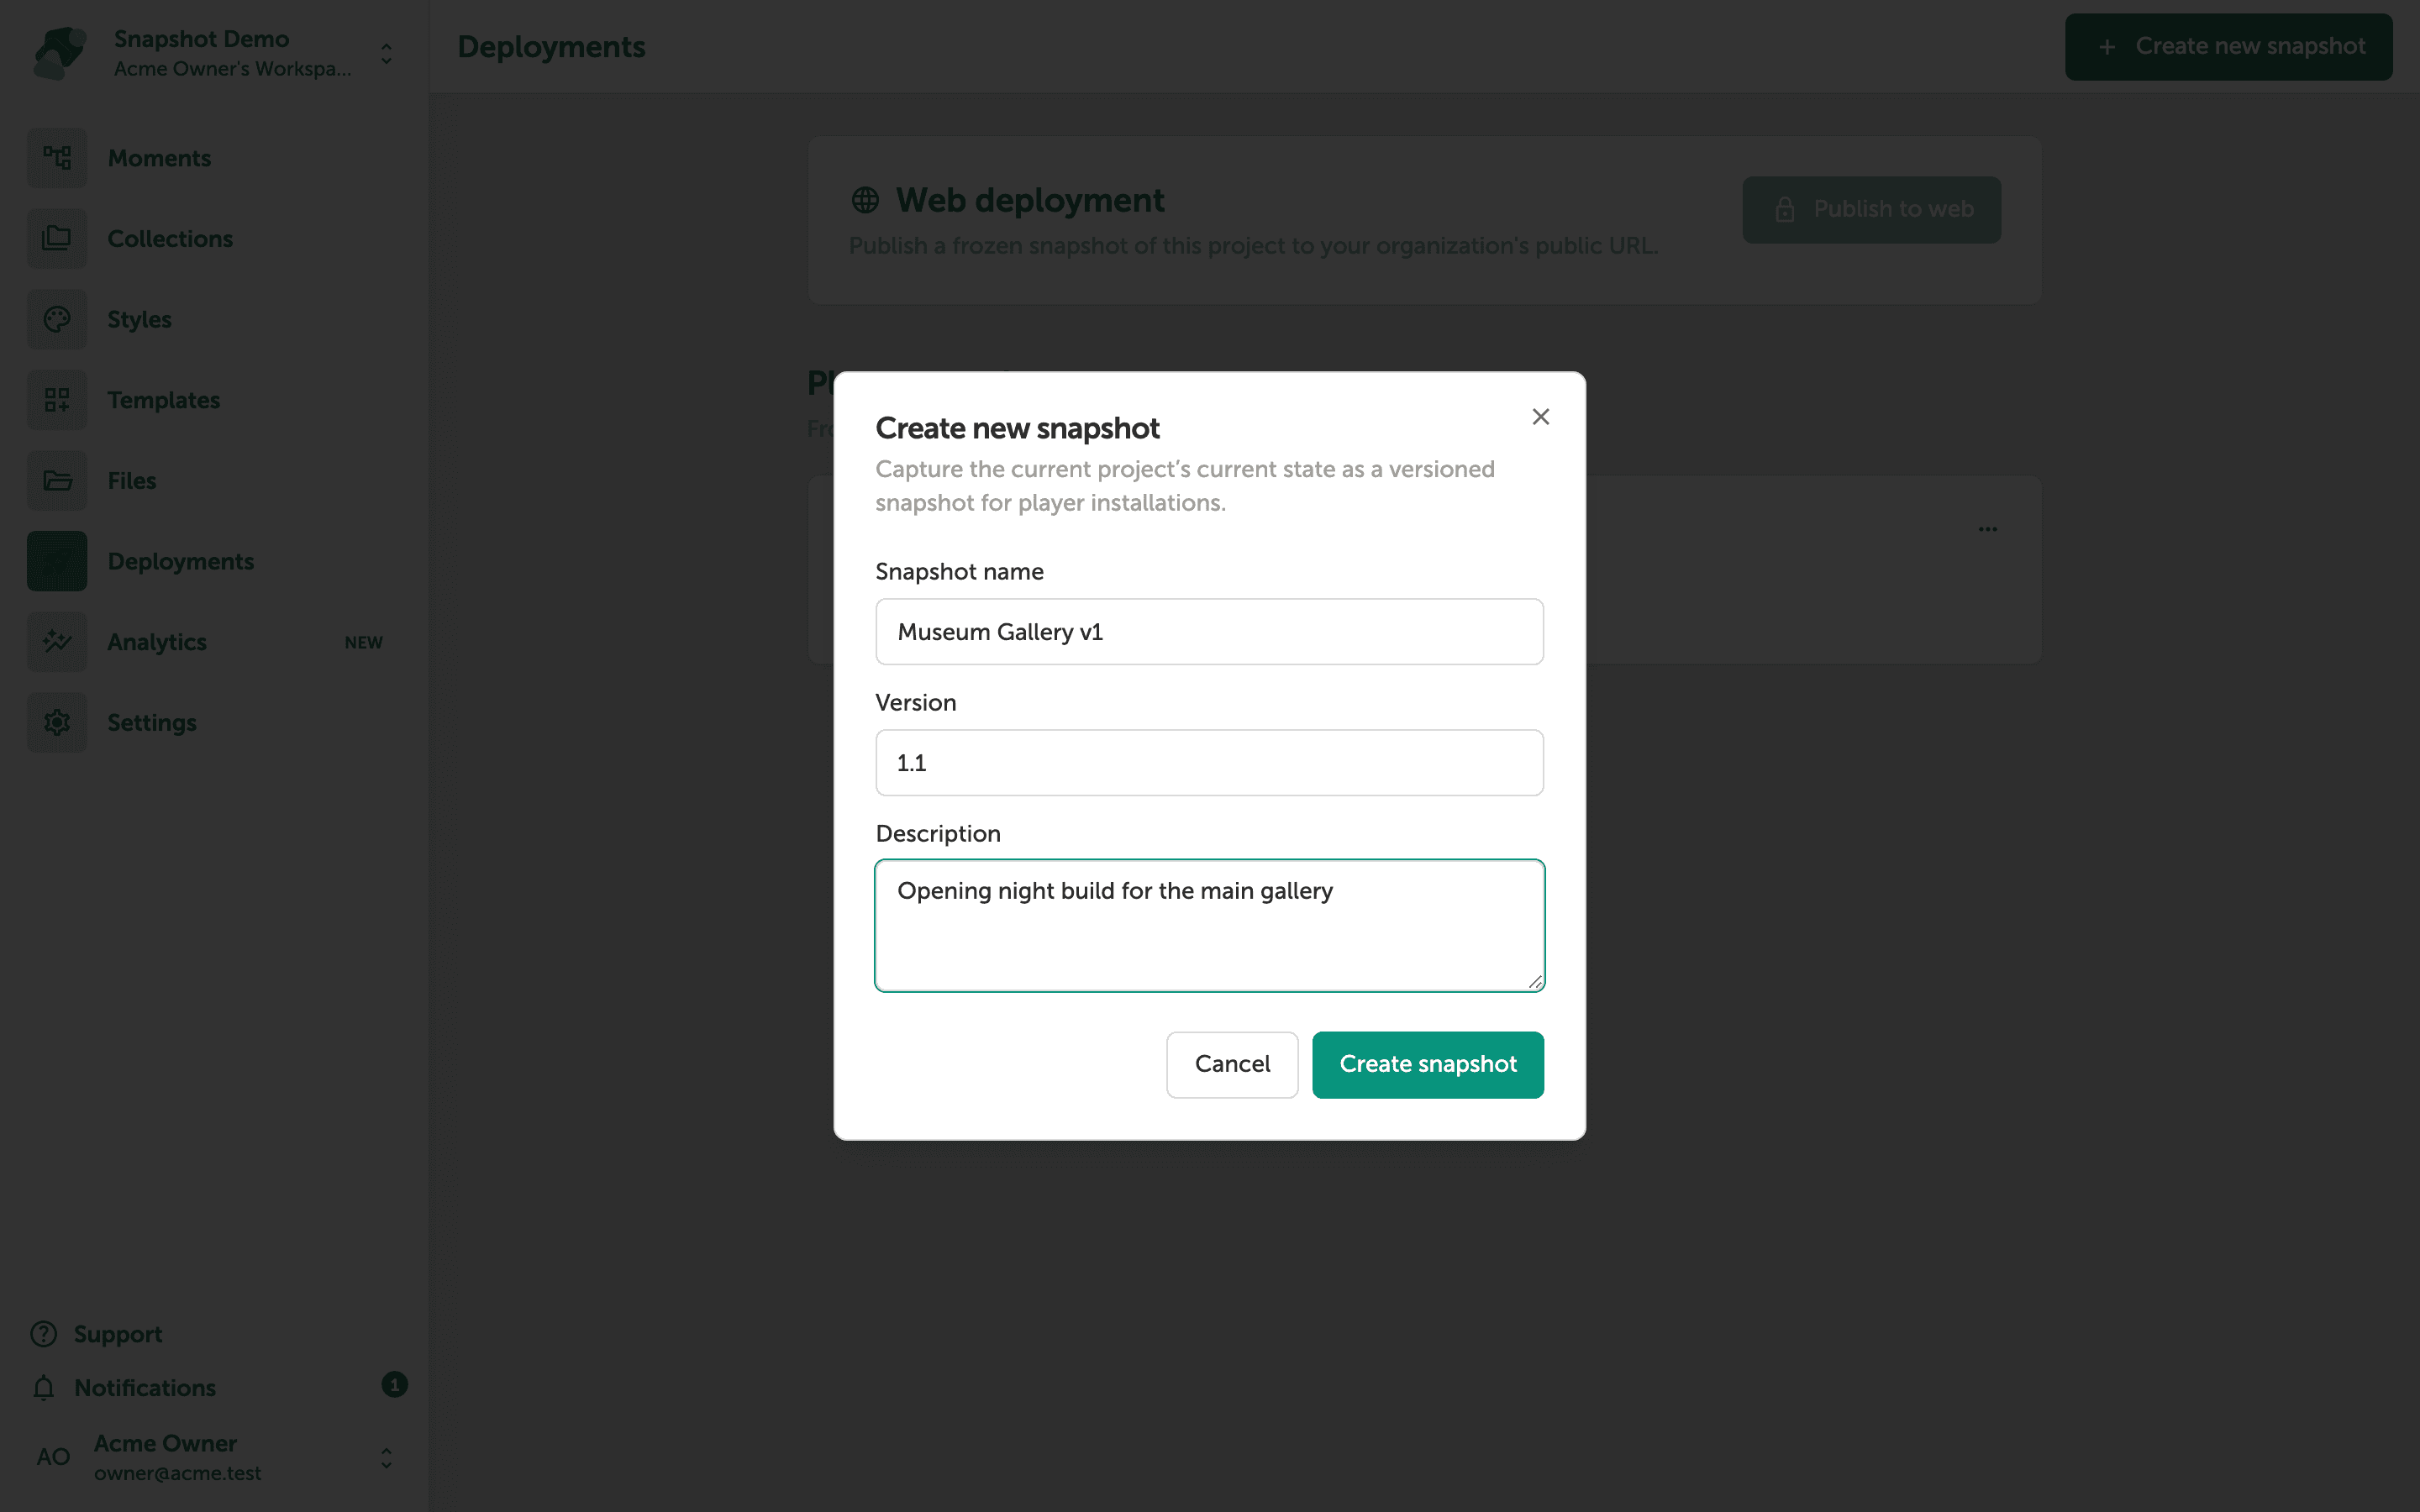
The dialog asks for three fields. Enter a Snapshot name that helps you identify this version at a glance—something like the name already shown, "Museum Gallery v1". The Version field is pre-filled with the next logical number based on your existing snapshots; you can edit it if you follow a different numbering scheme.
The Description field is optional, but a short note about what changed makes it easier to choose the right snapshot later when deploying to player devices. When all three fields look right, click Create snapshot to lock in the project's current state.
Your new snapshot appears in the Player snapshots list
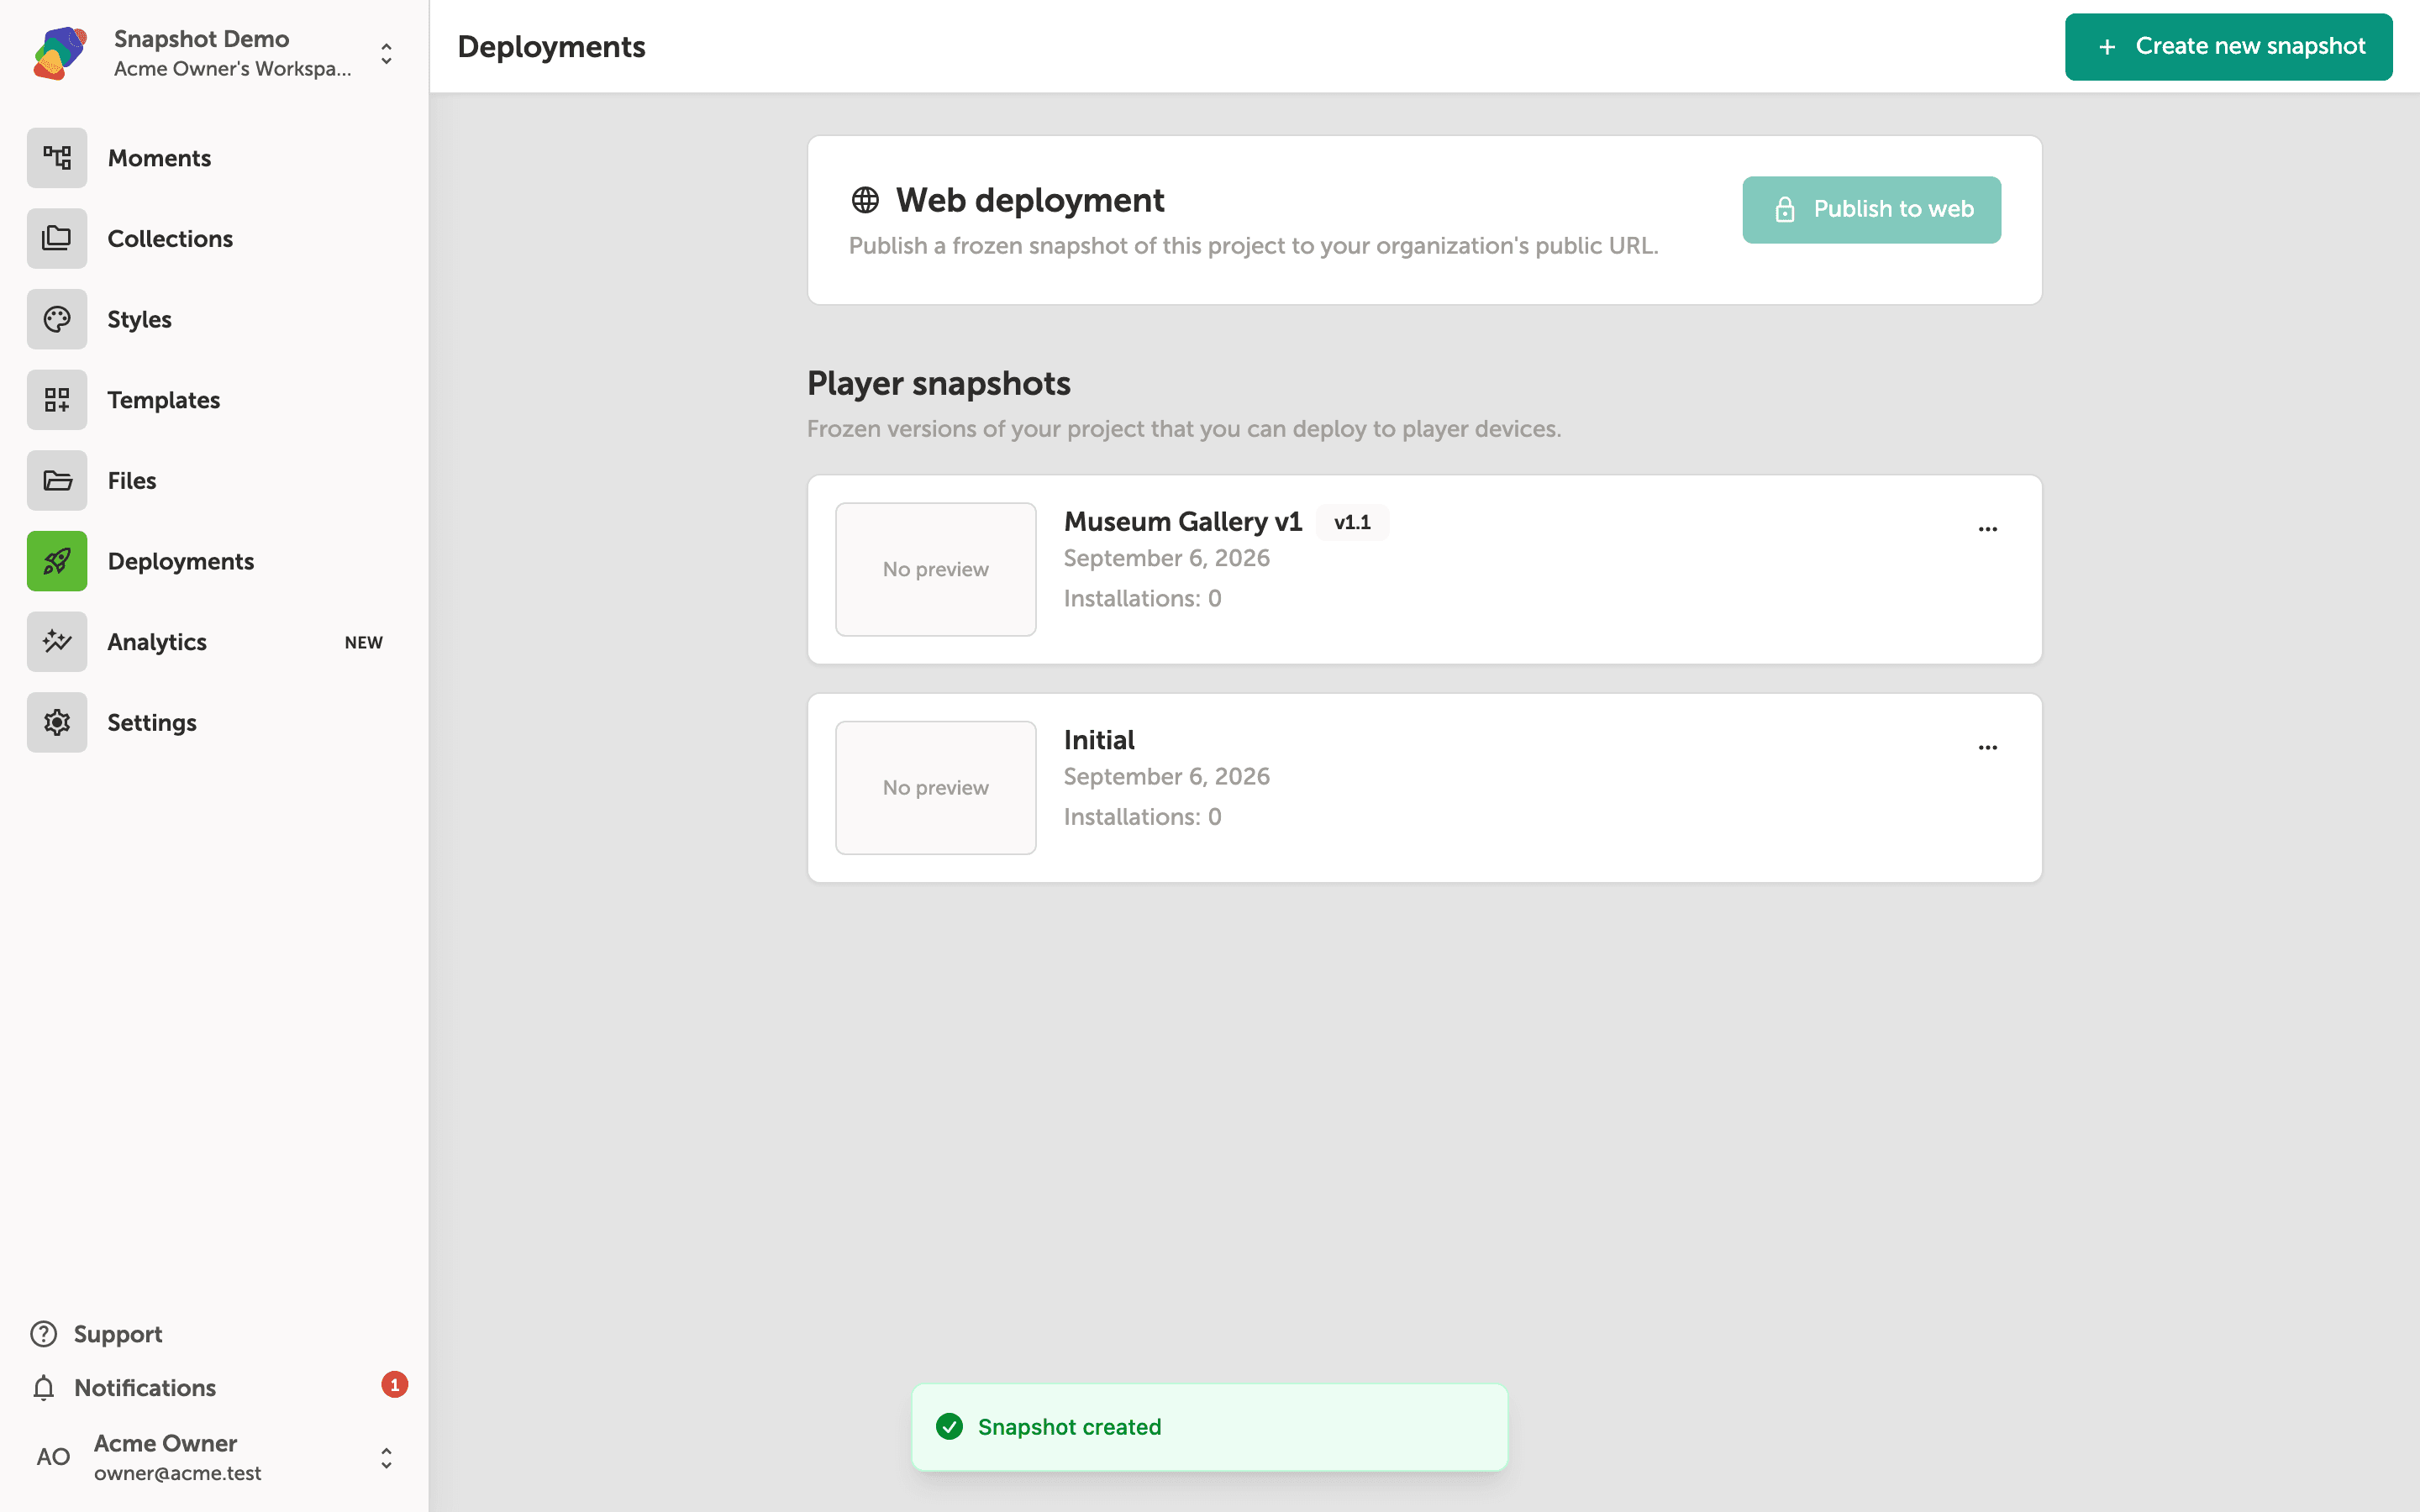
The confirmation banner "Snapshot created" confirms that Zibit has saved a frozen version of your project. You'll see the new "Museum Gallery v1" card in the Player snapshots section, showing its version badge, creation date, and an installation count of 0.
From here you can use the "Publish to web" button under Web deployment to push the project to your organization's public URL, or navigate to the Players page to install a snapshot on a physical display device.
With your snapshot created, you're ready to put your project in front of an audience. Here are some good next steps to explore:
- Deploy a snapshot to a player—connect your new snapshot to a specific display so it goes live.
- Manage snapshot versions—learn how to compare, rename, or delete older snapshots as your project evolves.
- Set up a style set—lock in your typography and color choices before your next snapshot so every version looks consistent.
- Configure display settings—make sure your project's resolution and orientation match the target device before deploying.
- Add a collection to your project—link reusable data so your deployed snapshot can pull in dynamic content.