
Creating a Theme
Every Zibit project starts with a theme that controls its colors, typography, and component styles. Rather than building one from scratch, you create a new theme by duplicating an existing starter and then adjusting it to match your brand or exhibit. This keeps you working from a solid foundation while giving you full control over every visual detail.
Open the Theme Library
To get started, open Styles from your project's sidebar. The Style Editor shows the theme that is currently active for your project, along with a summary of its settings. To browse other themes or create a new one, click the "Change" button near the top of the panel.
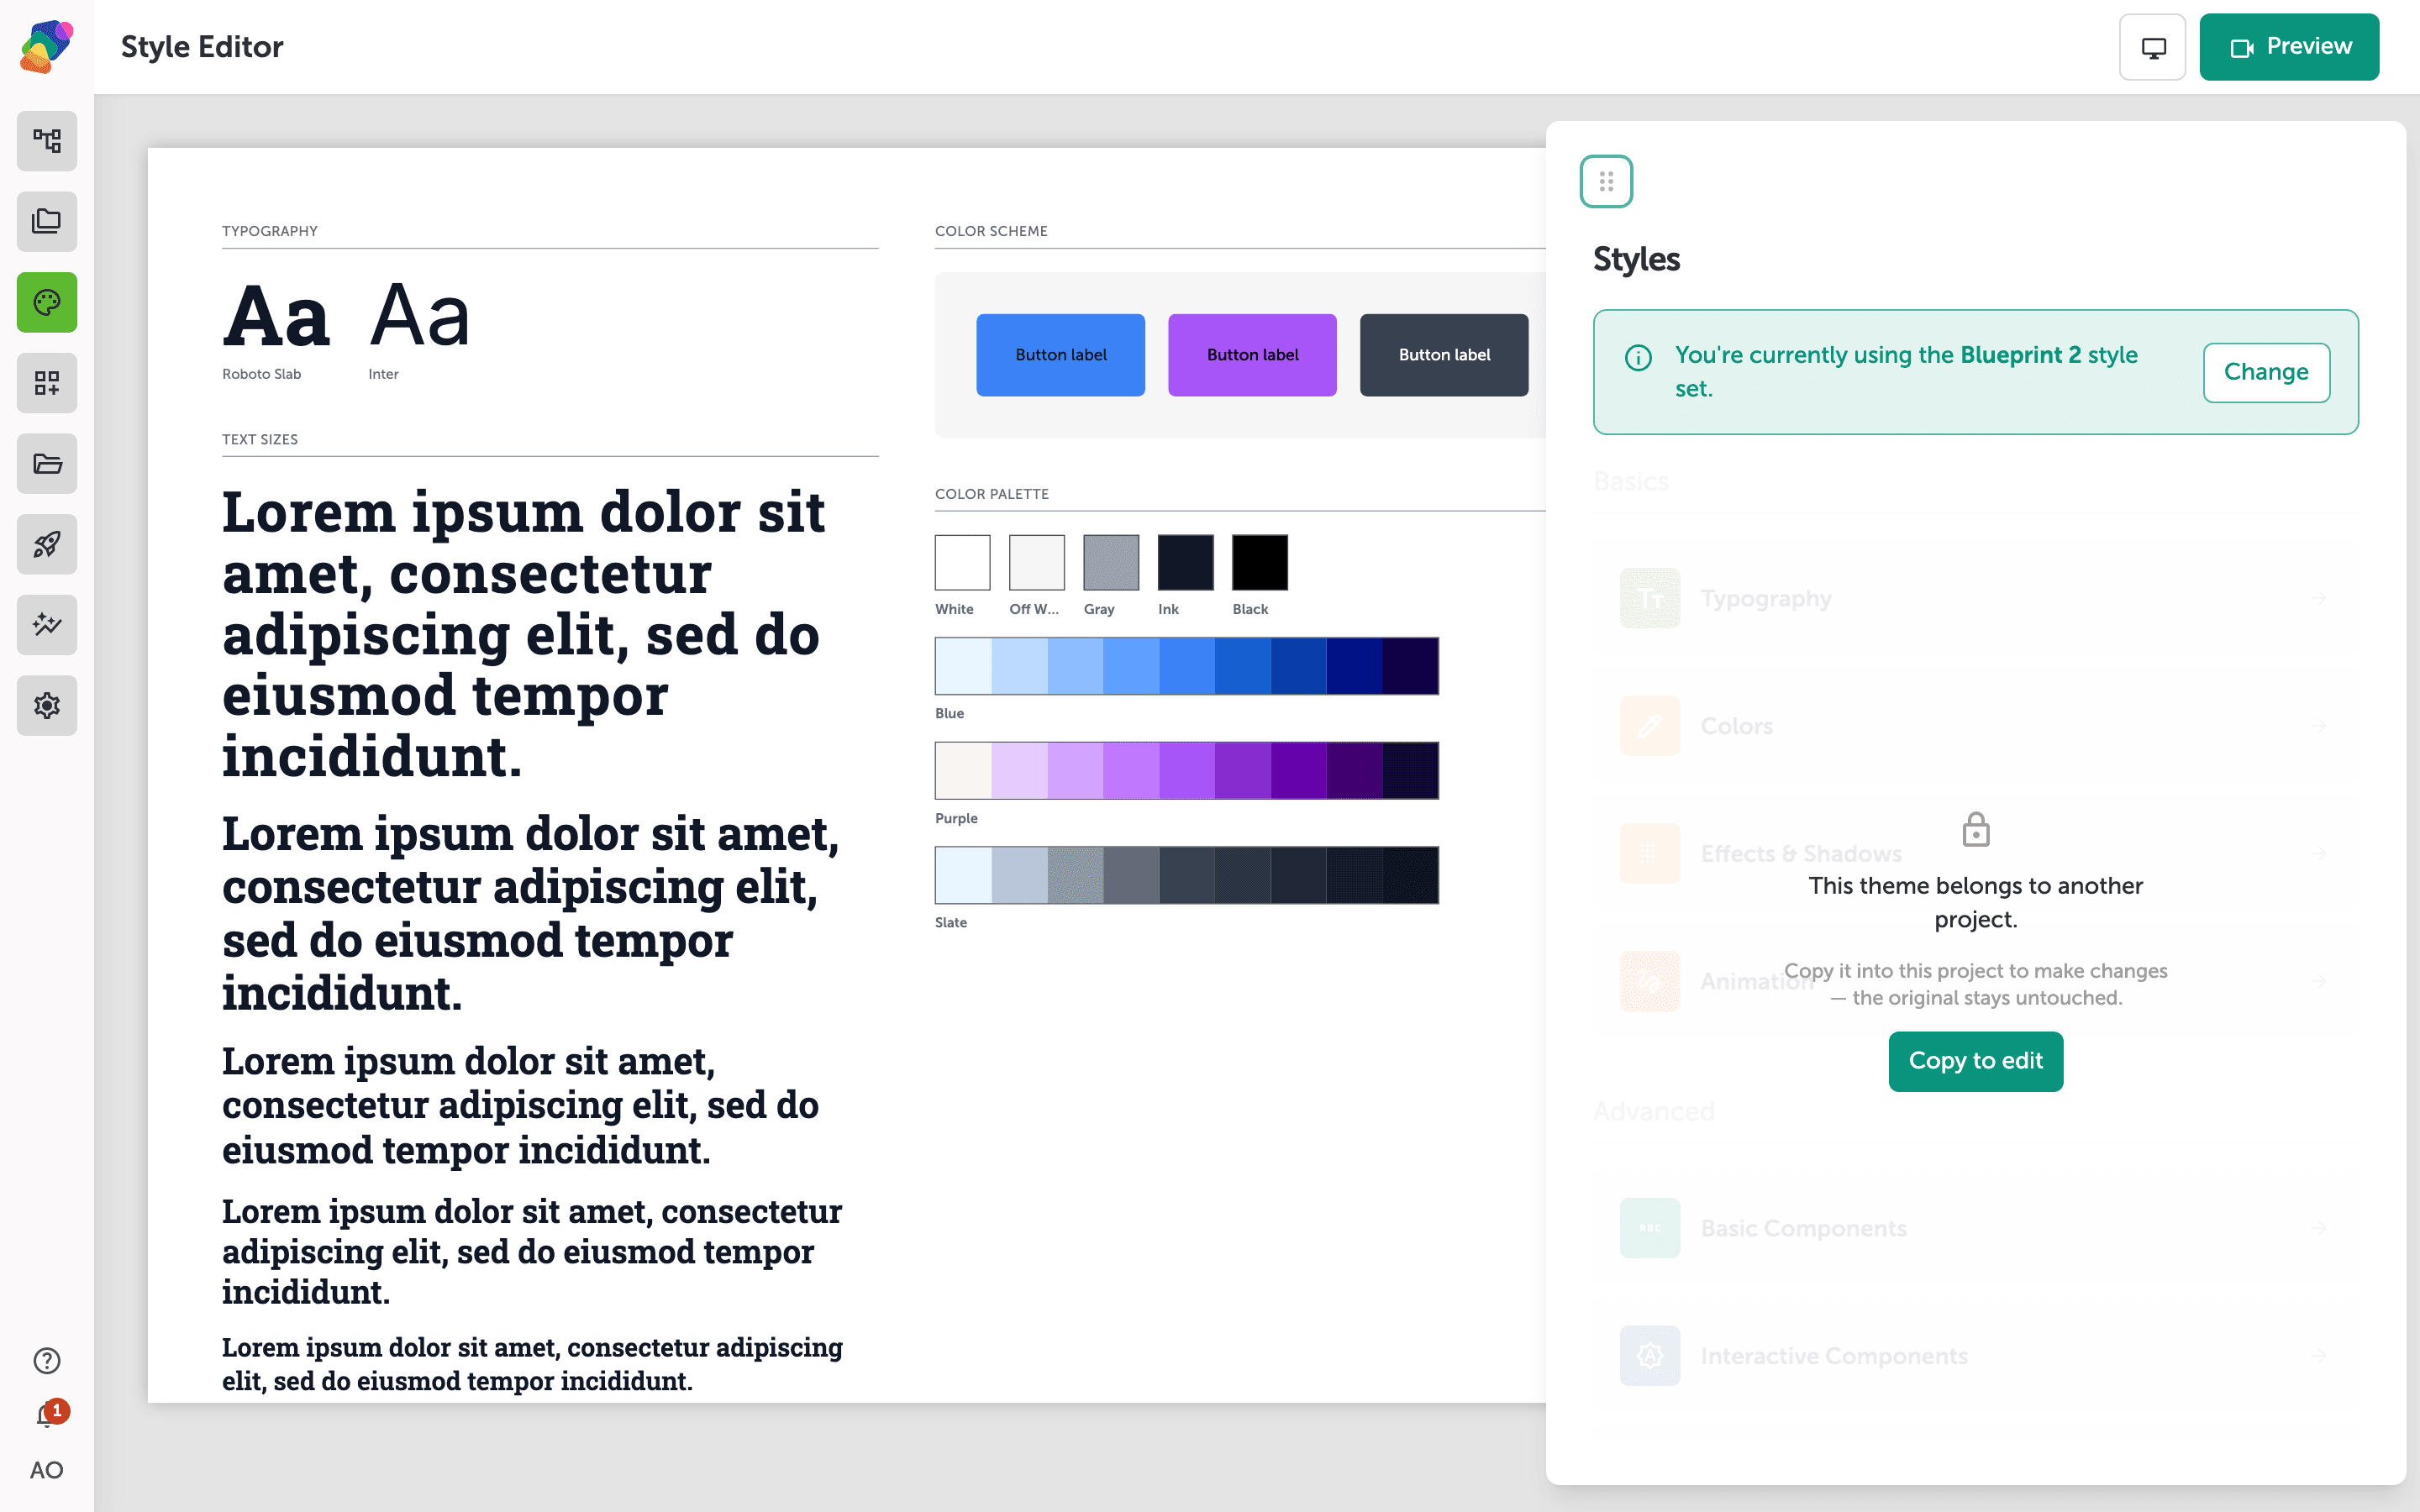
Start a new theme
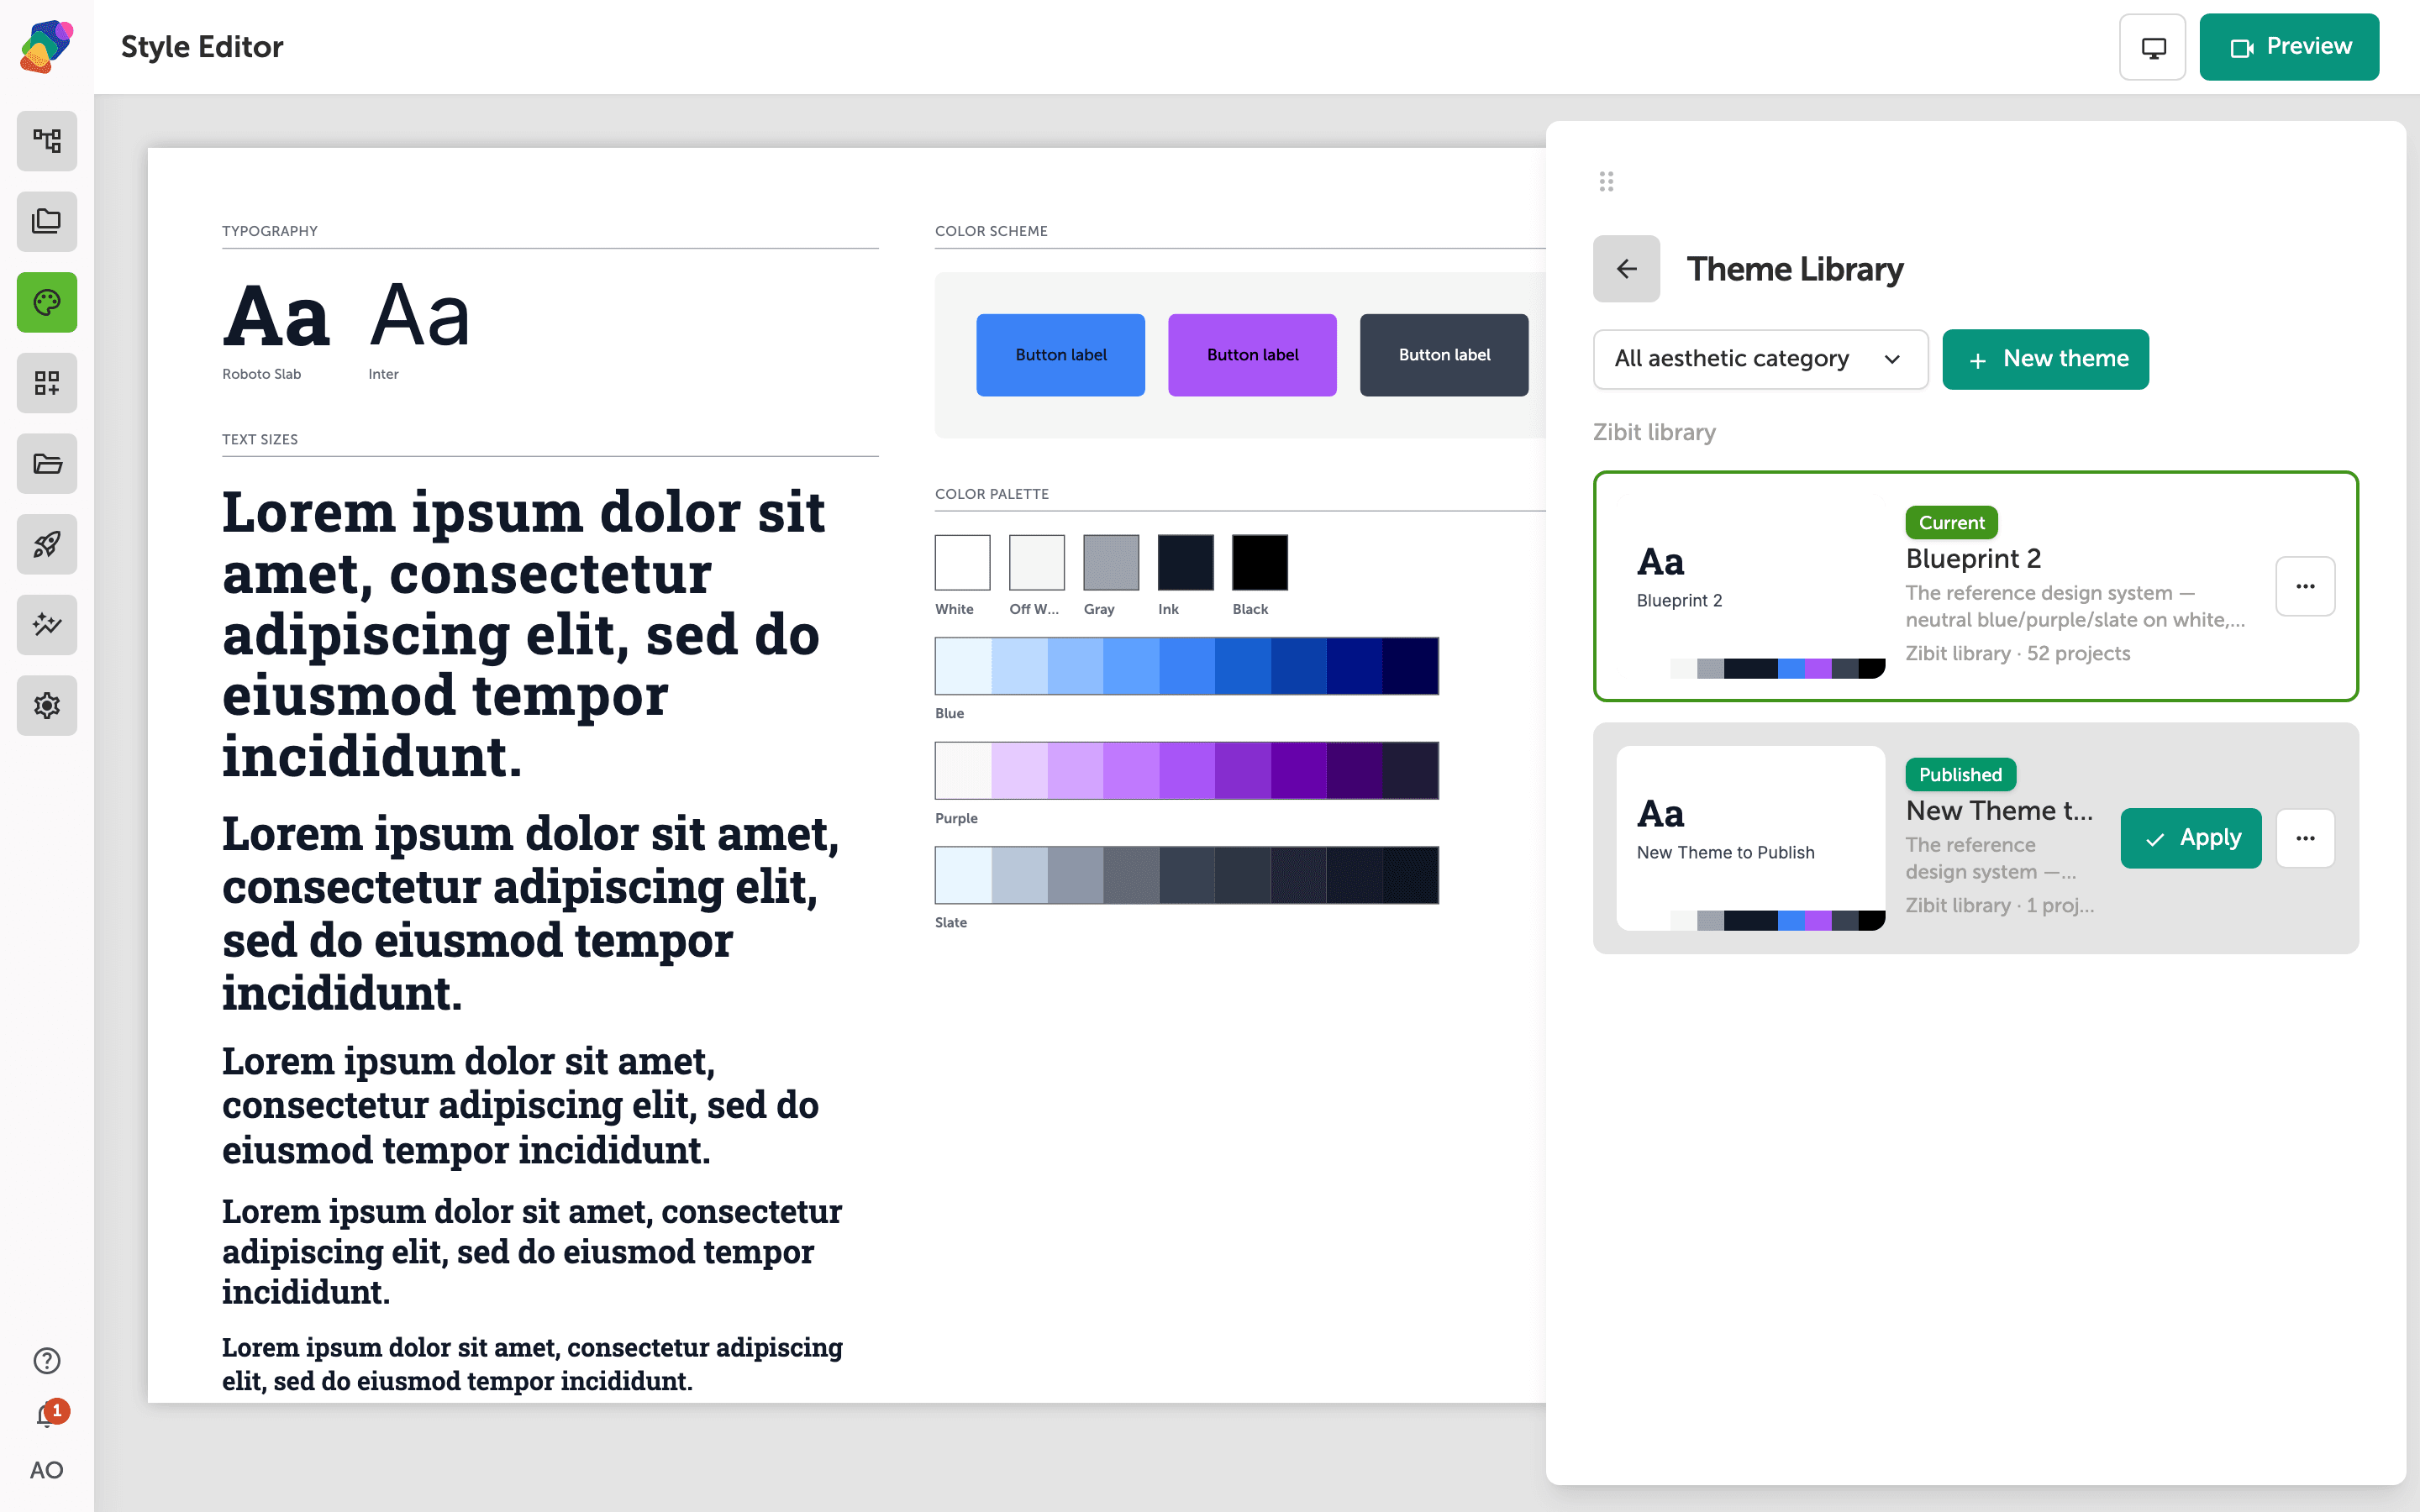
The Theme Library drawer slides open with a list of available themes. You can preview any of them, but to build your own, click the "New theme" button. This starts the creation flow by duplicating a starter theme so you have a complete set of defaults to work from.
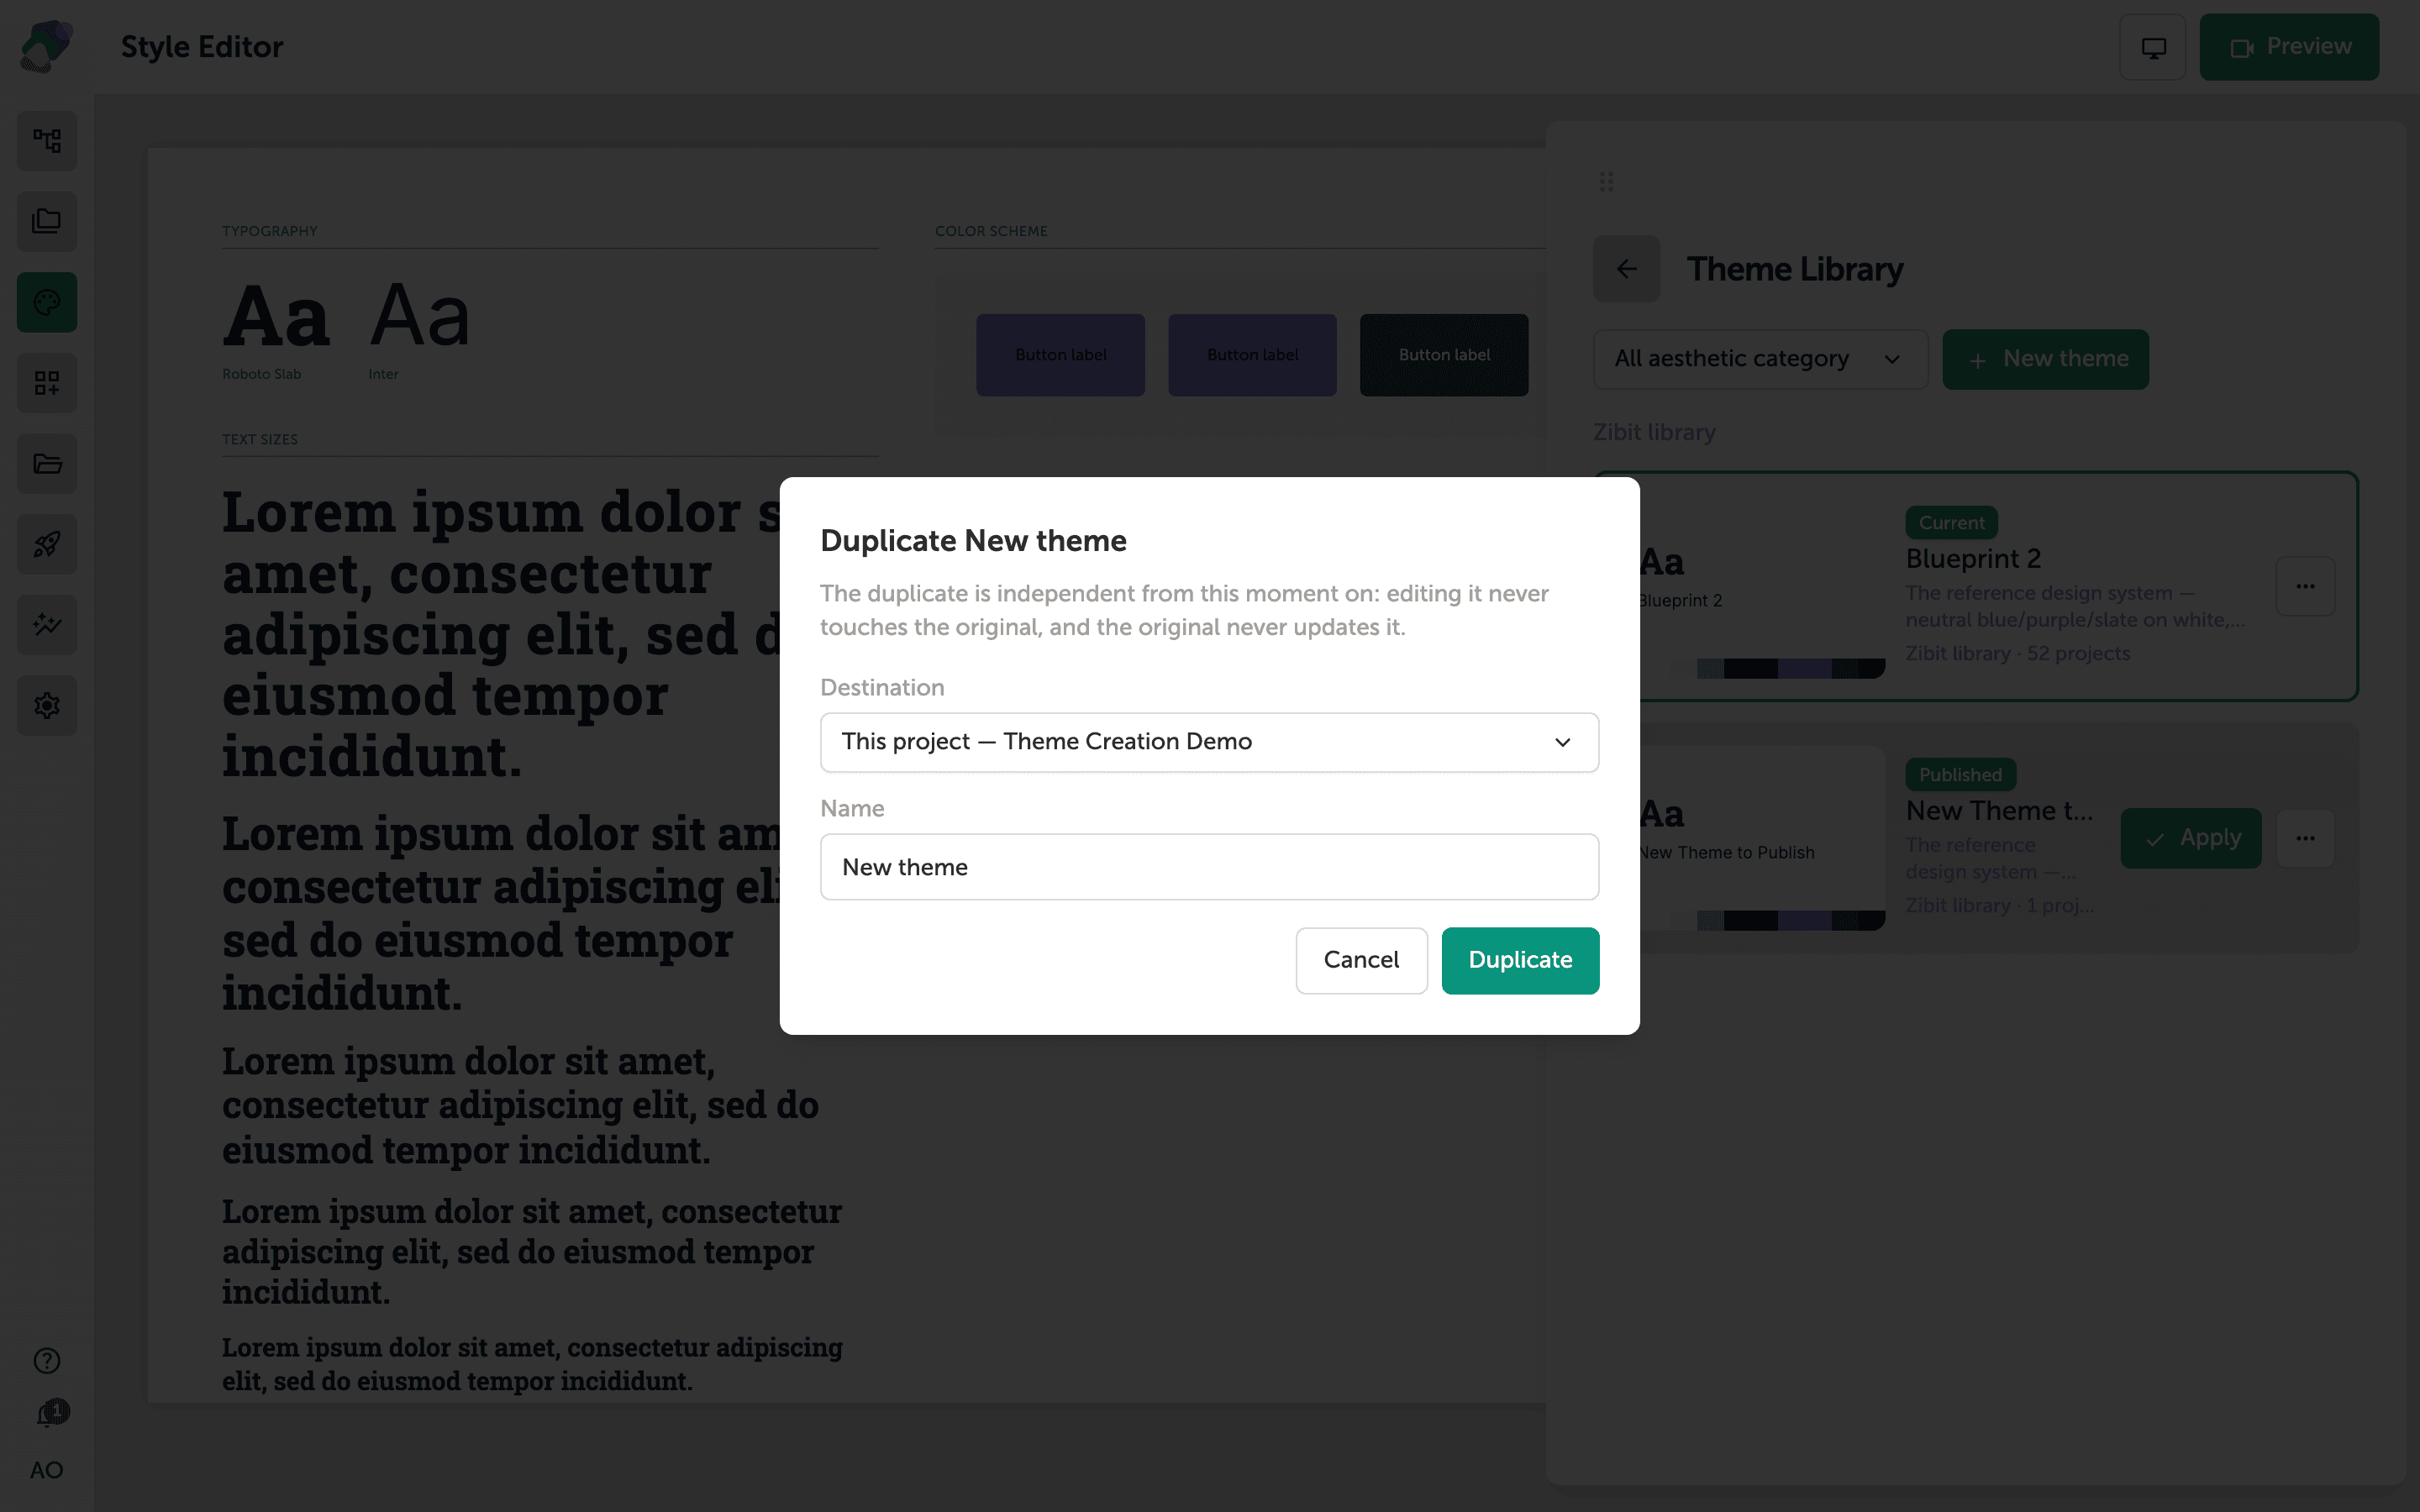
Choose a name and destination
A dialog appears asking you to name your new theme and choose where it should live. The destination scope determines who can access it:
- This project keeps the theme private to the current project.
- An organization makes it available to every project in that org.
- The Zibit library shares it across your entire account.
Give your theme a descriptive name, pick the right scope, and click "Duplicate" to create it. Zibit copies all the settings from the starter theme into your new one, so nothing is left blank.
Customize your theme
Once your theme is created, the Style Editor opens with it already active. From here you can start making it your own. Open the "Colors" panel to adjust the palette — primary, secondary, background, and accent colors are all editable. Changes apply immediately to any moment using this theme, so you can preview the results in real time.
Don't worry about getting every color perfect right away — you can come back and refine your theme at any time.
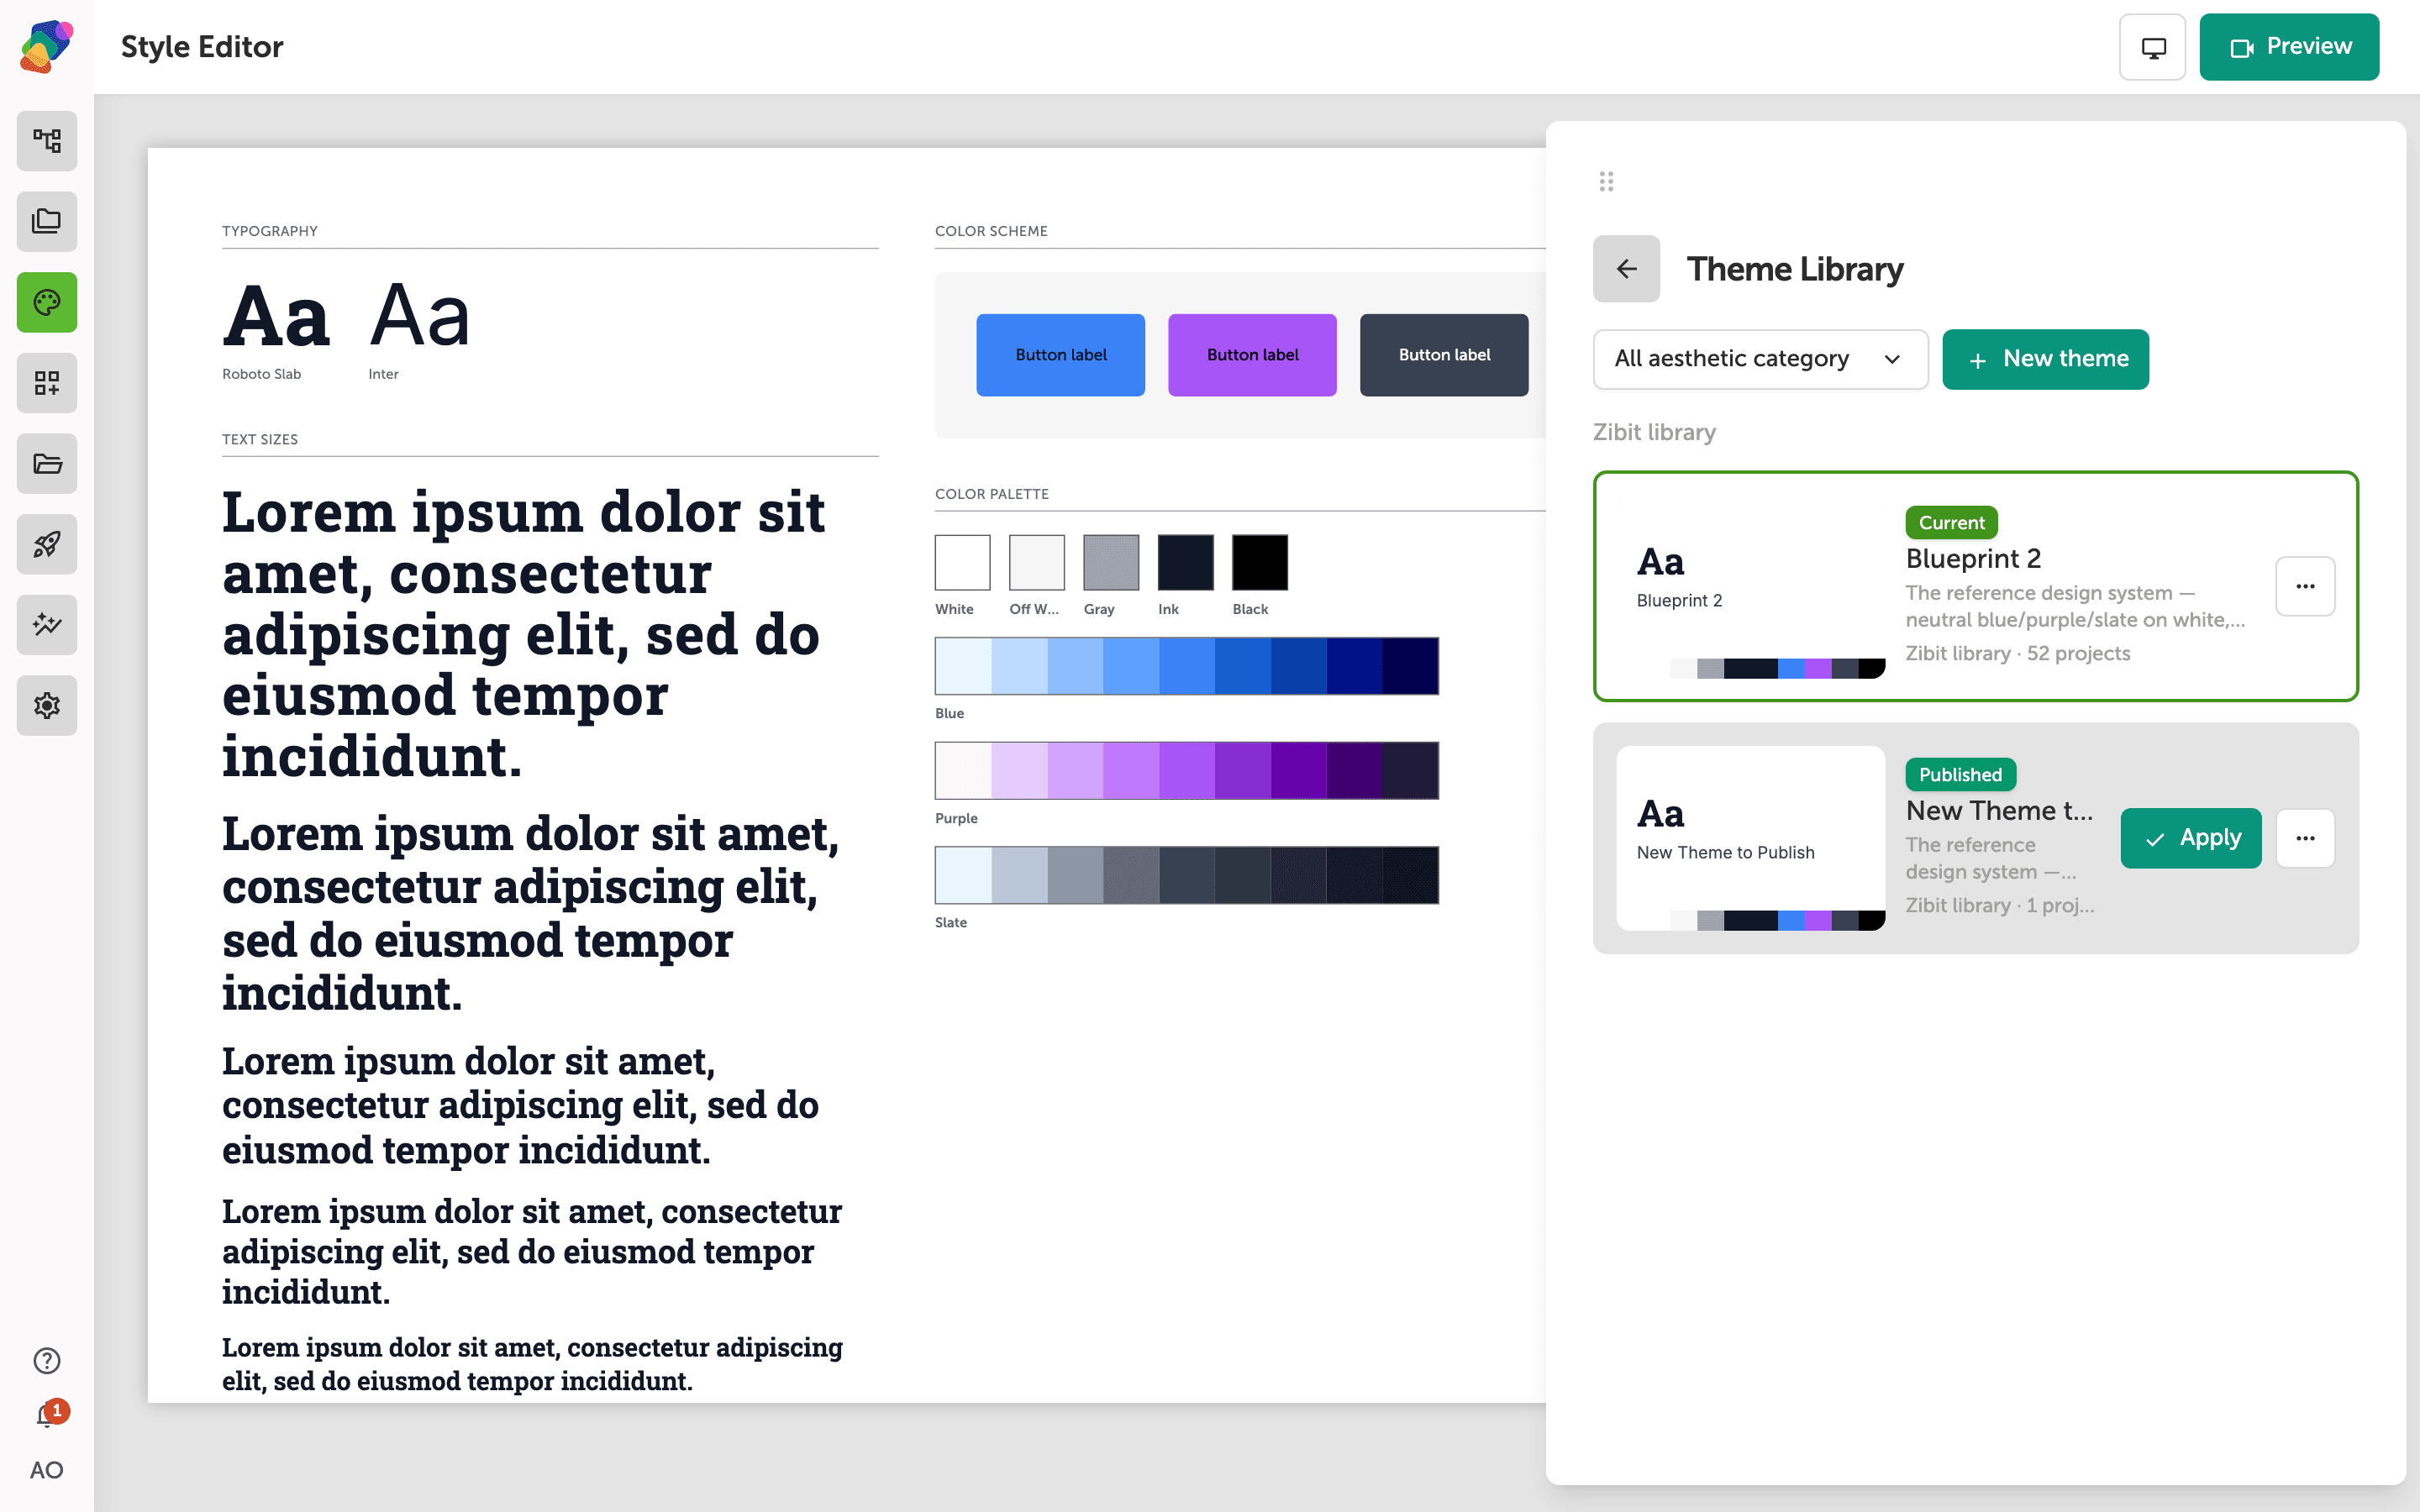
Your theme is ready to start shaping. From here, you can continue fine-tuning or explore the other panels in the Style Editor.
- Manage your color palette: Adjust primary, secondary, and accent colors to match your brand.
- Customize typography styles: Set fonts, sizes, and weights for headings, body text, and labels.
- Share themes across your organization: Move a project-scoped theme to an org so every project can use it.