
Importing Data via CSV
This tutorial walks you through importing a CSV file into a Zibit collection so you can populate it with many items at once—no manual entry required. By the end, your collection will contain all the rows from your CSV file, mapped to the correct fields and ready to use in your project.
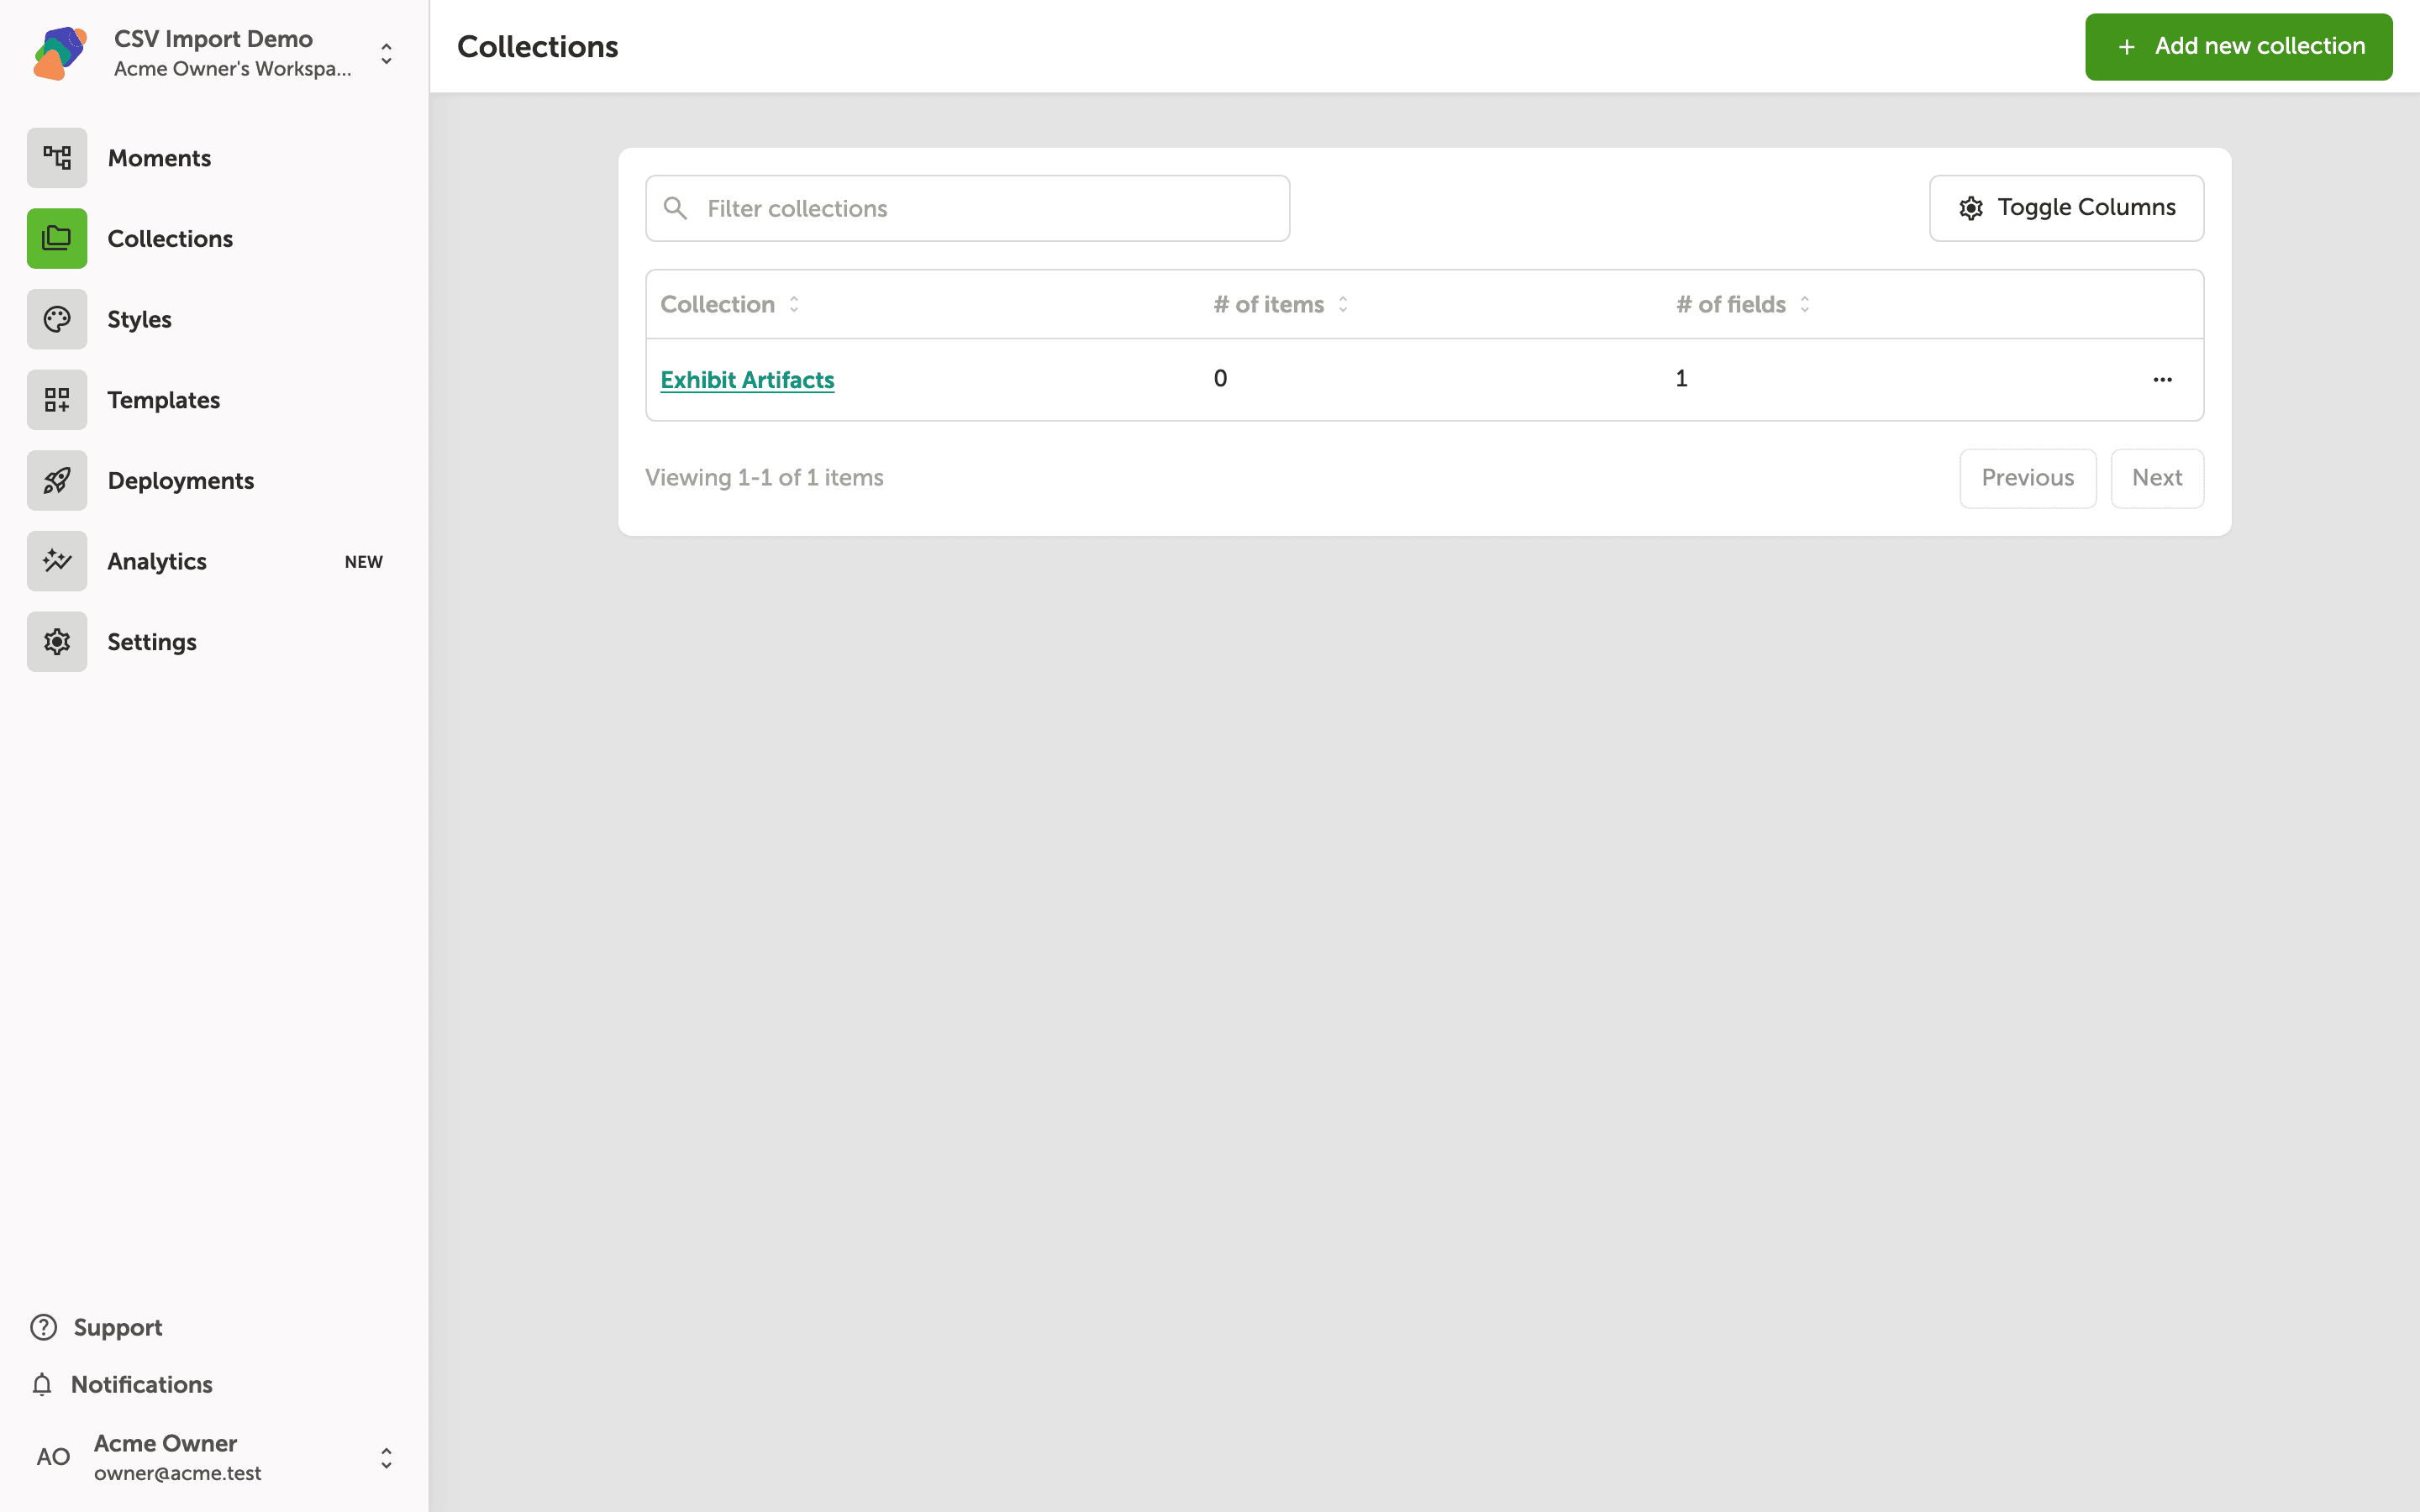
The Collections page is your starting point
The Collections page lists every collection linked to your project. Each row shows the collection name, how many items it contains, and how many fields are defined. Here you can see one collection—Exhibit Artifacts—already created and ready to receive data.
To begin importing your CSV, click Exhibit Artifacts to open it. That takes you inside the collection where the import controls are available.
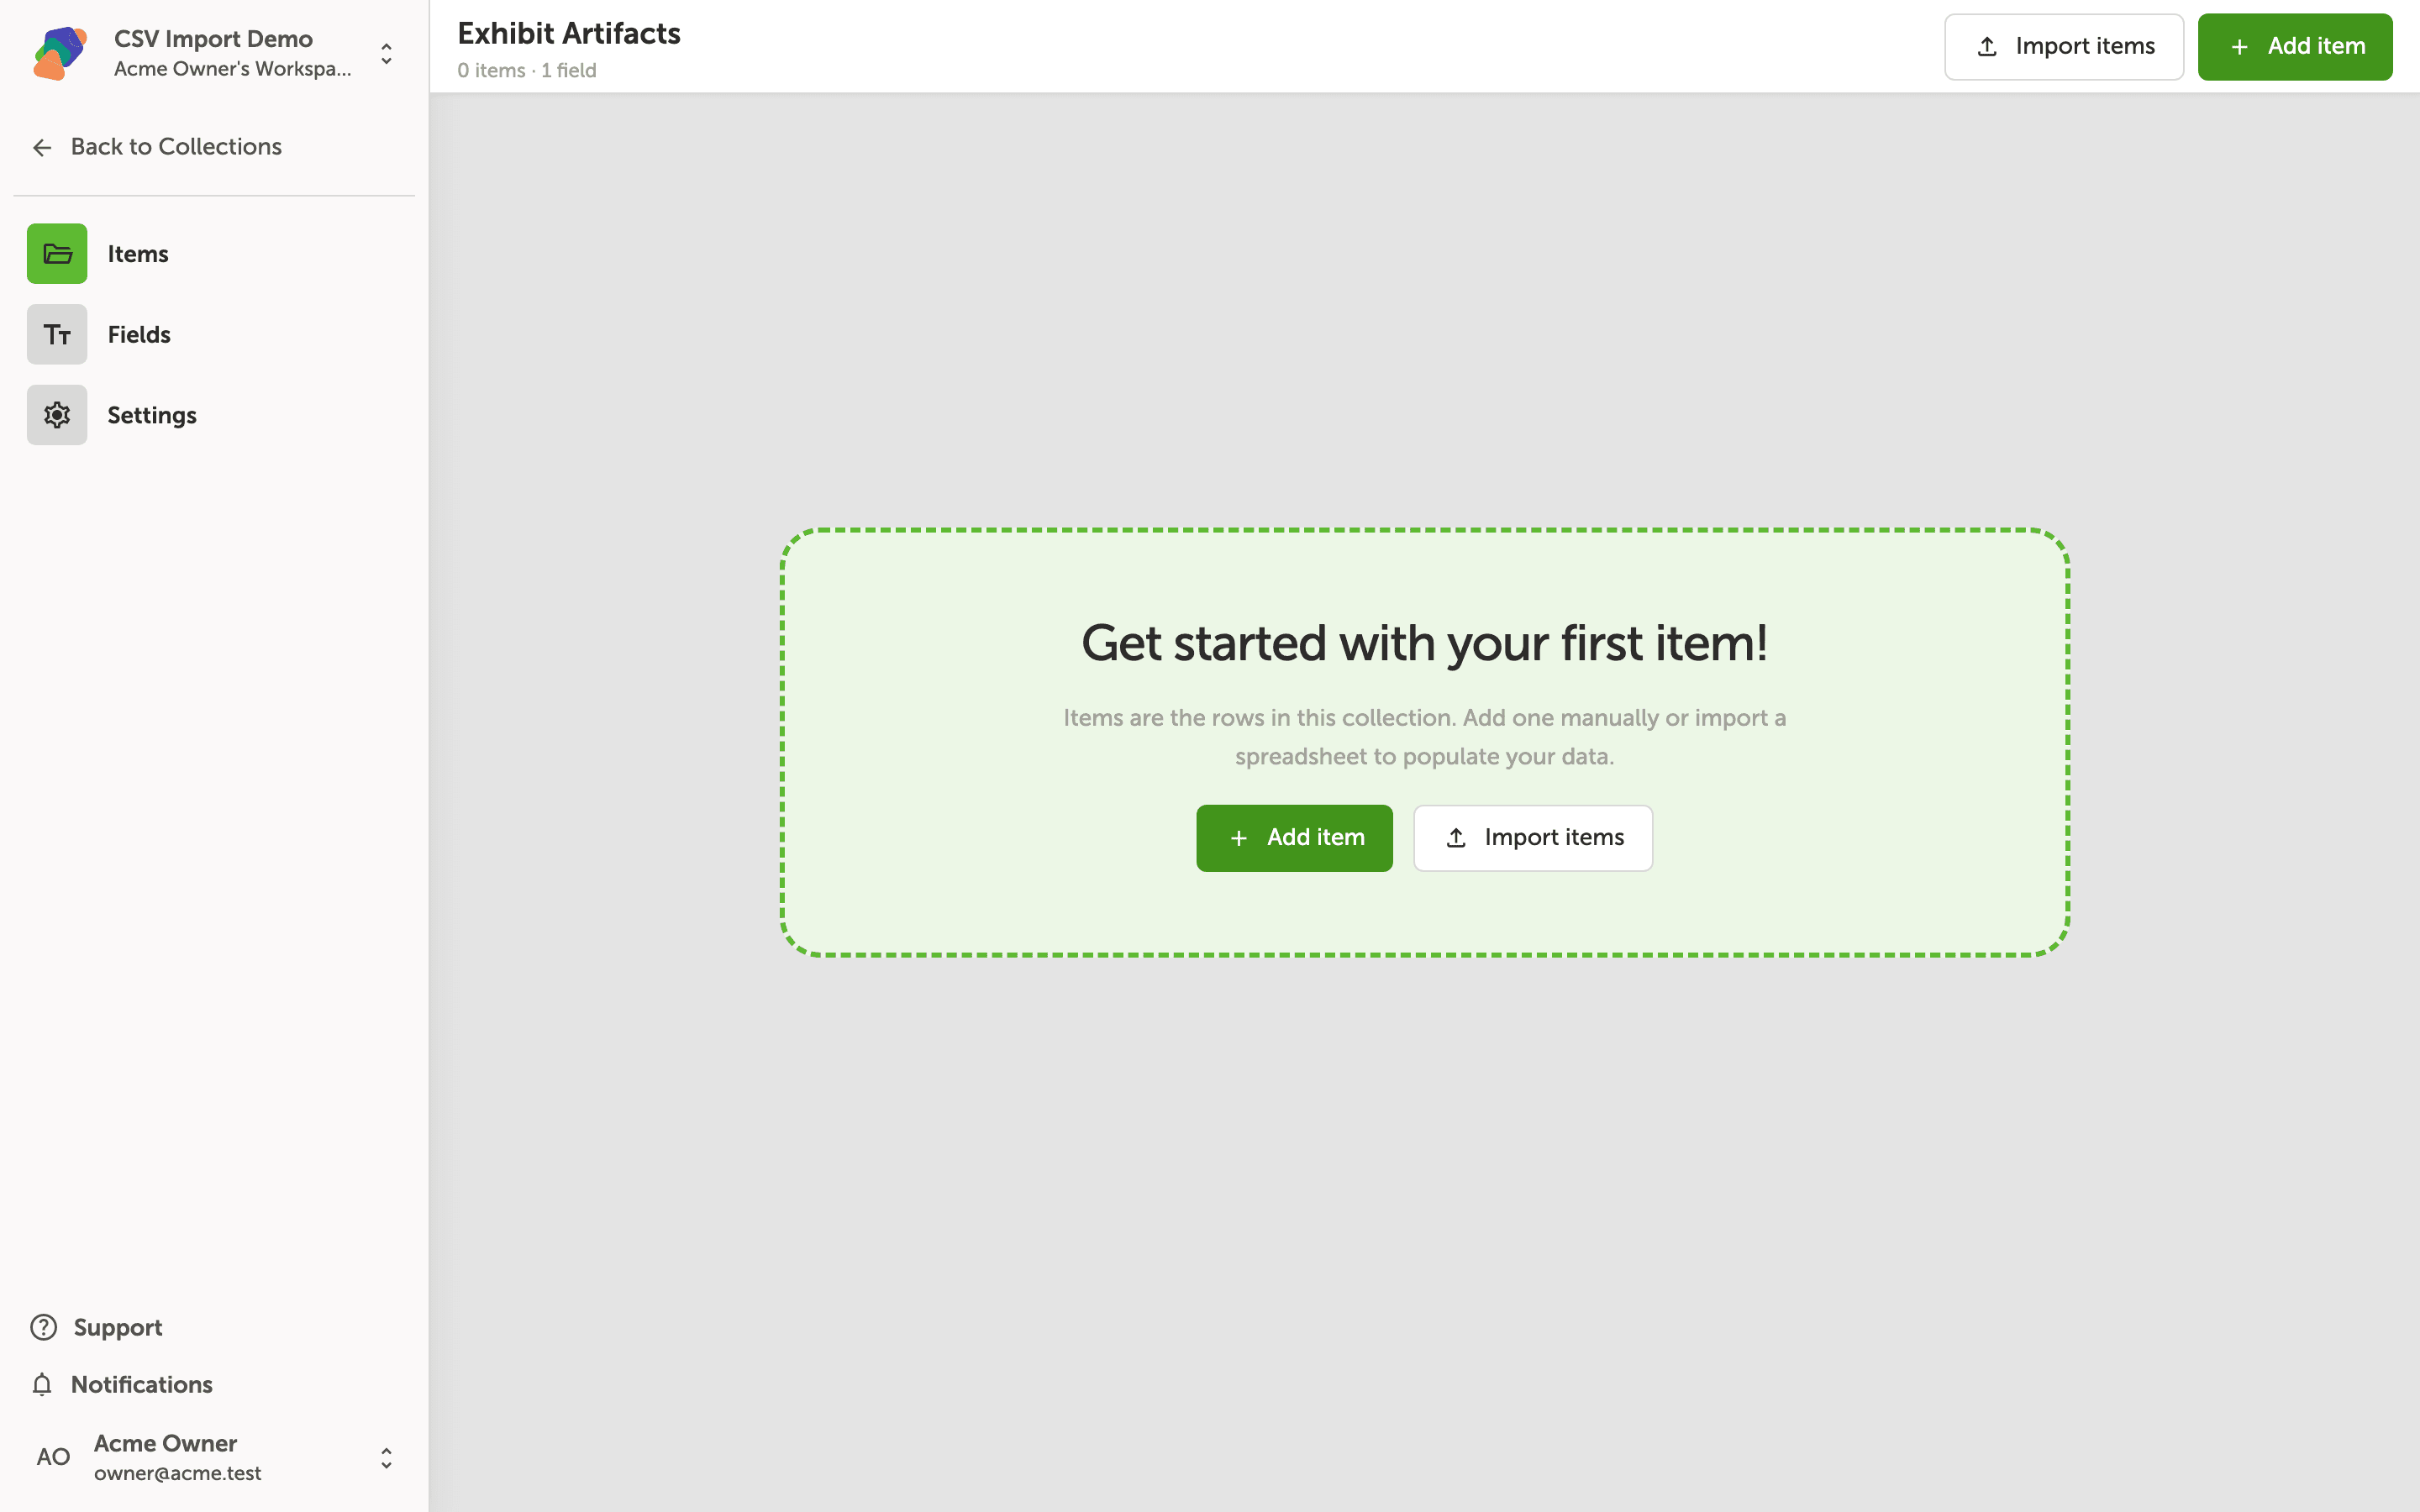
The empty Items tab and your two options for adding data
You're now inside the Exhibit Artifacts collection, on the Items tab. Items are the individual rows of data in your collection—each one might represent a single artifact, artwork, or entry. The counter at the top shows 0 items · 1 field, confirming the collection is empty and ready to fill.
To bring in data from a spreadsheet, click Import items—either the button in the top-right header or the one in the center panel. If you prefer to add a single entry by hand instead, use Add item. For this tutorial, you'll use Import items to load a CSV file.
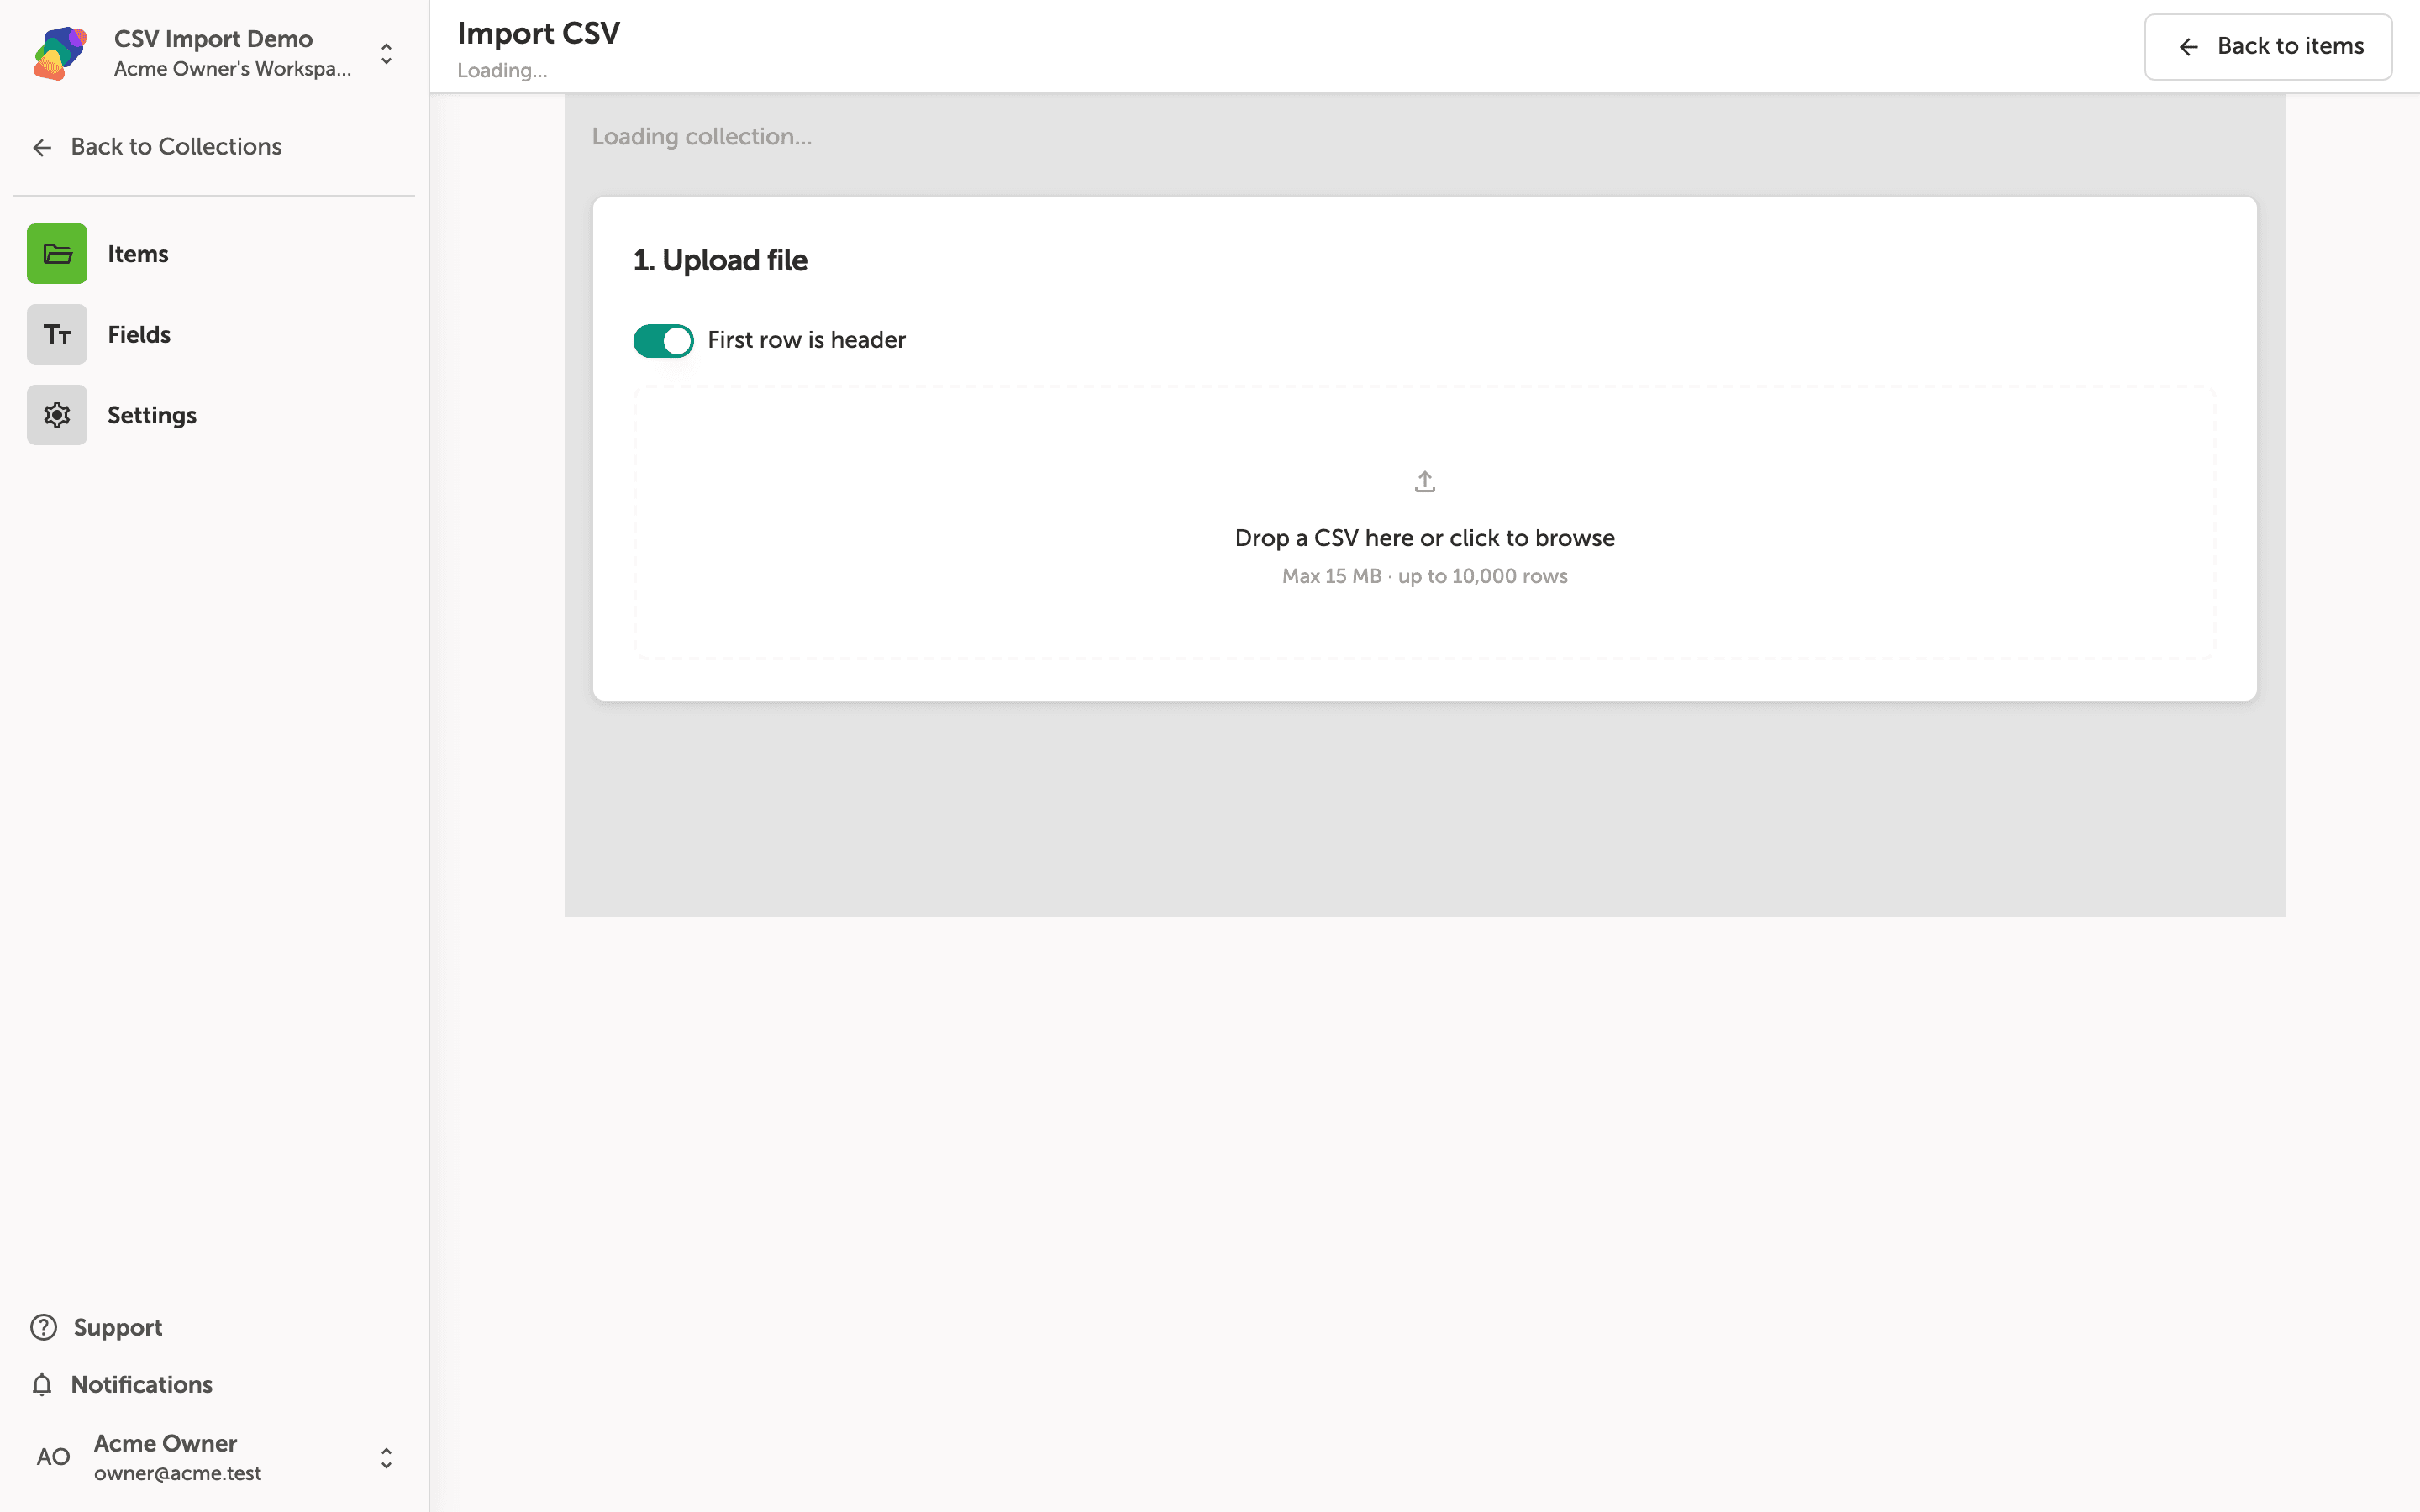
The Import CSV screen and its file upload area
The Import CSV screen walks you through the process in stages. The first stage, 1. Upload file, is the only one active right now. Drag your CSV file onto the upload area, or click it to browse your file system. The file must be no larger than 15 MB and contain no more than 10,000 rows.
Before you upload, check the First row is header toggle. When it is on (the default), Zibit treats the first row of your CSV as column names and uses them when mapping fields in the next stage.
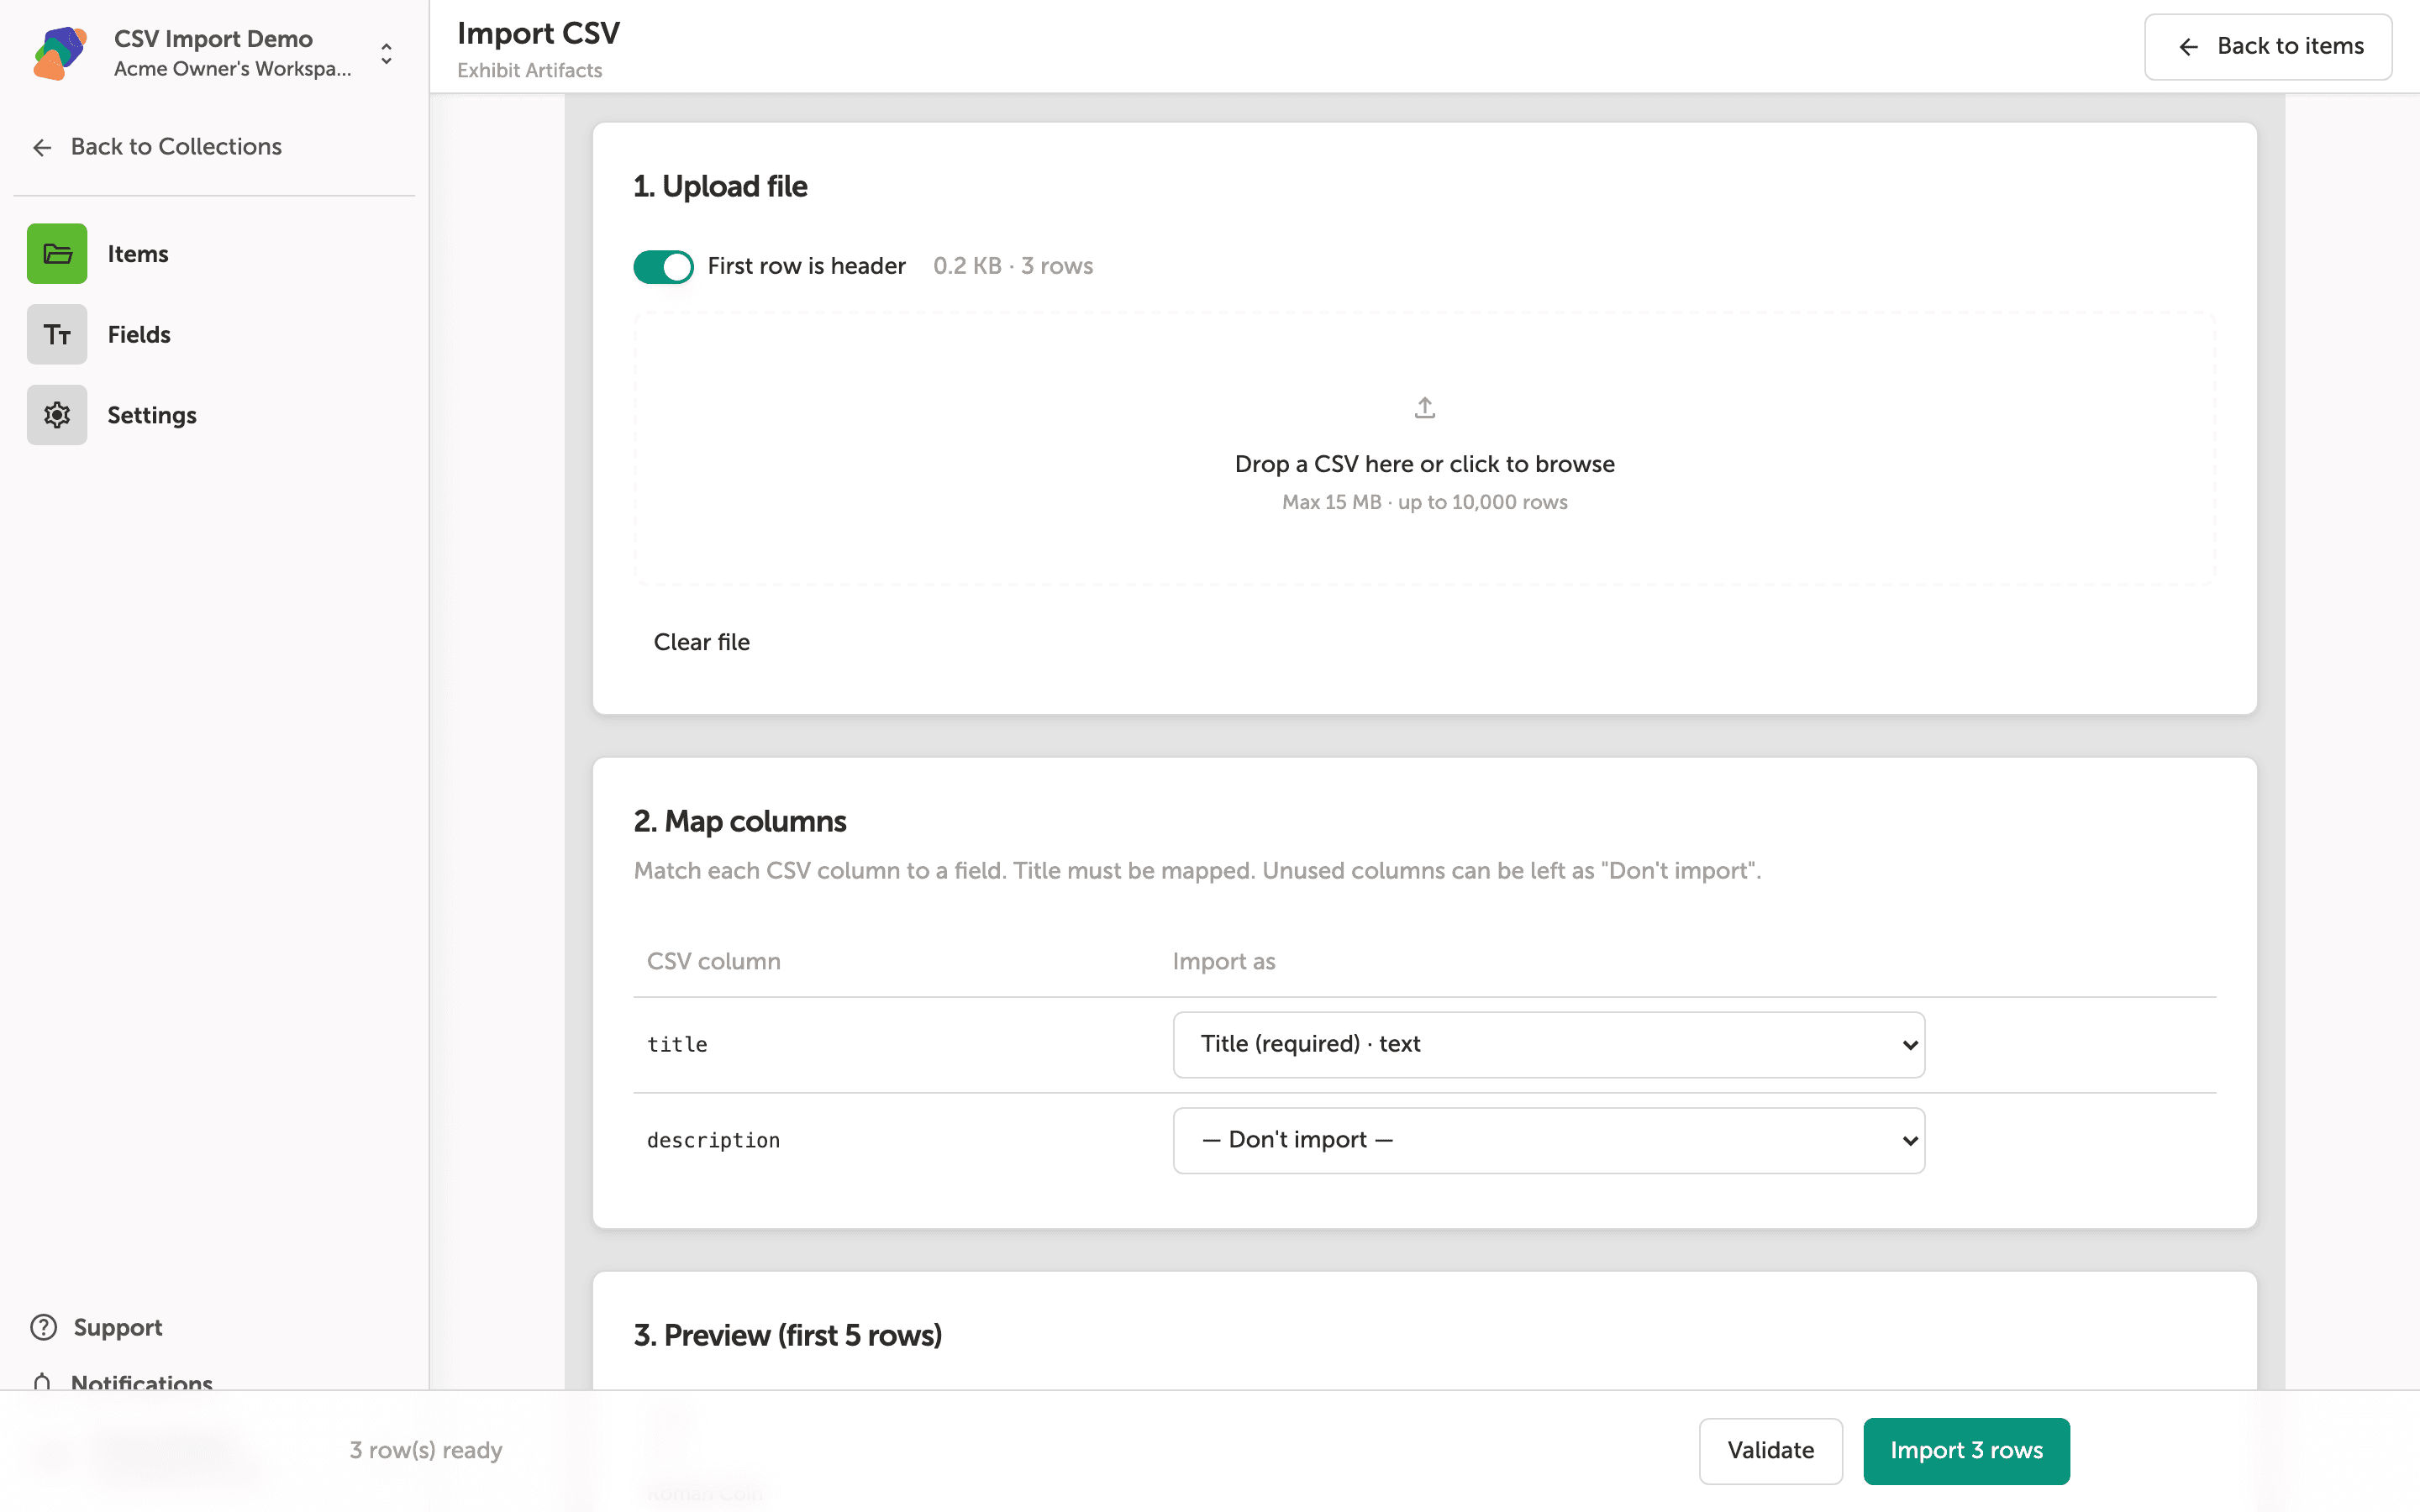
Mapping CSV columns to collection fields
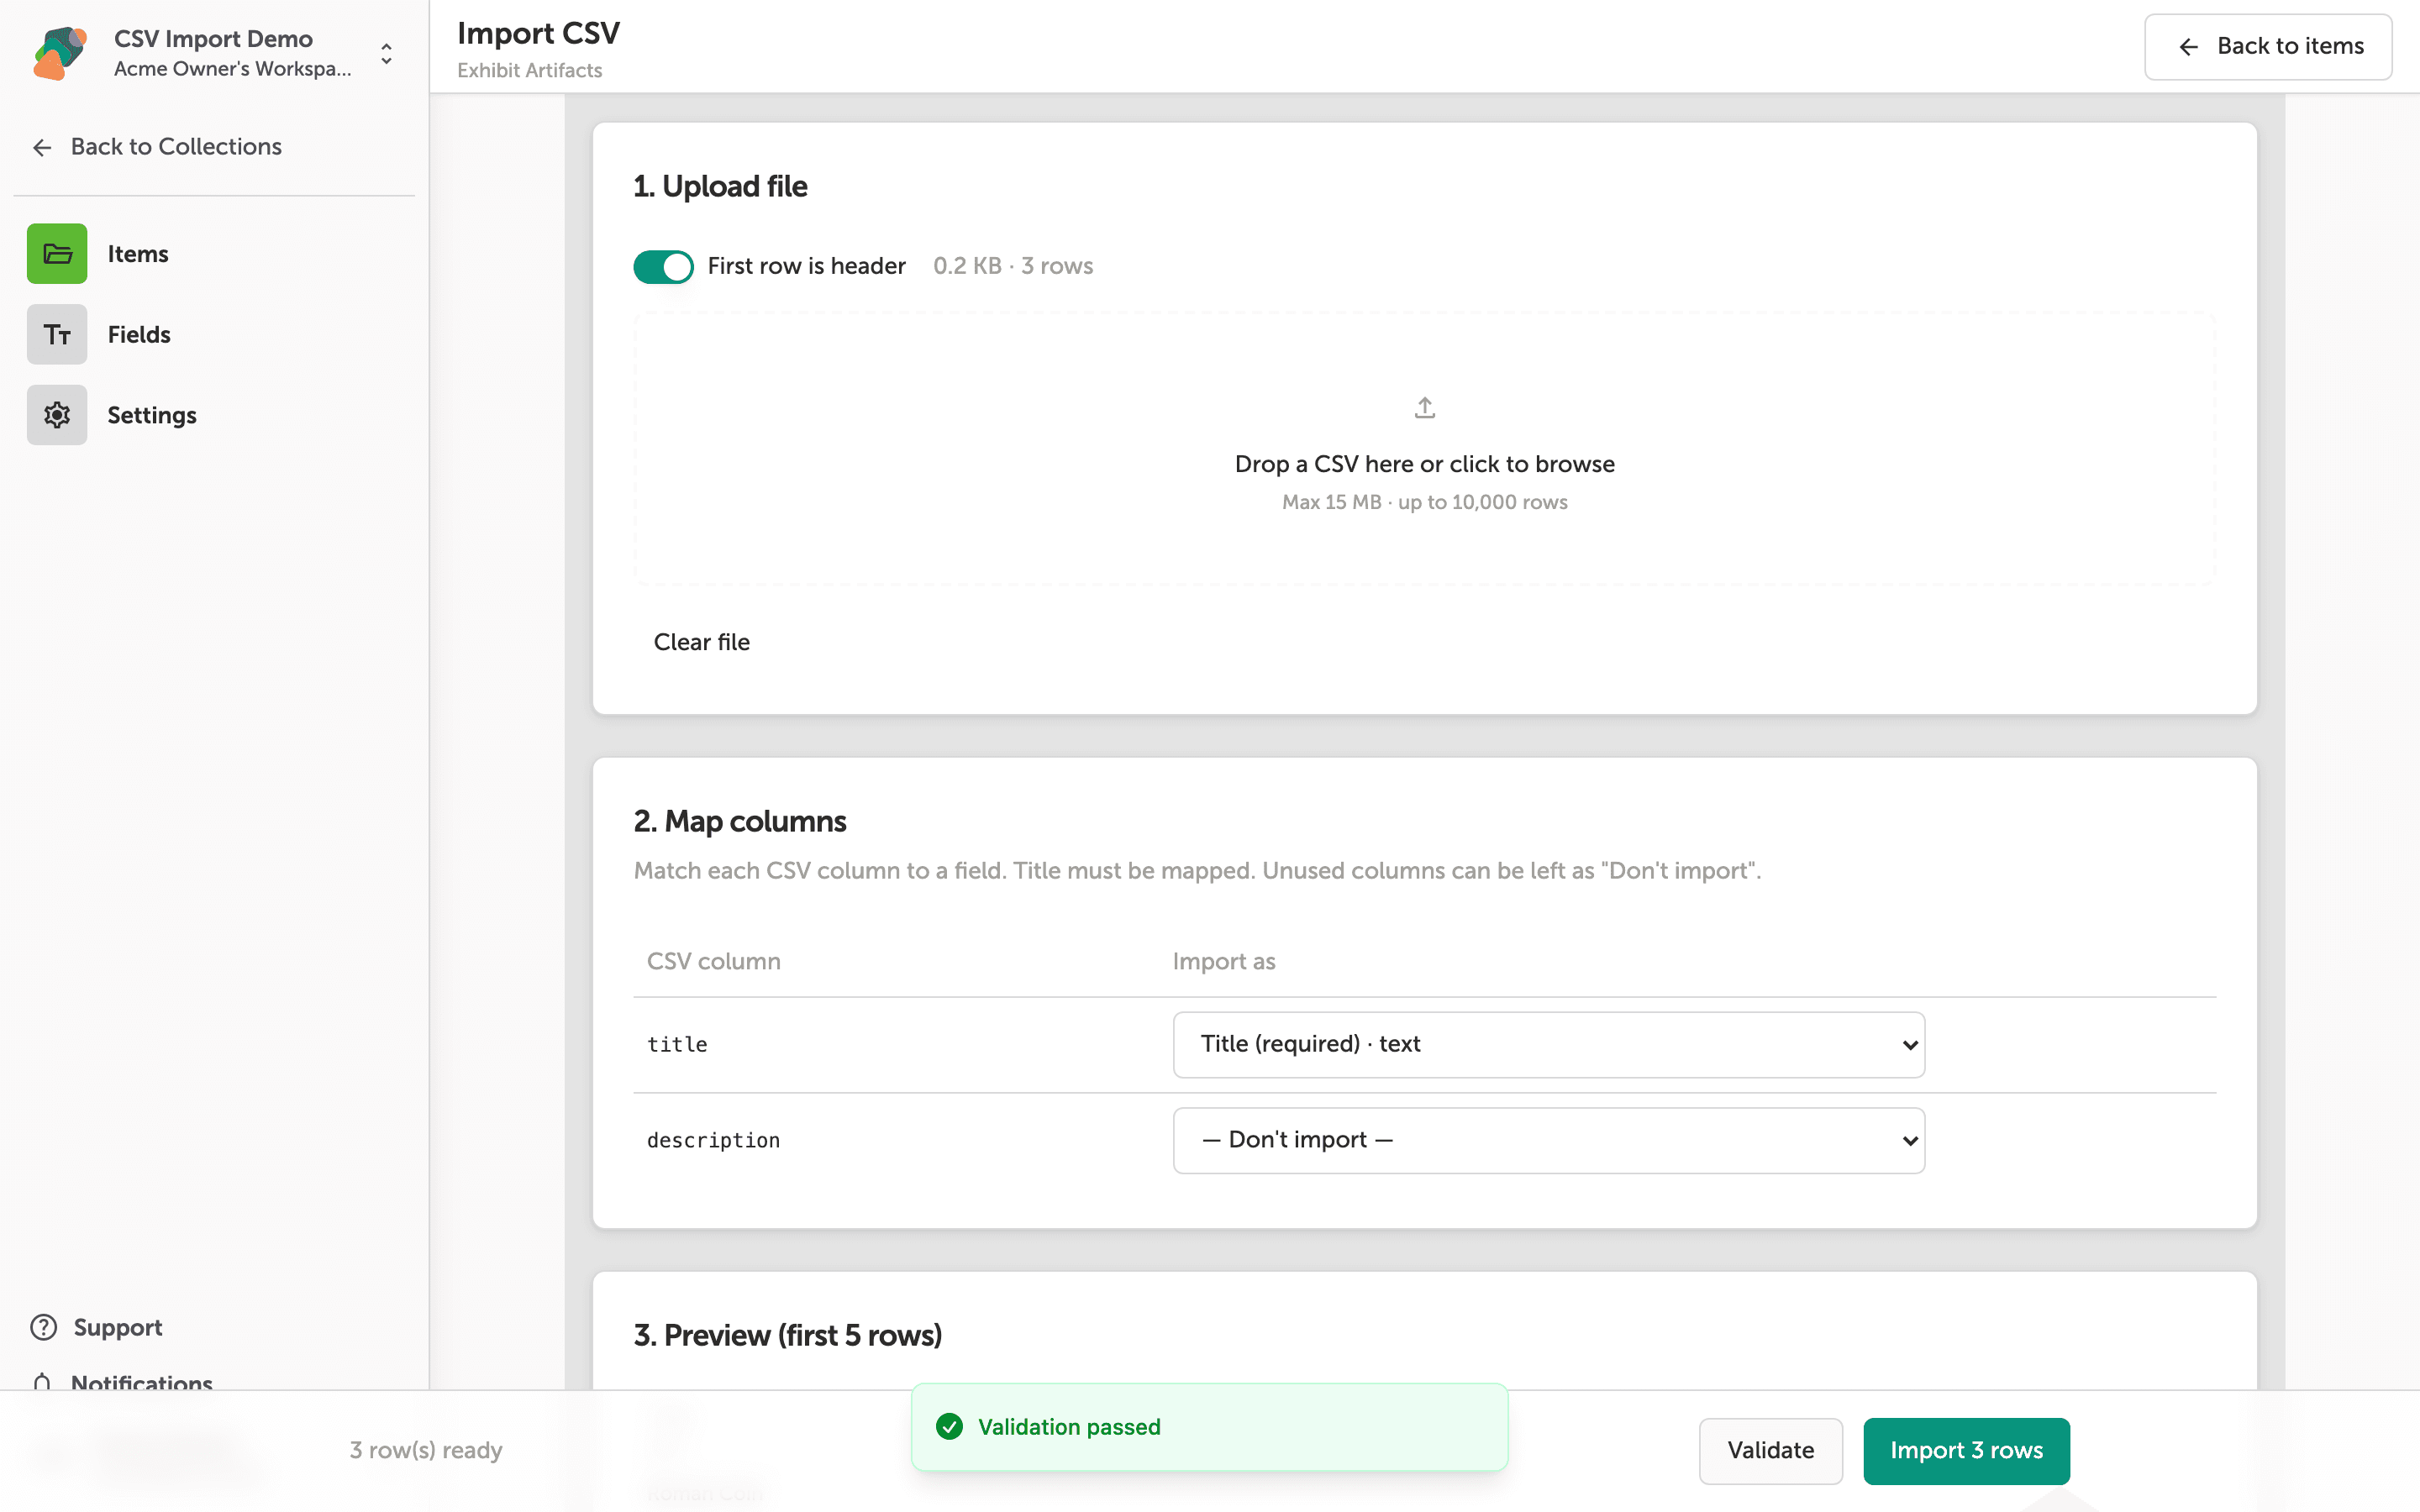
After your file loads, the Map columns section lists every column from your CSV alongside an Import as dropdown. Zibit automatically matches a column named title to Title (required) · text—the one field every collection requires. For any column you do not need, leave its dropdown set to — Don't import —.
Once your mappings look right, check the 3 row(s) ready count at the bottom of the screen. Click Validate to check for errors before committing, or click Import 3 rows to bring the data directly into your collection.
Validation passed and the import is ready to run
The green "Validation passed" banner at the bottom of the screen confirms that Zibit checked all 3 rows against your collection's schema and found no errors. The status bar also shows "3 row(s) ready", and the "Import 3 rows" button is now active.
If validation had failed, the banner would list the affected rows so you could adjust your column mappings in section 2. Map columns or fix the source file and re-upload. When everything looks correct, click "Import 3 rows" to add the data to your collection.
Confirming a successful CSV import
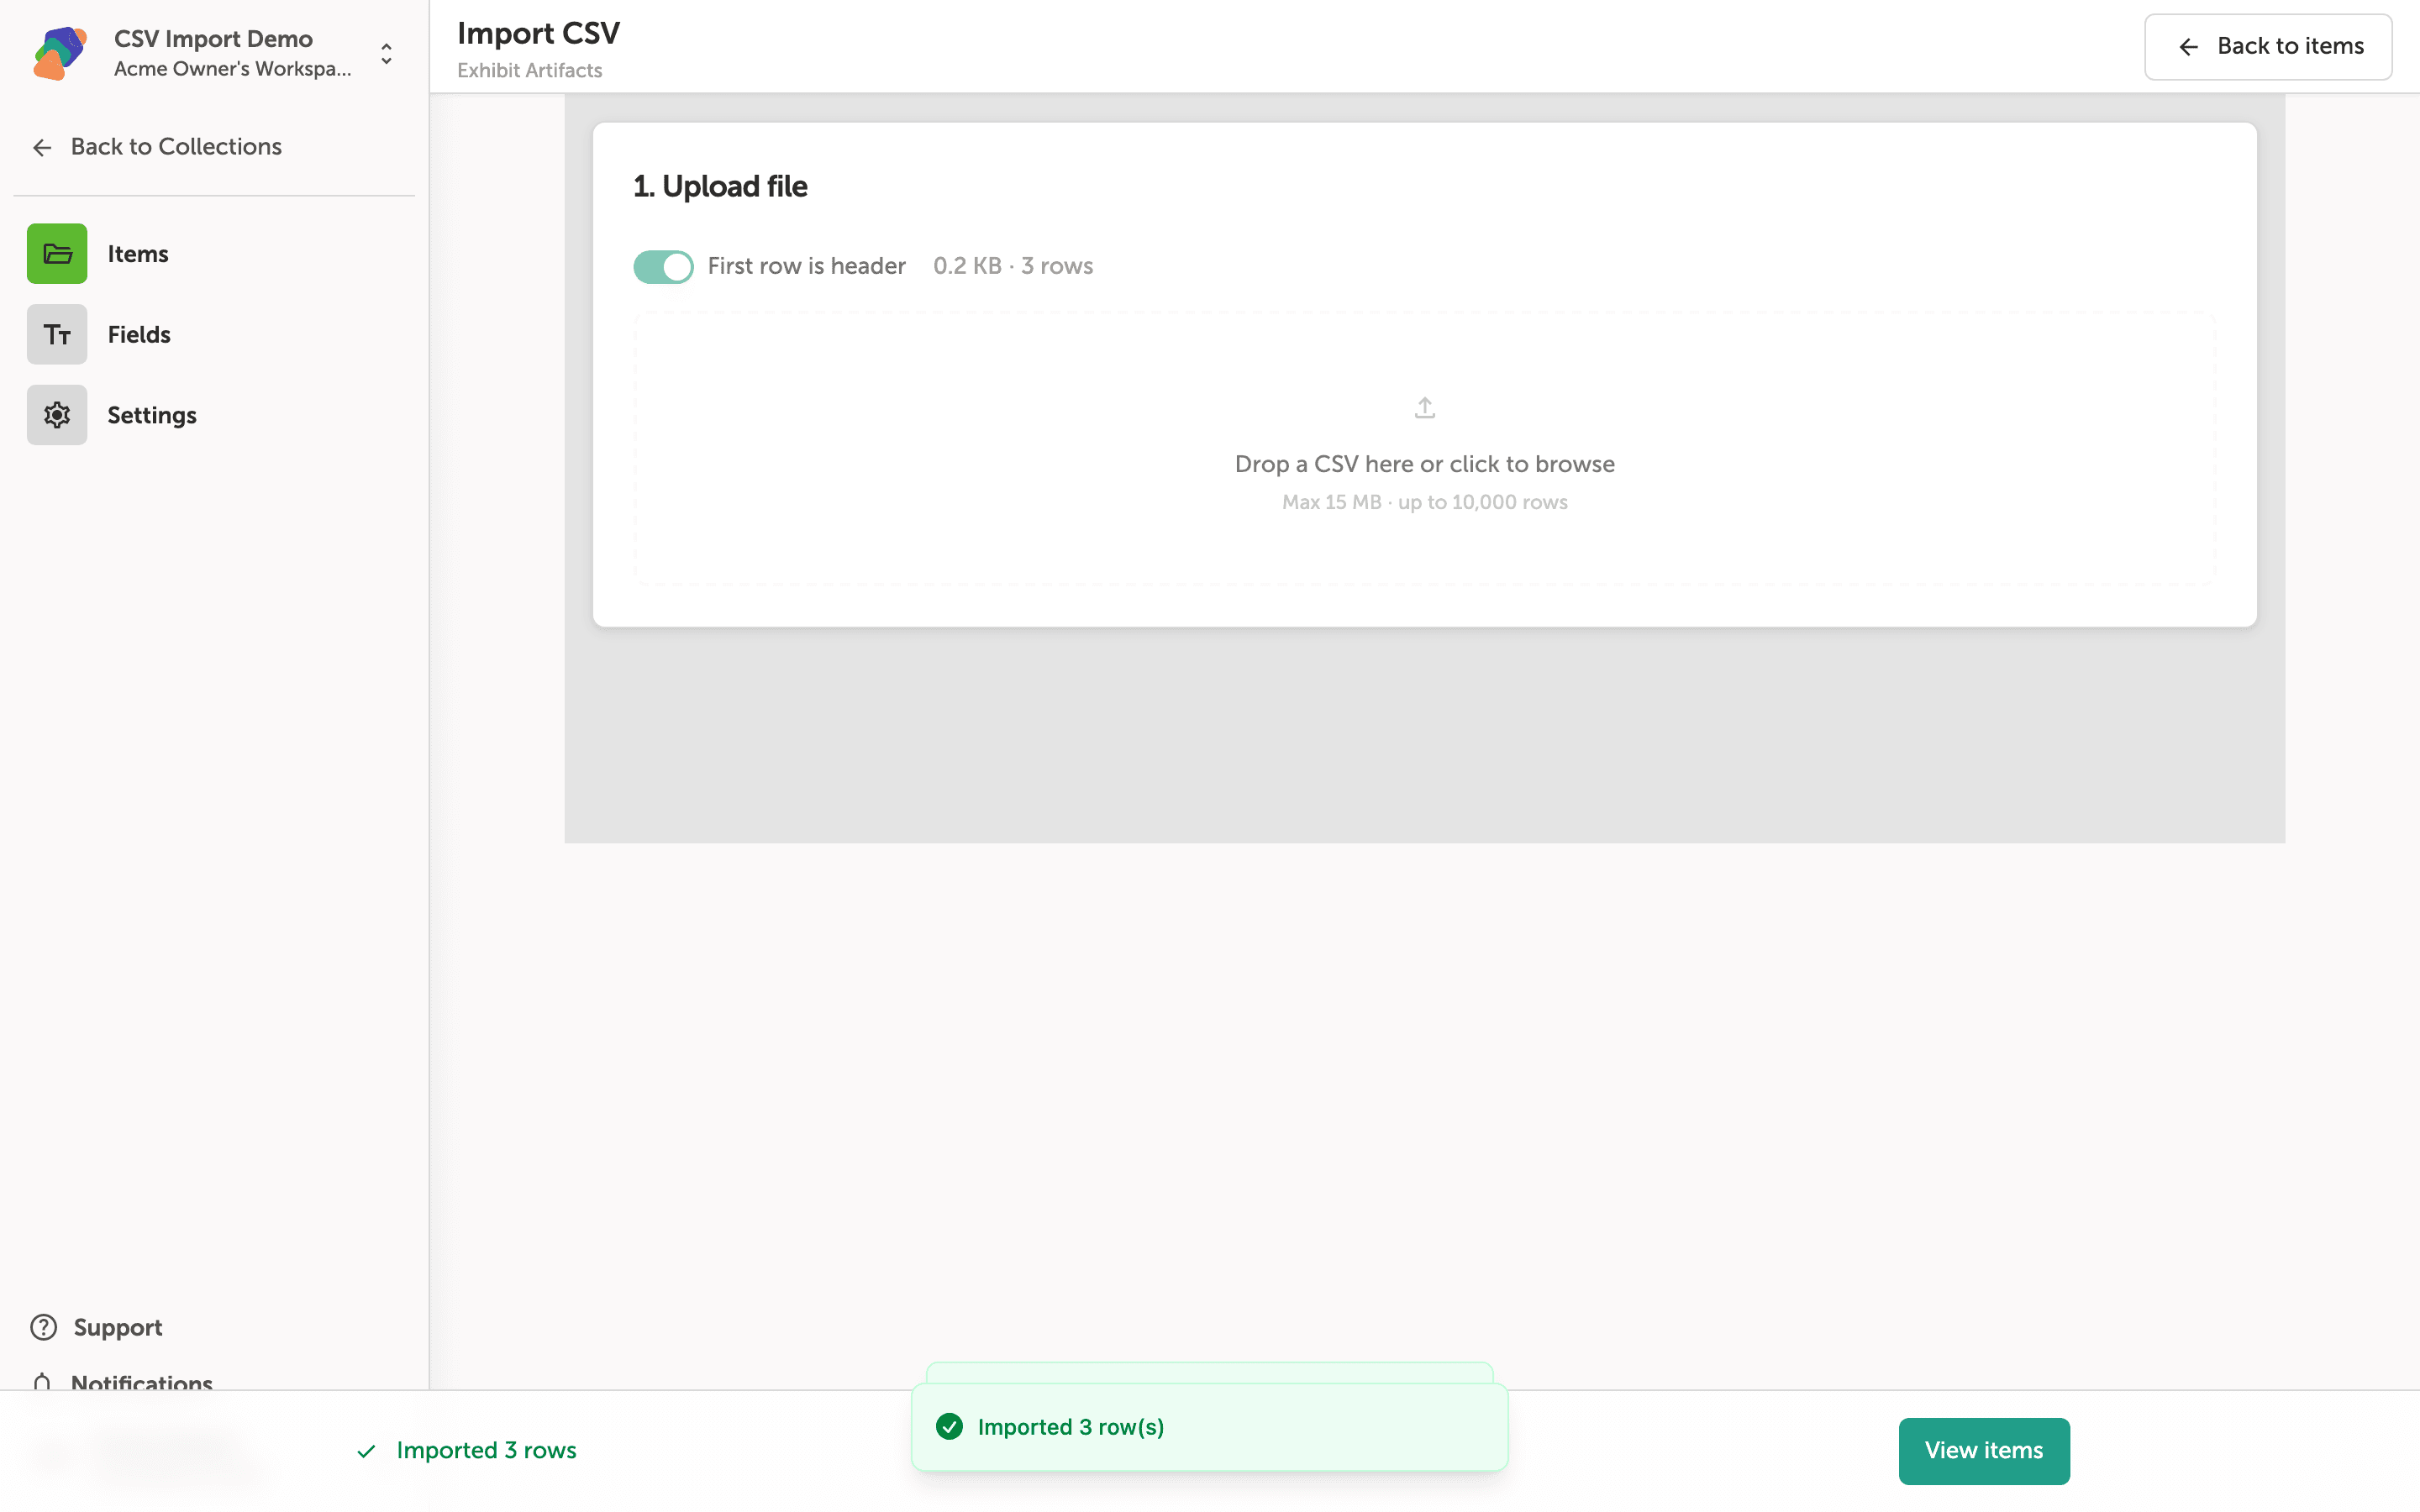
The green confirmation bar at the bottom of the screen—"Imported 3 row(s)"—confirms that all rows from your CSV were added to the collection. The status line at the bottom left echoes the same count.
Click "View items" in the bottom-right corner to return to the collection table and see your newly imported records.
Your collection is now populated and ready to connect to moments and components in your project. From here, you can start putting that data to work in a number of ways.
- Bind collection fields to components: Link text, image, or video components to collection fields so each item drives its own view automatically.
- Add or edit items manually: Use the Items tab to fine-tune individual records after the import, or add one-off entries that do not come from a CSV.
- Re-import to update data: Run a fresh CSV import at any time to add new rows or replace existing content as your collection evolves.
- Create multiple collections: Set up separate collections for different content types—for example, one for artifacts and one for audio guides—and link both to the same project.
- Apply a style set to match your content: Once your data is in place, use a style set to ensure the typography and colors displaying your collection items stay consistent across every moment.