Managing Snapshots
This tutorial covers everything you need to work with existing snapshots in a Zibit project. By the end, you'll know how to rename a snapshot, remove one you no longer need, restore a snapshot to a player, and revert your project's content to match a previously published version—all from the Deployments screen.
The Deployments screen and your existing snapshots
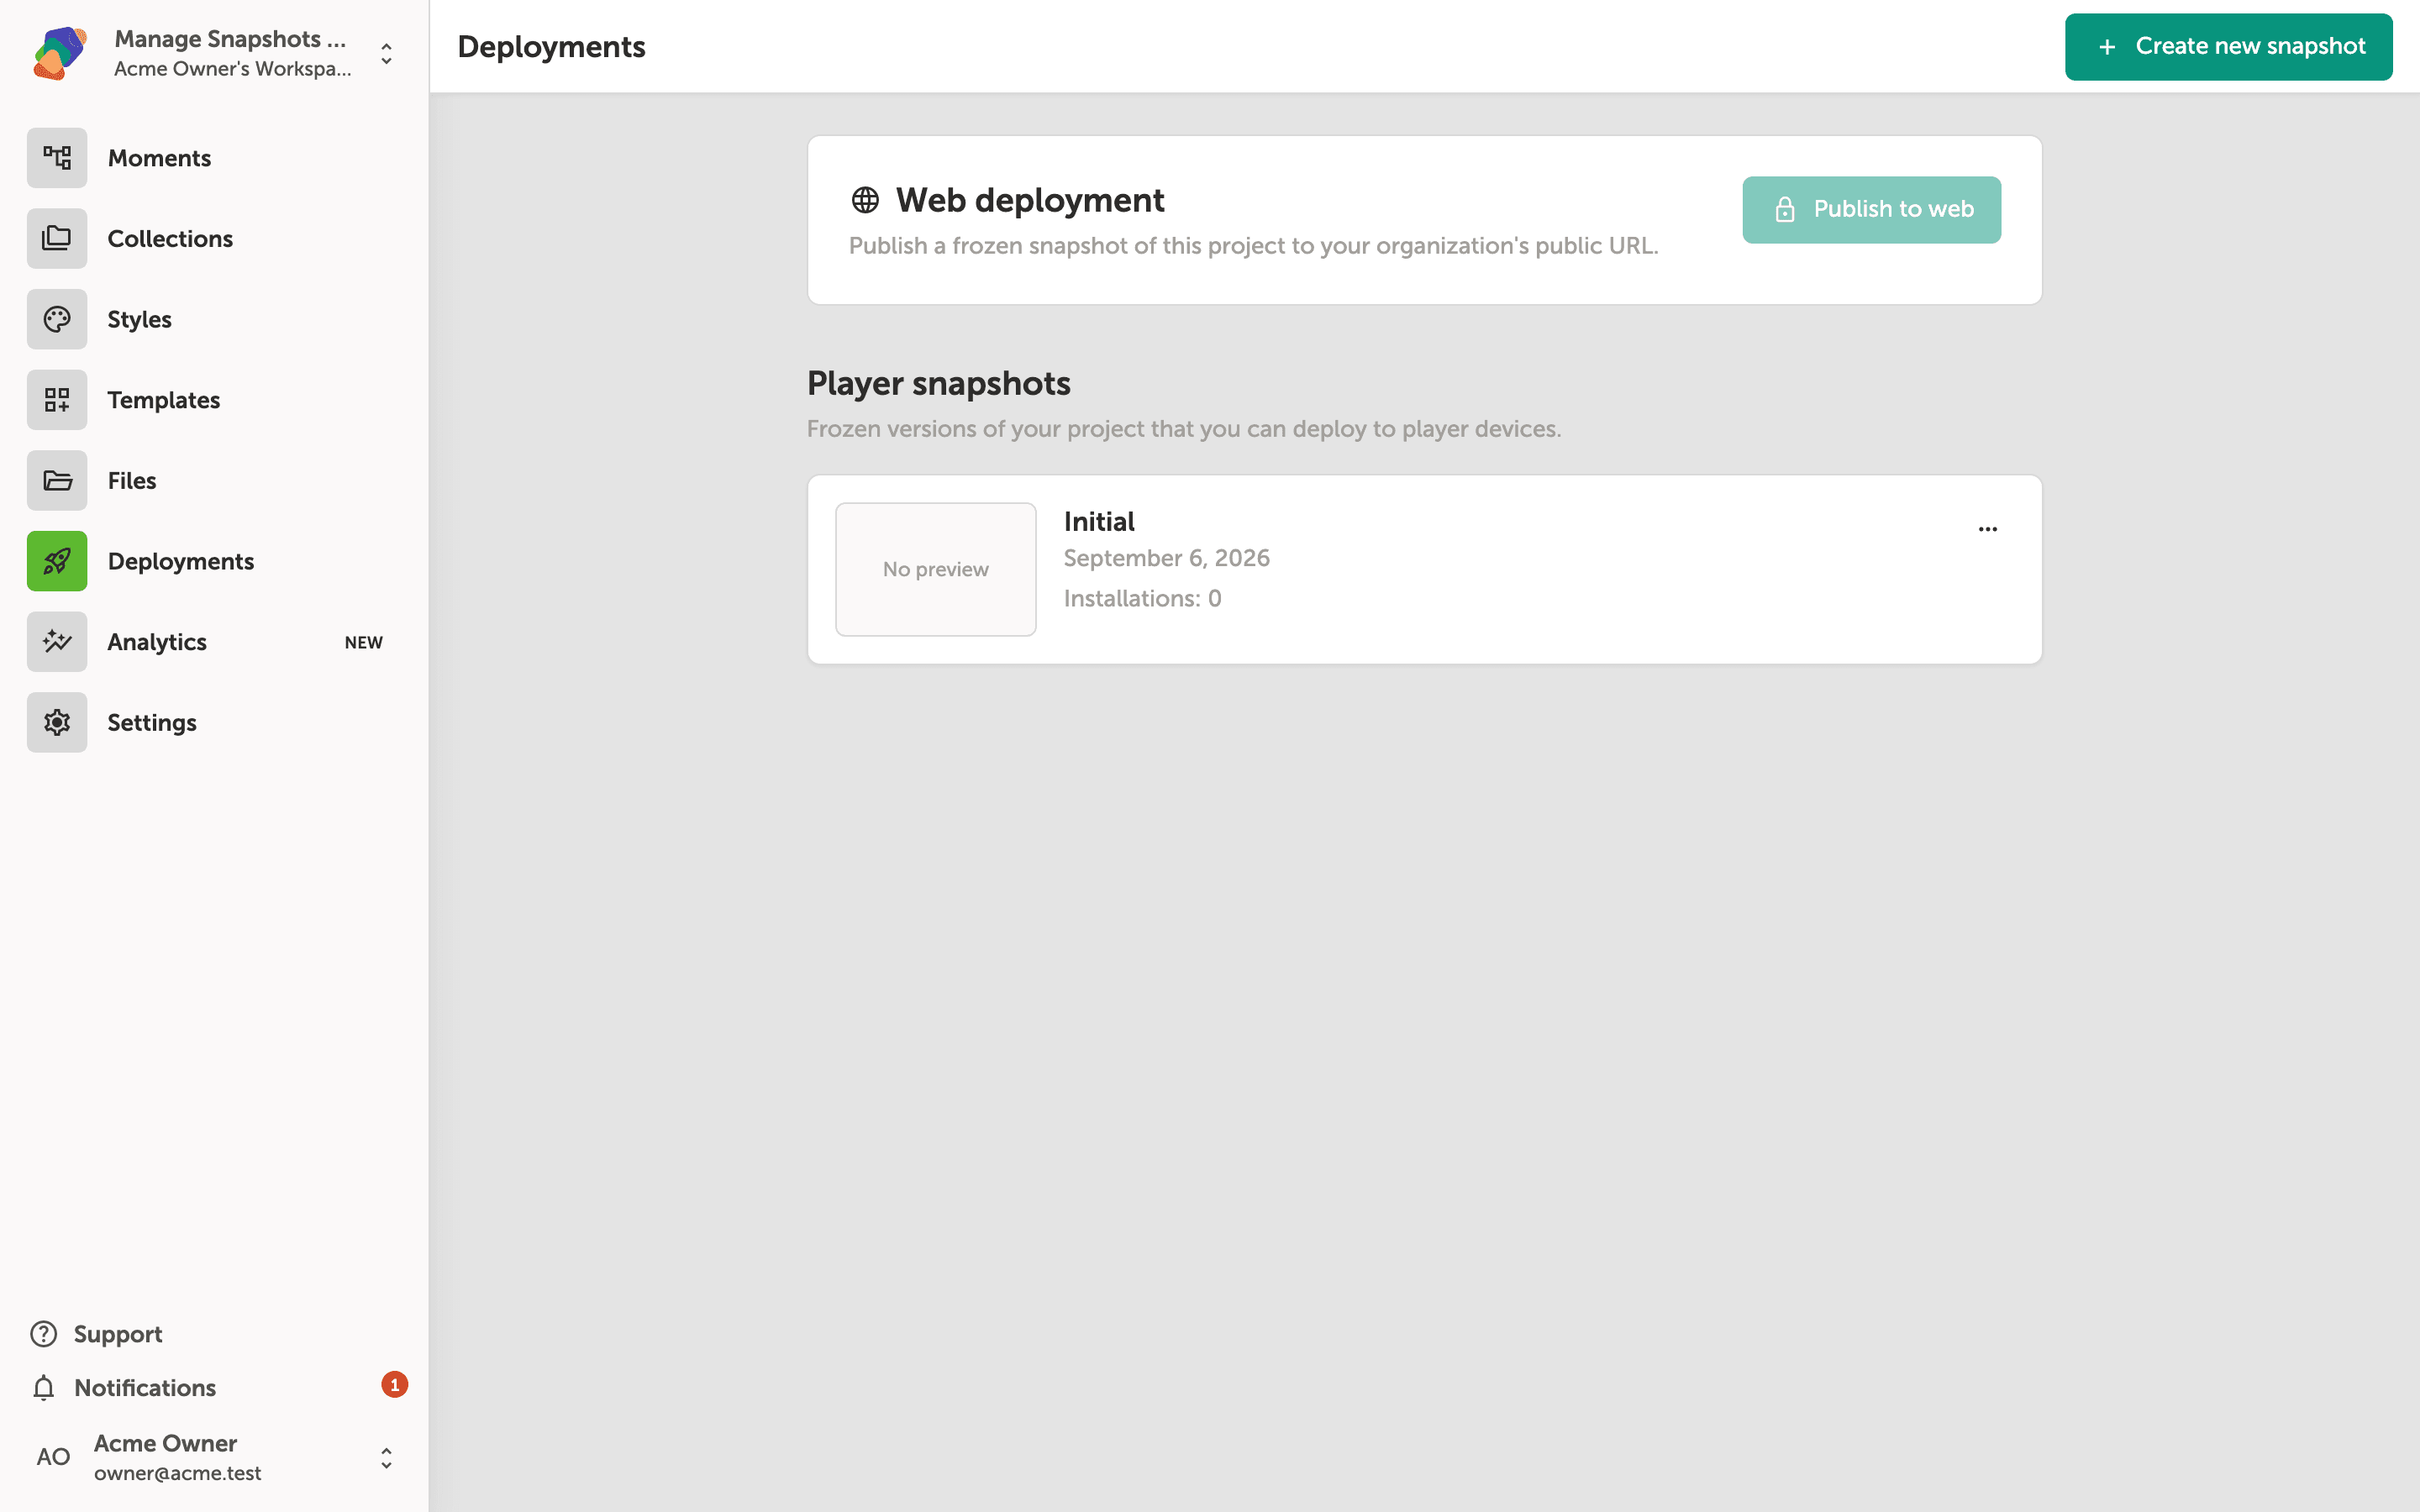
The Deployments screen is your central hub for publishing a project to player devices or the web. The Player snapshots section lists every frozen version of your project—each card shows the snapshot name, creation date, and how many devices have it installed.
You'll also see the Web deployment panel at the top, which lets you push a snapshot to your organization's public URL via Publish to web. To add a new frozen version of your project, click Create new snapshot in the top-right corner.
Snapshot actions available from the overflow menu
Click the ⋯ button on any player snapshot to open its action menu. You'll see three options: Edit details to rename or update the snapshot, Revert to snapshot to roll your project back to that frozen version, and Delete snapshot to permanently remove it.
Delete snapshot is shown in red and cannot be undone—make sure you no longer need the snapshot before selecting it.
Editing a snapshot's name and version
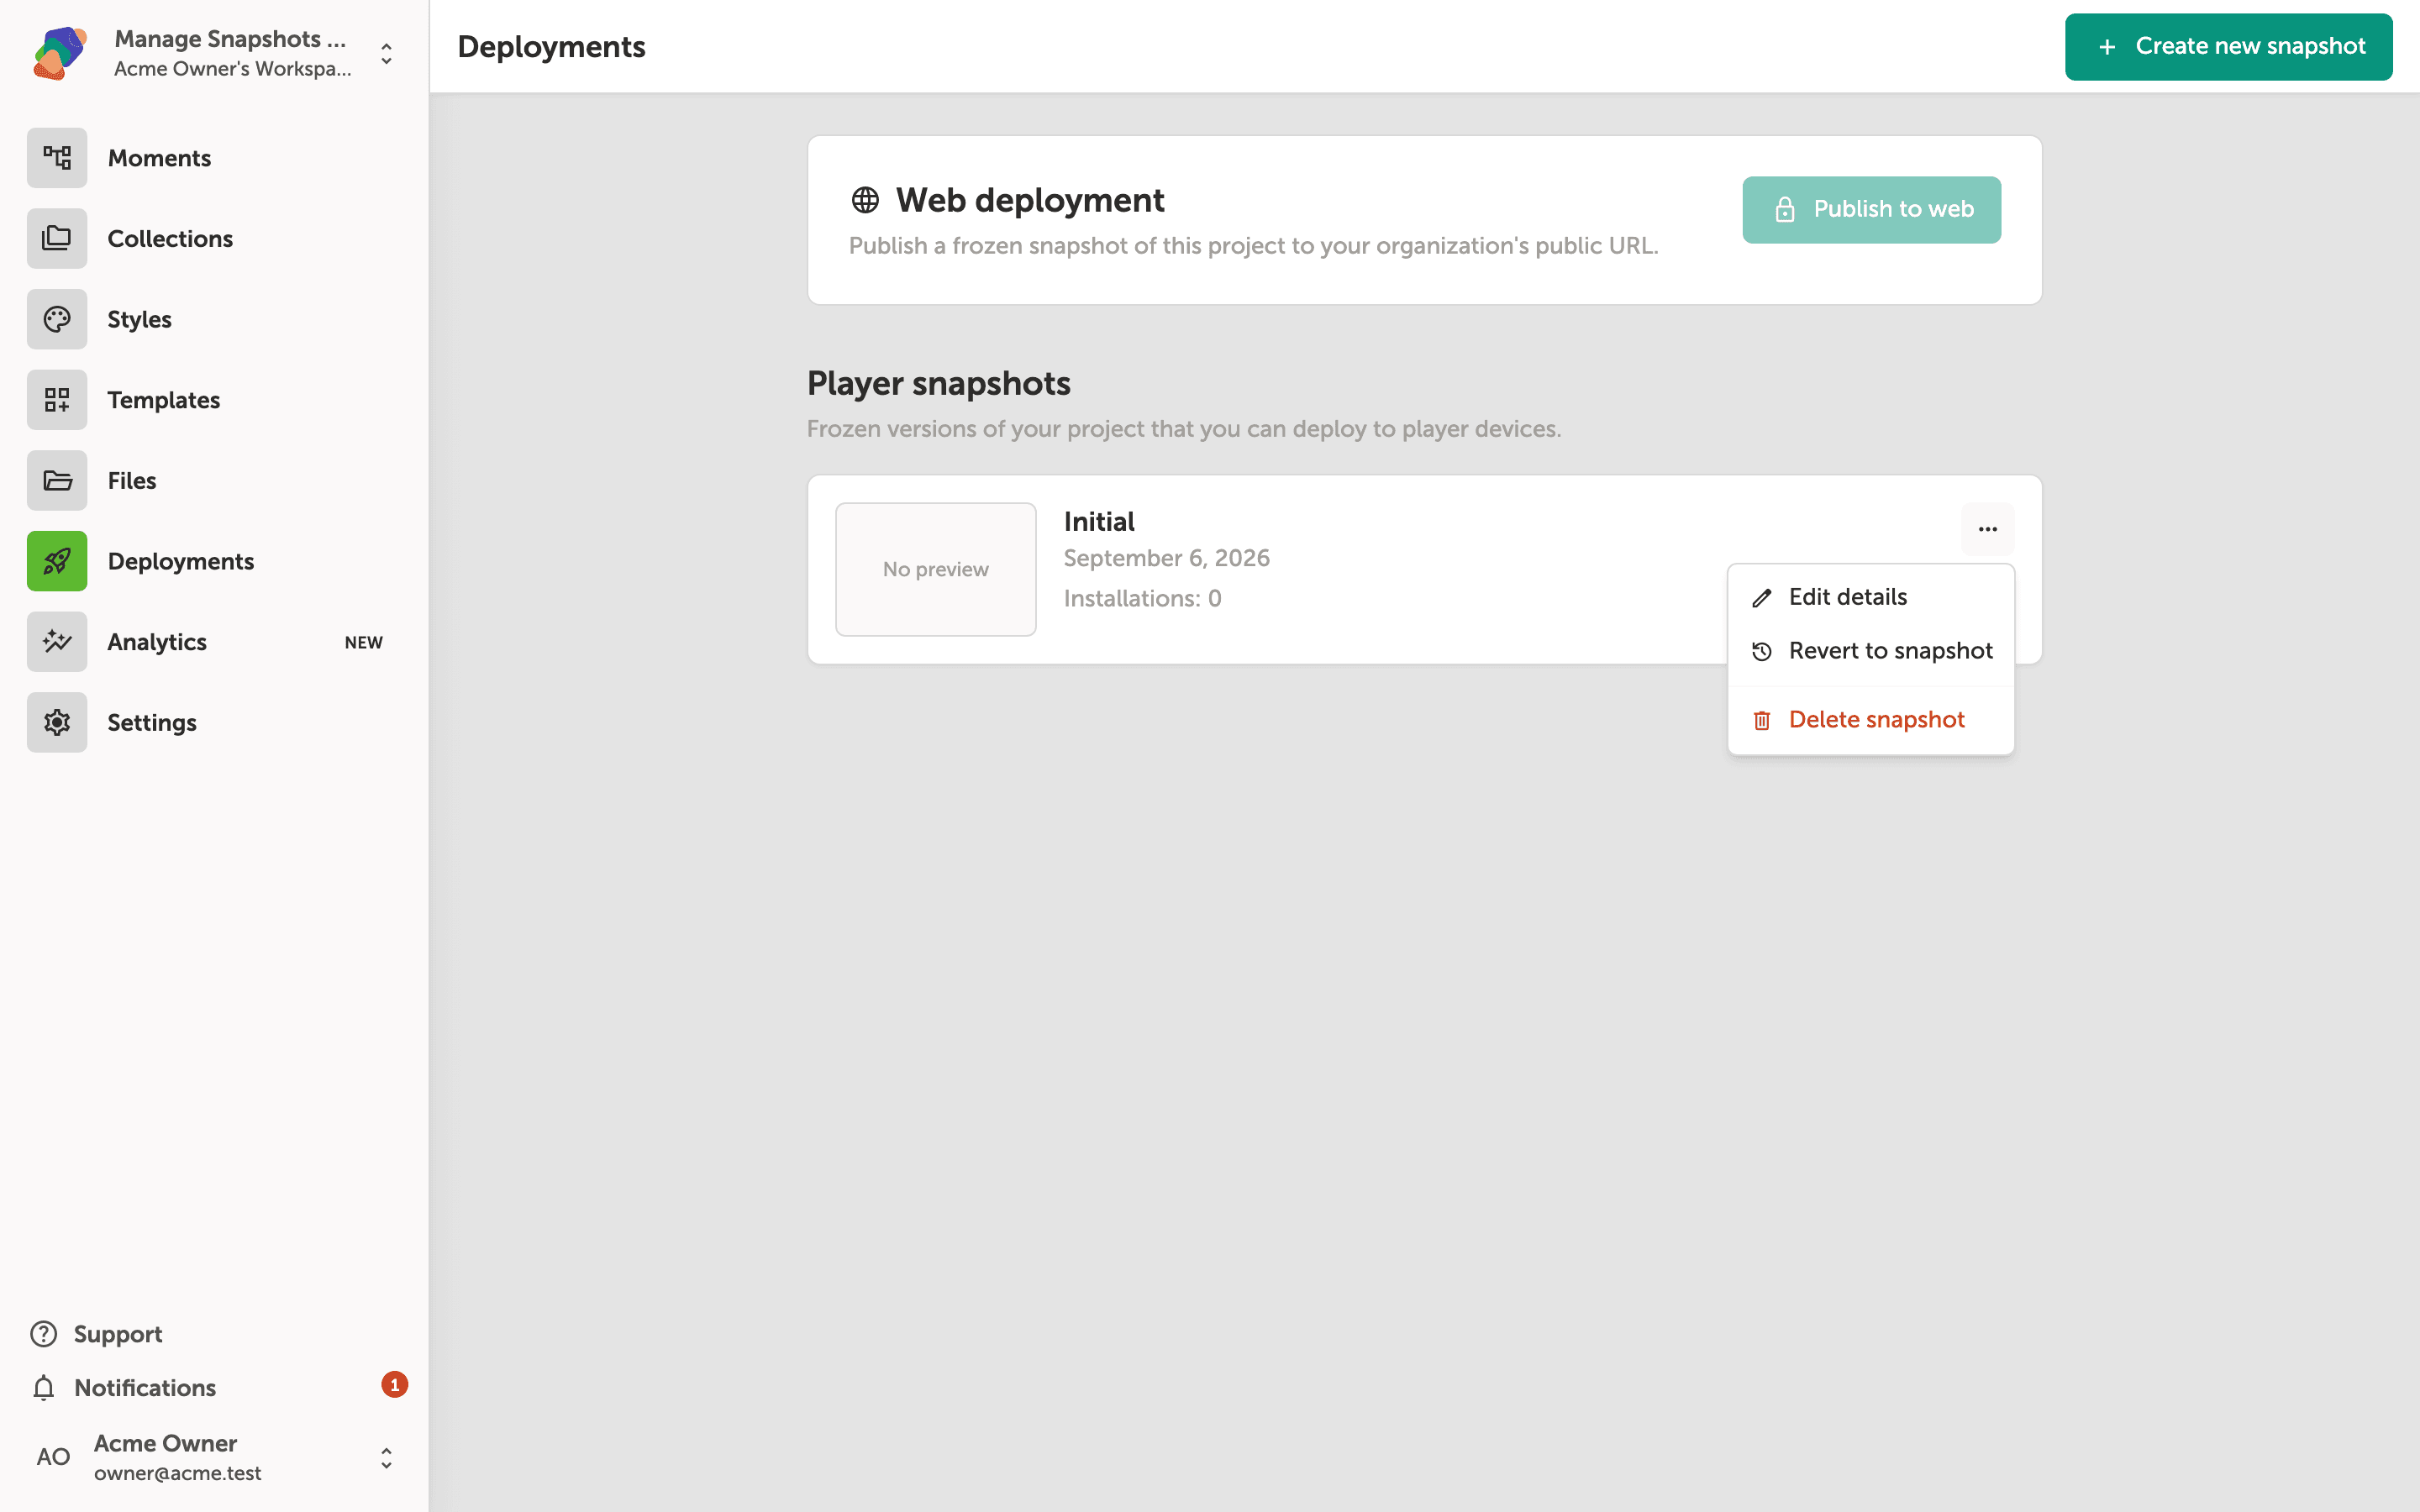
The Edit snapshot dialog lets you update two fields: Snapshot name and Version. Type a descriptive name in the Snapshot name field—something that identifies the state of the project at the time it was captured, such as "Lobby v1.0". Enter a version number in the Version field to help you track iterations over time.
When your changes are ready, click Save changes. To leave the snapshot unchanged, click Cancel or the close button in the top-right corner of the dialog.
Confirming snapshot deletion
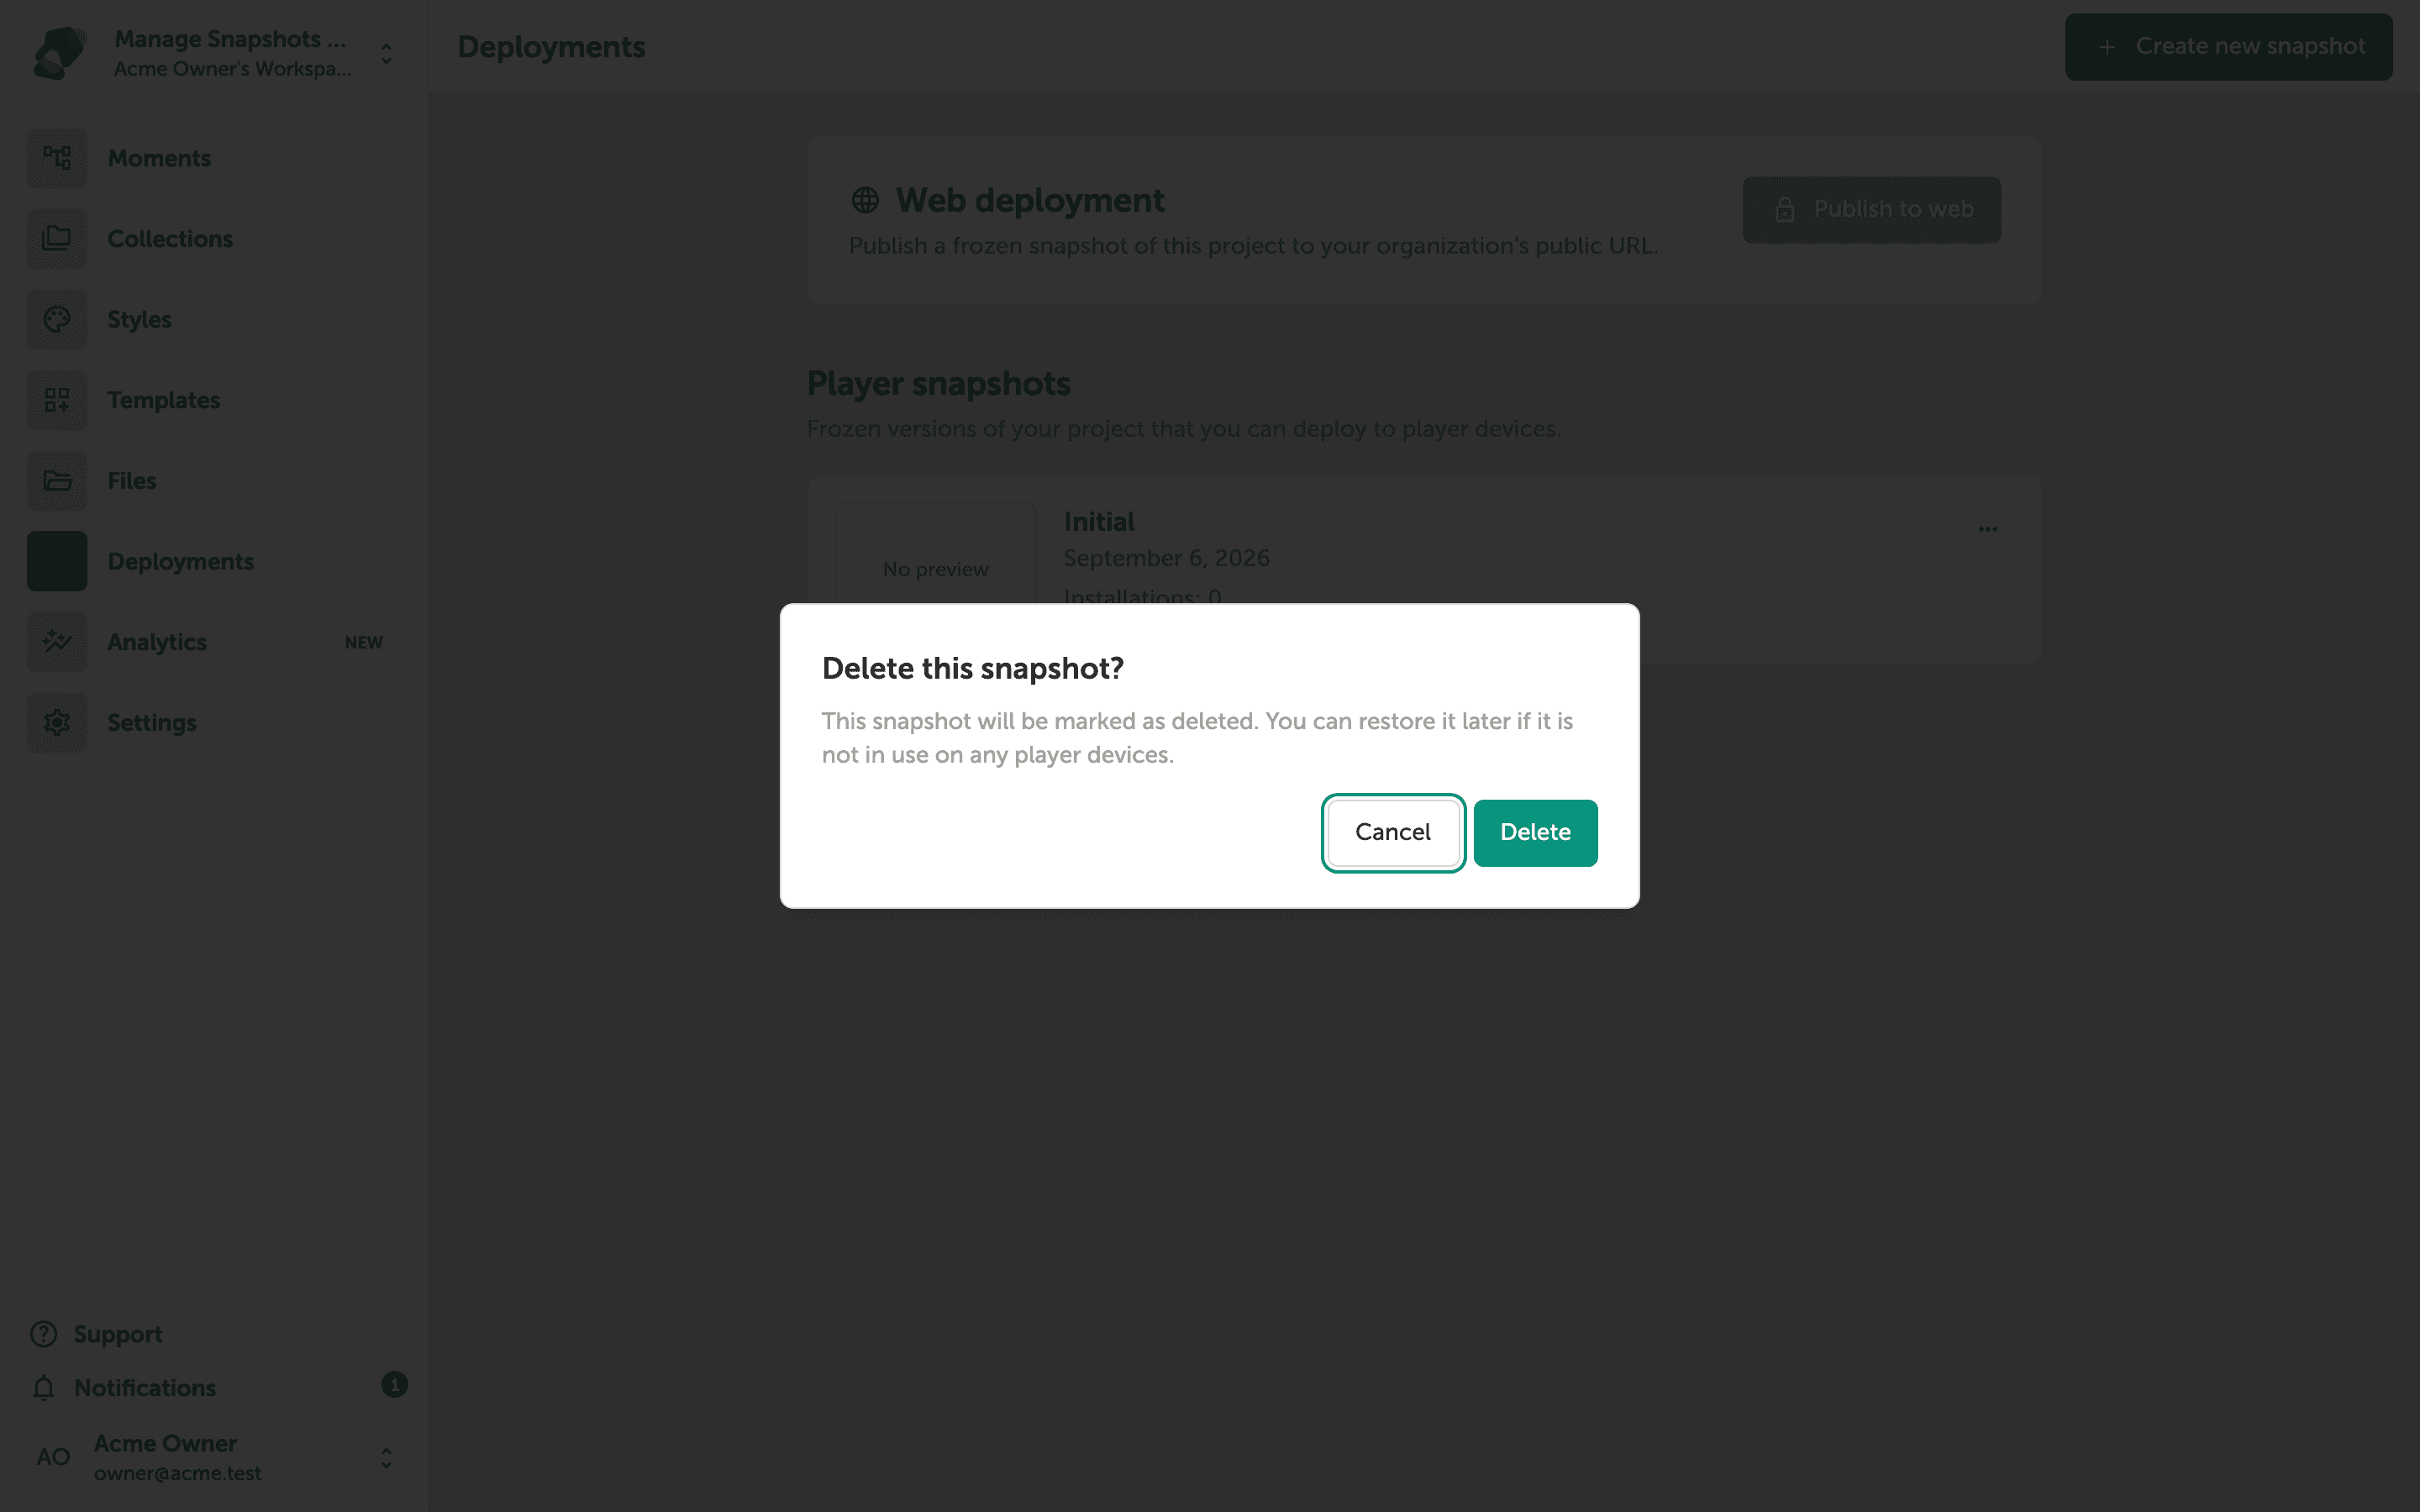
The "Delete this snapshot?" dialog asks you to confirm before proceeding. The dialog explains that the snapshot will be marked as deleted, and you can restore it later if it is not in use on any player devices.
Click "Delete" to confirm, or click "Cancel" to close the dialog and leave the snapshot in place.
You now have full control over your project's snapshot history. From here, you can deepen your publishing workflow with these related skills:
- Creating your first snapshot—learn how to publish a project and generate a new player snapshot from scratch.
- Managing displays—configure the target screen resolutions your moments are built for before you publish.
- Working with spaces—organize related projects together so your publishing history stays easy to navigate.
- Scheduling deployments—explore how to control when a snapshot goes live on a player device.
- Using style sets across projects—keep branding consistent so any snapshot you publish looks right on day one.