
Publishing Your Project to the Web
This tutorial walks you through publishing a completed project to the web so visitors can reach it at a shareable public URL. By the end, your project will be live and accessible to anyone with the link—whether that's guests at a museum kiosk, students in a classroom, or the general public browsing from home.
The Deployments page and your publishing options
Open Deployments in the left sidebar to reach your project's publishing controls. This page has two sections: Web deployment, which lets you share your project at your organization's public URL, and Player snapshots, which lists frozen versions you can push to physical player devices.
You already have one snapshot listed—Initial, created August 14, 2026—with zero installations so far. To share your project on the web, click Publish to web in the Web deployment card at the top of the page.
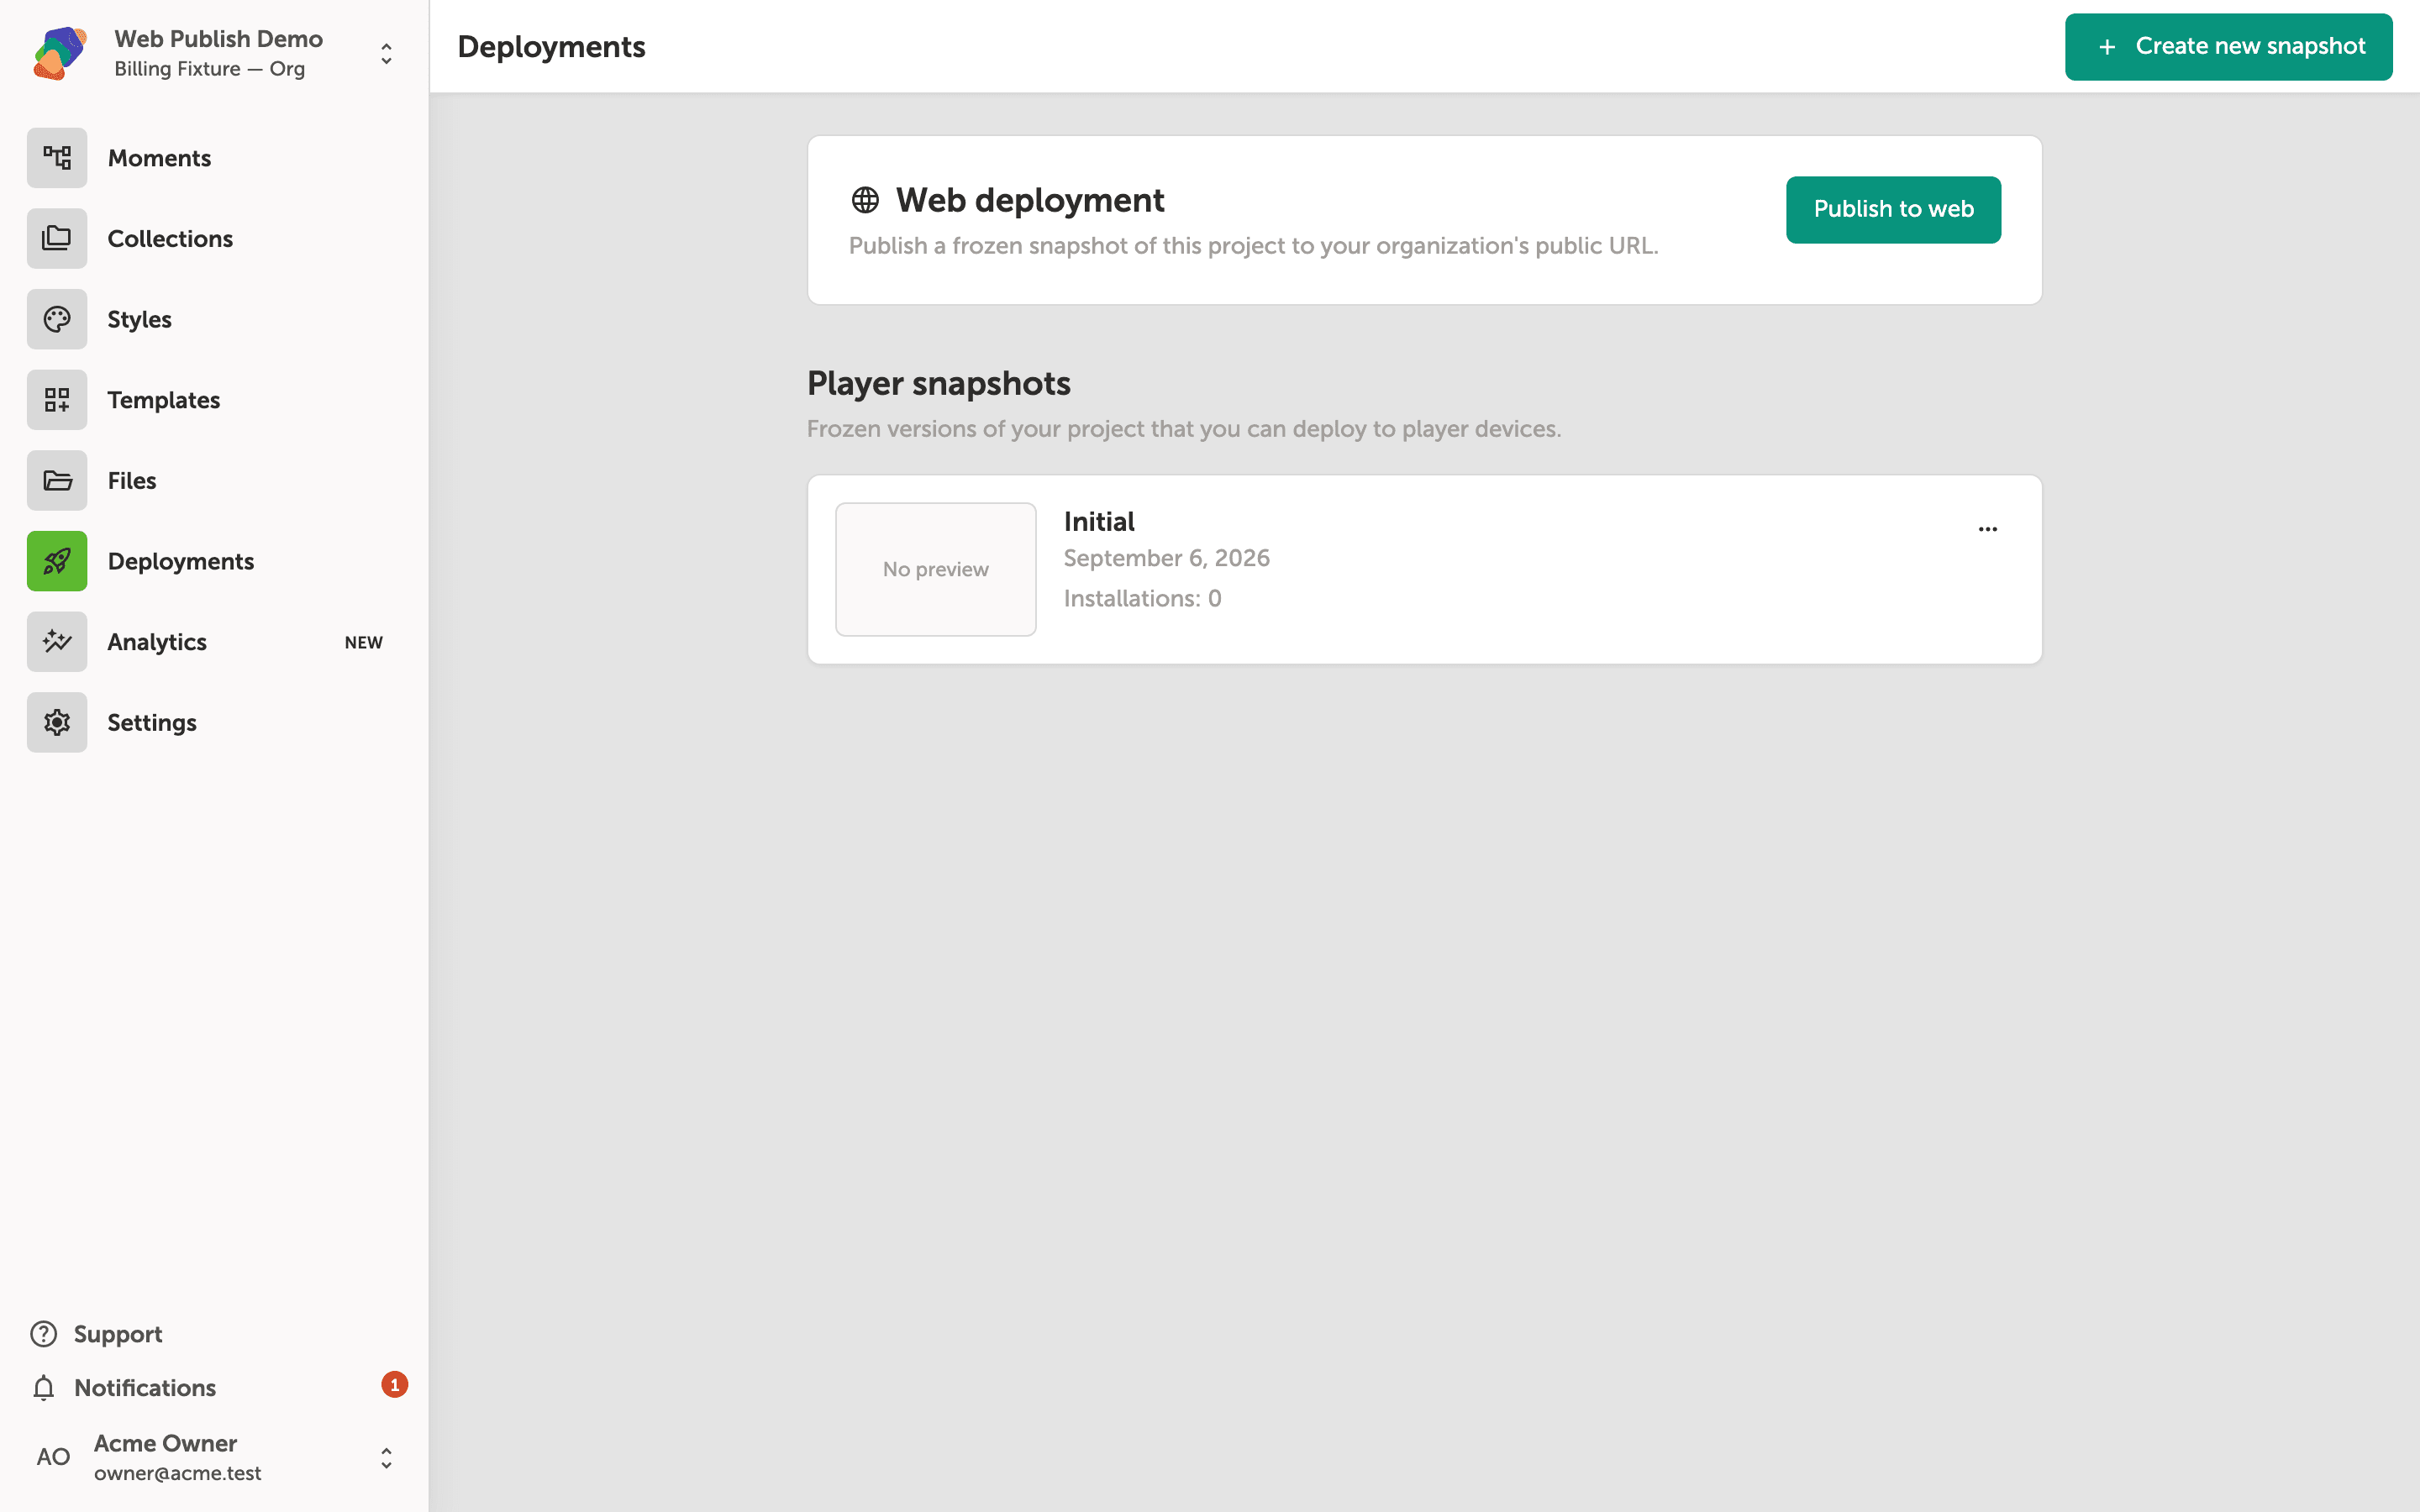
Choosing a snapshot and slug in the Publish to web dialog
The Publish to web dialog gives you two options under Snapshot to publish. Select Current editor state to freeze the project exactly as it stands right now and publish that frozen copy. Select Existing snapshot if you've already captured a snapshot and want to publish that version instead.
The Project slug (optional) field lets you set a custom path for your project's public URL—for example, entering natural-history would make the experience reachable at your organization's subdomain under that path. Leave it blank to use the default. When you're ready, click Publish to send the deployment live, or Close to cancel.
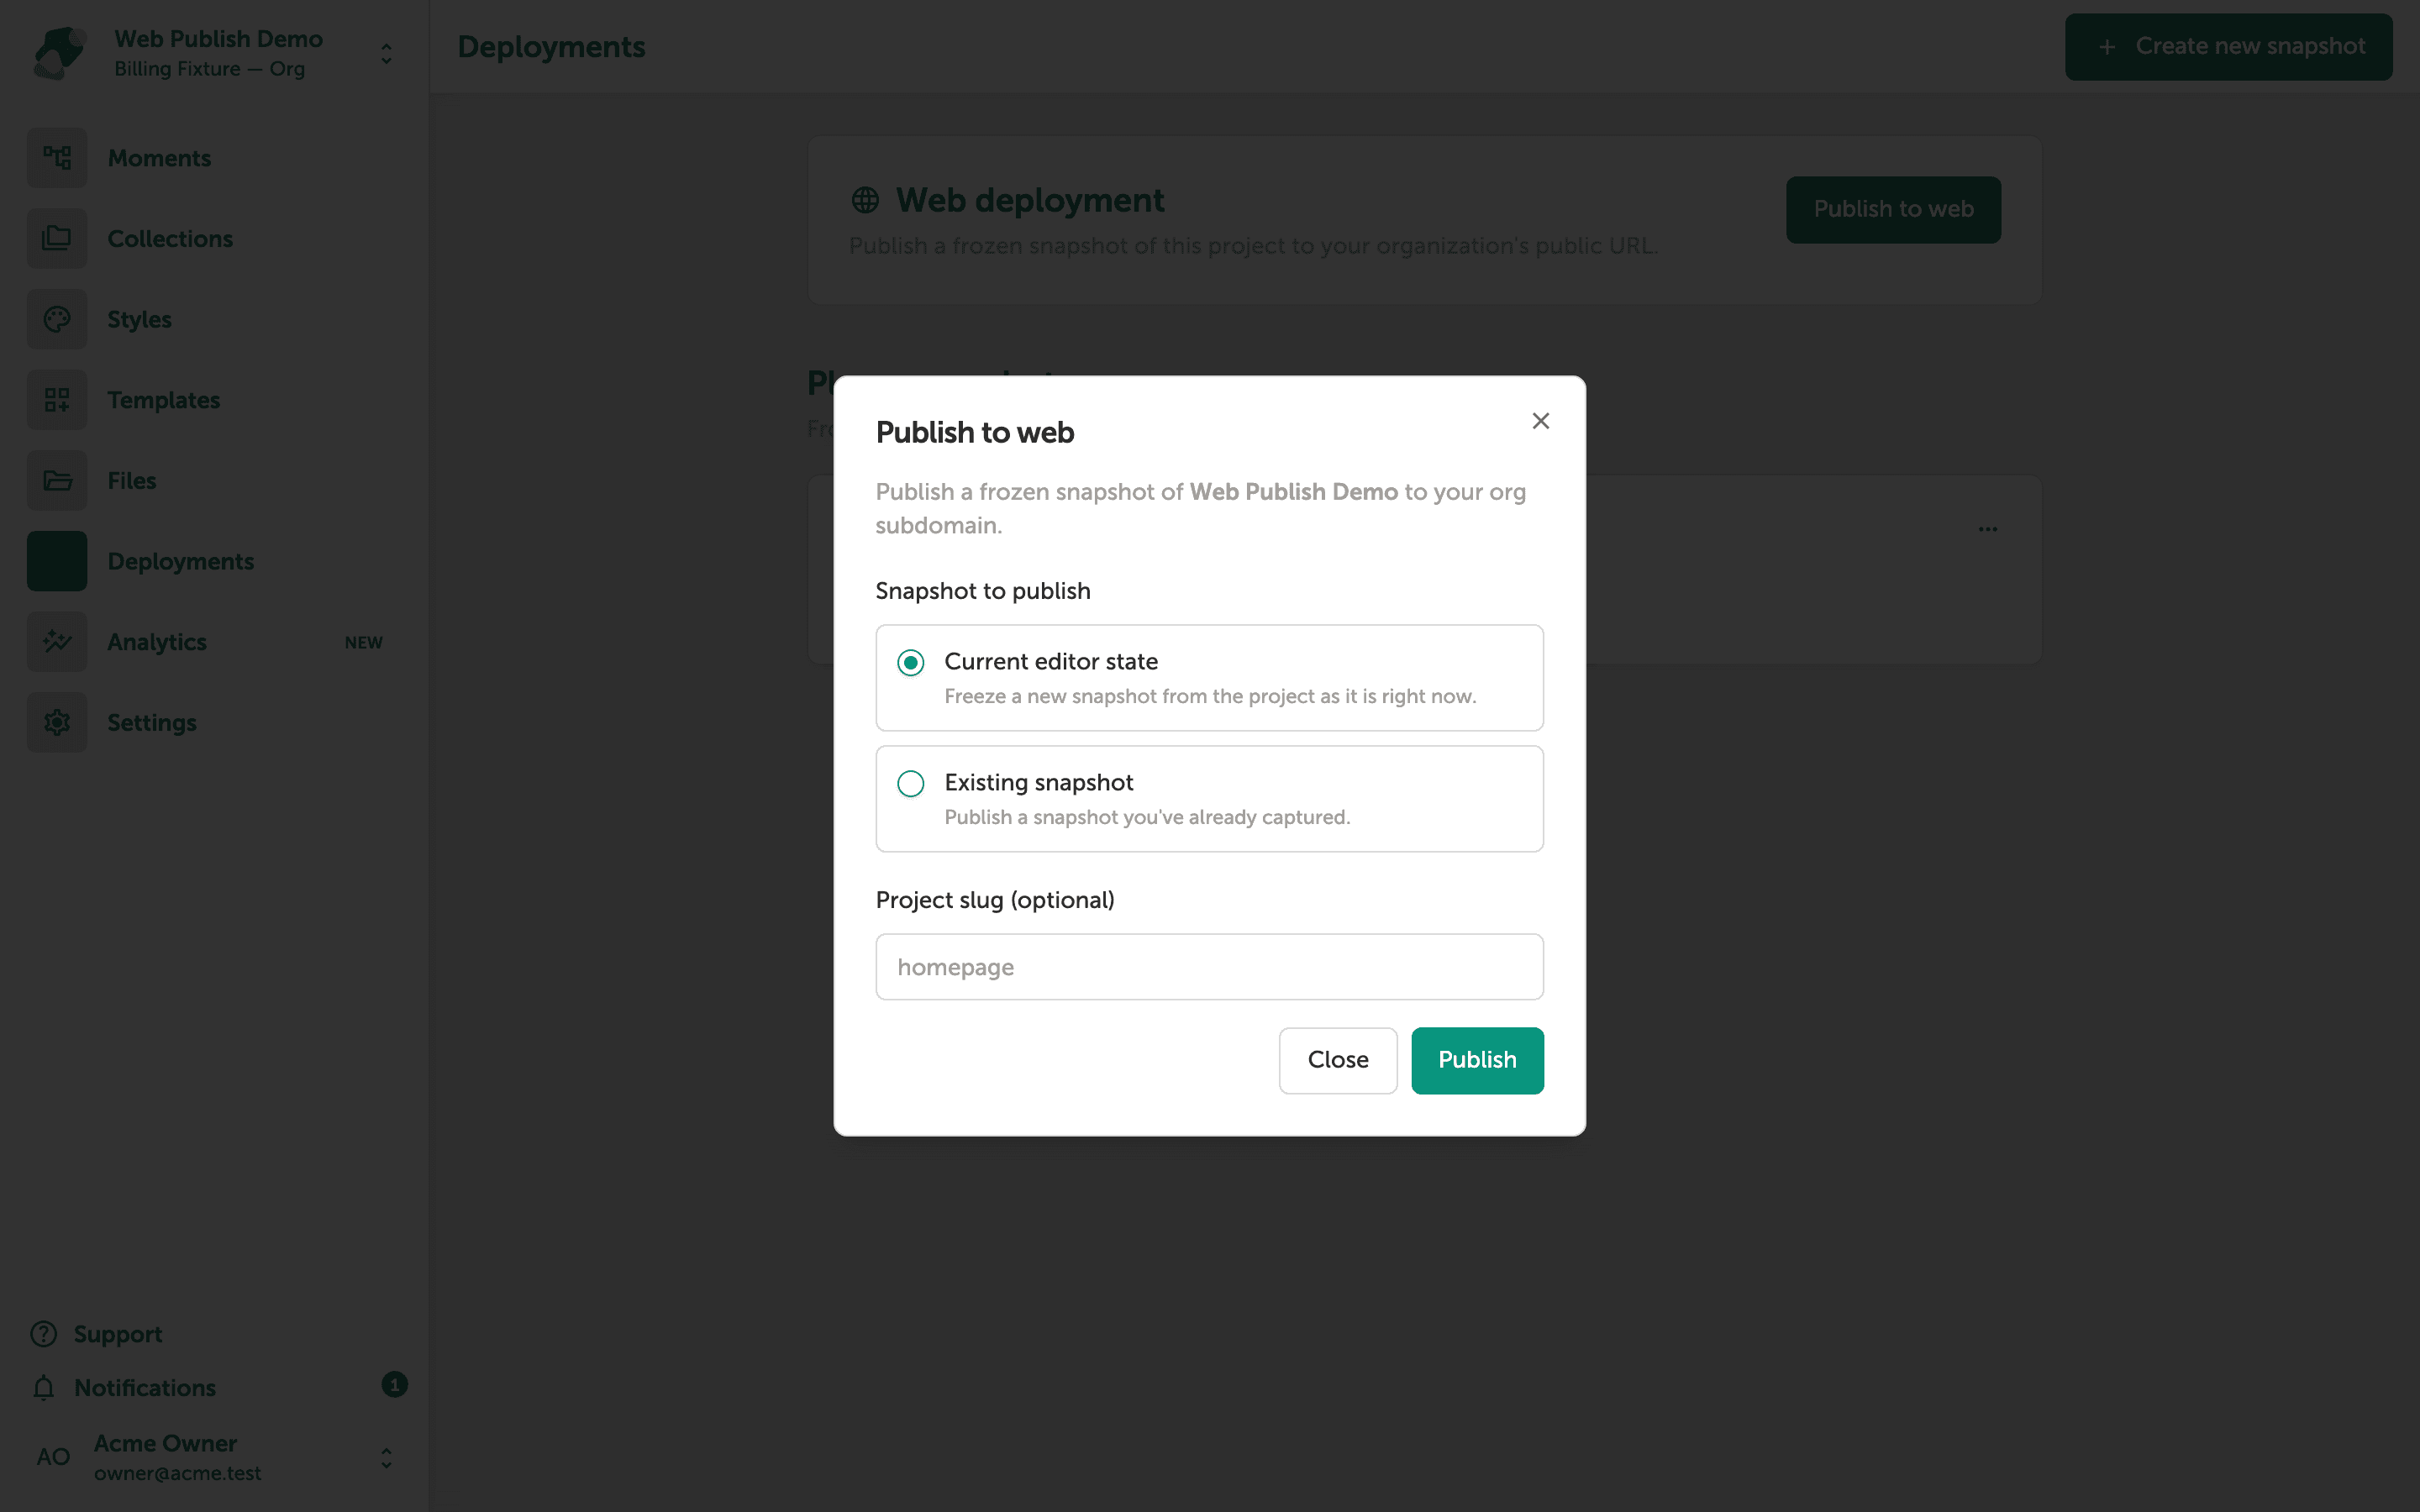
Setting the project slug for your public URL
The Project slug (optional) field controls the last segment of your project's public address. Your URL will follow the pattern your-org.zibit.app/your-slug, so the value you enter here is what visitors type or follow to reach the experience. The field already shows a slug derived from your project name—edit it directly if you want something shorter or more descriptive.
As you type, Zibit checks whether that slug is available on your organization's subdomain. Once you're satisfied with the slug, click Publish to push the snapshot live, or Close to cancel without publishing.
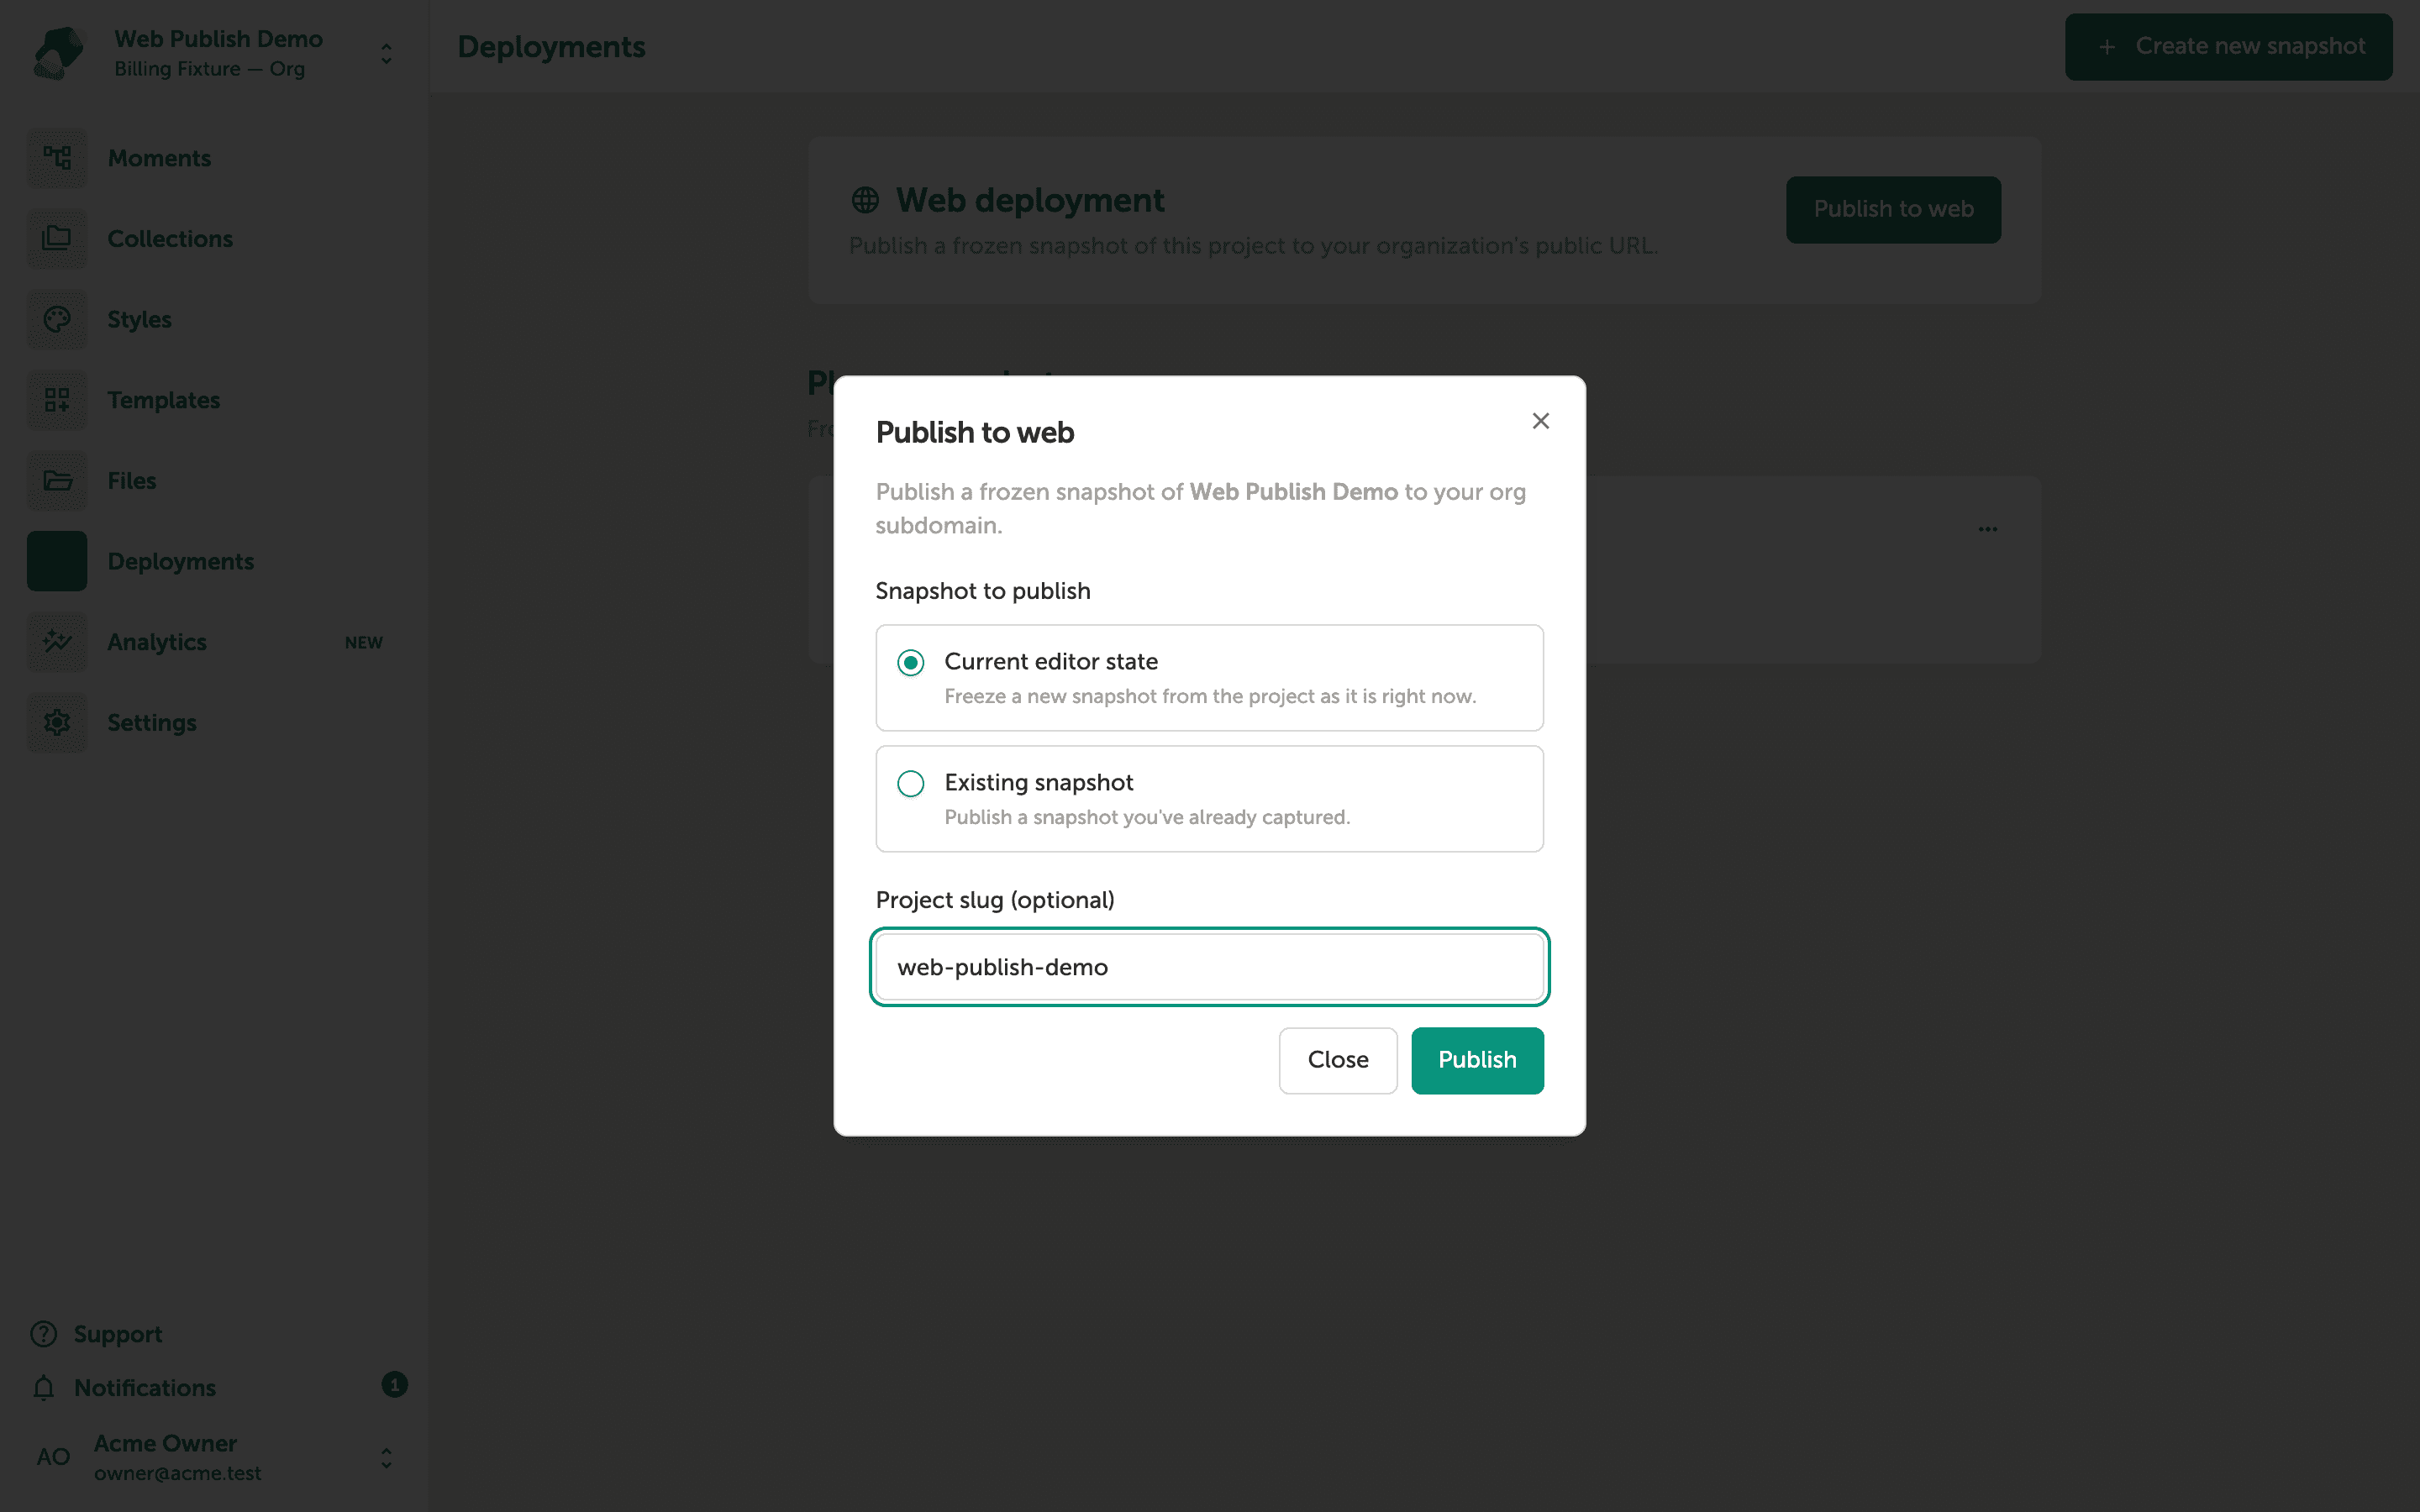
Confirming your project is live and copying the public URL
The Publish to web dialog confirms your project is now live. It displays the public URL visitors will use to open your experience—no sign-in required. Click the link to open it in a new tab and verify everything looks correct.
Once you're done, click Close to return to the Deployments page. Back there, you'll see the Web deployment card showing a Live badge, along with Republish and Unpublish controls for any future updates.
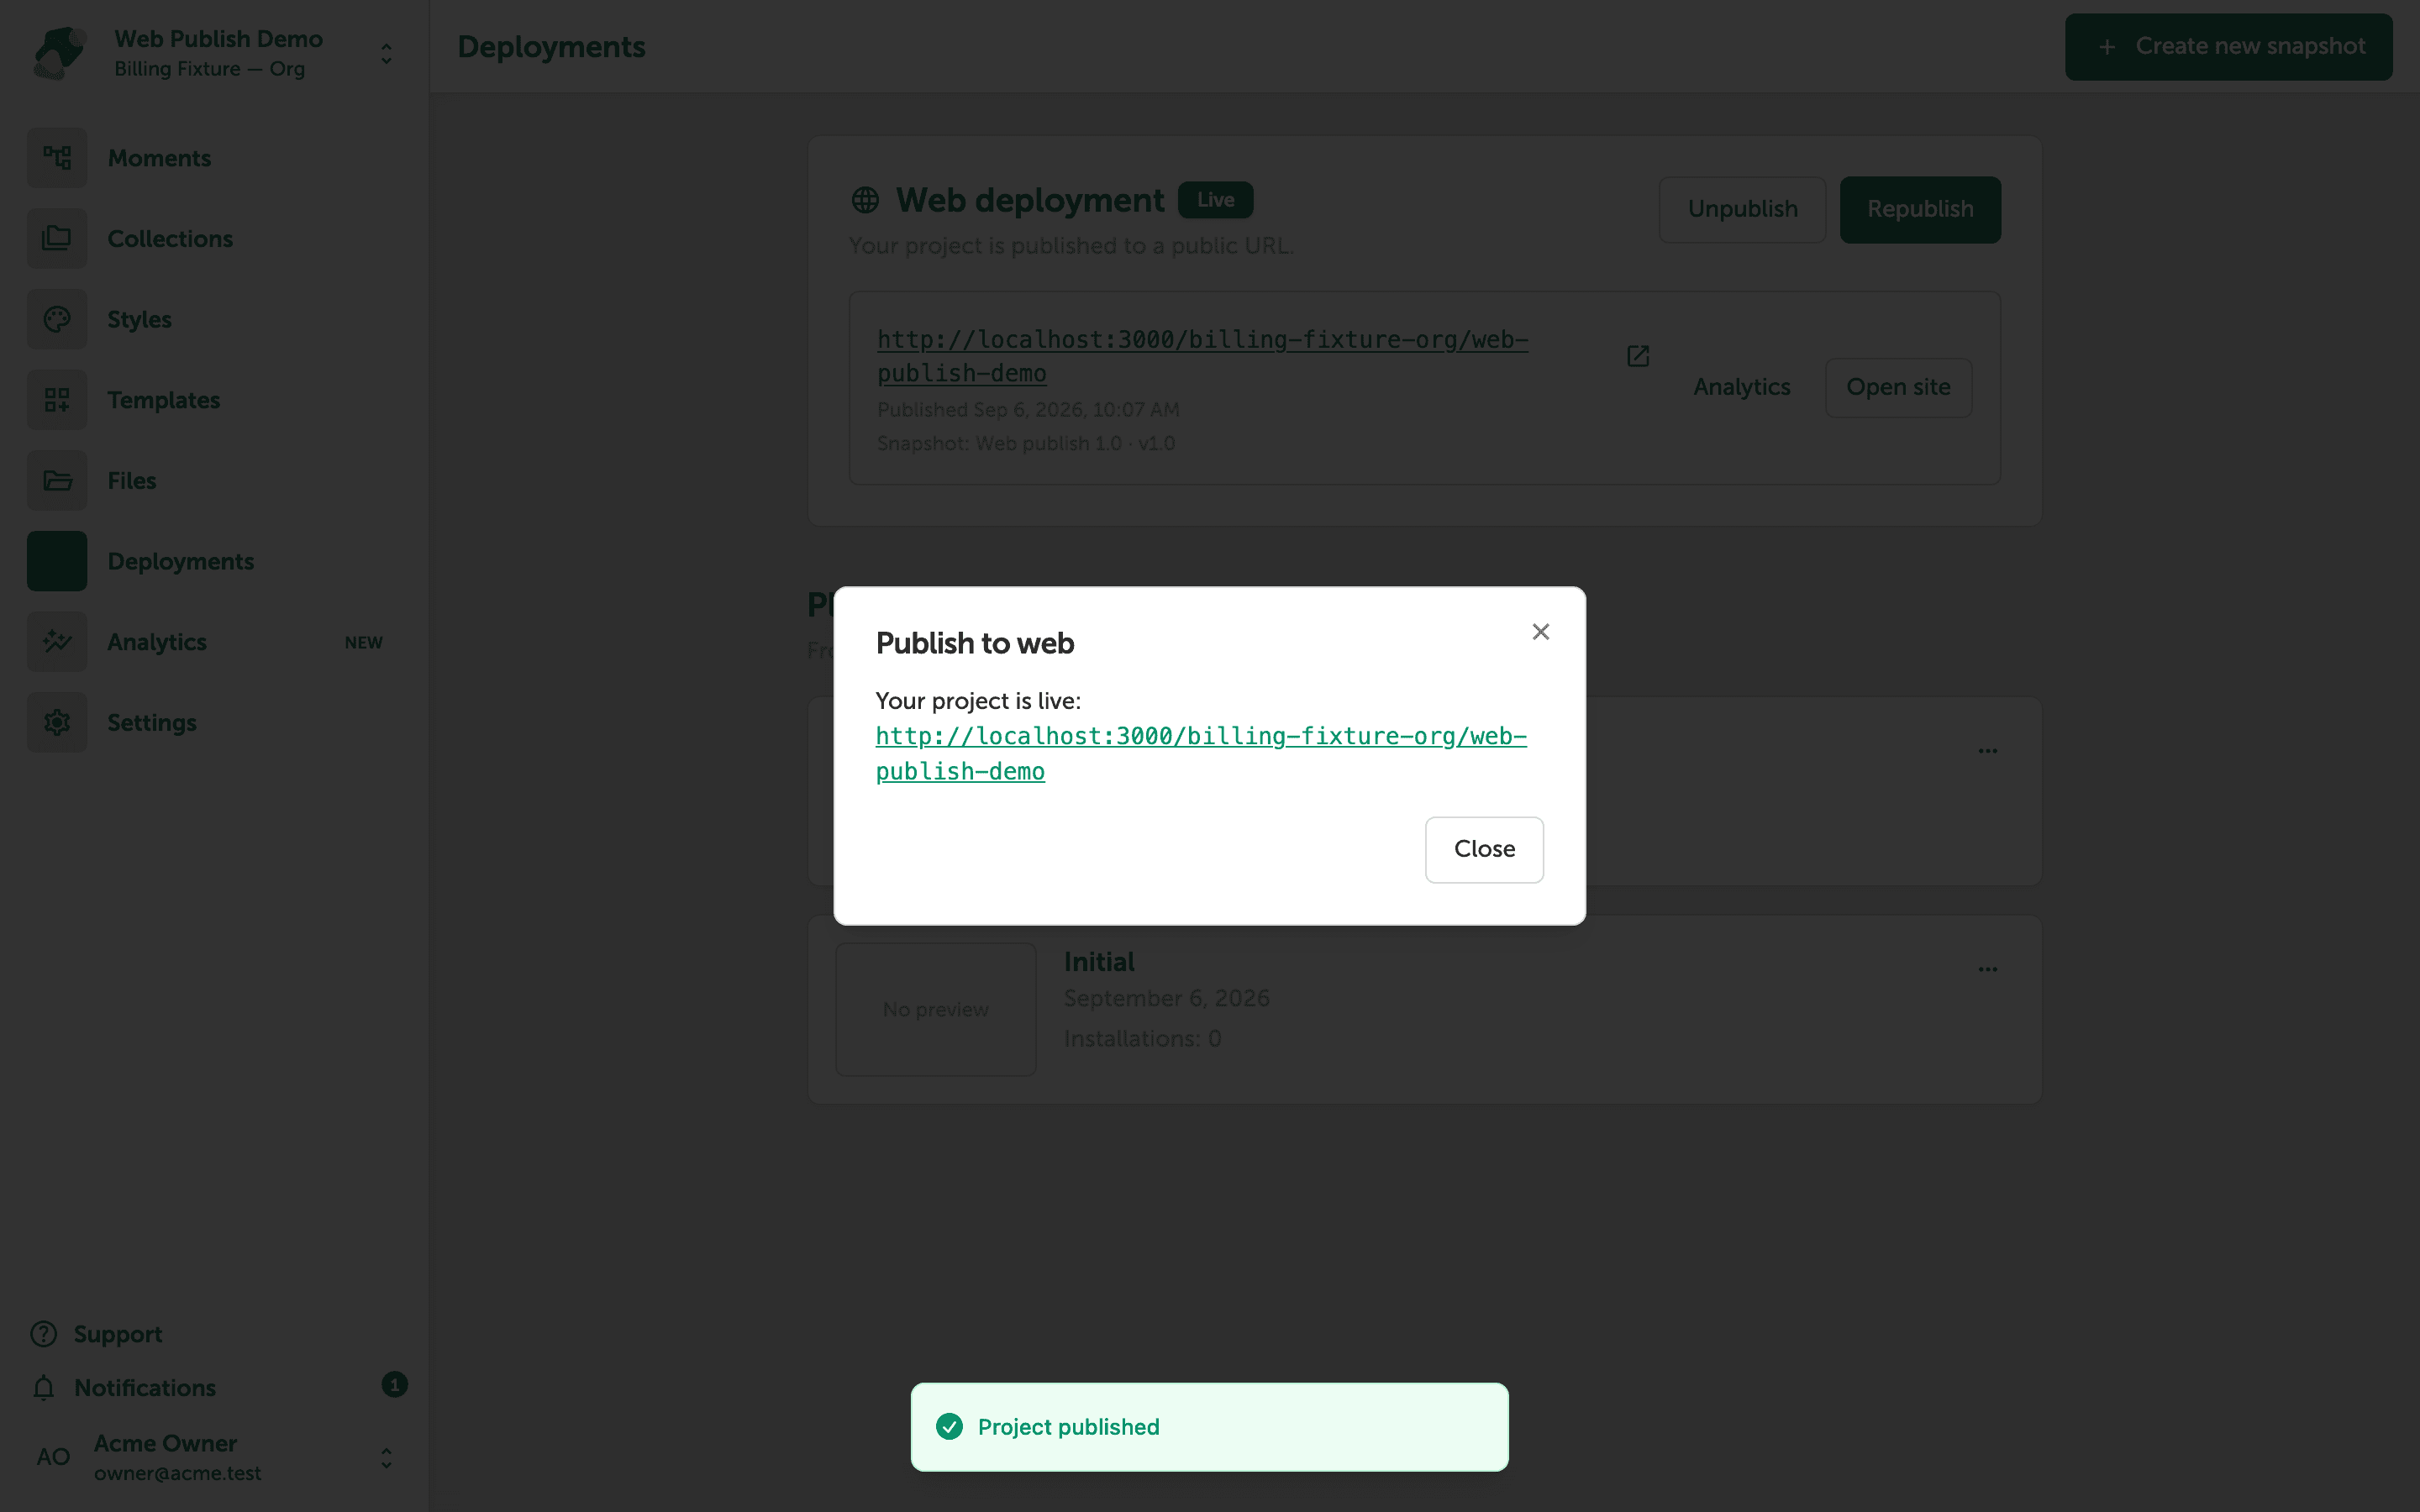
Your project is now live and ready to share. From here, you can refine how the experience looks and behaves, connect it to richer data, or set it up across multiple displays.
- Customize your style set—update typography and colors so the published experience matches your brand or exhibit design.
- Link a collection—connect a reusable data set to surface dynamic content across moments without rebuilding flows.
- Configure display settings—adjust the target resolution and view layout so the project renders correctly on your intended screen or kiosk.
- Manage multiple deployments—publish separate snapshots to different URLs for staging and production environments.
- Share your space—invite collaborators to your space so your team can iterate on the project together.