
Using the Layers Panel
When a view contains several overlapping components, the order they stack in—front to back—determines what visitors see. The Layers panel gives you a clear, top-down list of every component on the canvas, organized by grid section, so you can reorder, select, and toggle visibility without hunting through a crowded layout.
Open the view editor
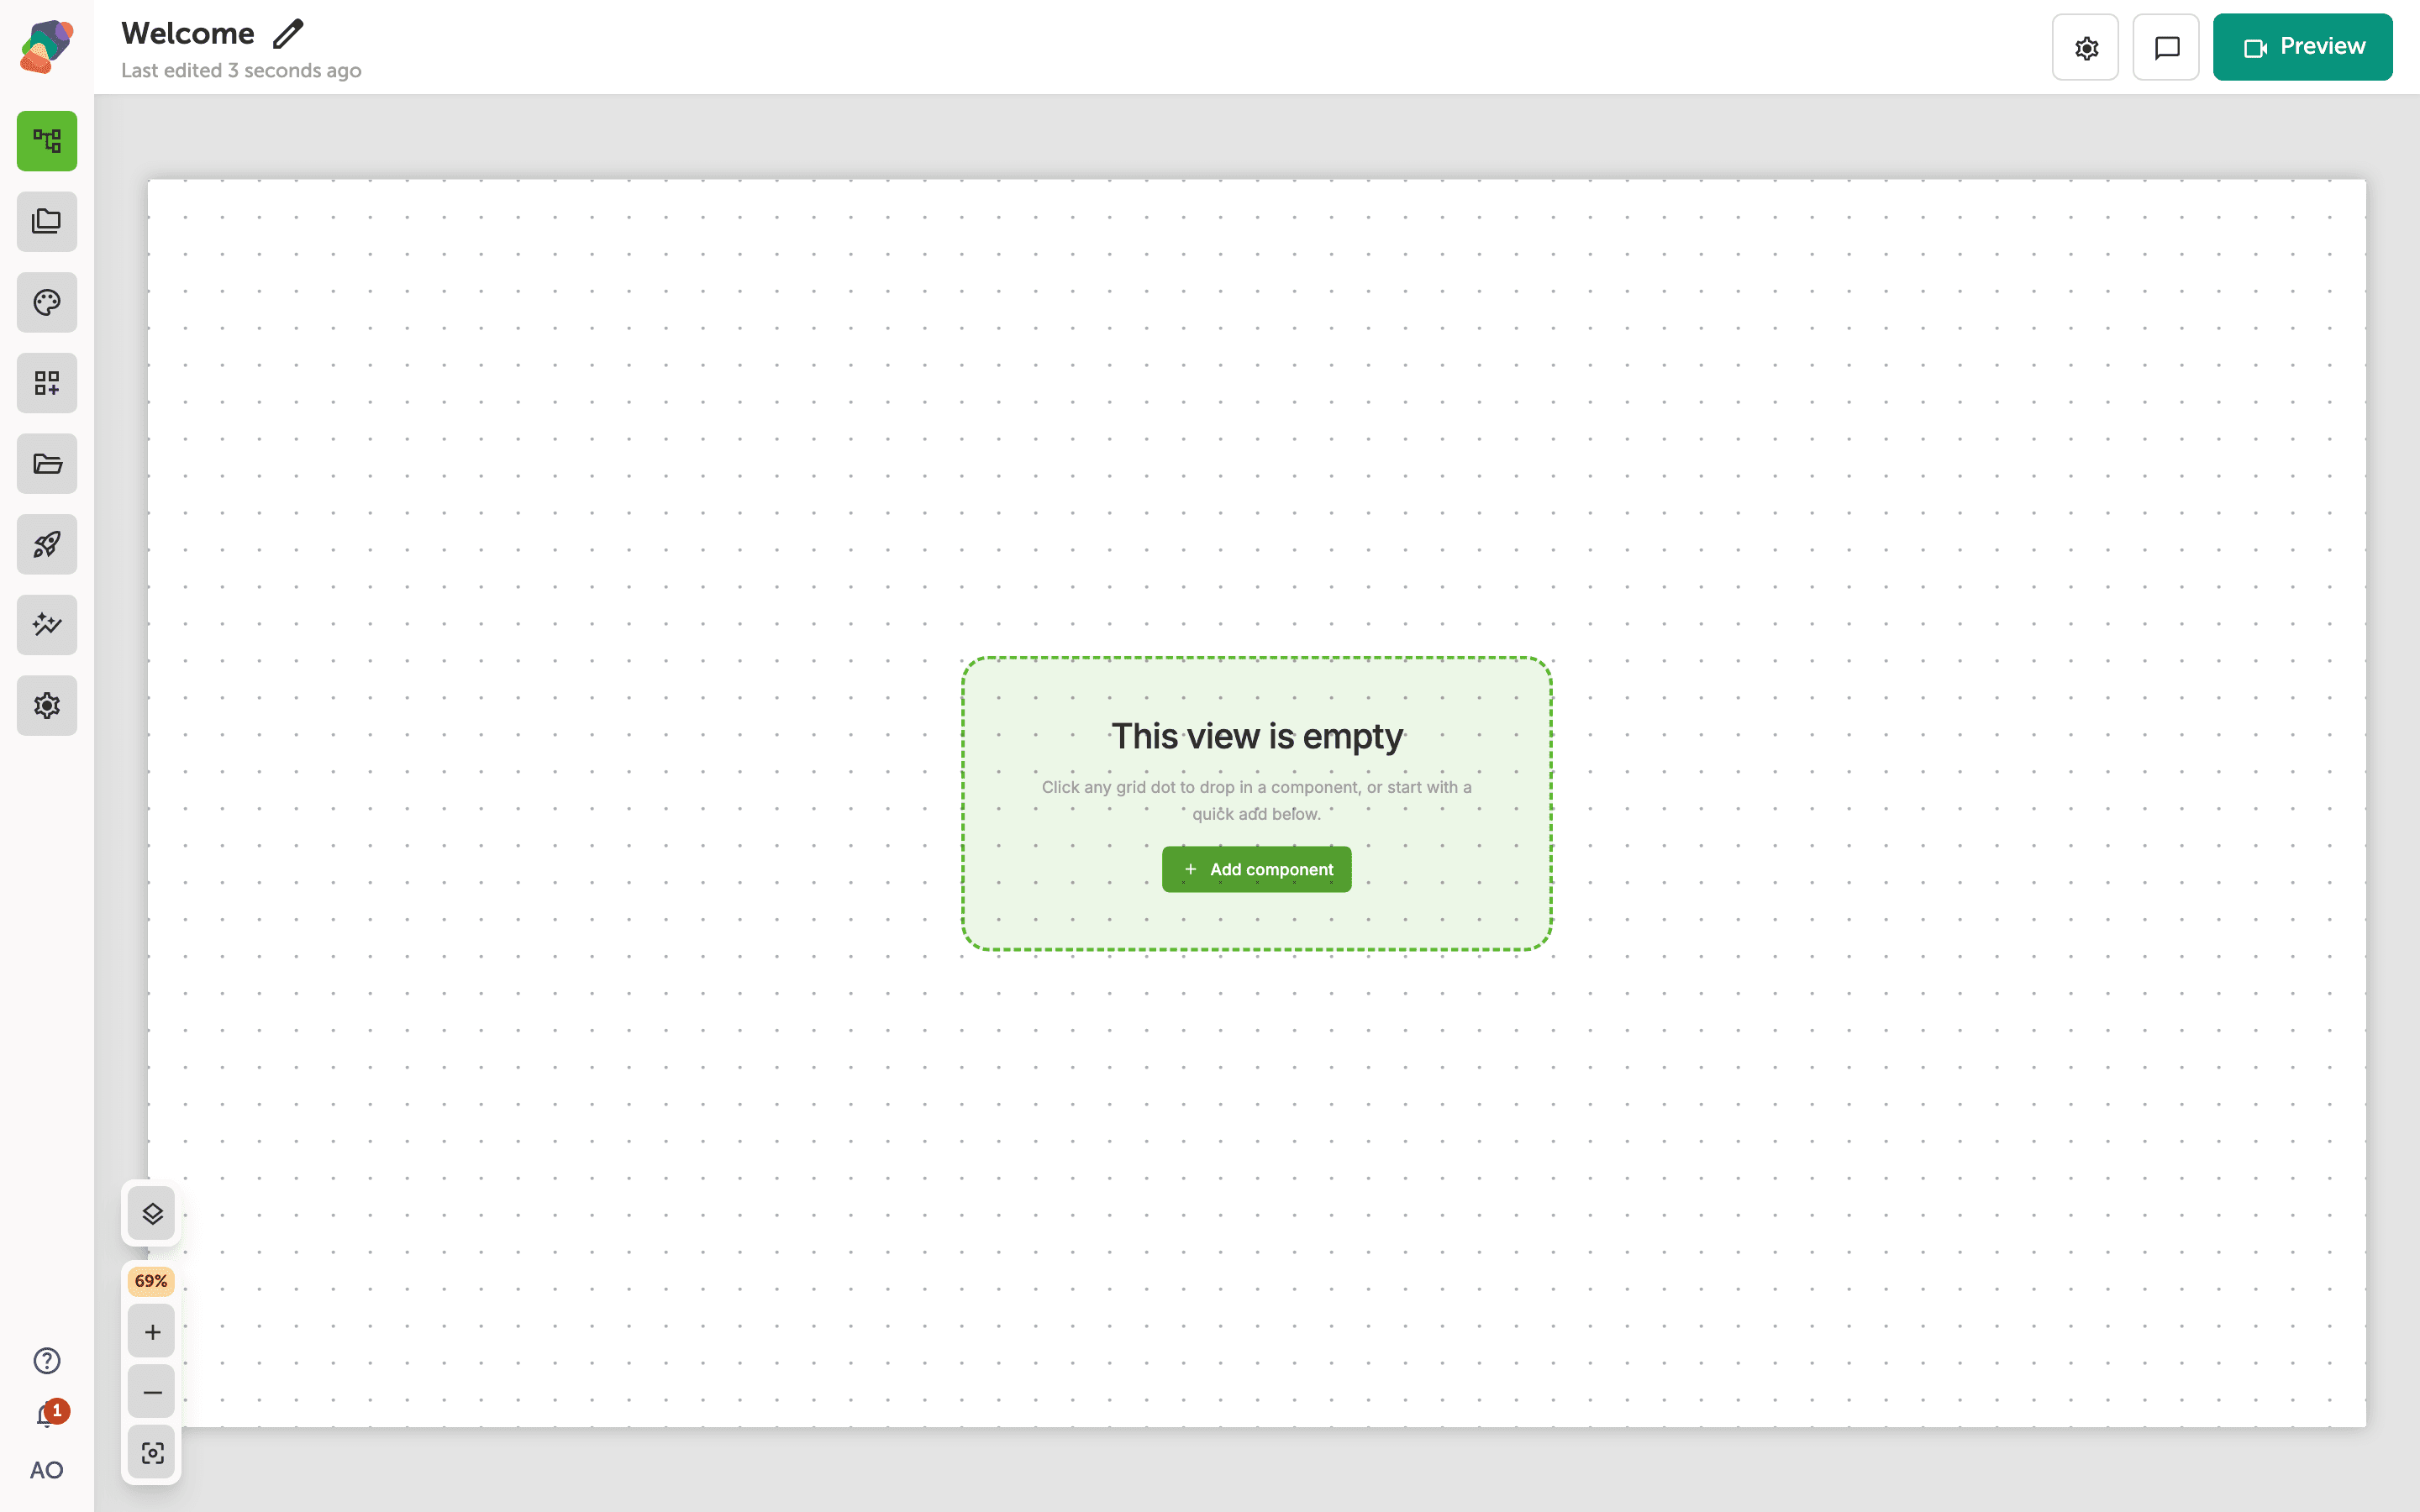
Start by navigating to the moment whose view you want to edit. Click the view name inside the moment card on the Moments graph to open the view editor canvas. This is the workspace where you place and arrange components for the selected display.
Place components on the canvas
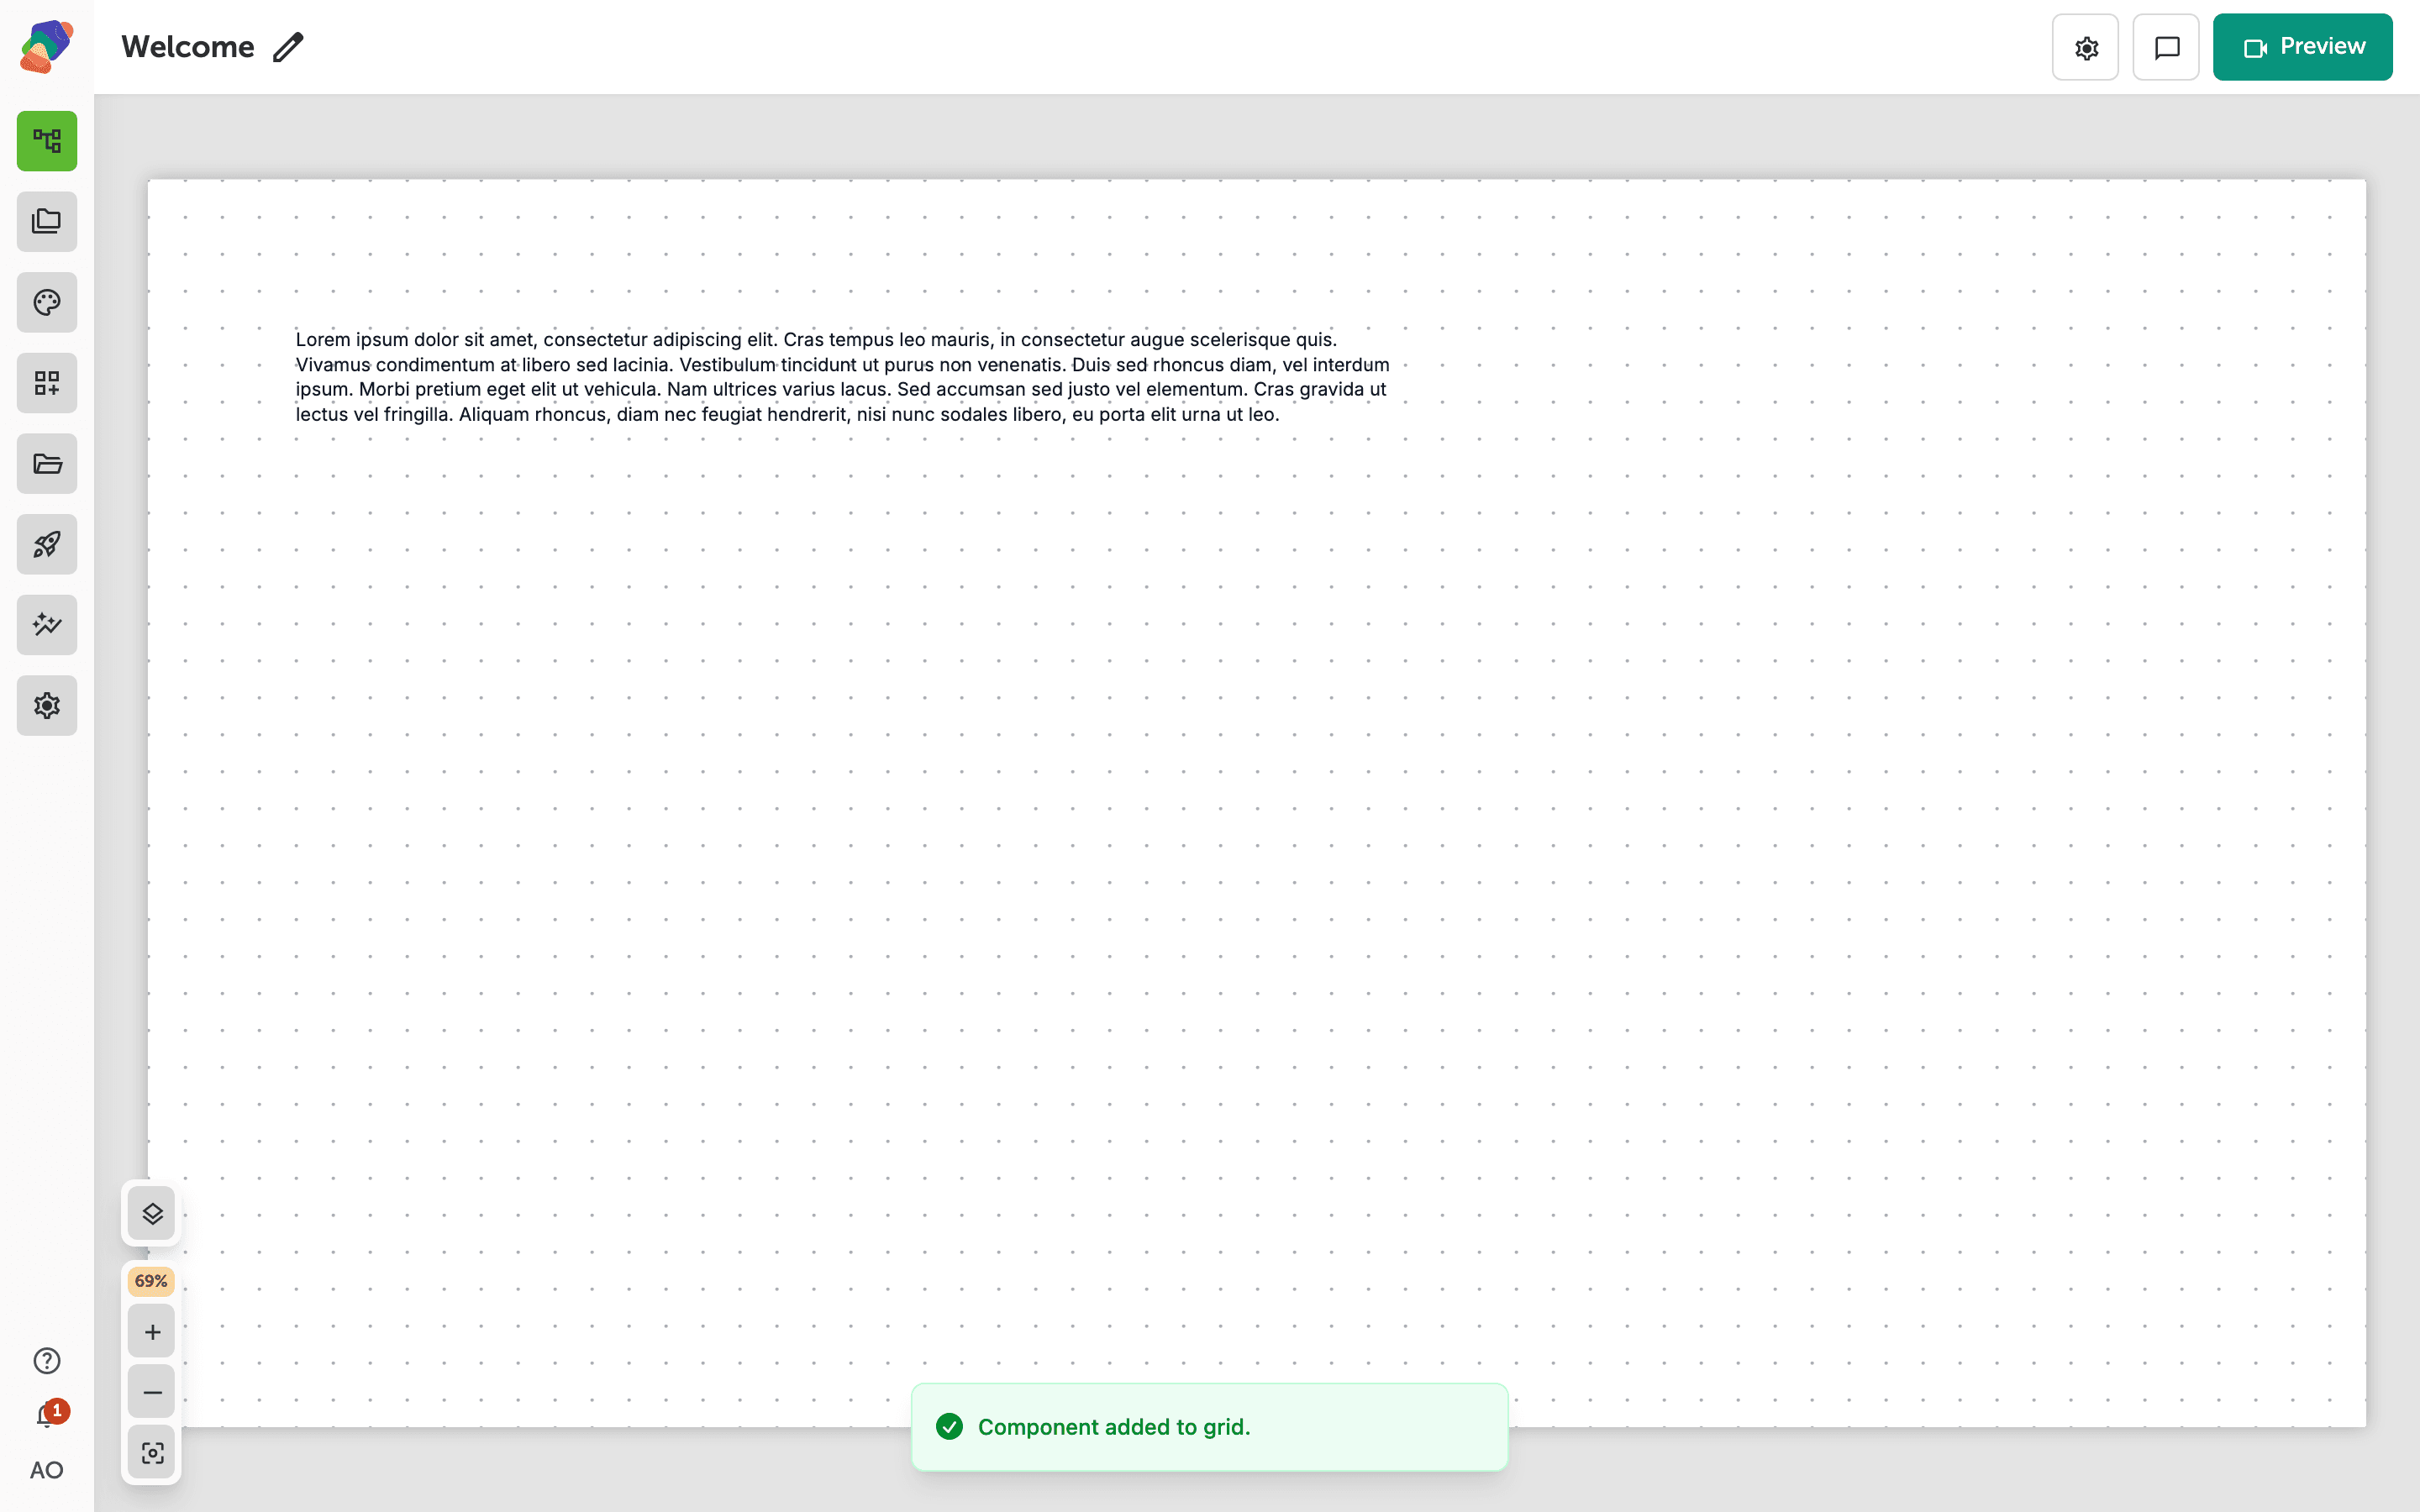
Before the Layers panel is useful, you need at least one component on the canvas. Click the + button to open the Add a component panel and choose a component—Text, for example. The component appears on the canvas with a blue selection border and resize handles, ready to drag into position.
As you add more components and they begin to overlap, controlling which one sits in front becomes essential—that is where the Layers panel comes in.
Open the Layers panel
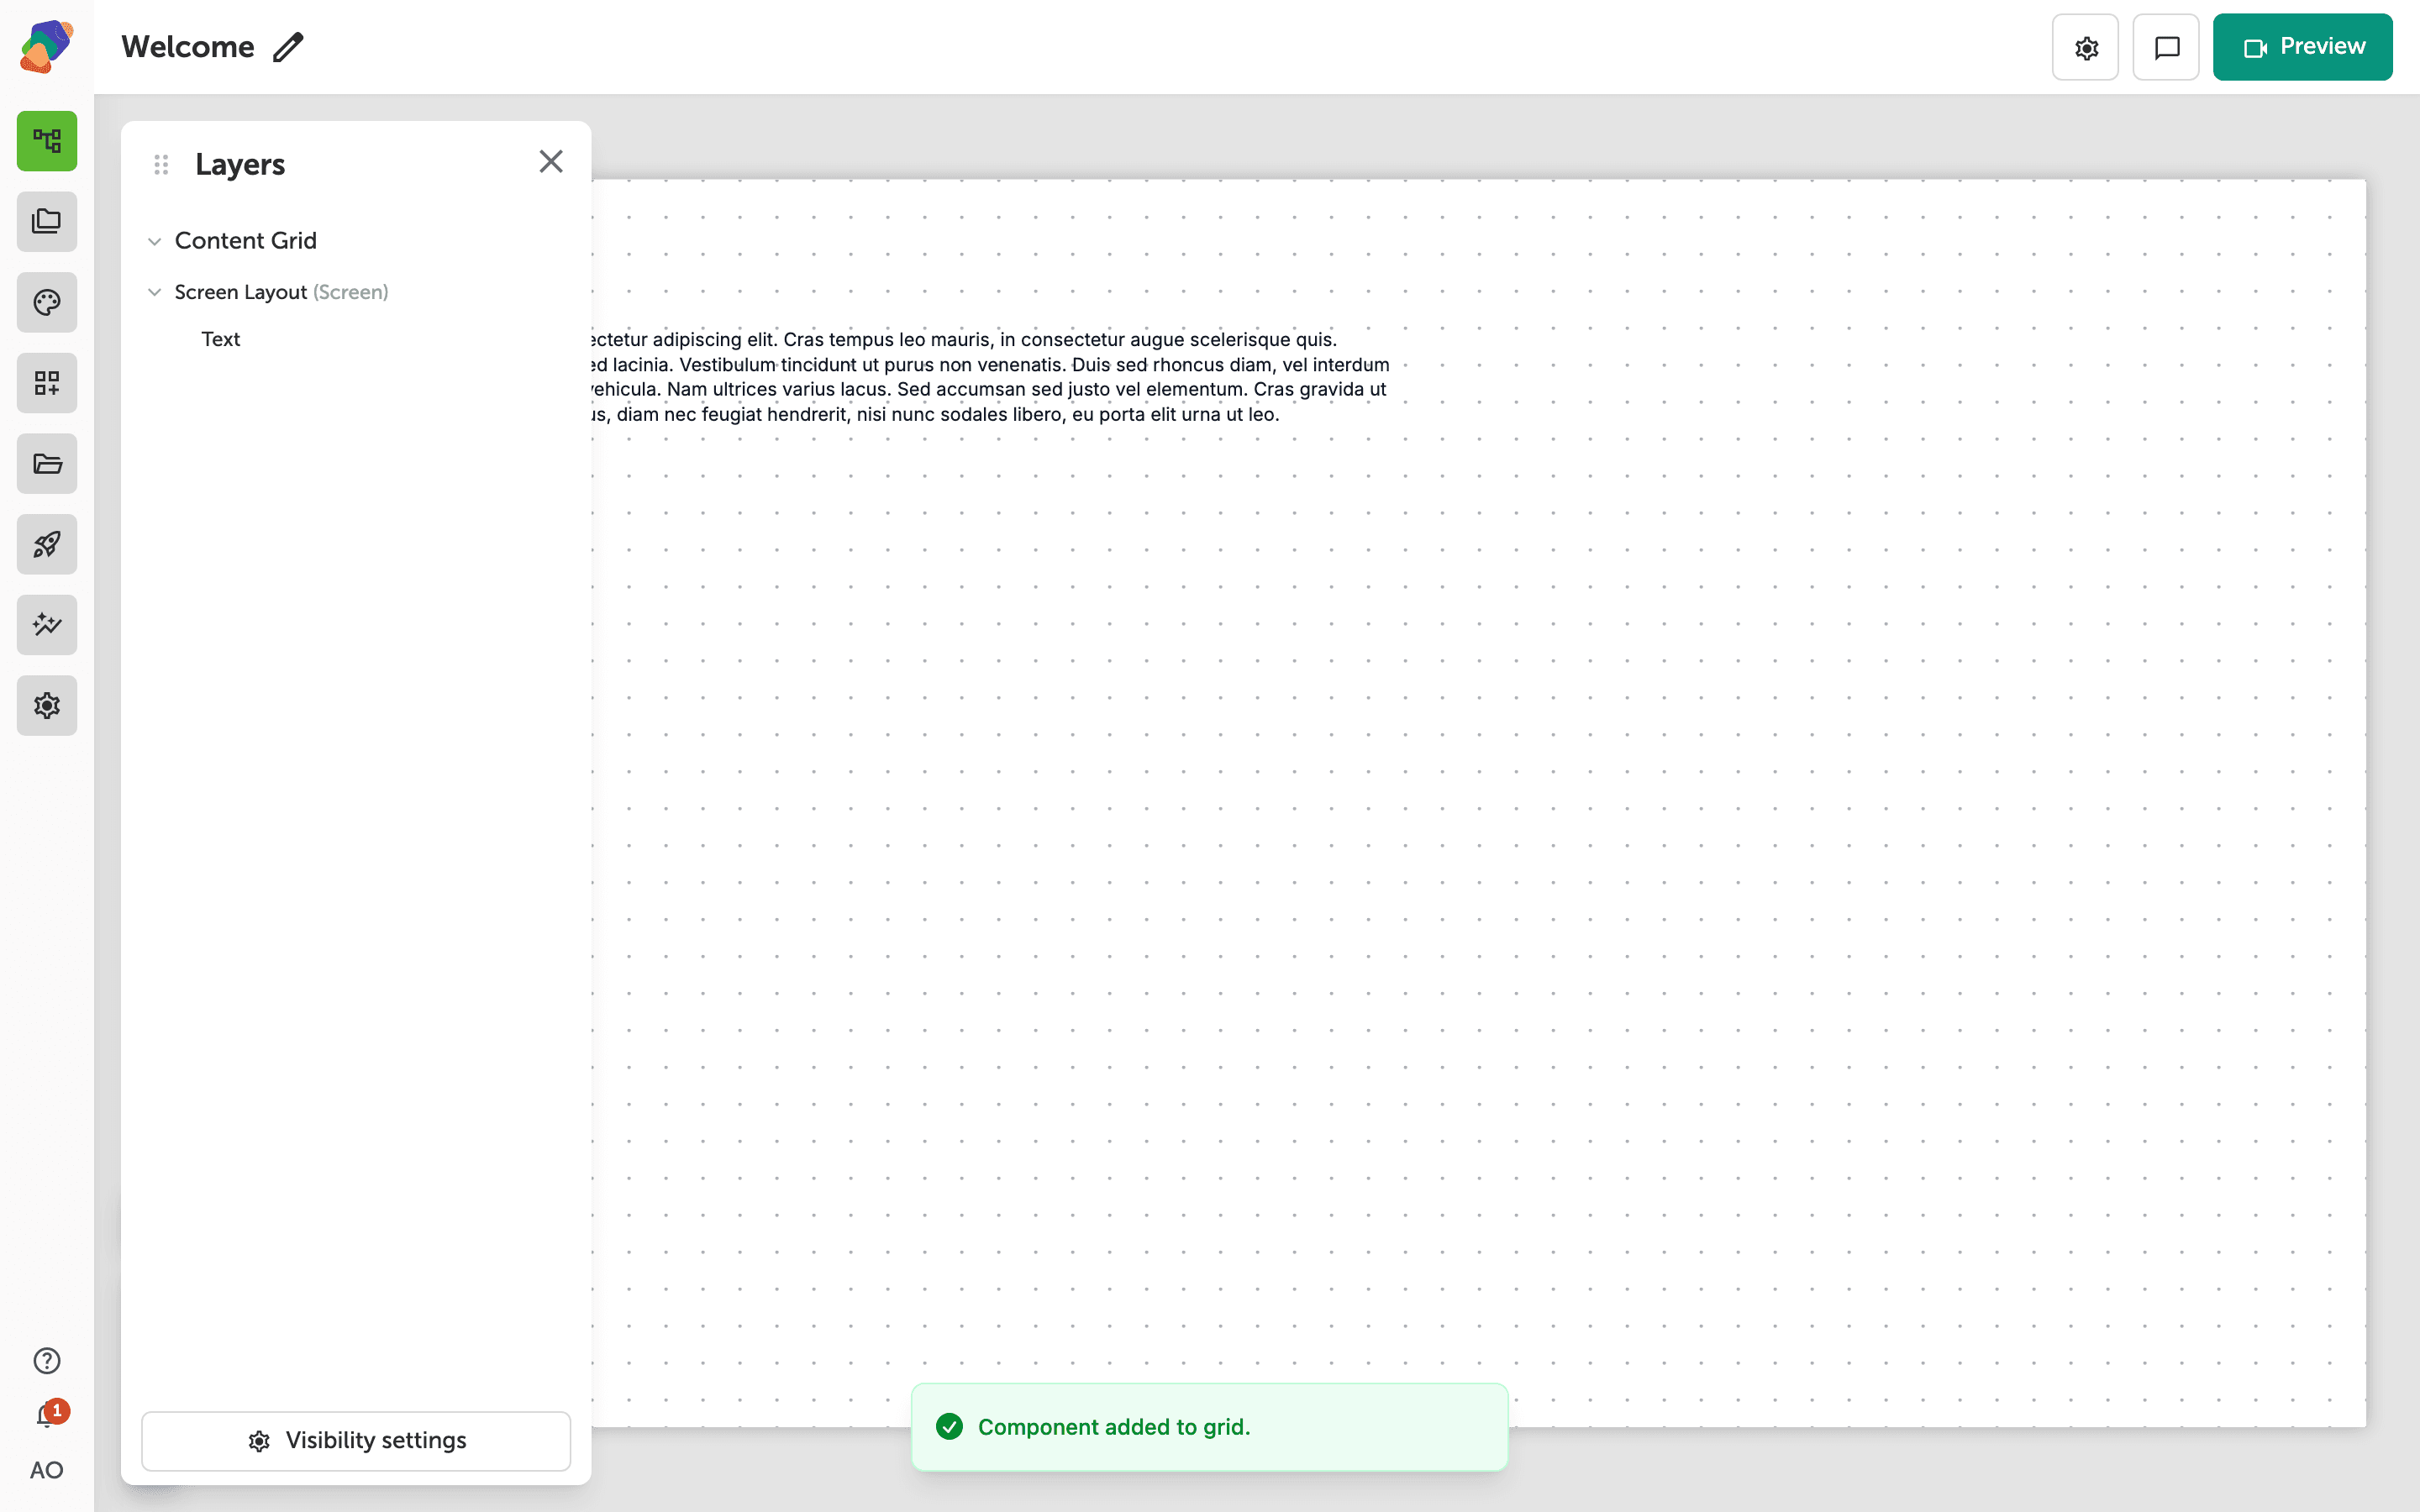
Look at the bottom-left toolbar of the view editor and click the "Layers" toggle button. The Layers panel slides open, displaying a tree of every component on the canvas. Components are grouped under their grid sections—Sticky Grid for elements that stay fixed on screen, and Content Grid for scrollable content.
Clicking a layer row in the panel selects the matching component on the canvas, and selecting a component on the canvas highlights its row in the panel—selection stays in sync both ways.
Tip
You can reorder layers directly from the keyboard. Press ] to bring a component forward one level, or [ to send it backward. Hold Cmd for the extremes: Cmd + ] brings the component all the way to the front, and Cmd + [ sends it all the way to the back.
Manage visibility settings
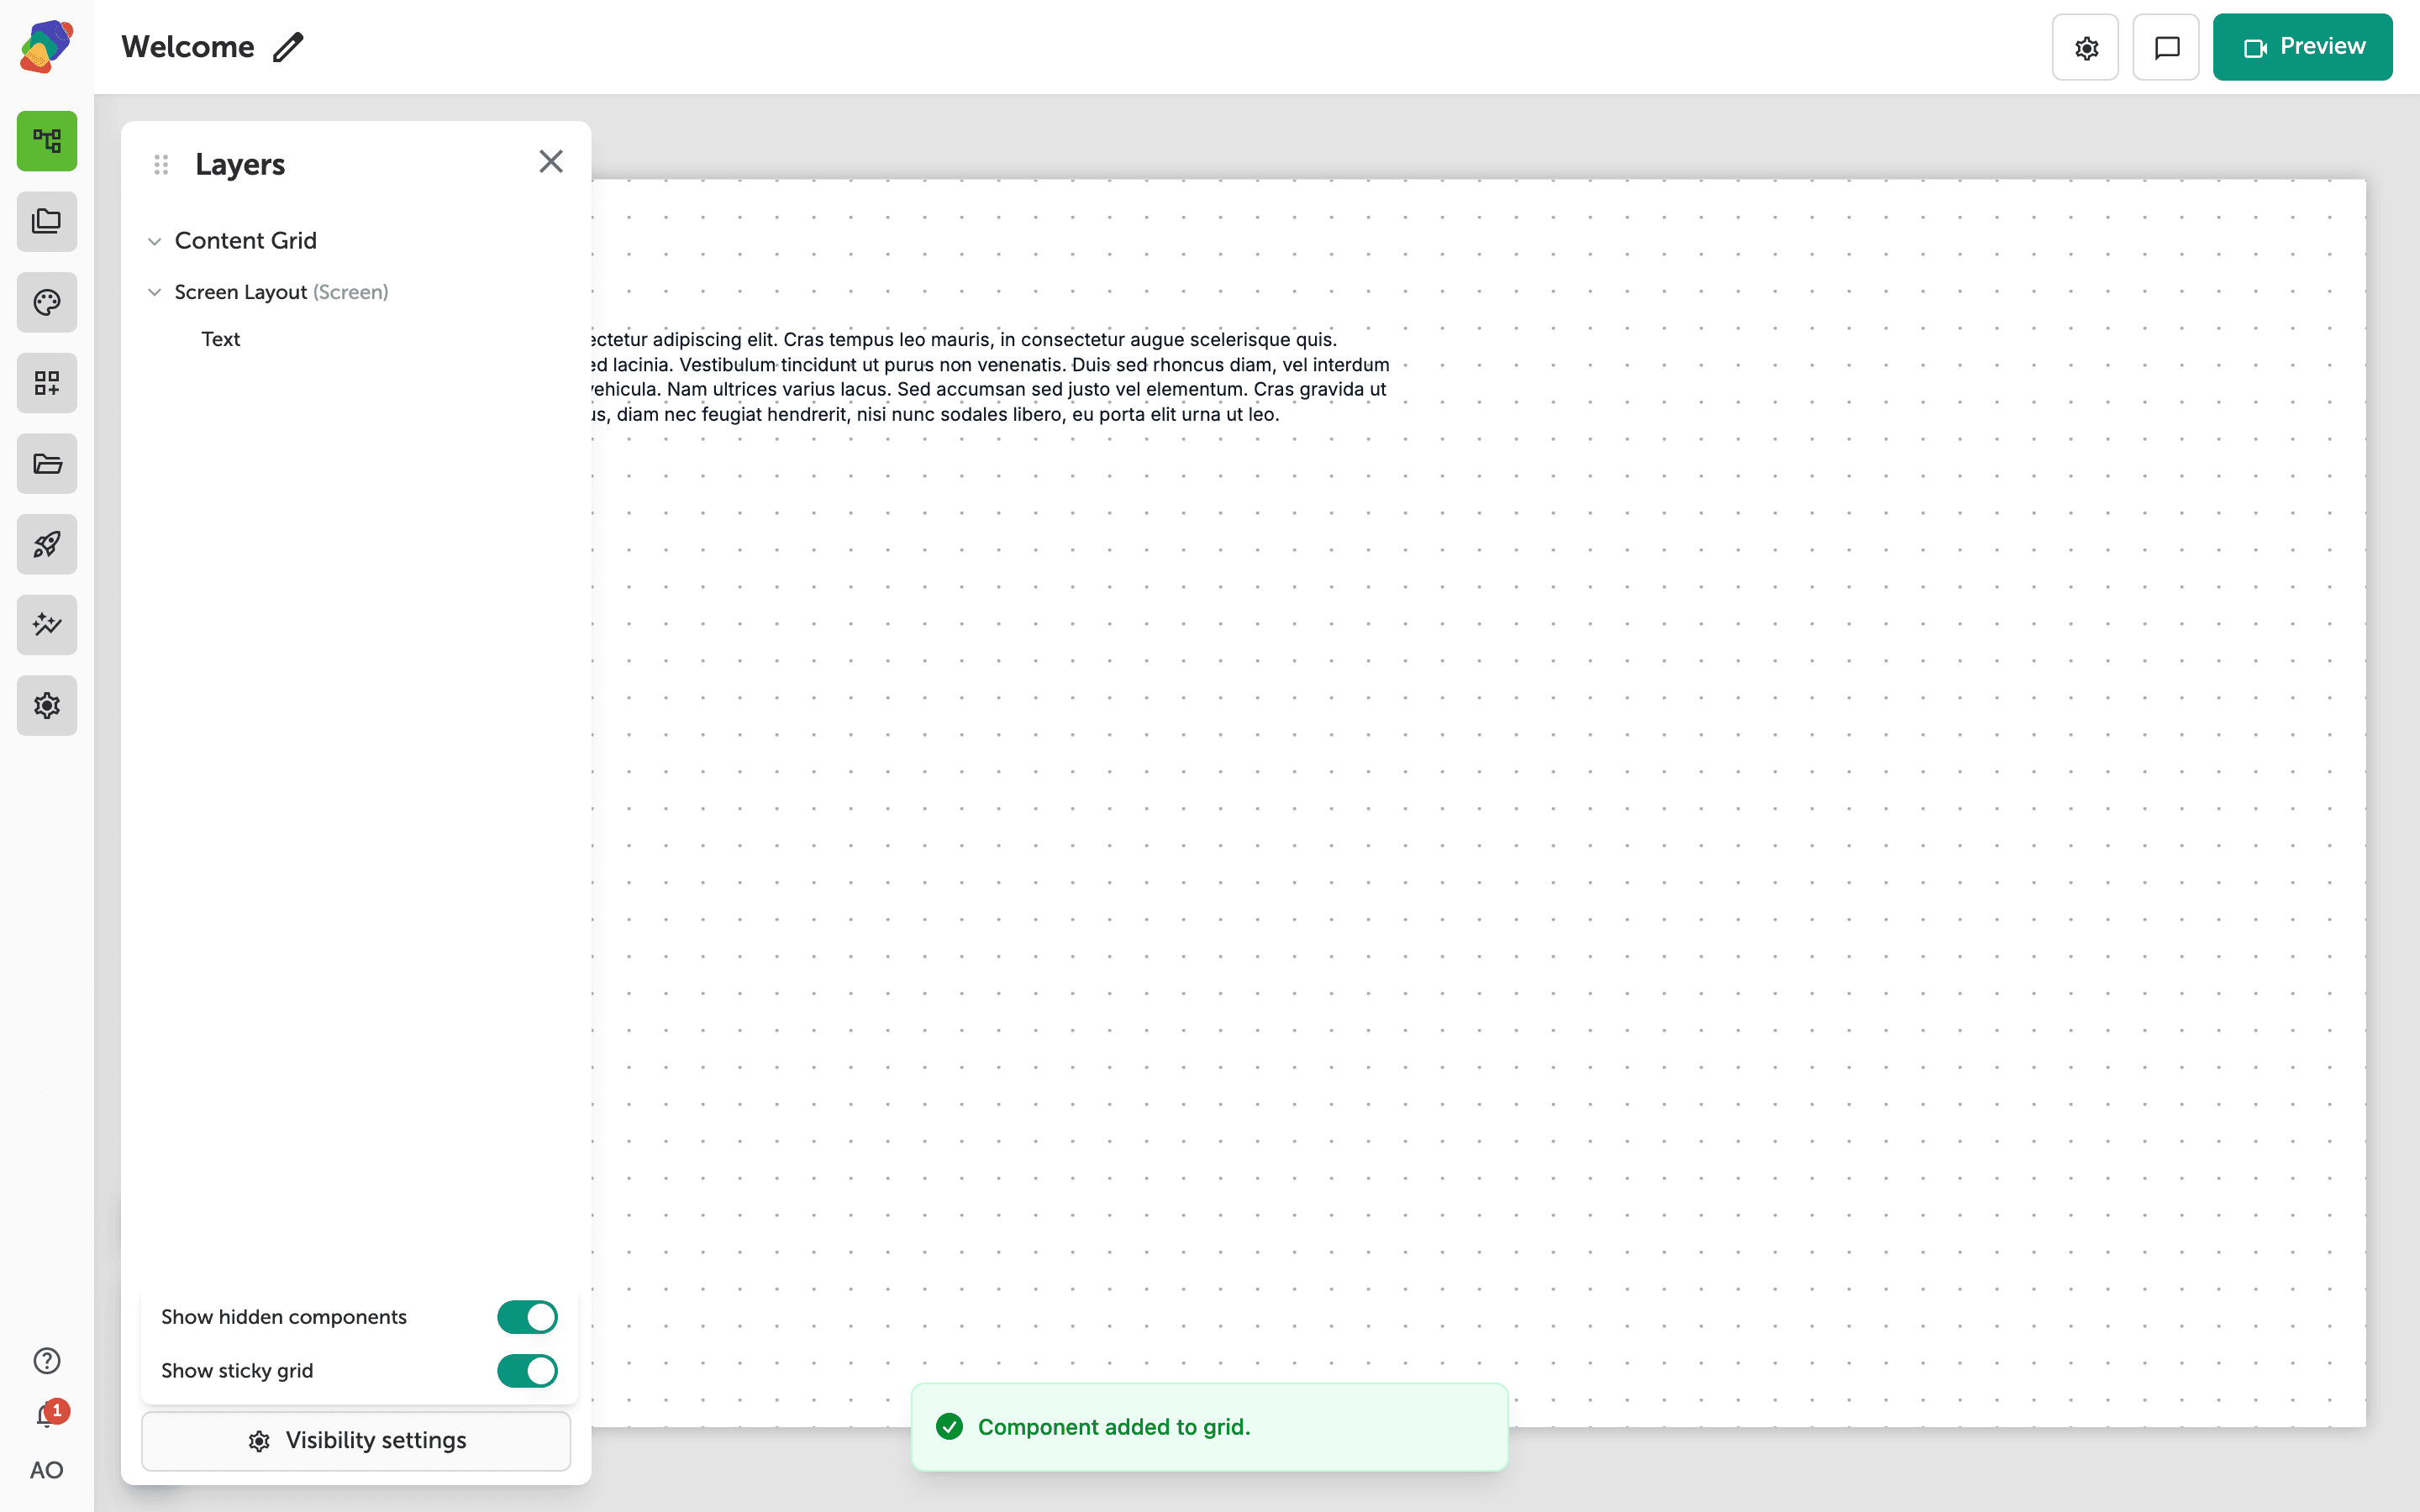
At the bottom of the Layers panel, click the "Visibility settings" button to open a dropdown with two toggles. "Show hidden components" reveals any components you've hidden on the canvas, and "Show sticky grid" controls whether the sticky-layer overlay is displayed. These settings let you peek at hidden layers during design without affecting what visitors see in the published project.
To reorder an individual component's z-order, hover over its row in the Layers panel and click the ⋮ overflow menu. From there, choose "Bring to front", "Bring forward", "Send backward", or "Send to back". The same menu offers a sticky toggle to move the component between the Sticky Grid and Content Grid, and a visibility toggle to hide or show it.
With the Layers panel in your workflow, you have full control over how components stack and overlap in every view. From here you can keep building out your layout:
- Add more components to your view: Layer in images, videos, and interactive elements to create richer layouts.
- Configure component-specific styles: Fine-tune typography, colors, and spacing for each component using the style inspector.
- Learn about animations and transitions: Add motion to your components to guide visitor attention and create polished experiences.