
Creating a Project Template
If you've built a project that works well—maybe a guided museum tour with a consistent flow, or a multi-screen kiosk setup for a gallery opening—you shouldn't have to rebuild it from scratch every time you need something similar. Zibit lets you save any project as a reusable template, capturing its moments, views, flows, and settings in one package. The next time you or a teammate starts a new project, you can pick that template and skip straight to customizing the content.
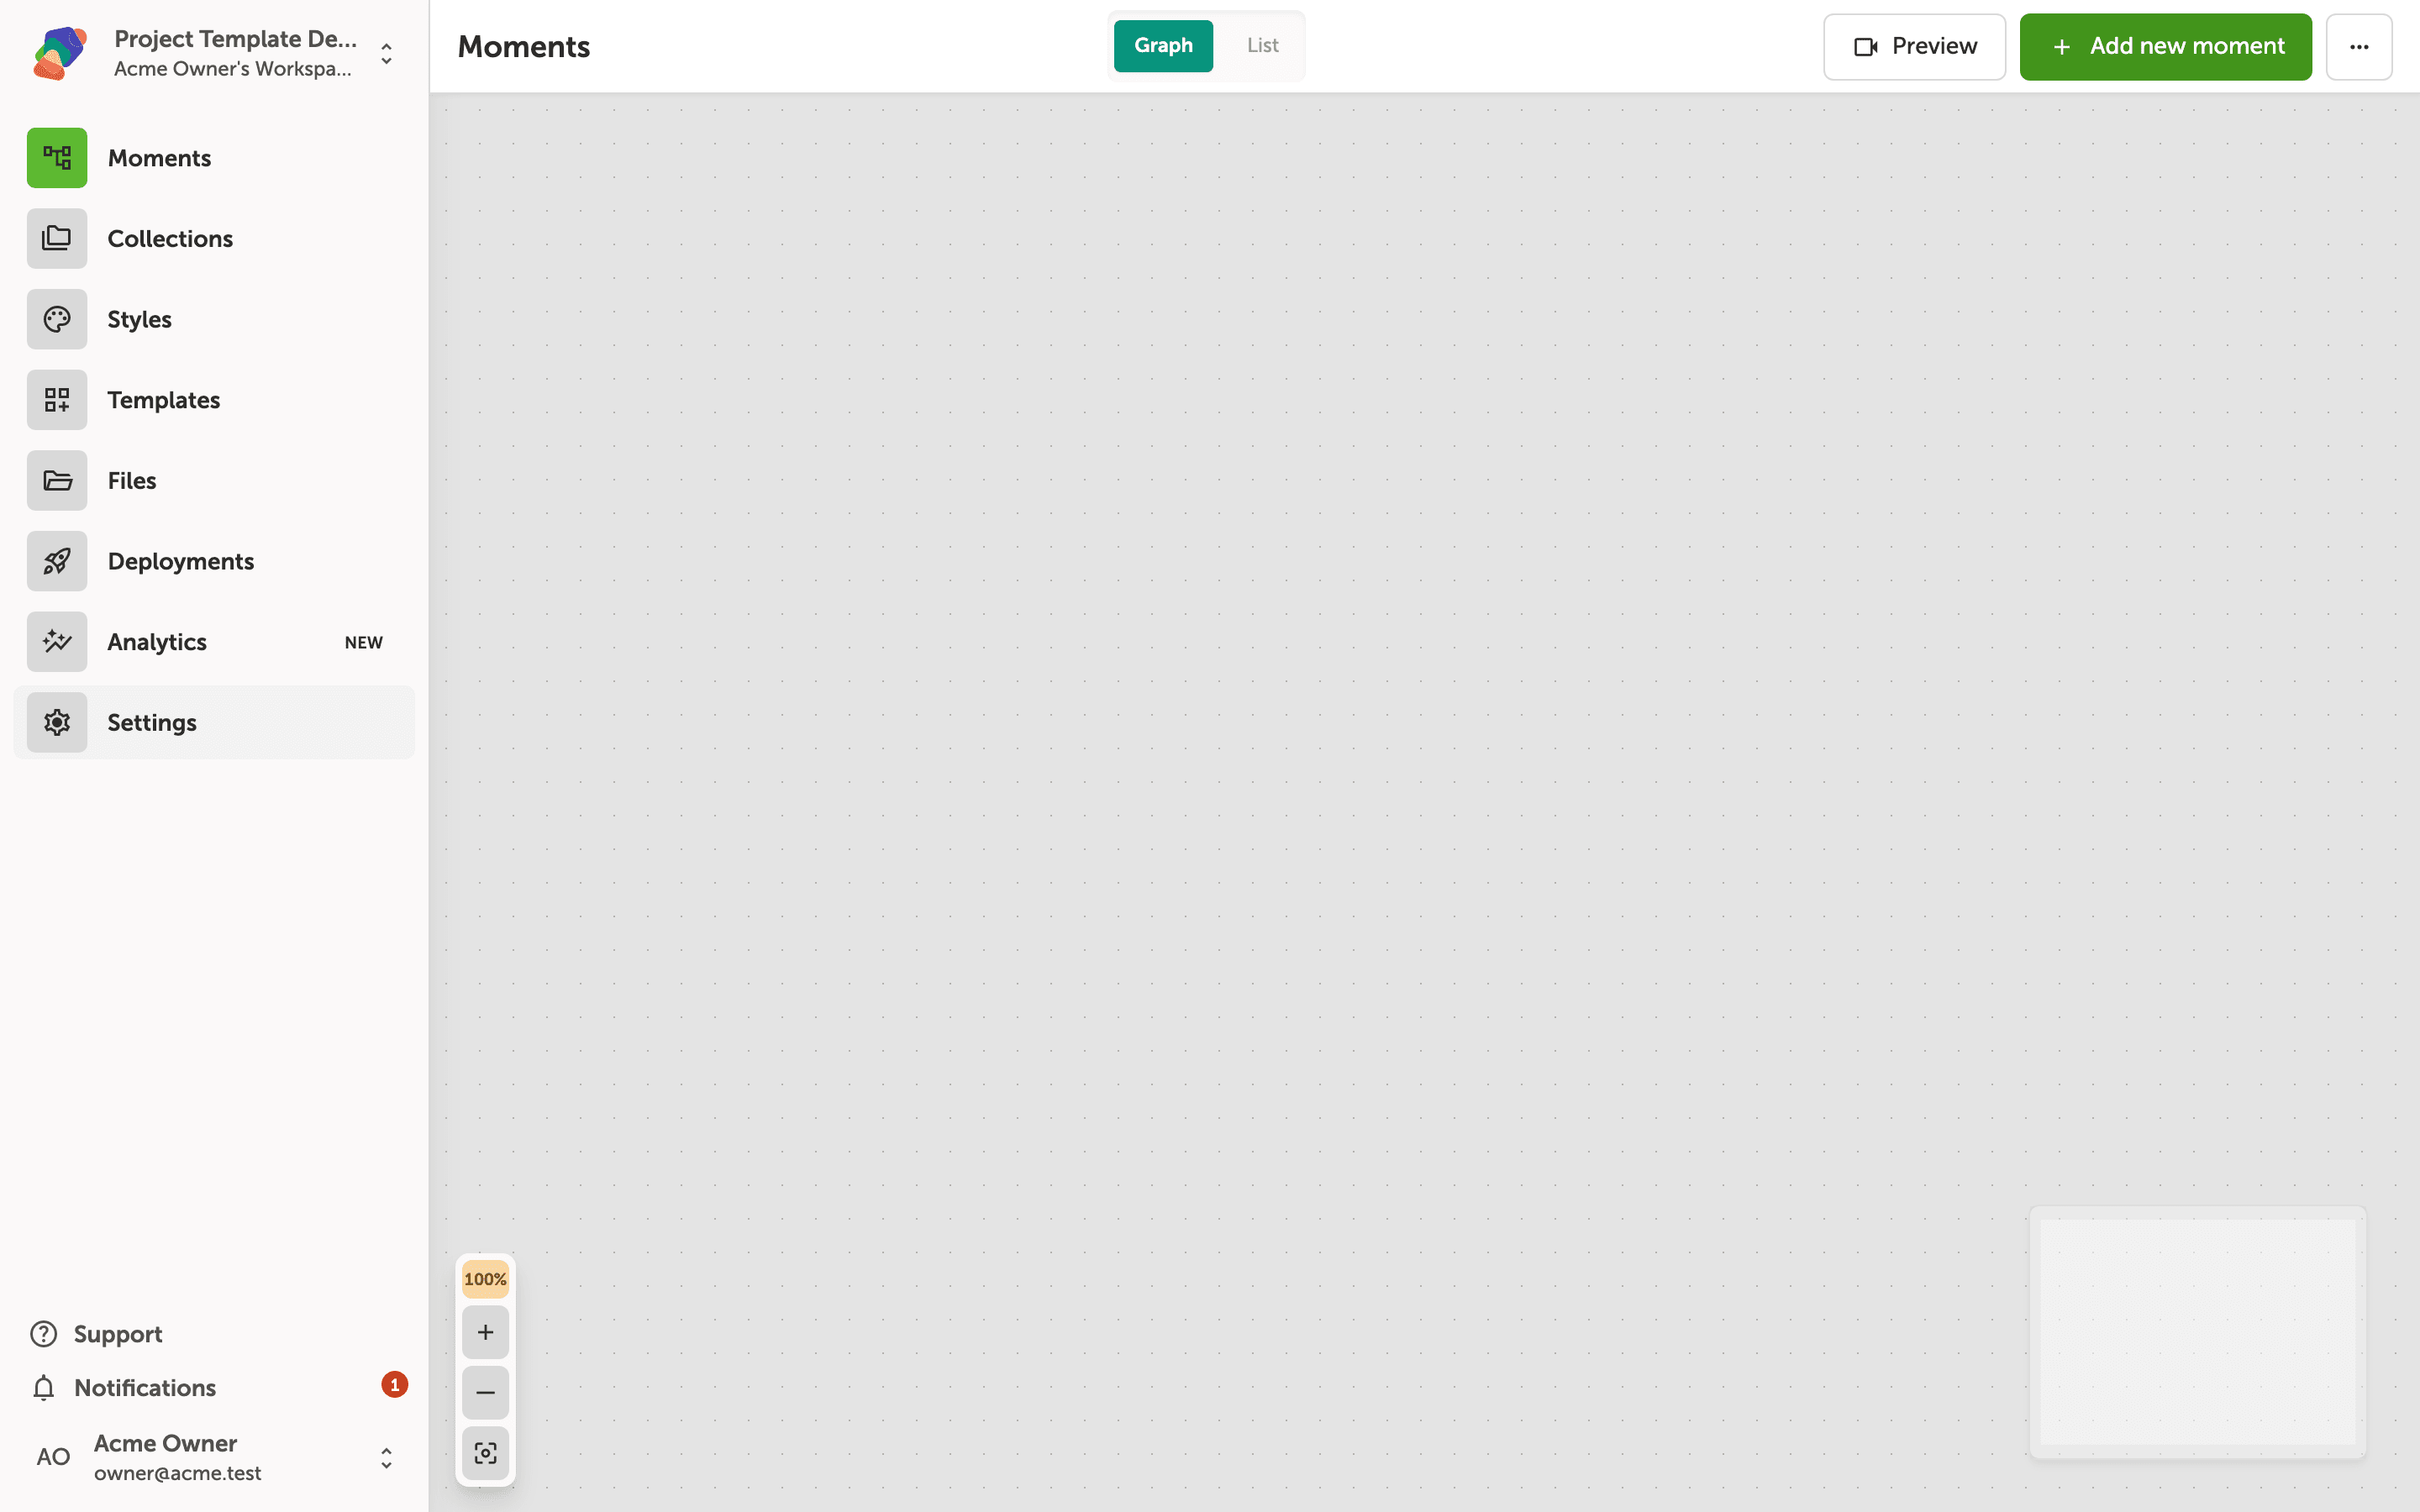
Open the project settings
Start by opening the project you want to turn into a template. In the left sidebar, click "Settings" to open the project settings panel. This is where you'll find all of the configuration options for your project, including display settings, metadata, and the option to save the project as a template.
If you don't see "Settings" in the sidebar, make sure you have the correct permissions for this project—template creation is available on the Pro and Organization plans.
Find the Save as Template section
Inside the project settings panel, scroll down until you see the "Save as Template" section. This section includes a brief description of what project templates capture and a "Save as Template" button. Clicking the button opens a dialog where you can configure the details of your new template before saving it.
Project templates preserve the full structure of your project—its moments, views, component layouts, flow connections, and style settings—so anyone who creates a project from your template gets a complete starting point rather than just an empty shell.
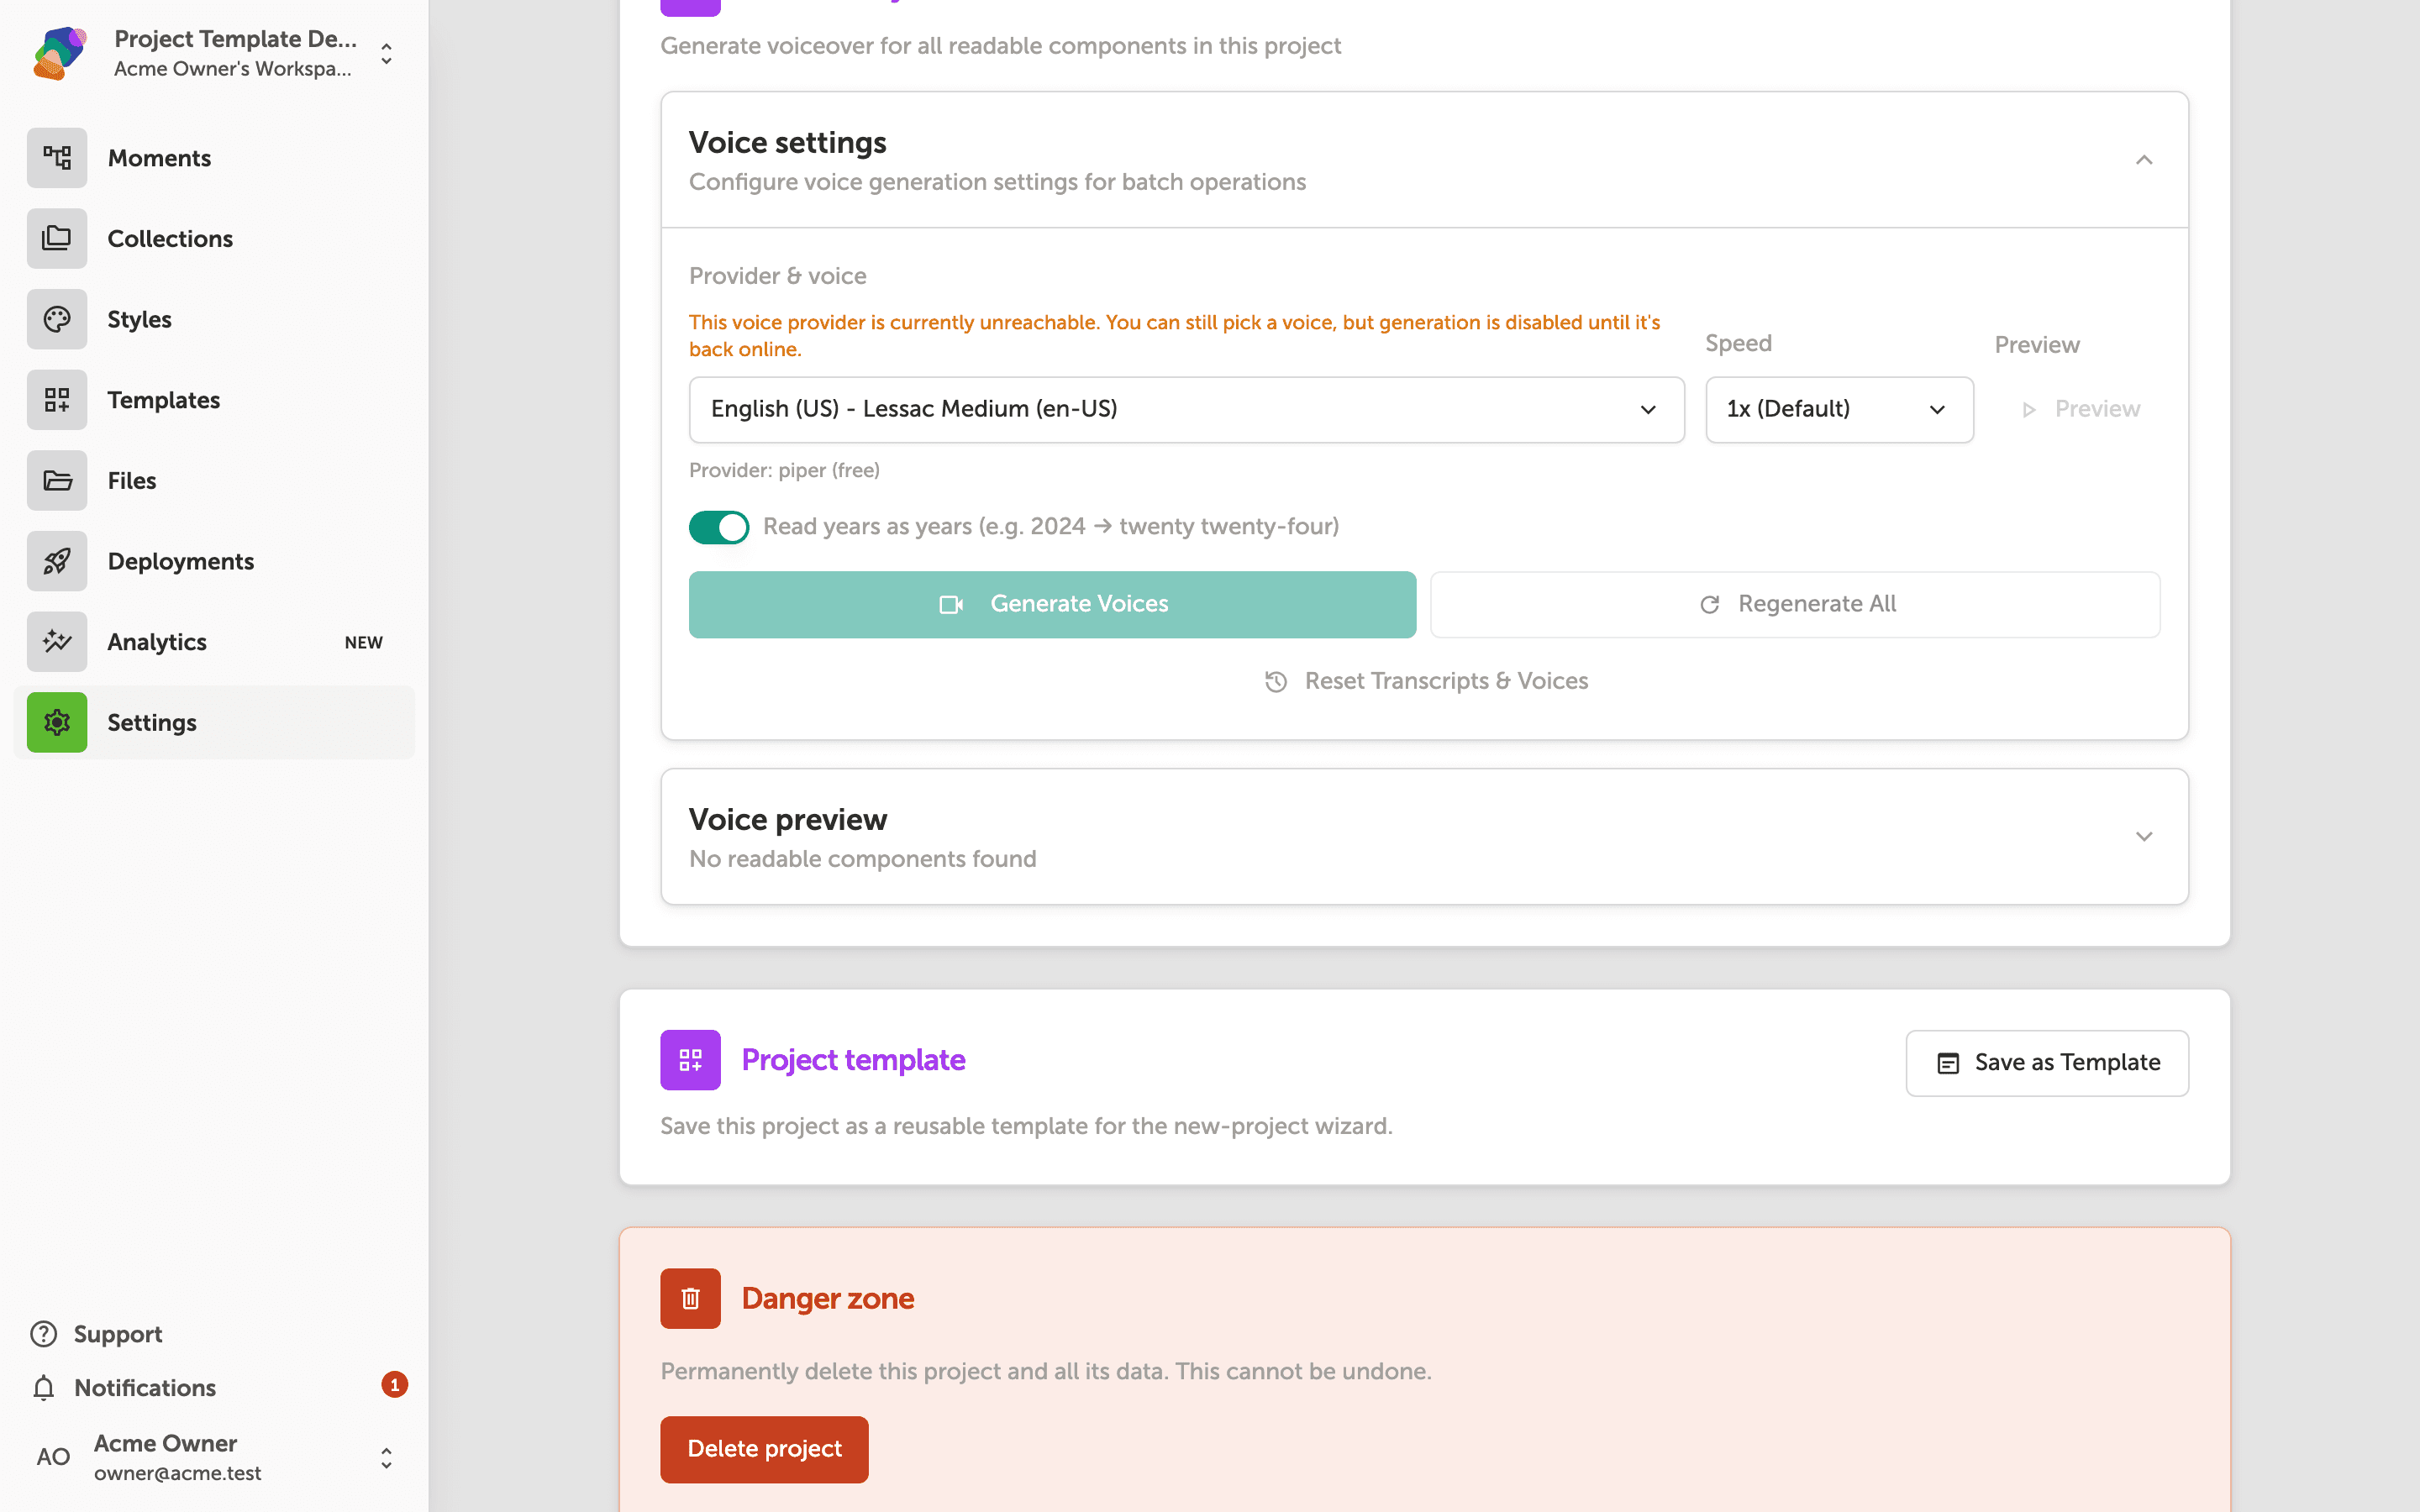
Fill in the template details and save
After clicking "Save as Template", a dialog appears with four fields to fill in:
- Name—Give your template a clear, descriptive name so it's easy to identify later. Something like "Gallery tour — three-screen layout" is more helpful than "Template 1."
- Description—Add a short description explaining what the template is for and what kind of project it's best suited to. This helps teammates decide whether it fits their needs.
- Context—Optionally note the original context for the template, such as the type of exhibit or event it was designed for.
- Scope—Choose whether the template is available only to you (personal) or shared across your entire organization. Organization-scoped templates are visible to every team member.
Once you've filled in the fields, click "Create Template" to save. Your project template will now appear on the "Projects" tab of the Templates page, ready to use whenever someone starts a new project.
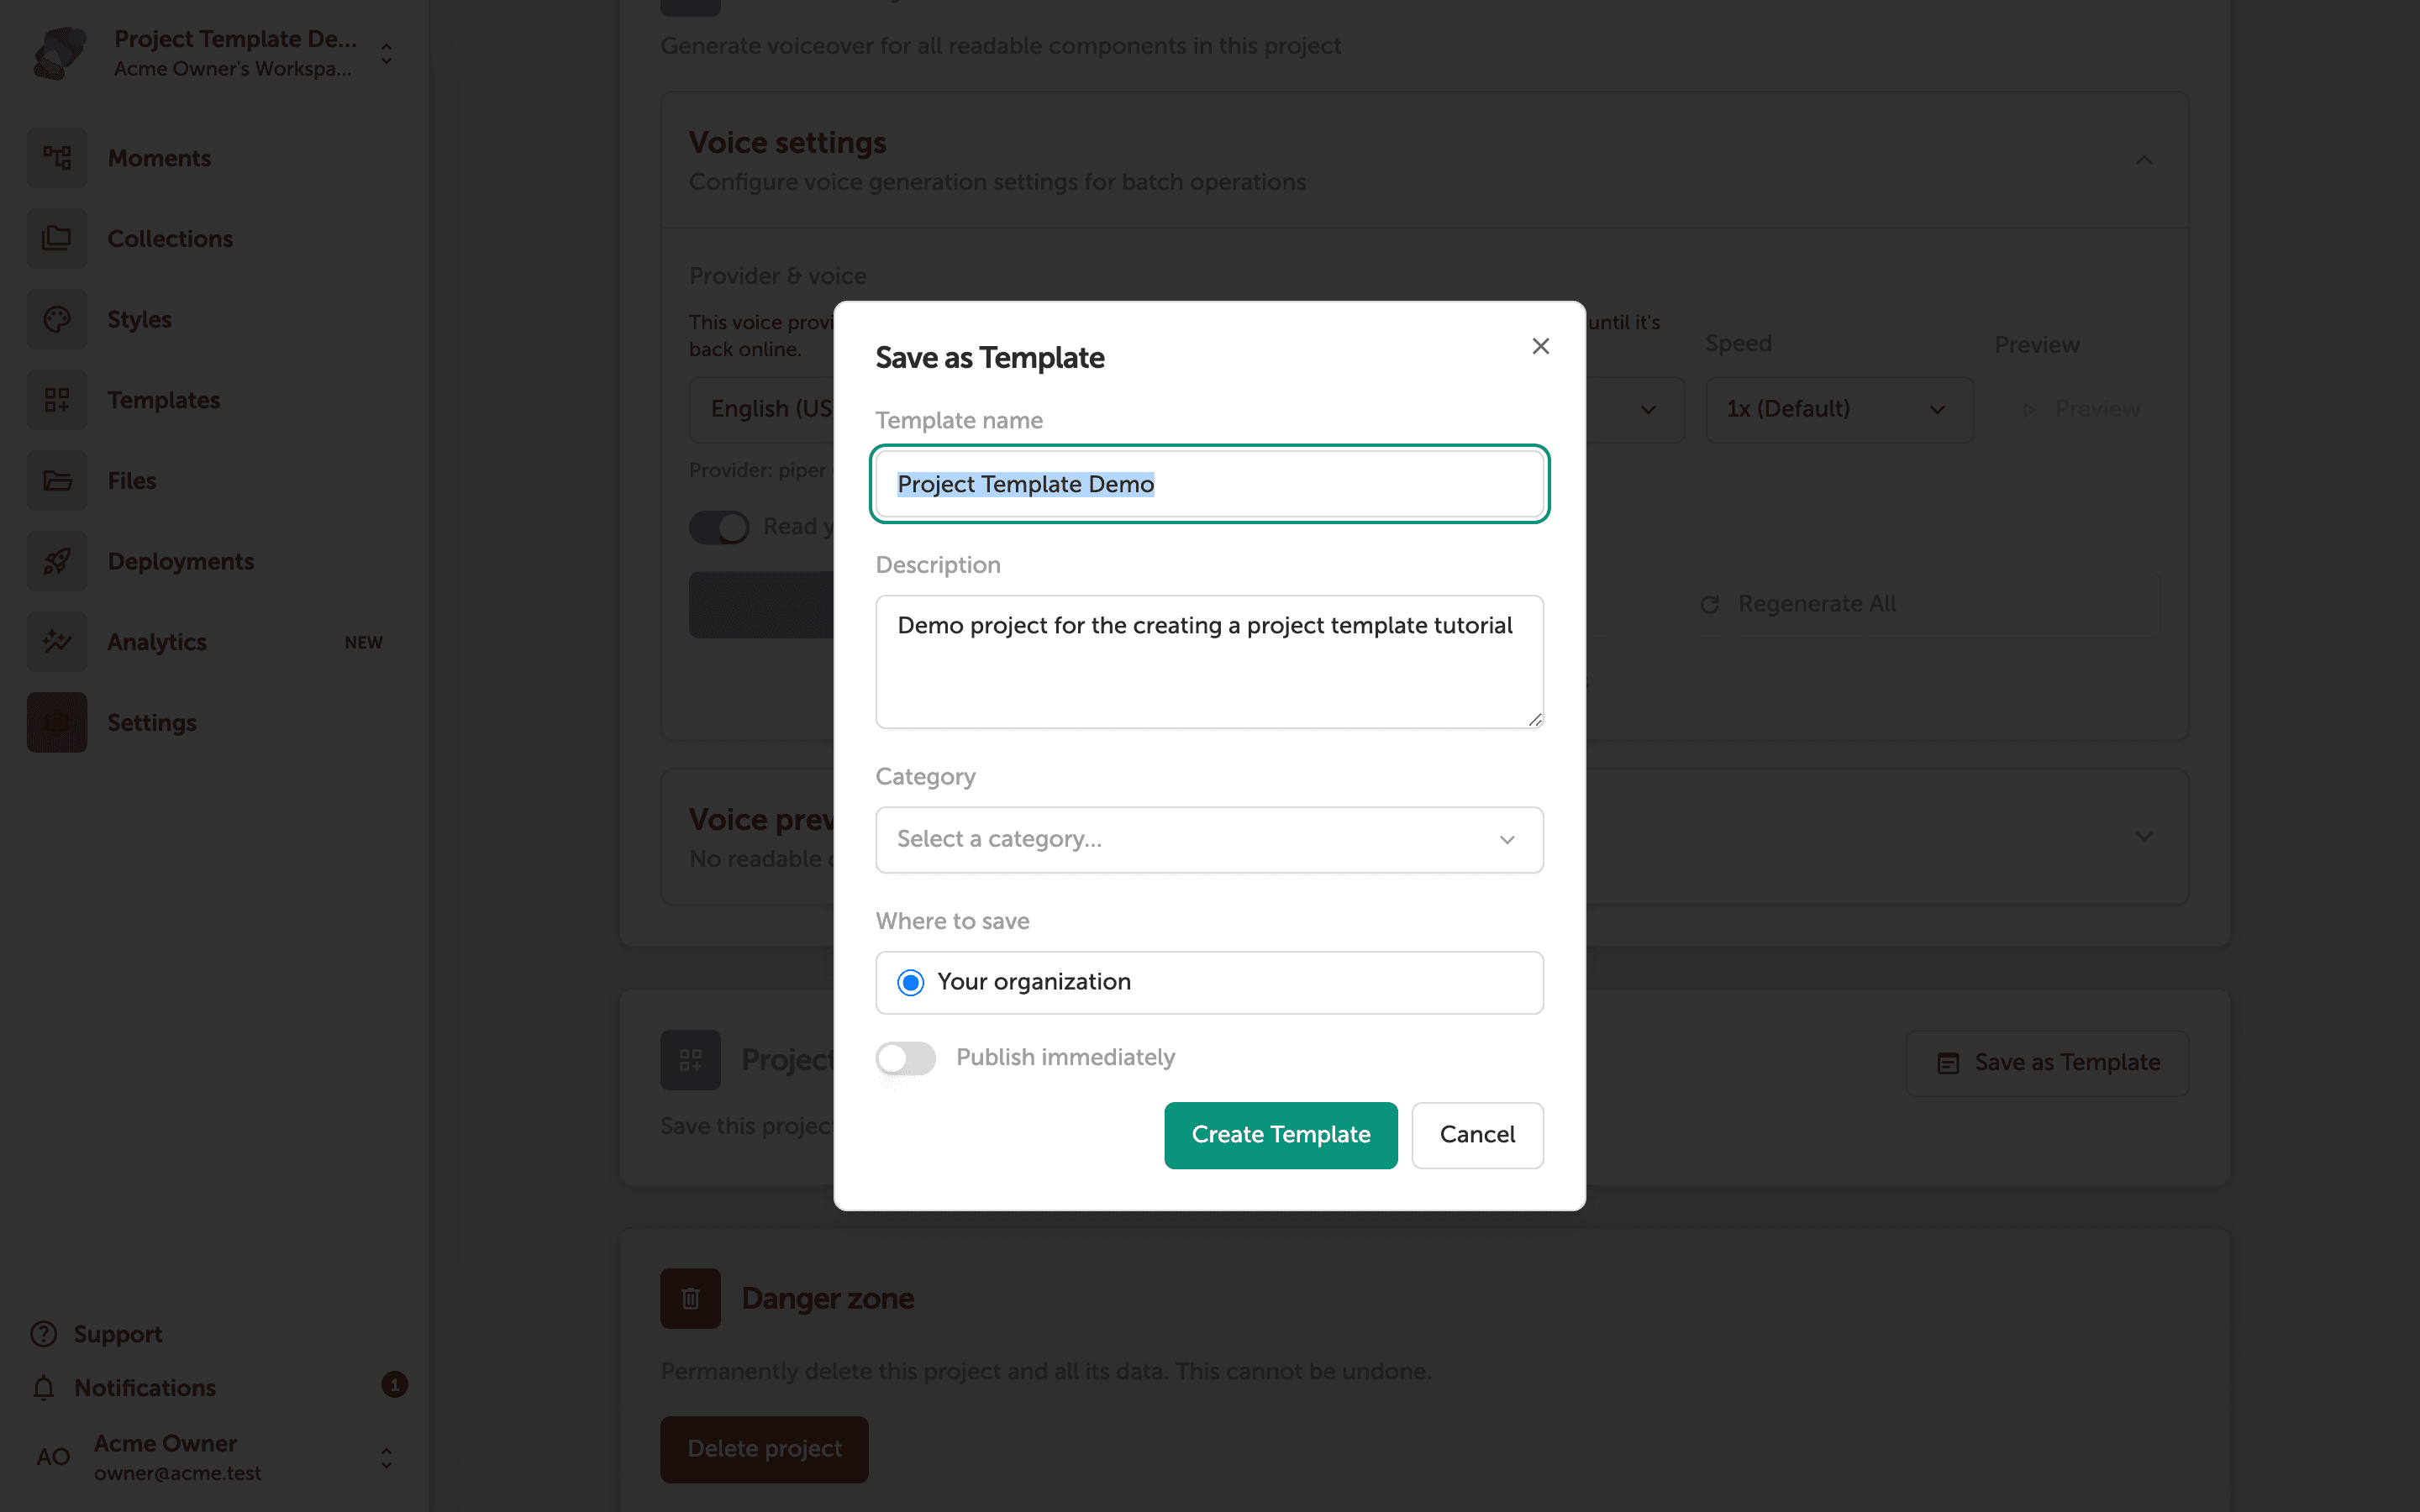
You've saved your project as a reusable template. From here, there are a few things you can do next:
- Create a new project from your template—Start a new project and select your saved template from the Projects tab to jump straight into customizing content.
- Manage your templates—Visit the Templates page to browse, search, or delete any of your saved templates.
- Save a view template too—If a specific view layout within your project is worth reusing on its own, you can save it as a standalone view template. See Creating a view template to learn how.
- Share with your team—If you saved the template with a personal scope, you can update it to organization scope later so your teammates can use it too.