
Working with Collections
Collections let you store structured data—like a list of artifacts, tour stops, or team members—and connect it to repeating components in your views. By the end of this tutorial, you'll have a working collection with named fields and at least one item ready to display in your project.
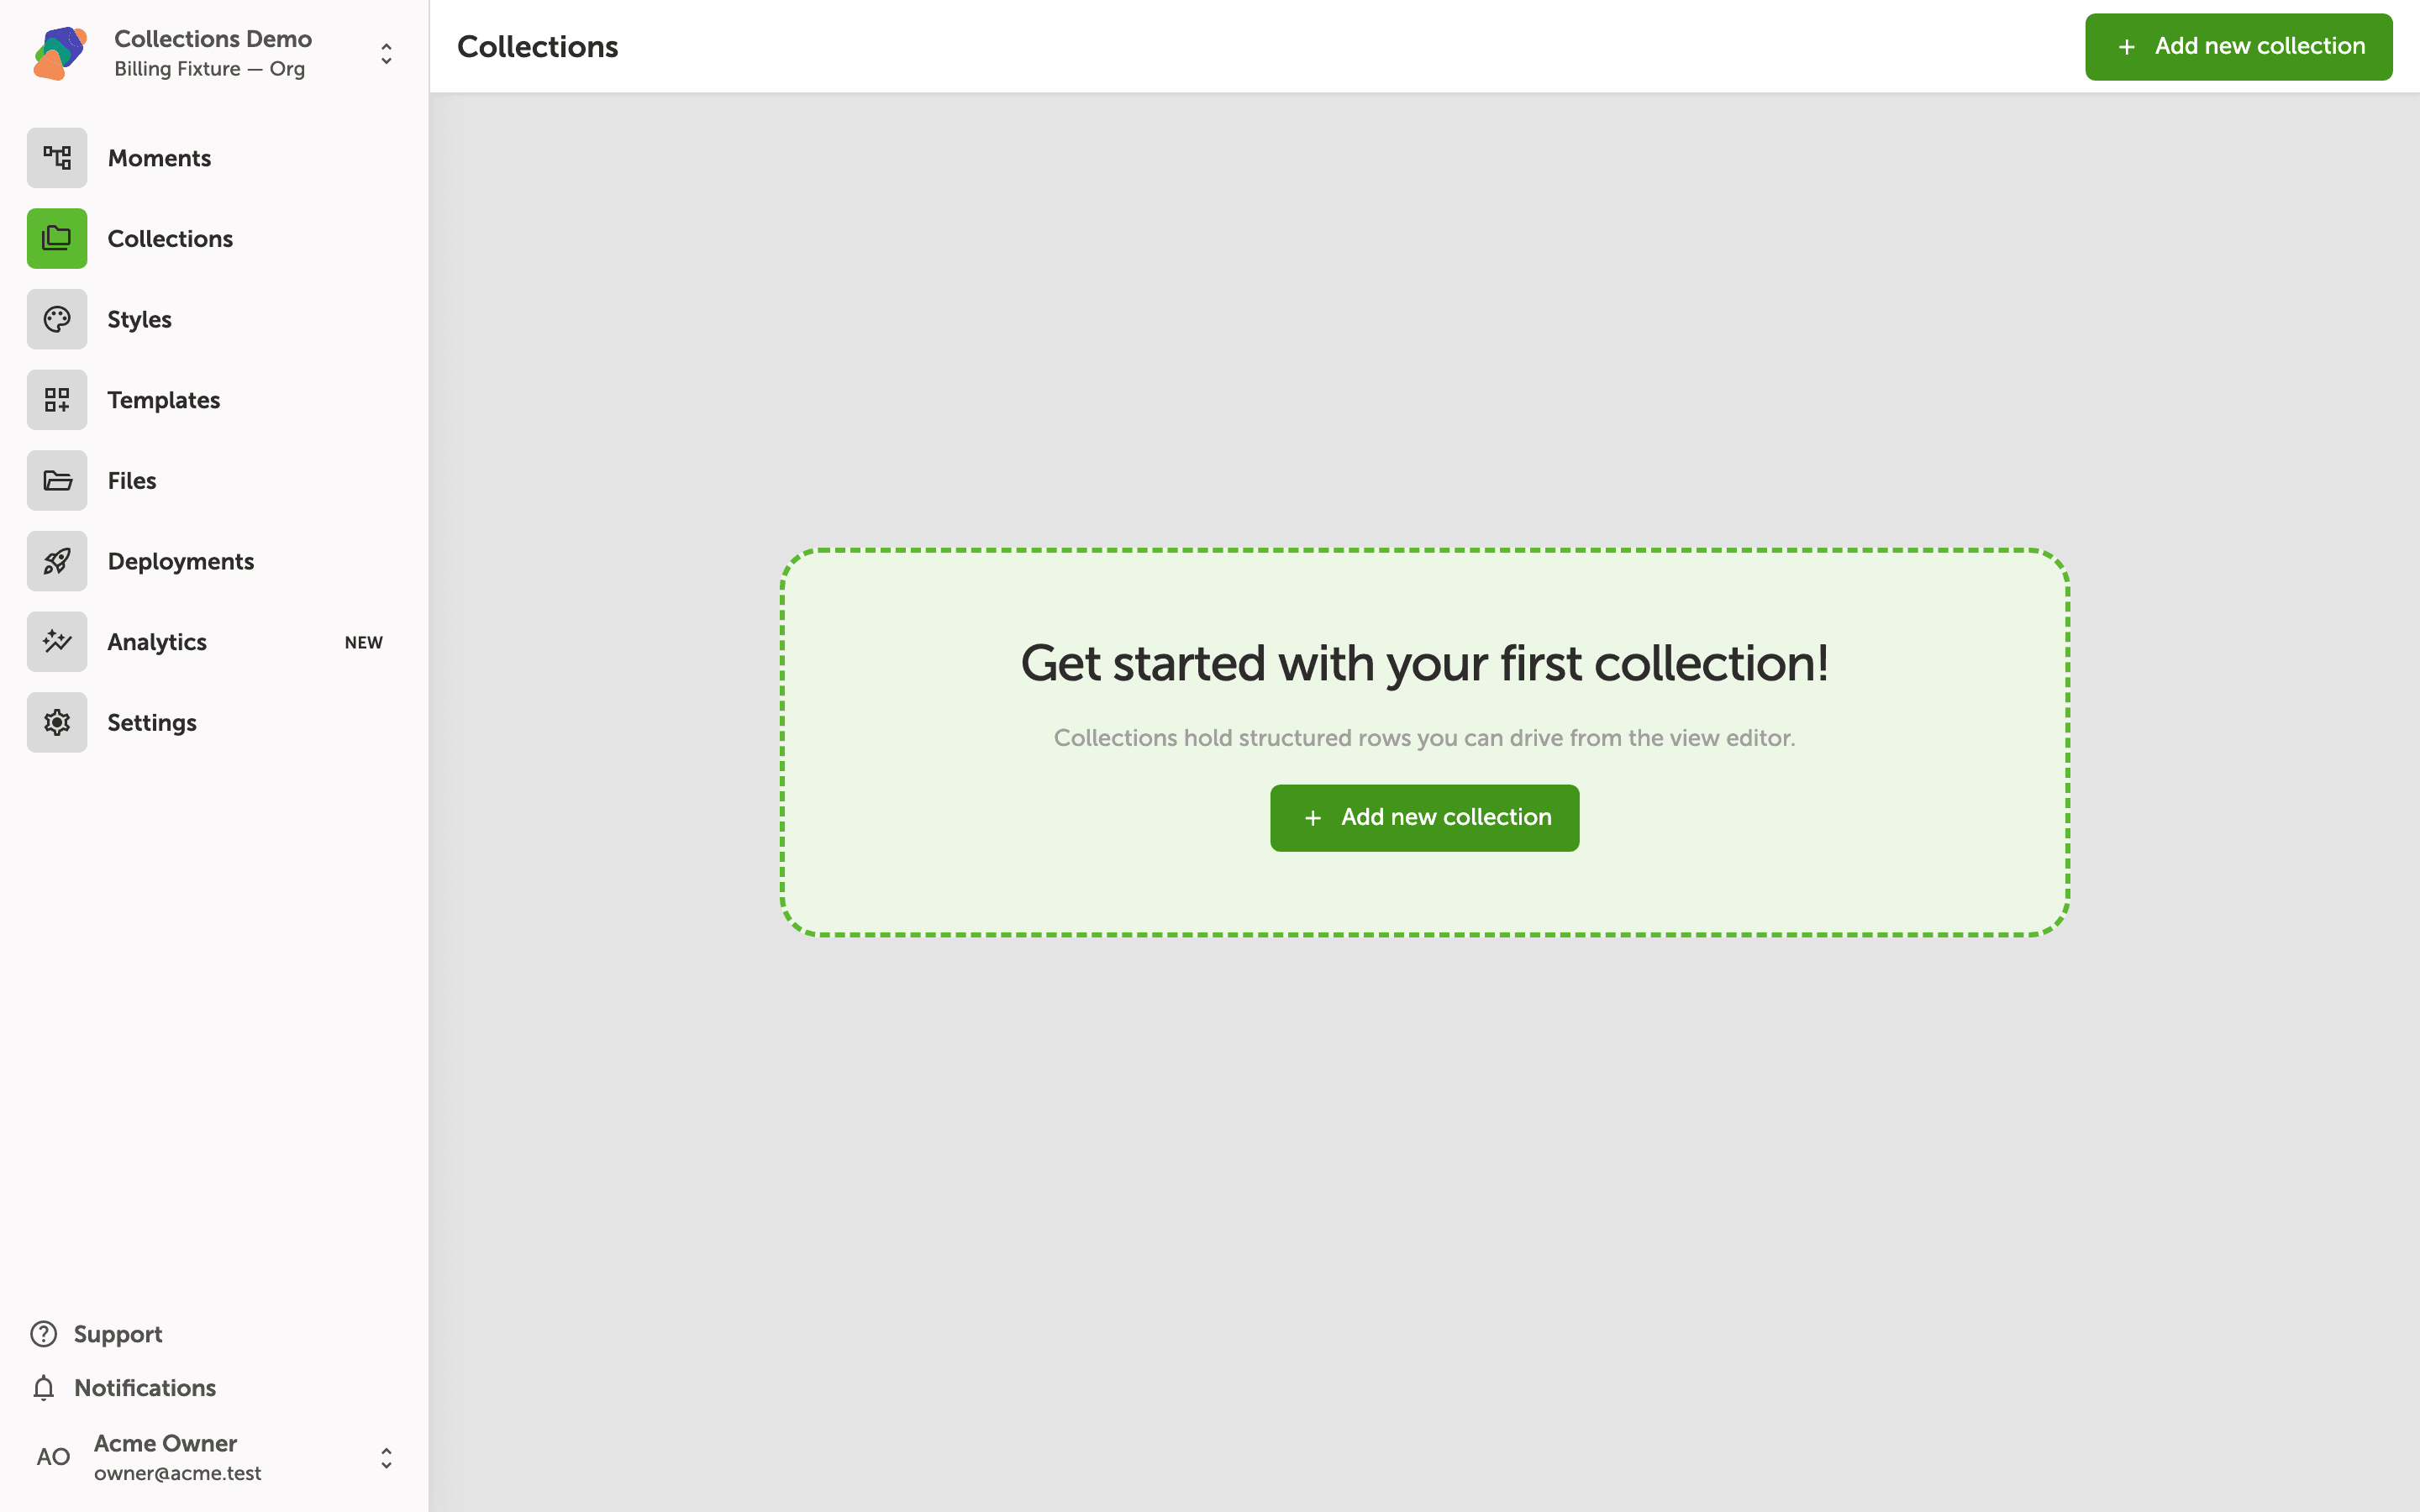
The Collections page for your project
The Collections section is where you store and manage reusable data sets linked to your project. Each collection holds structured rows that you can connect to views in your moments—useful for things like a rotating gallery of artifacts or a multi-stop tour.
Right now the project has no collections yet. Click "Add new collection" in the center of the screen or in the top-right corner to create your first one.
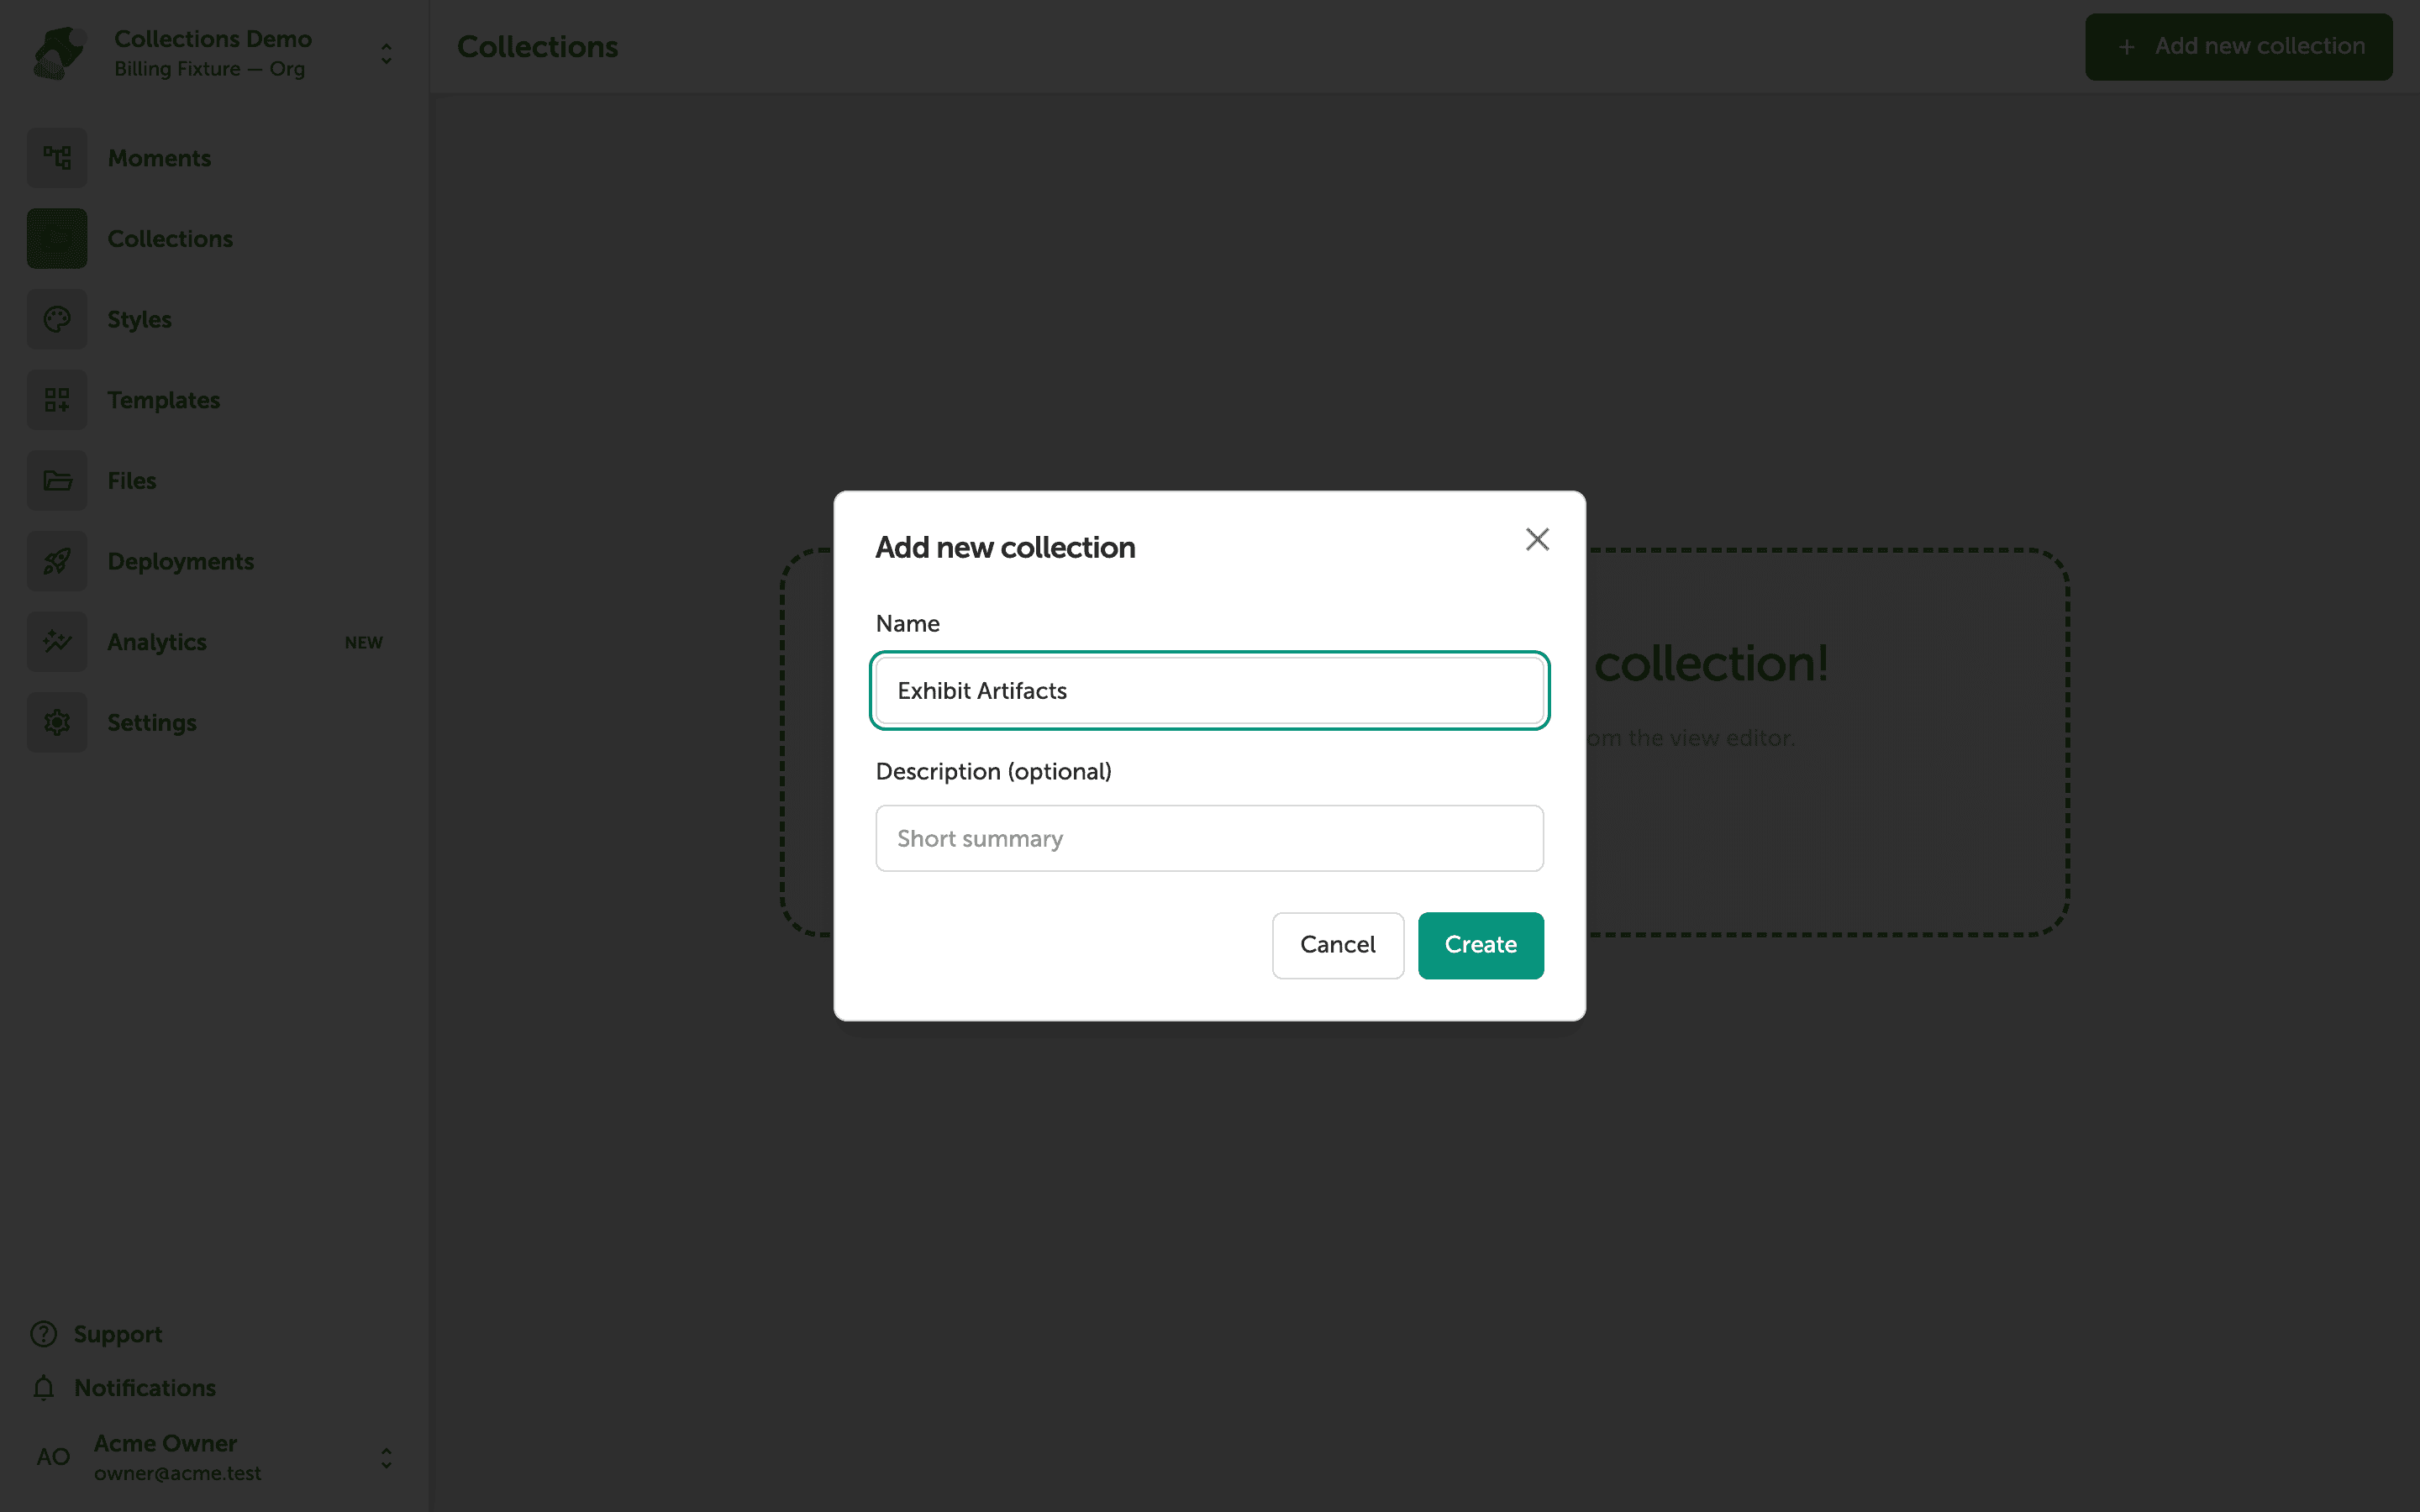
Naming your new collection in the dialog
The Add new collection dialog has two fields. Type a name into the Name field—this is the identifier you'll use when linking the collection to components in the view editor. The Description (optional) field accepts a short summary to help you and your collaborators remember what the collection contains.
Once the Name field is filled in, click Create to add the collection to your project. If you want to exit without saving, click Cancel or the Close icon in the top-right corner of the dialog.
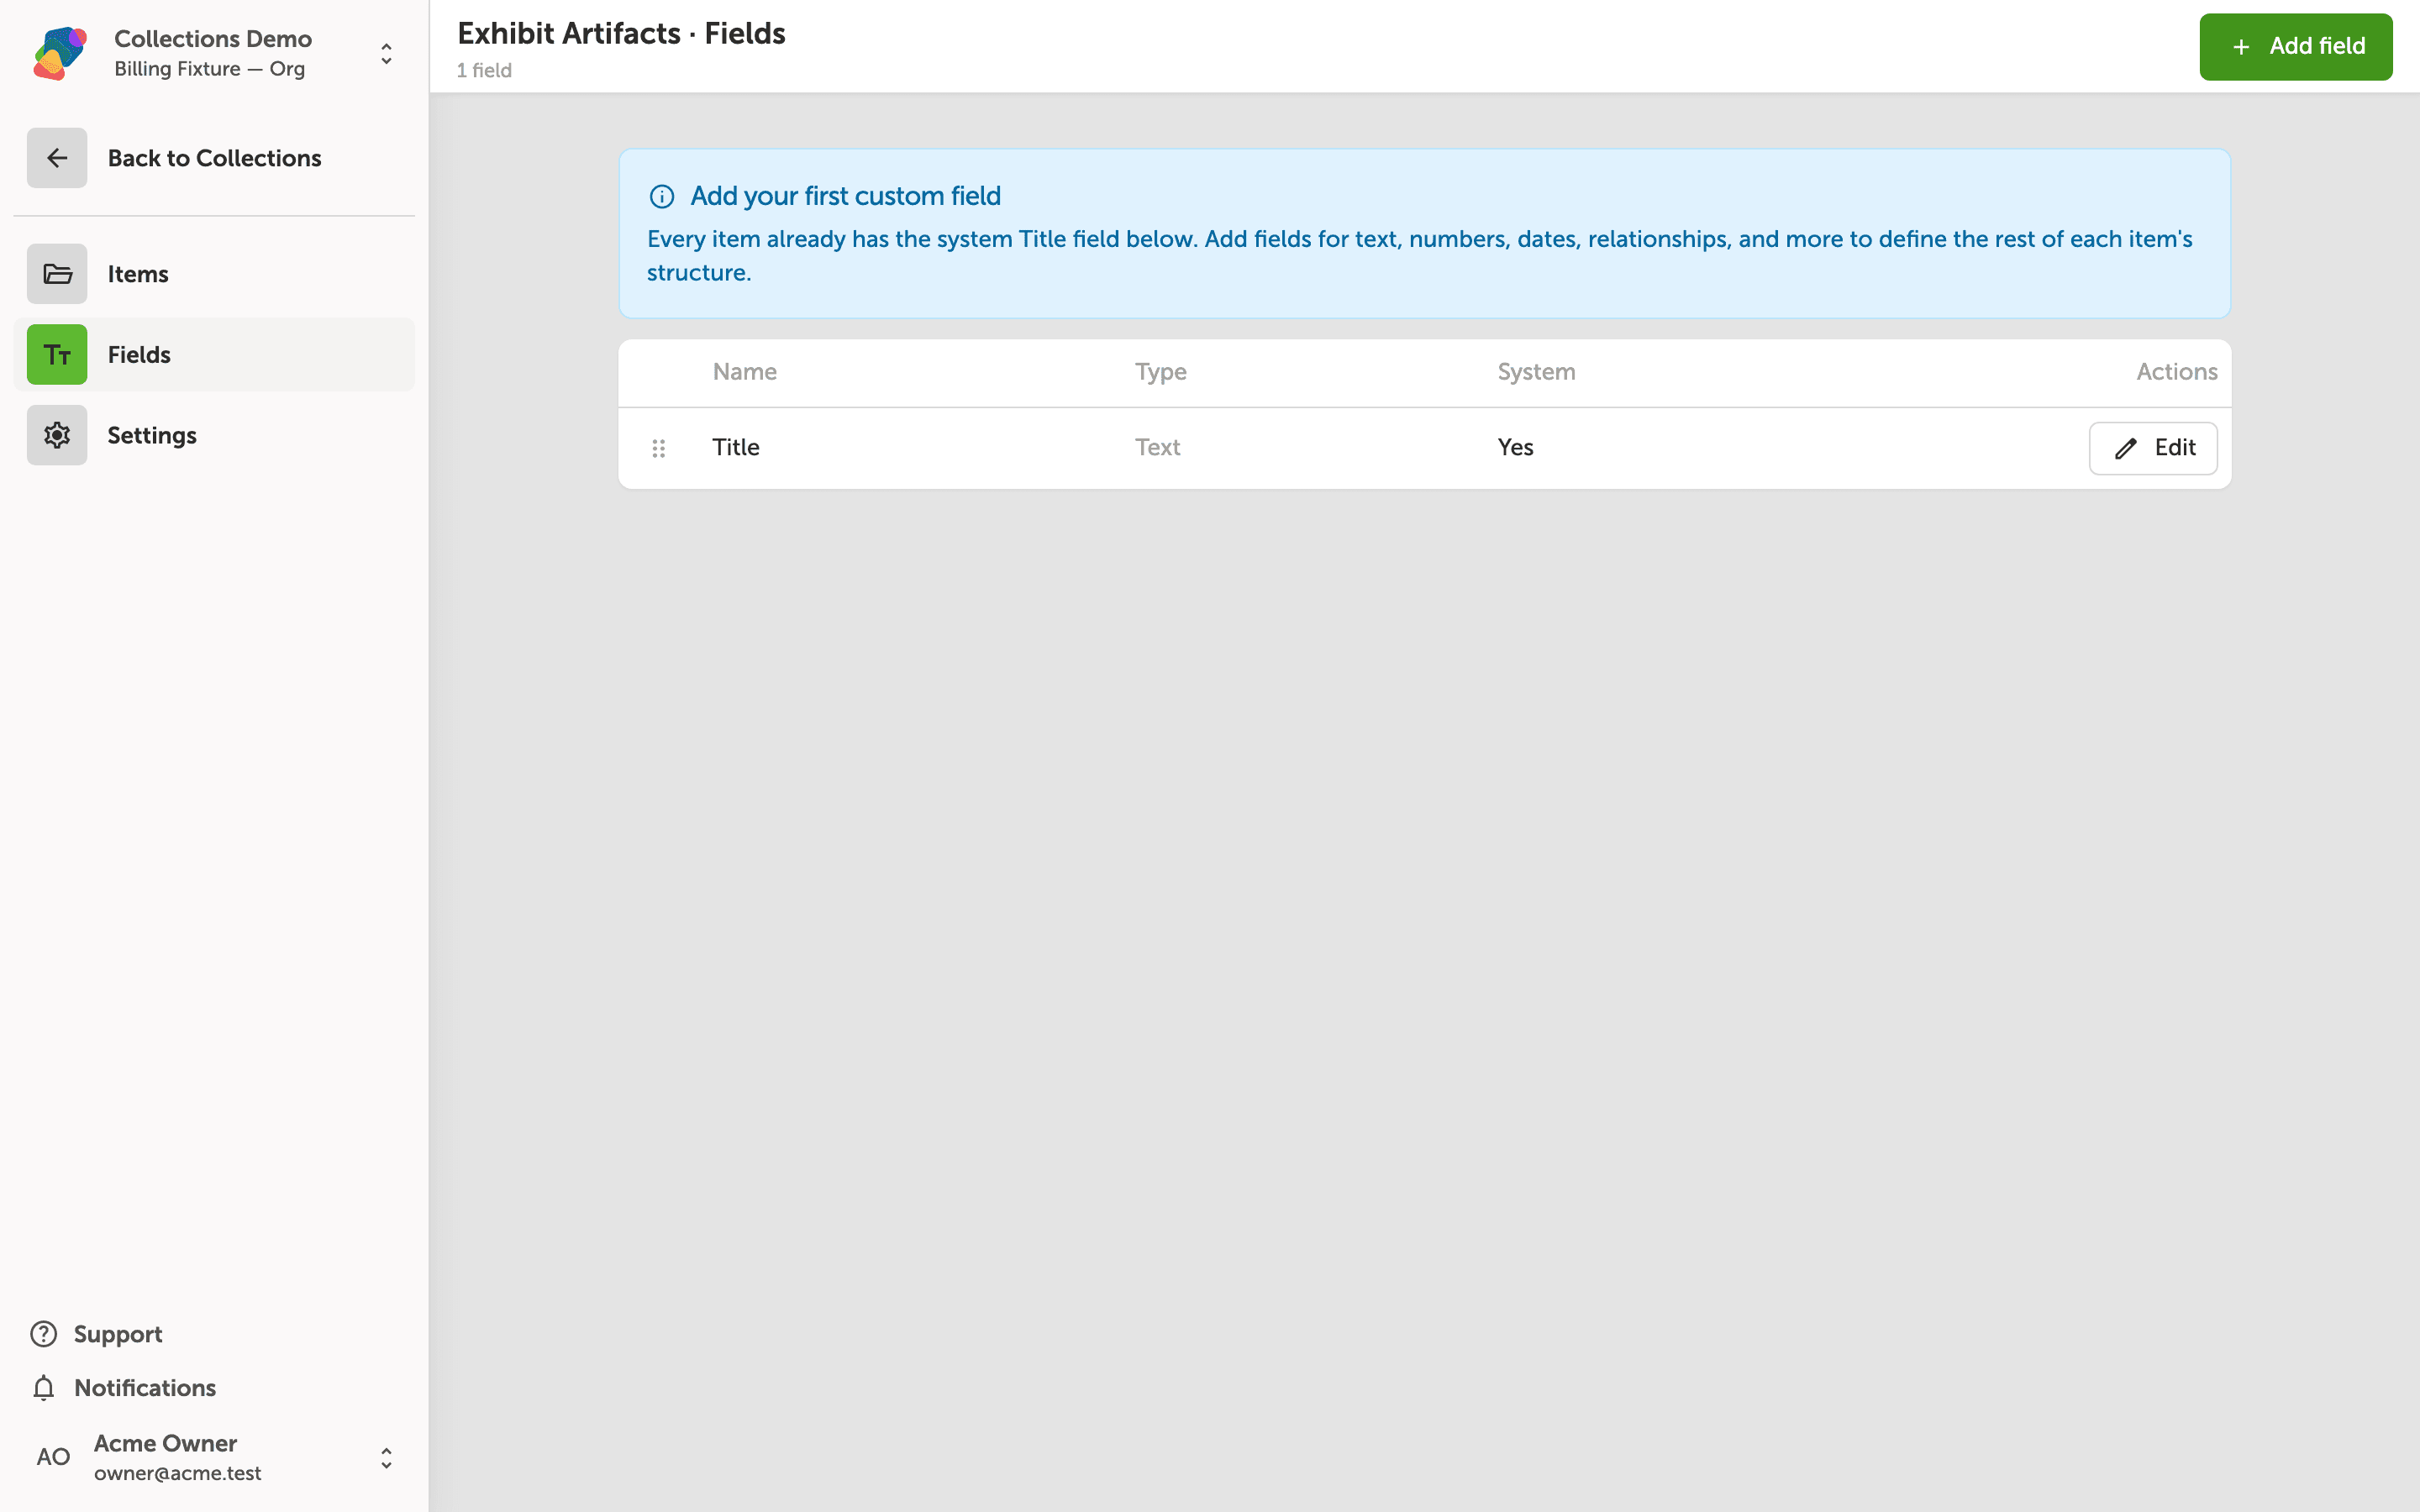
The Fields tab defines your collection's structure
The Fields tab is where you define what data each item in your collection holds. Fields can store text, numbers, dates, relationships, and more—they act as the columns of your collection.
Since this collection is new, the main area prompts you to add your first field. Click "Add field"—either the button in the center prompt or the one in the top-right corner—to begin building your collection's schema.
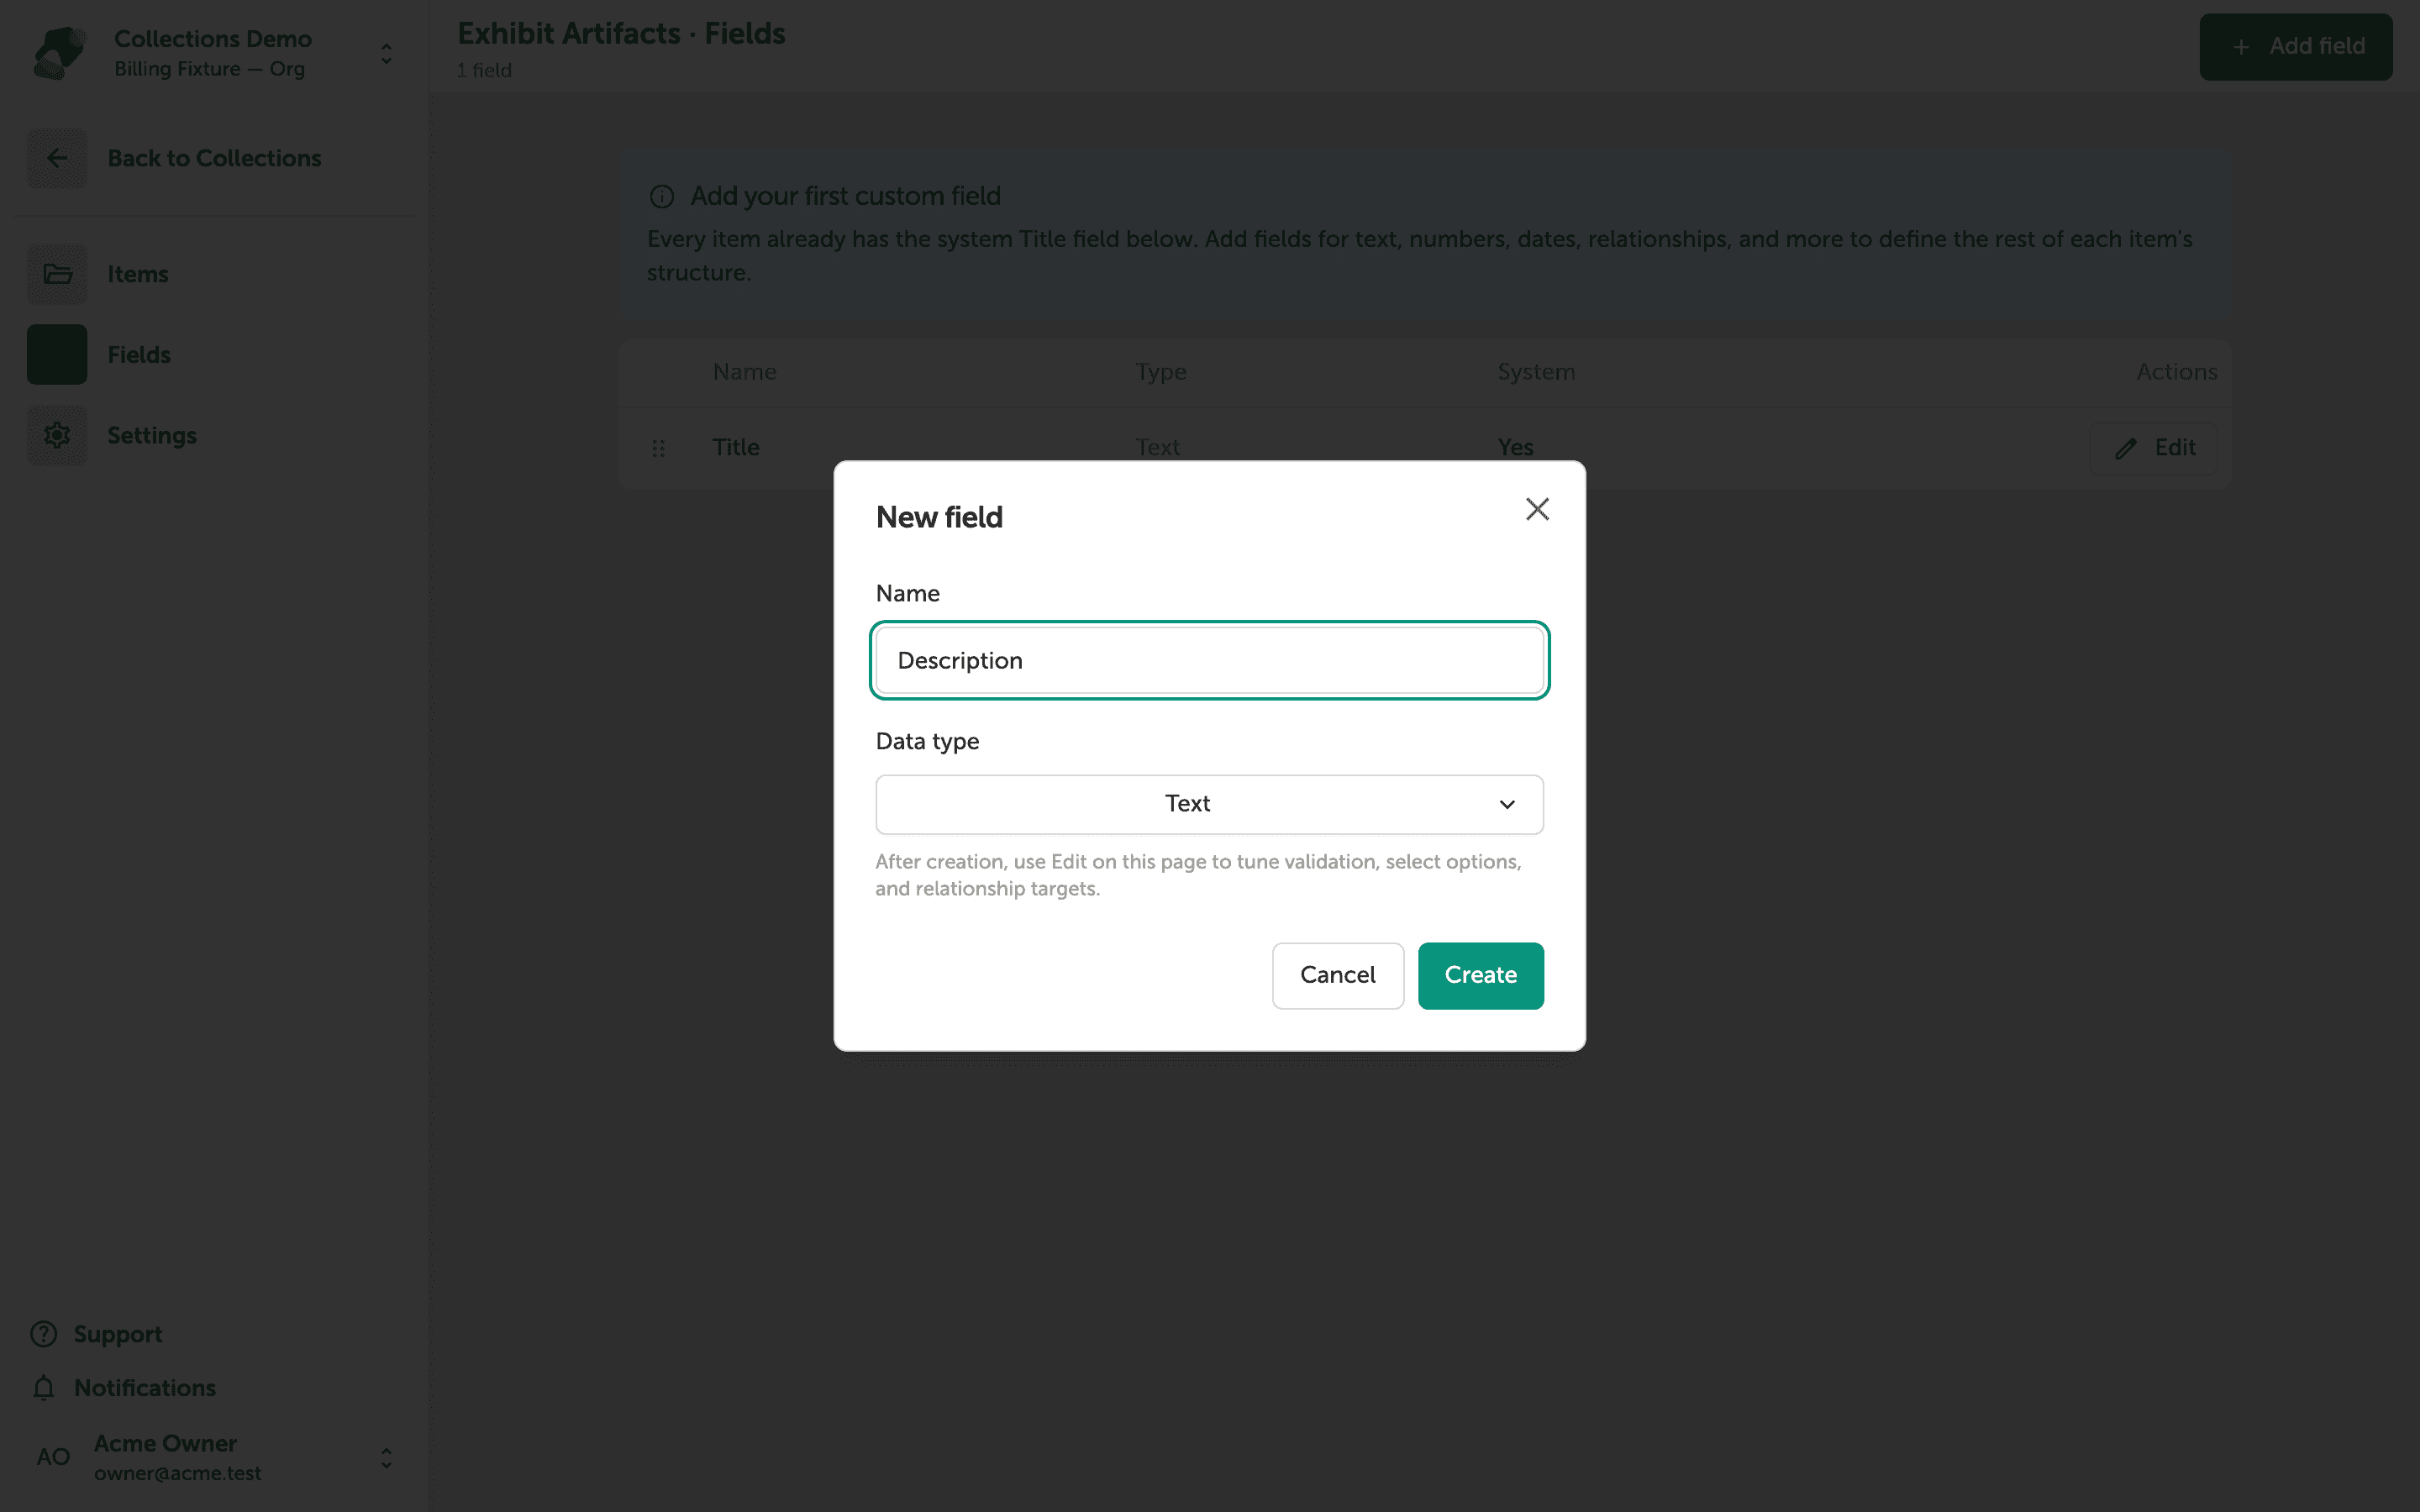
Naming and typing your new field in the dialog
The New field dialog asks for two things: a Name and a Data type. Type a name for the field—in this example, "Description"—then use the Data type dropdown to choose the kind of data it will hold. The dropdown is currently set to Text, which works for any short or long written content.
Once you're satisfied with both values, click Create to add the field to your collection's schema. The dialog note confirms that after creation you can use Edit to configure validation, options, and relationship targets.
Adding items to your collection
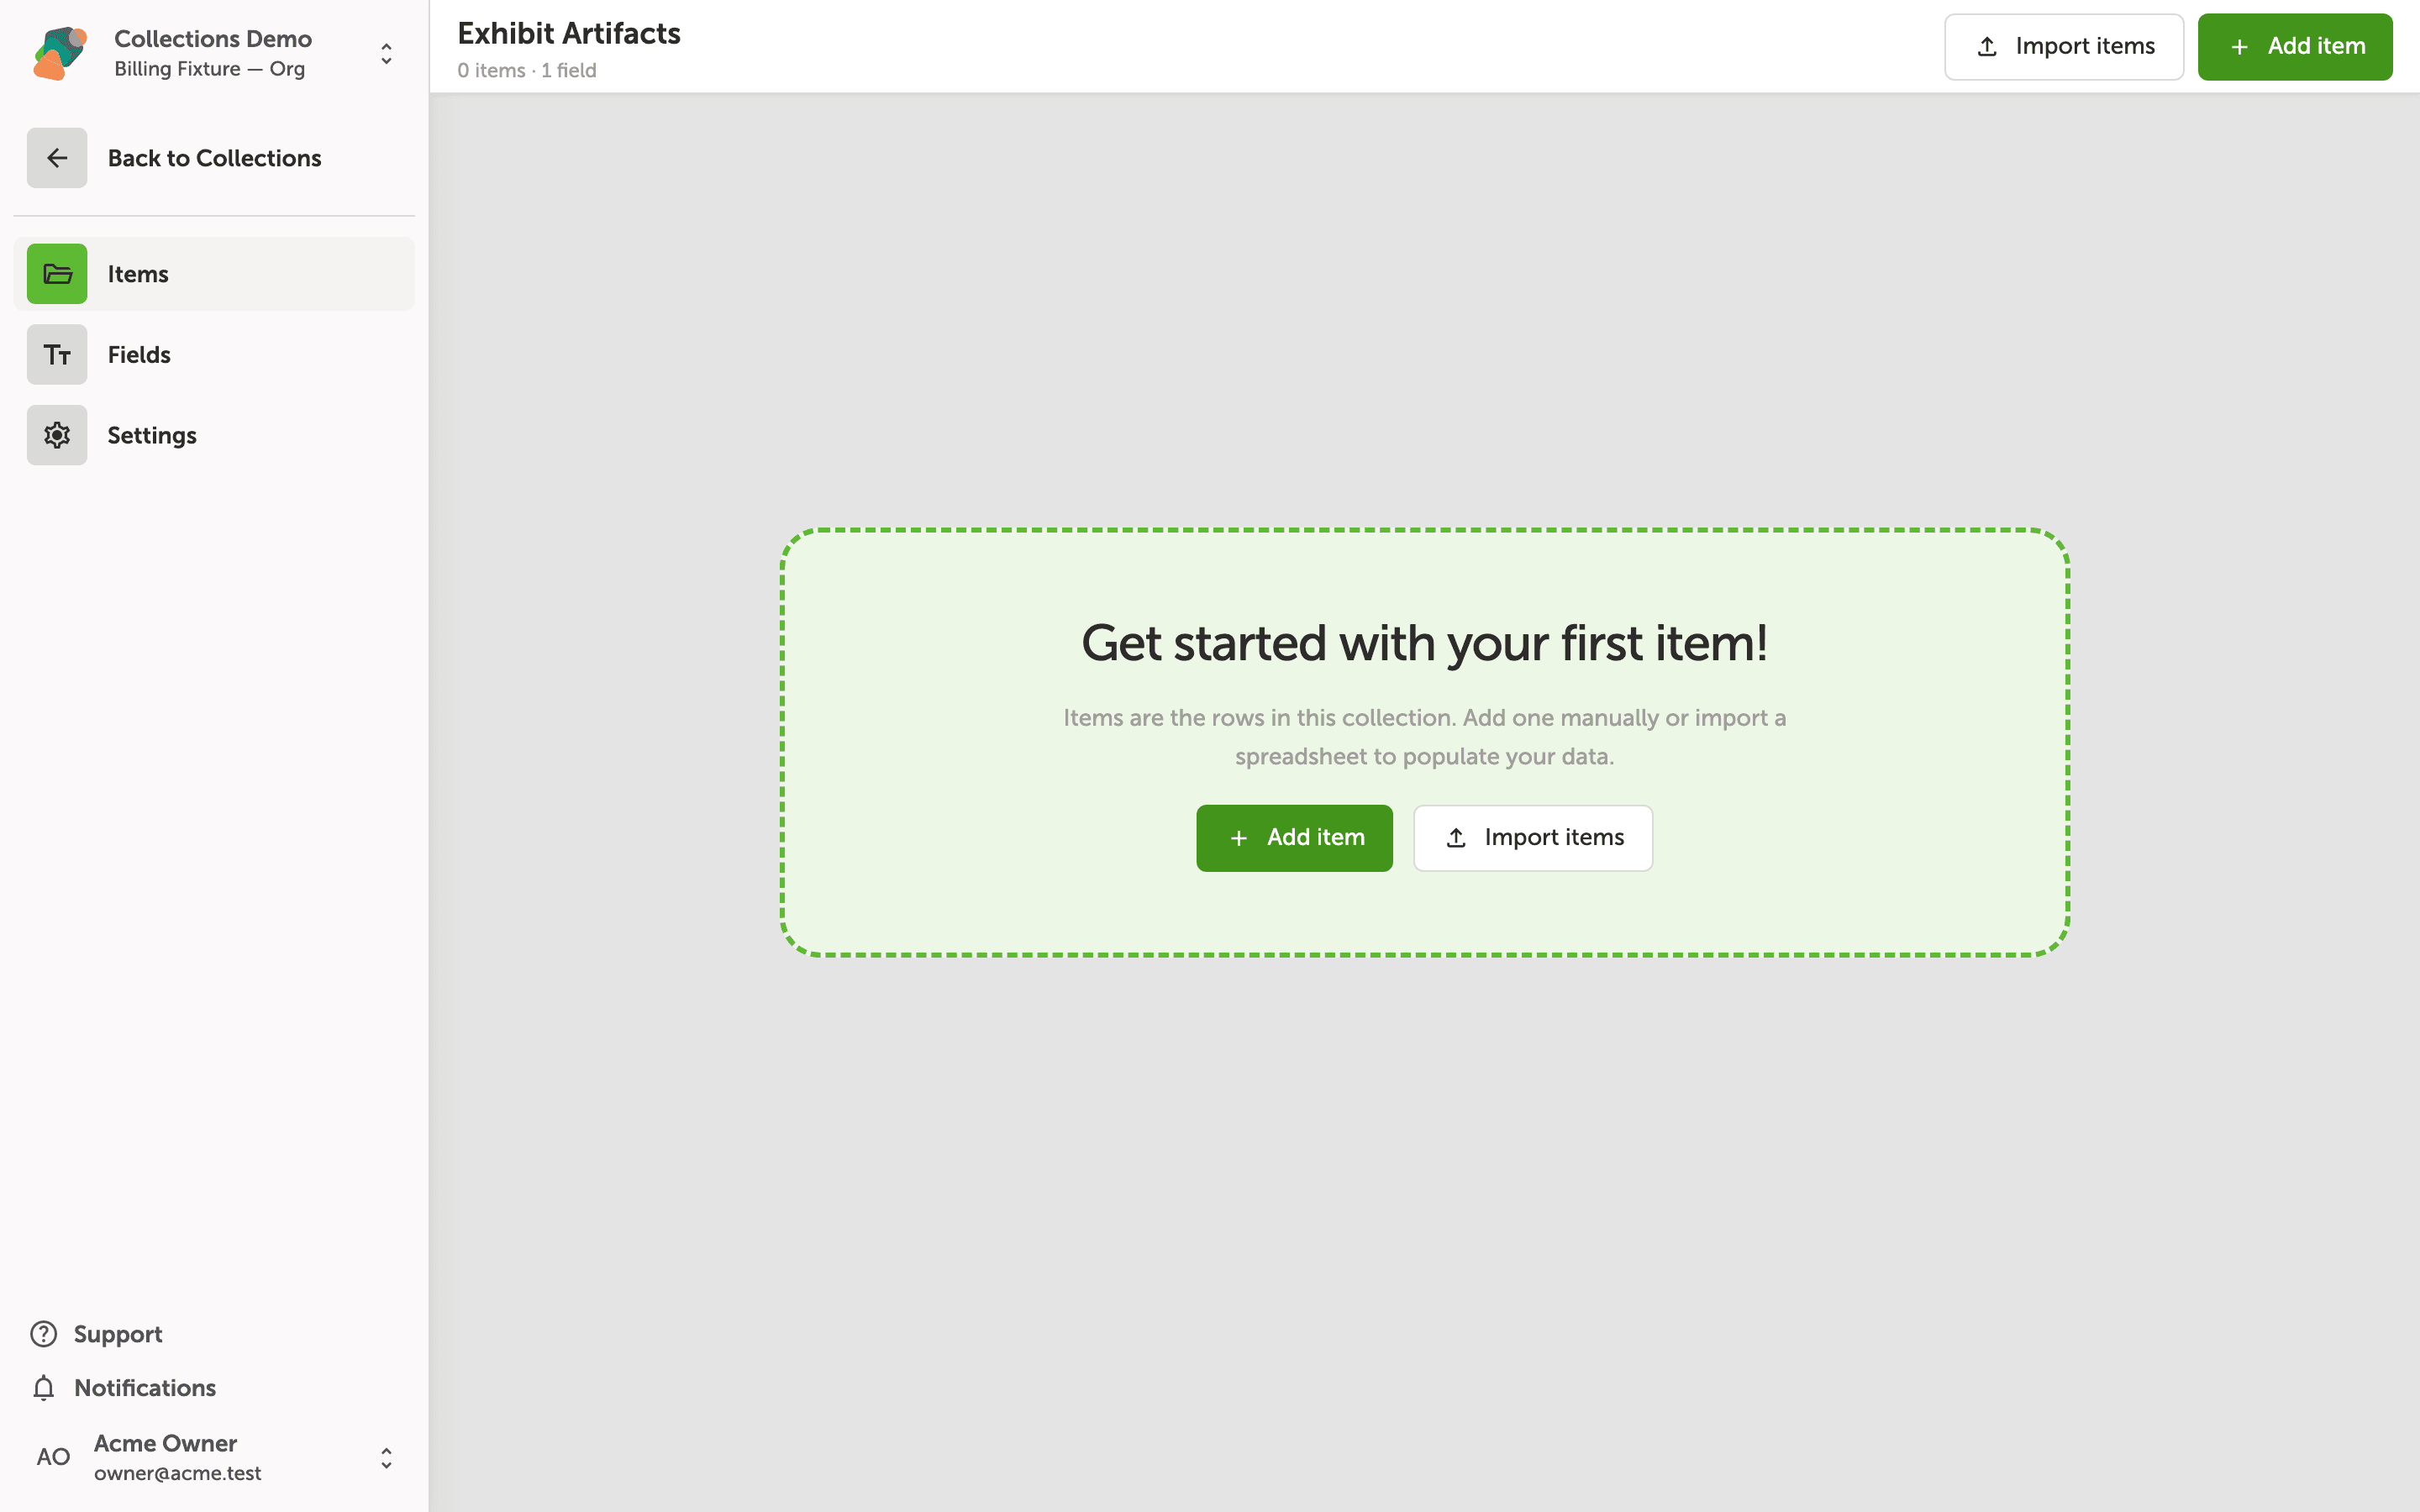
Your collection is ready, but it has no rows yet. Click "Add item" to enter a record manually, or click "Import items" to upload a spreadsheet and populate the collection all at once. Each row you add becomes one item—for example, a single artifact entry in a museum exhibit.
The left sidebar gives you quick access to Items, Fields, and Settings for this collection. You can switch between them at any time as you build out your data.
Let visitors add their own items
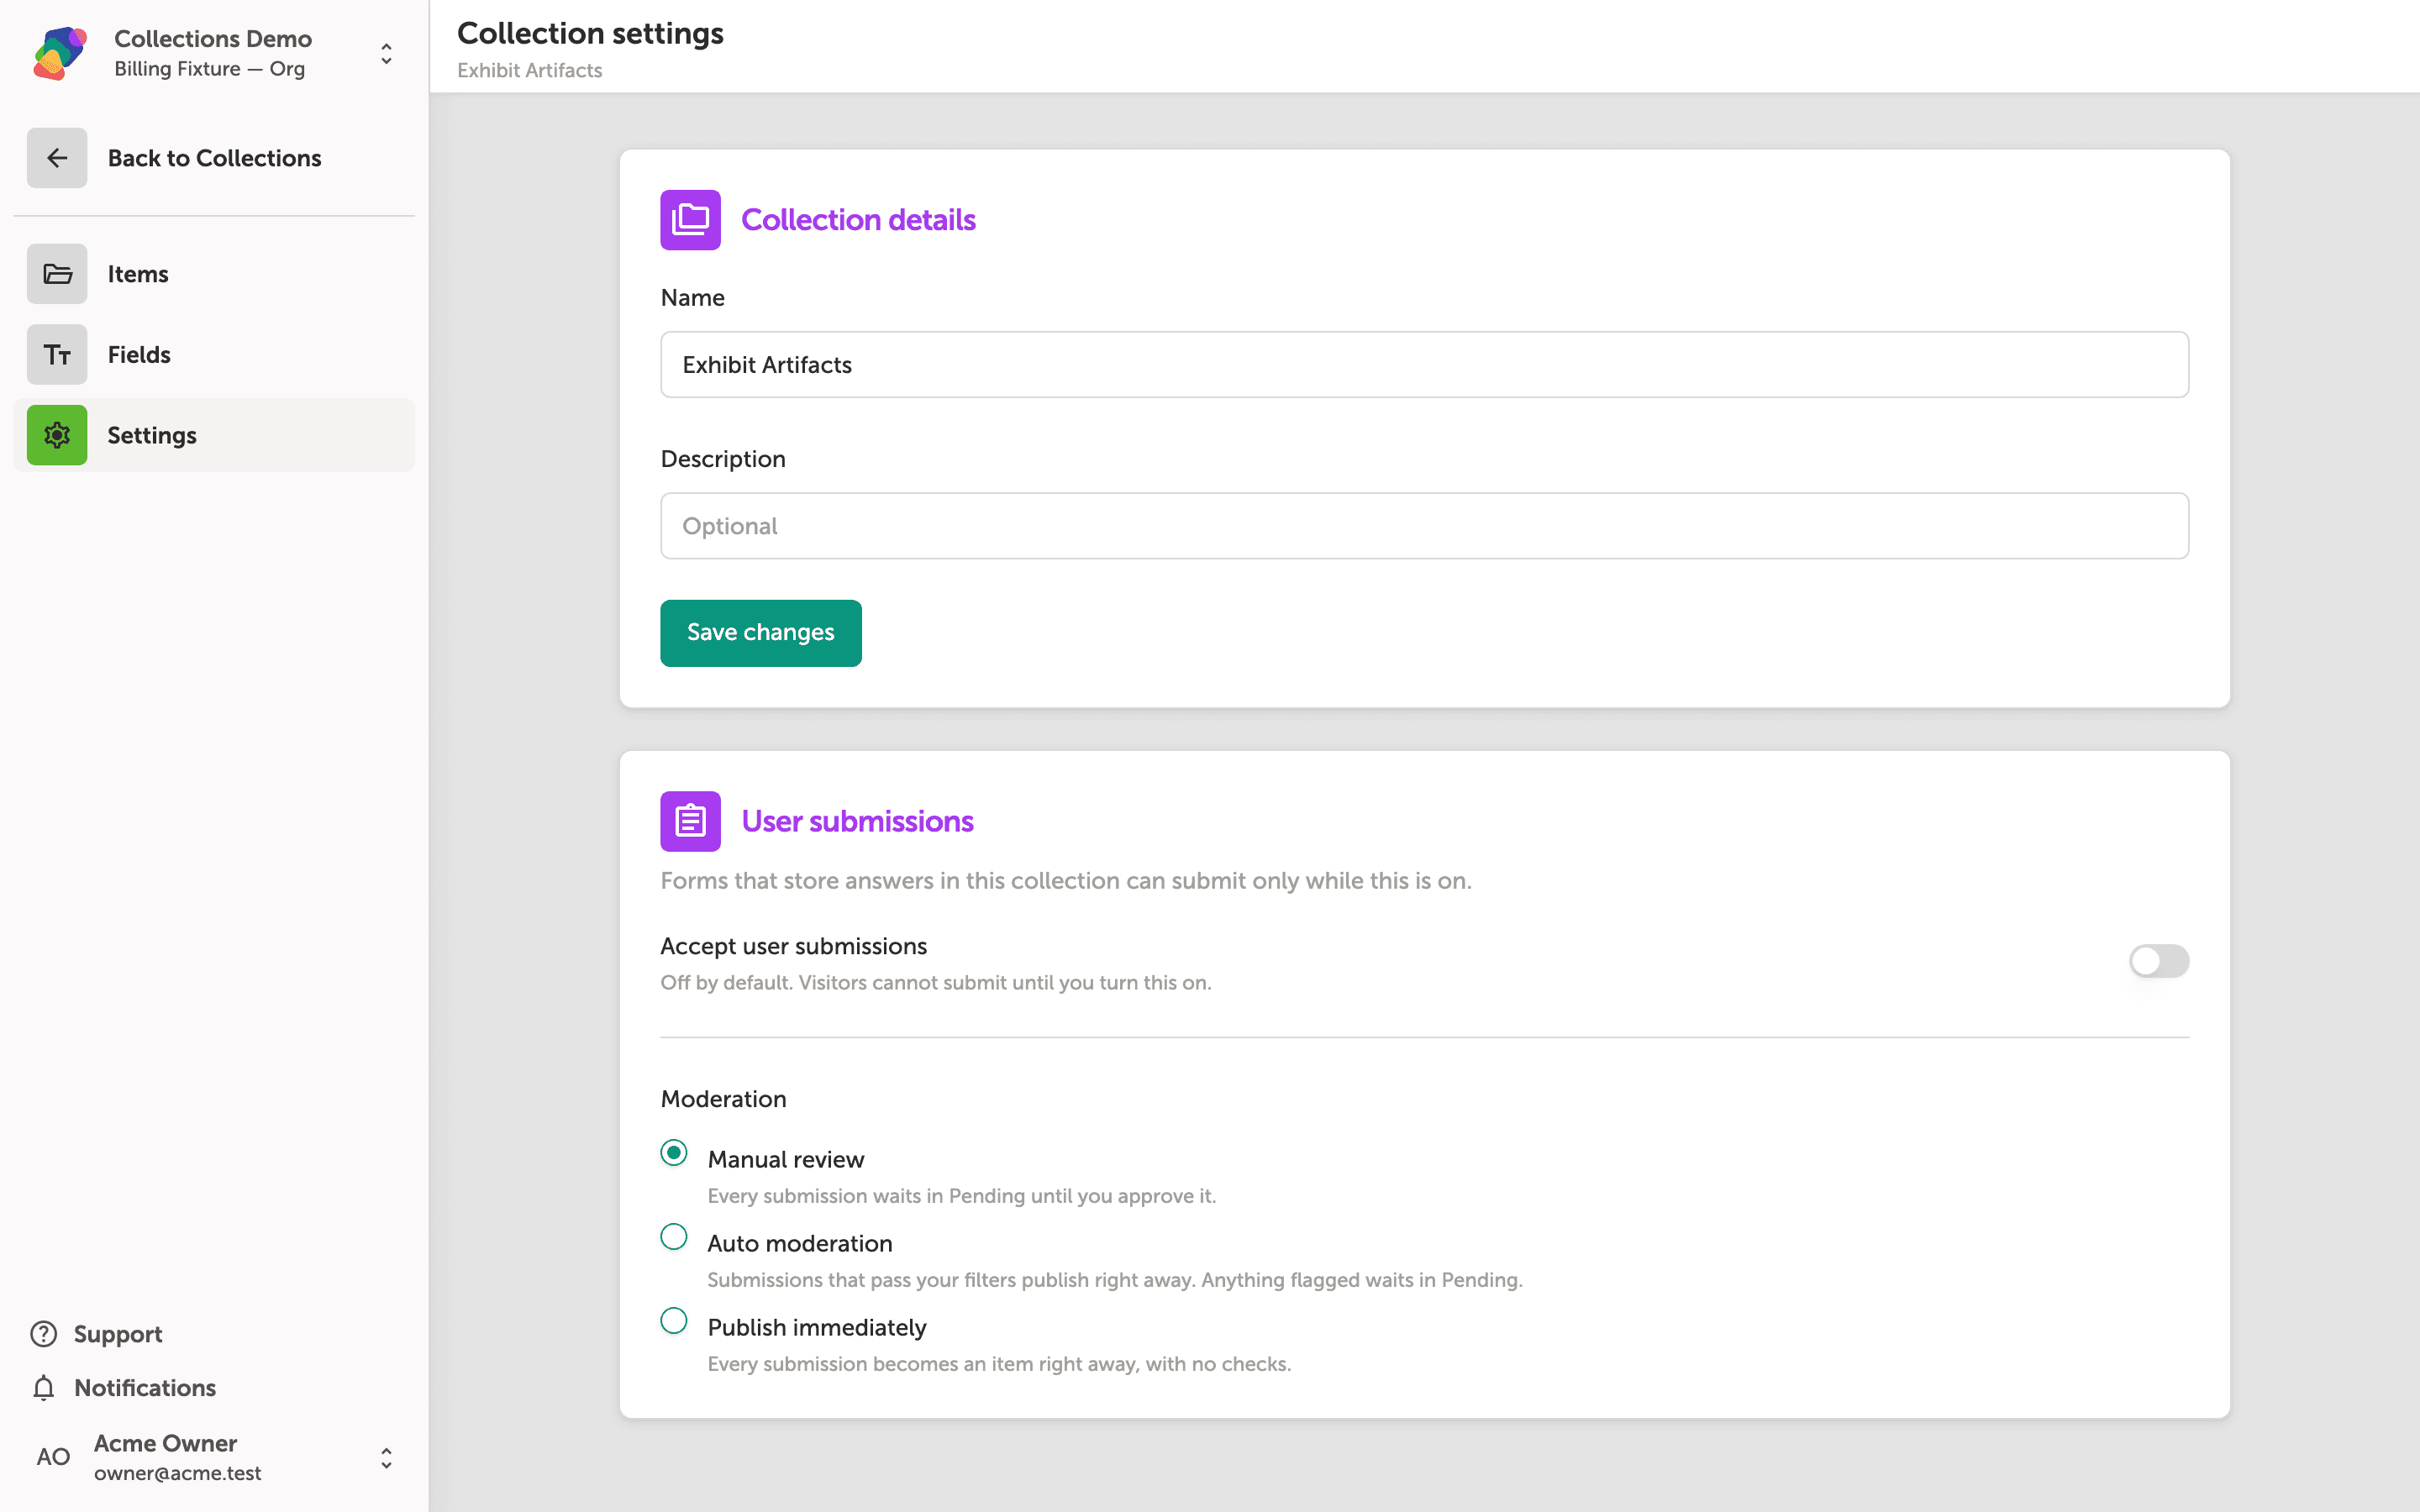
Open Settings for the collection. Under User submissions, Accept user submissions is off until you turn it on. While it is off, a form that targets this collection cannot save answers.
When you turn it on, Moderation chooses what happens next. Manual review holds every answer in Pending. Auto moderation publishes answers that pass your filters and holds the rest. Publish immediately adds every answer as an item with no review. Leave the switch off for a collection that only your team edits.
With your collection built and populated, you're ready to put that data to work inside your moments. From here you can connect collections to components, filter and sort records per view, and keep your content updated without touching the design itself.
- Build a form—collect visitor answers into this collection.
- Review visitor submissions—approve or reject what visitors send before it becomes an item.
- Bind a collection to a component—learn how to link a repeating component to your collection so each item renders automatically.
- Filter and sort collection data—control which records appear and in what order inside a specific view.
- Import data from a CSV—bring in large data sets quickly instead of adding items one by one.
- Update collection items—edit, reorder, or remove records as your content evolves.
- Share a collection across projects—reuse the same data set in multiple projects within your space.