
Configuring Additional Displays
This tutorial walks you through adding a second screen to an existing Zibit project. By the end, you'll know how to open Project settings, create another display, and edit that display's name, type, and orientation—the starting point for multi-screen sync.
Opening project settings from the sidebar
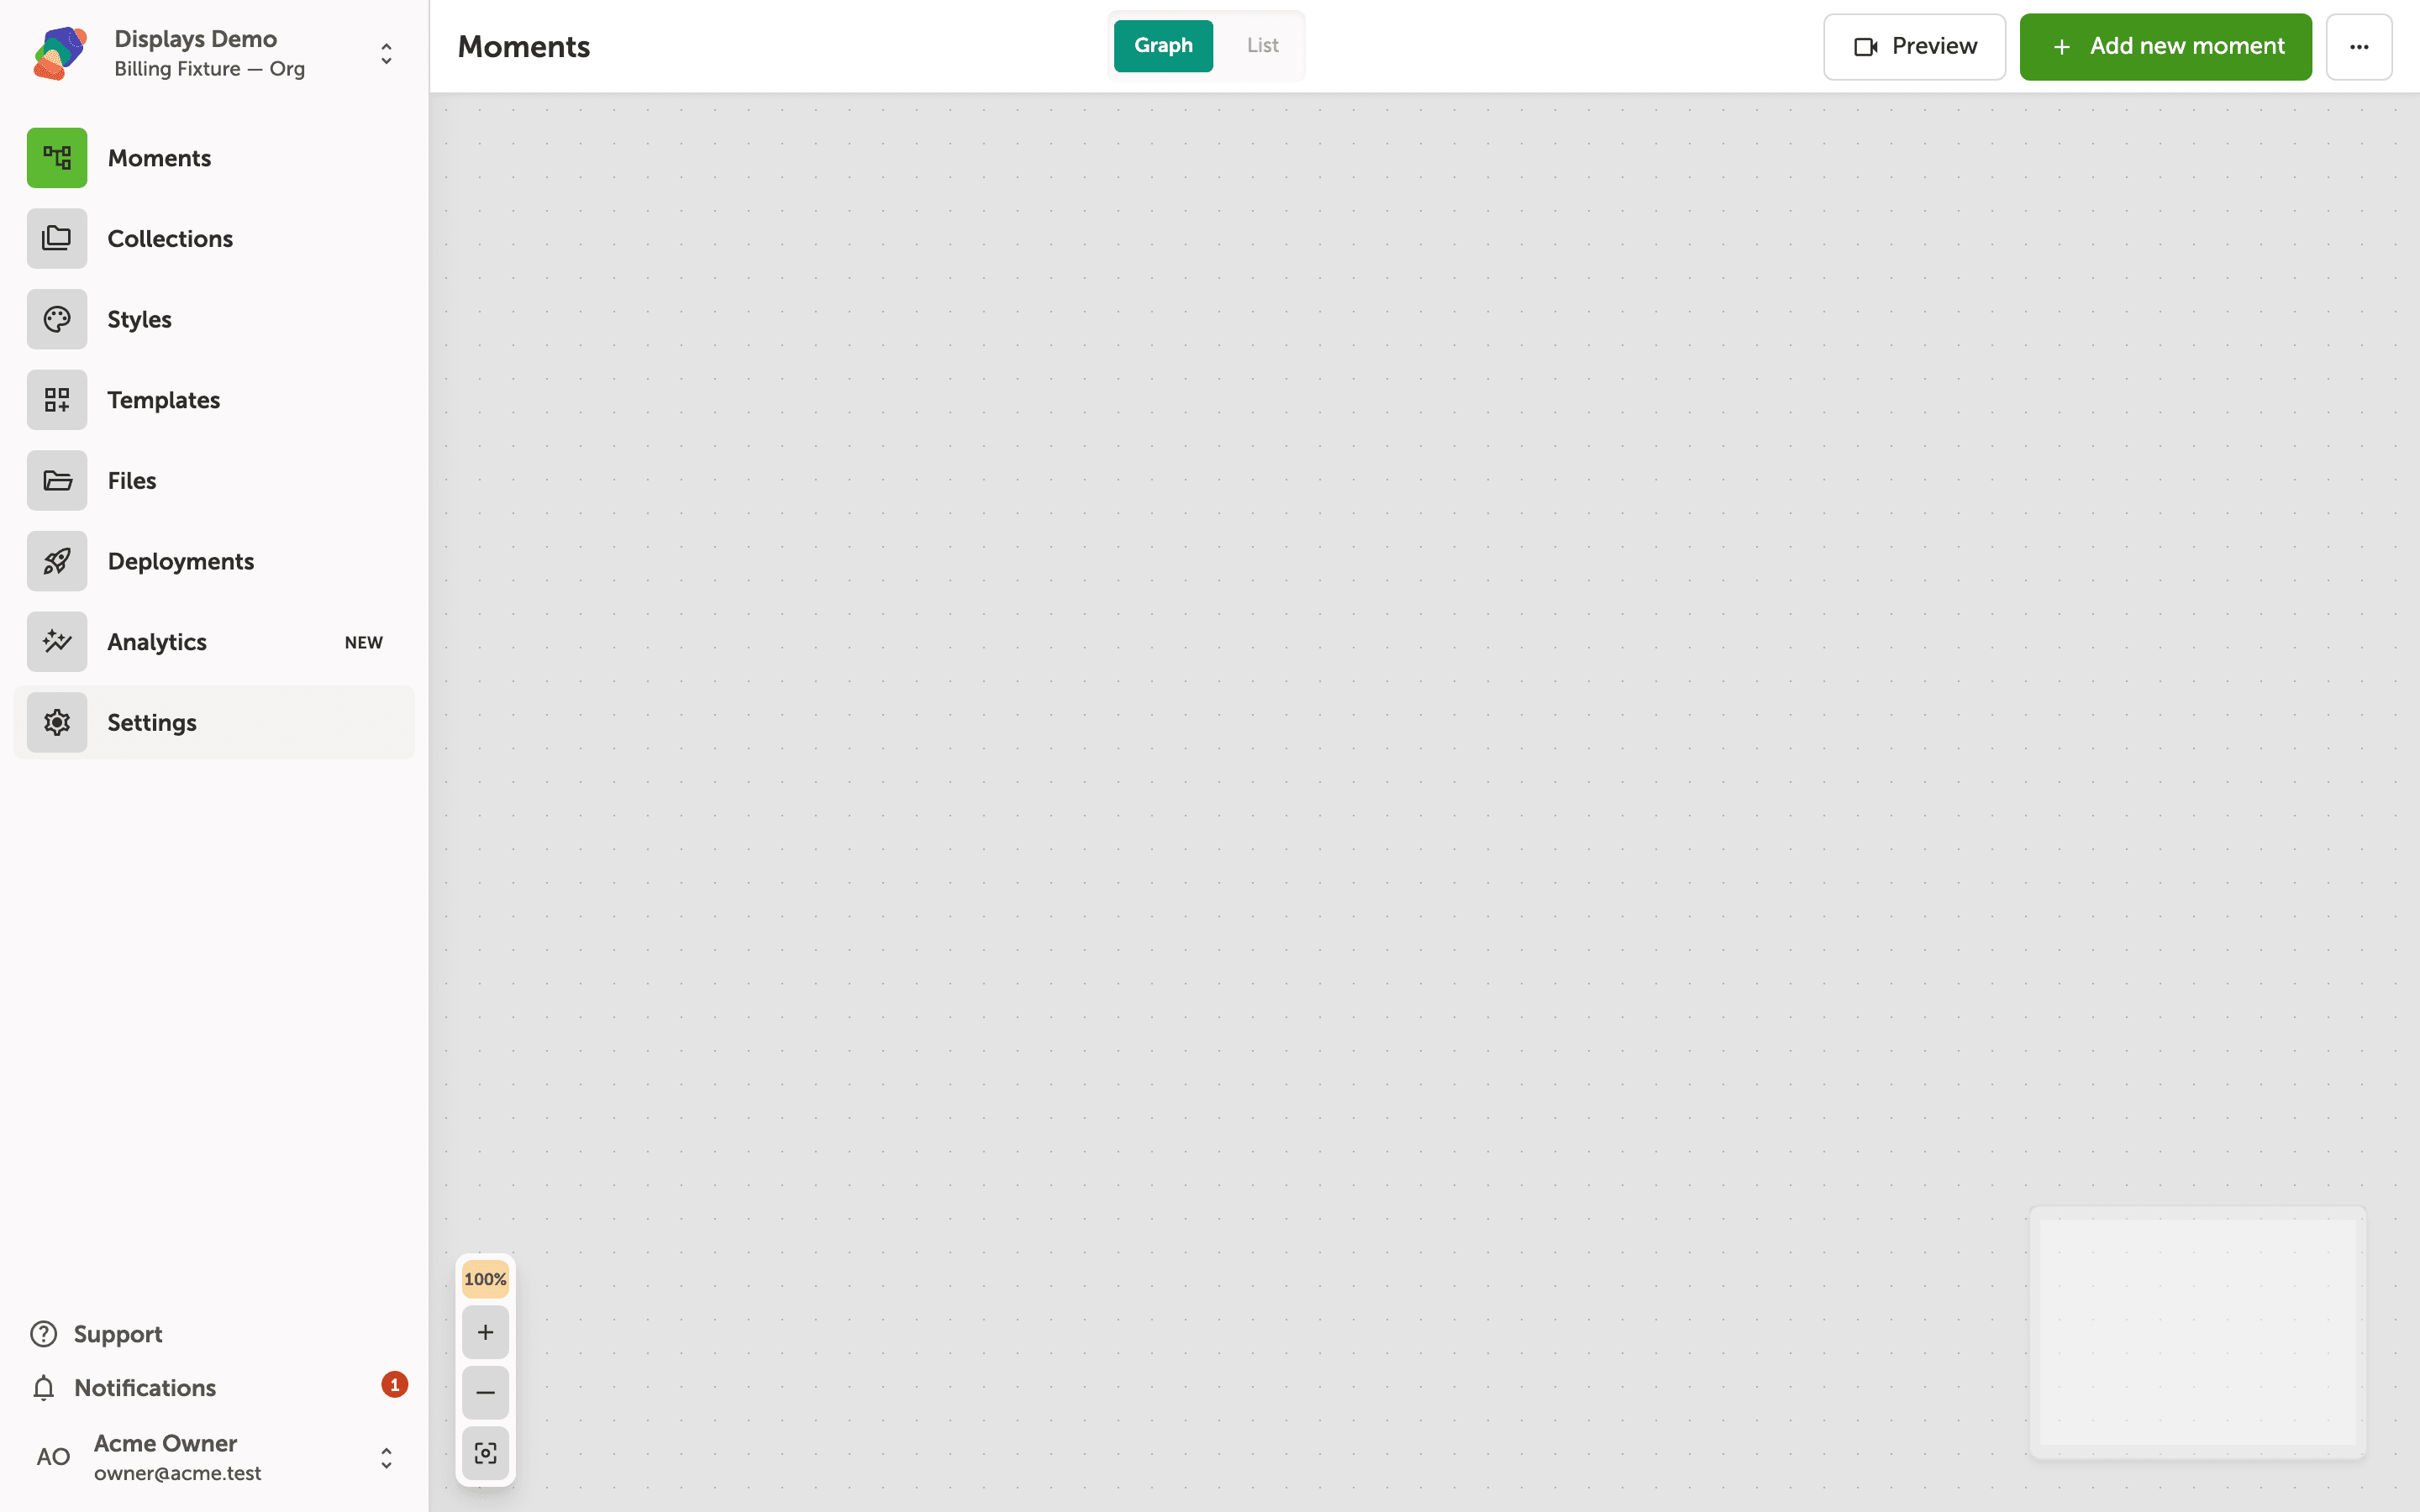
Inside the project, the left sidebar is your navigation between Moments, Collections, Styles, Templates, Deployments, Analytics, and Settings. Click Settings to open the Project settings page for this project.
You can also reach the same page from the My Projects card menu by choosing Edit settings—see Editing Project Settings if you prefer that path.
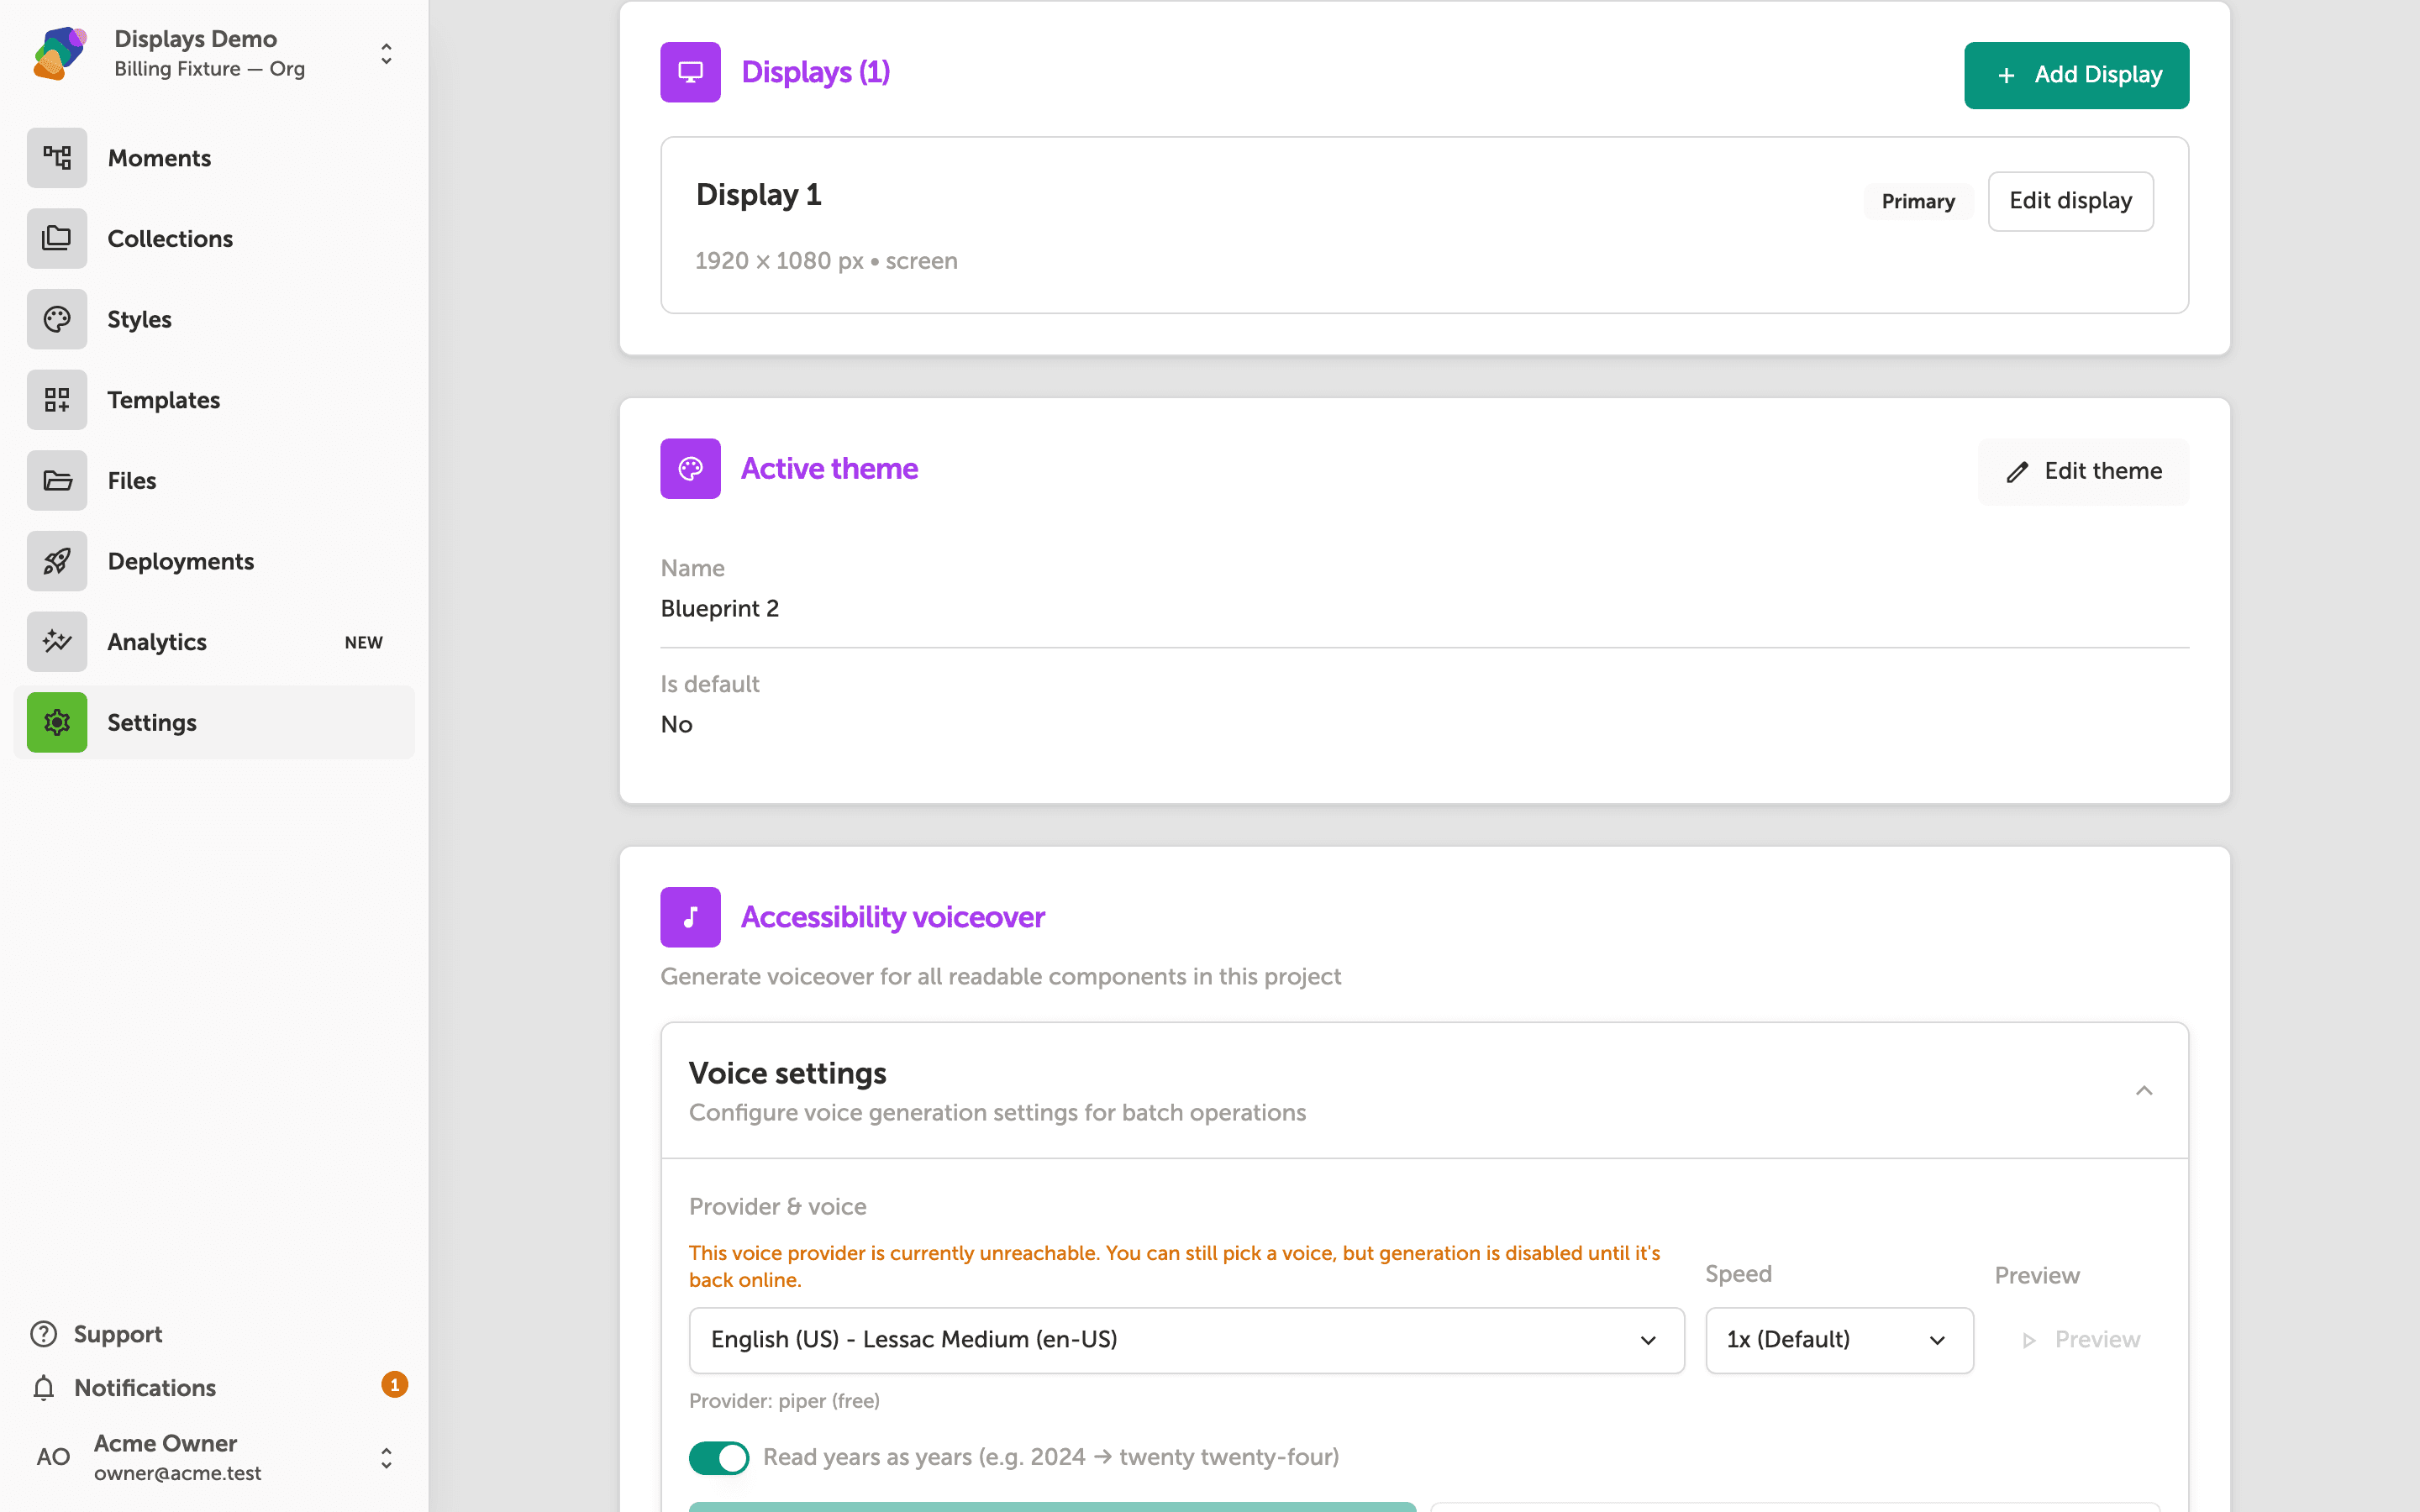
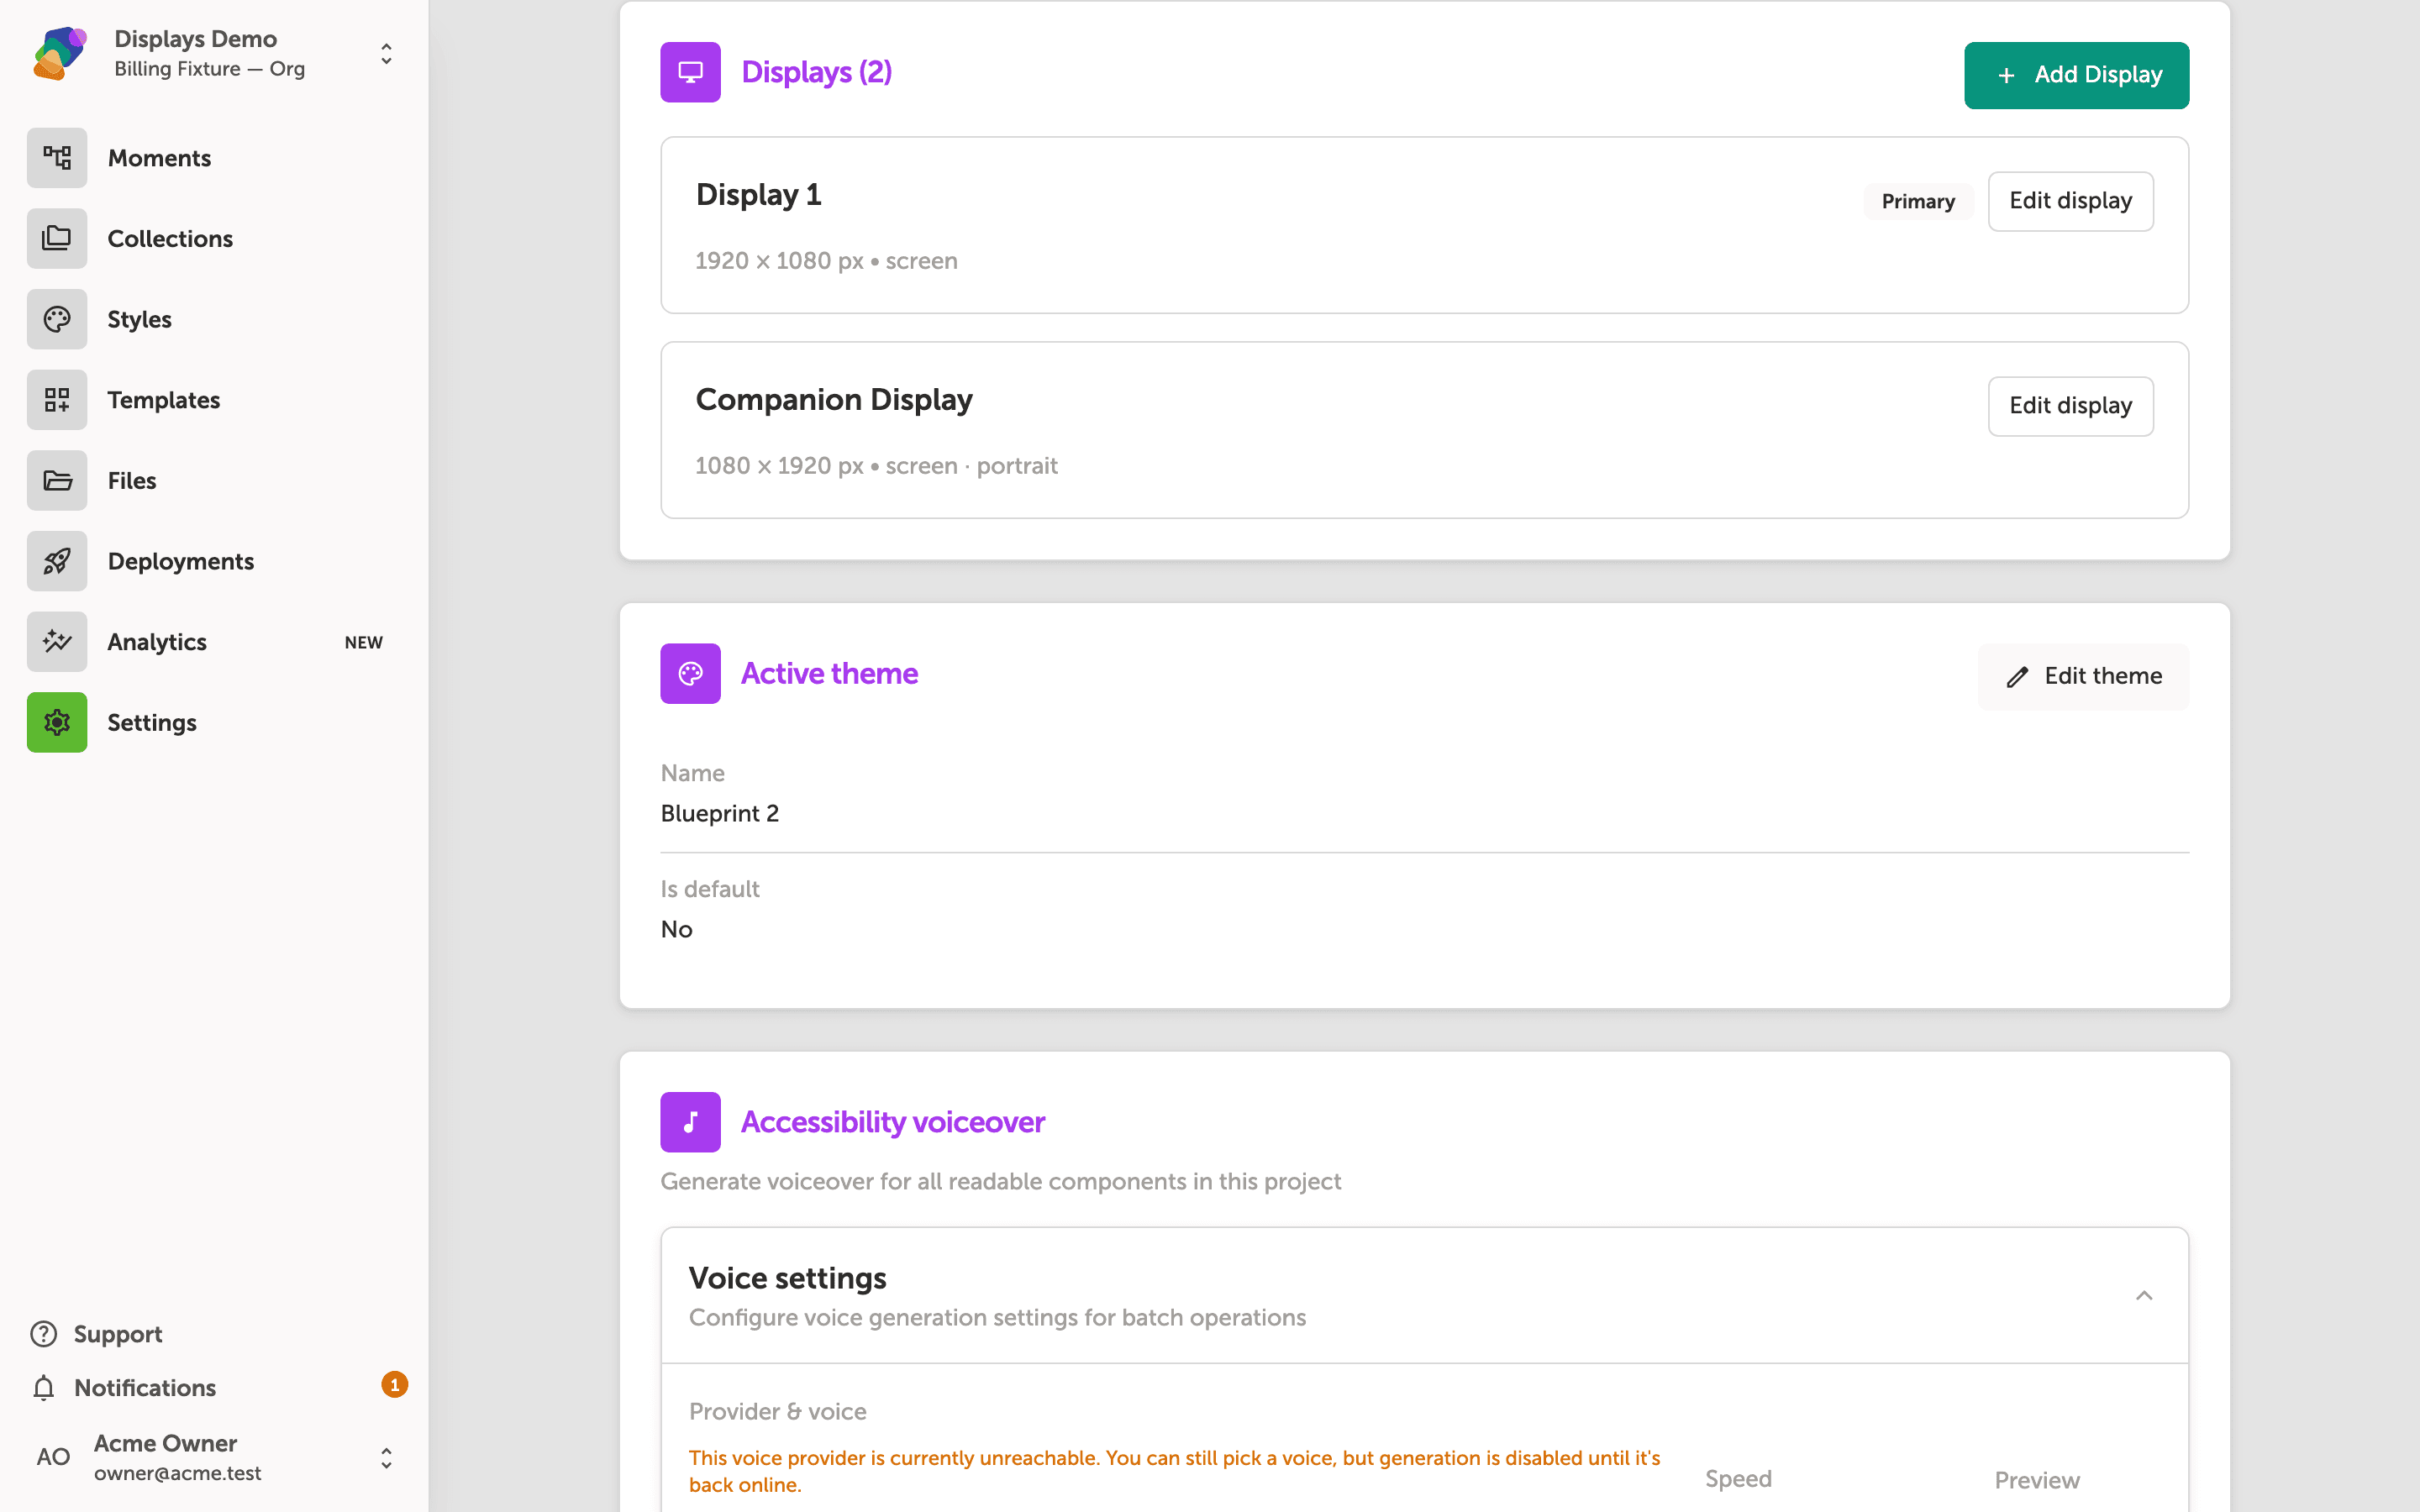
The Displays section lists every screen in the project
Scroll to the Displays section. Your project already has one display from when it was created. Here that screen is Library Display, described as the display for Template Library views, at 1920 × 1080, and marked Primary. The card also shows device type and an Edit display button.
Click Add Display to configure a second screen. Each display is a target screen in the project, with its own resolution and role. It is not the same as a player installation on a physical device; the player maps published views onto the displays you define here.
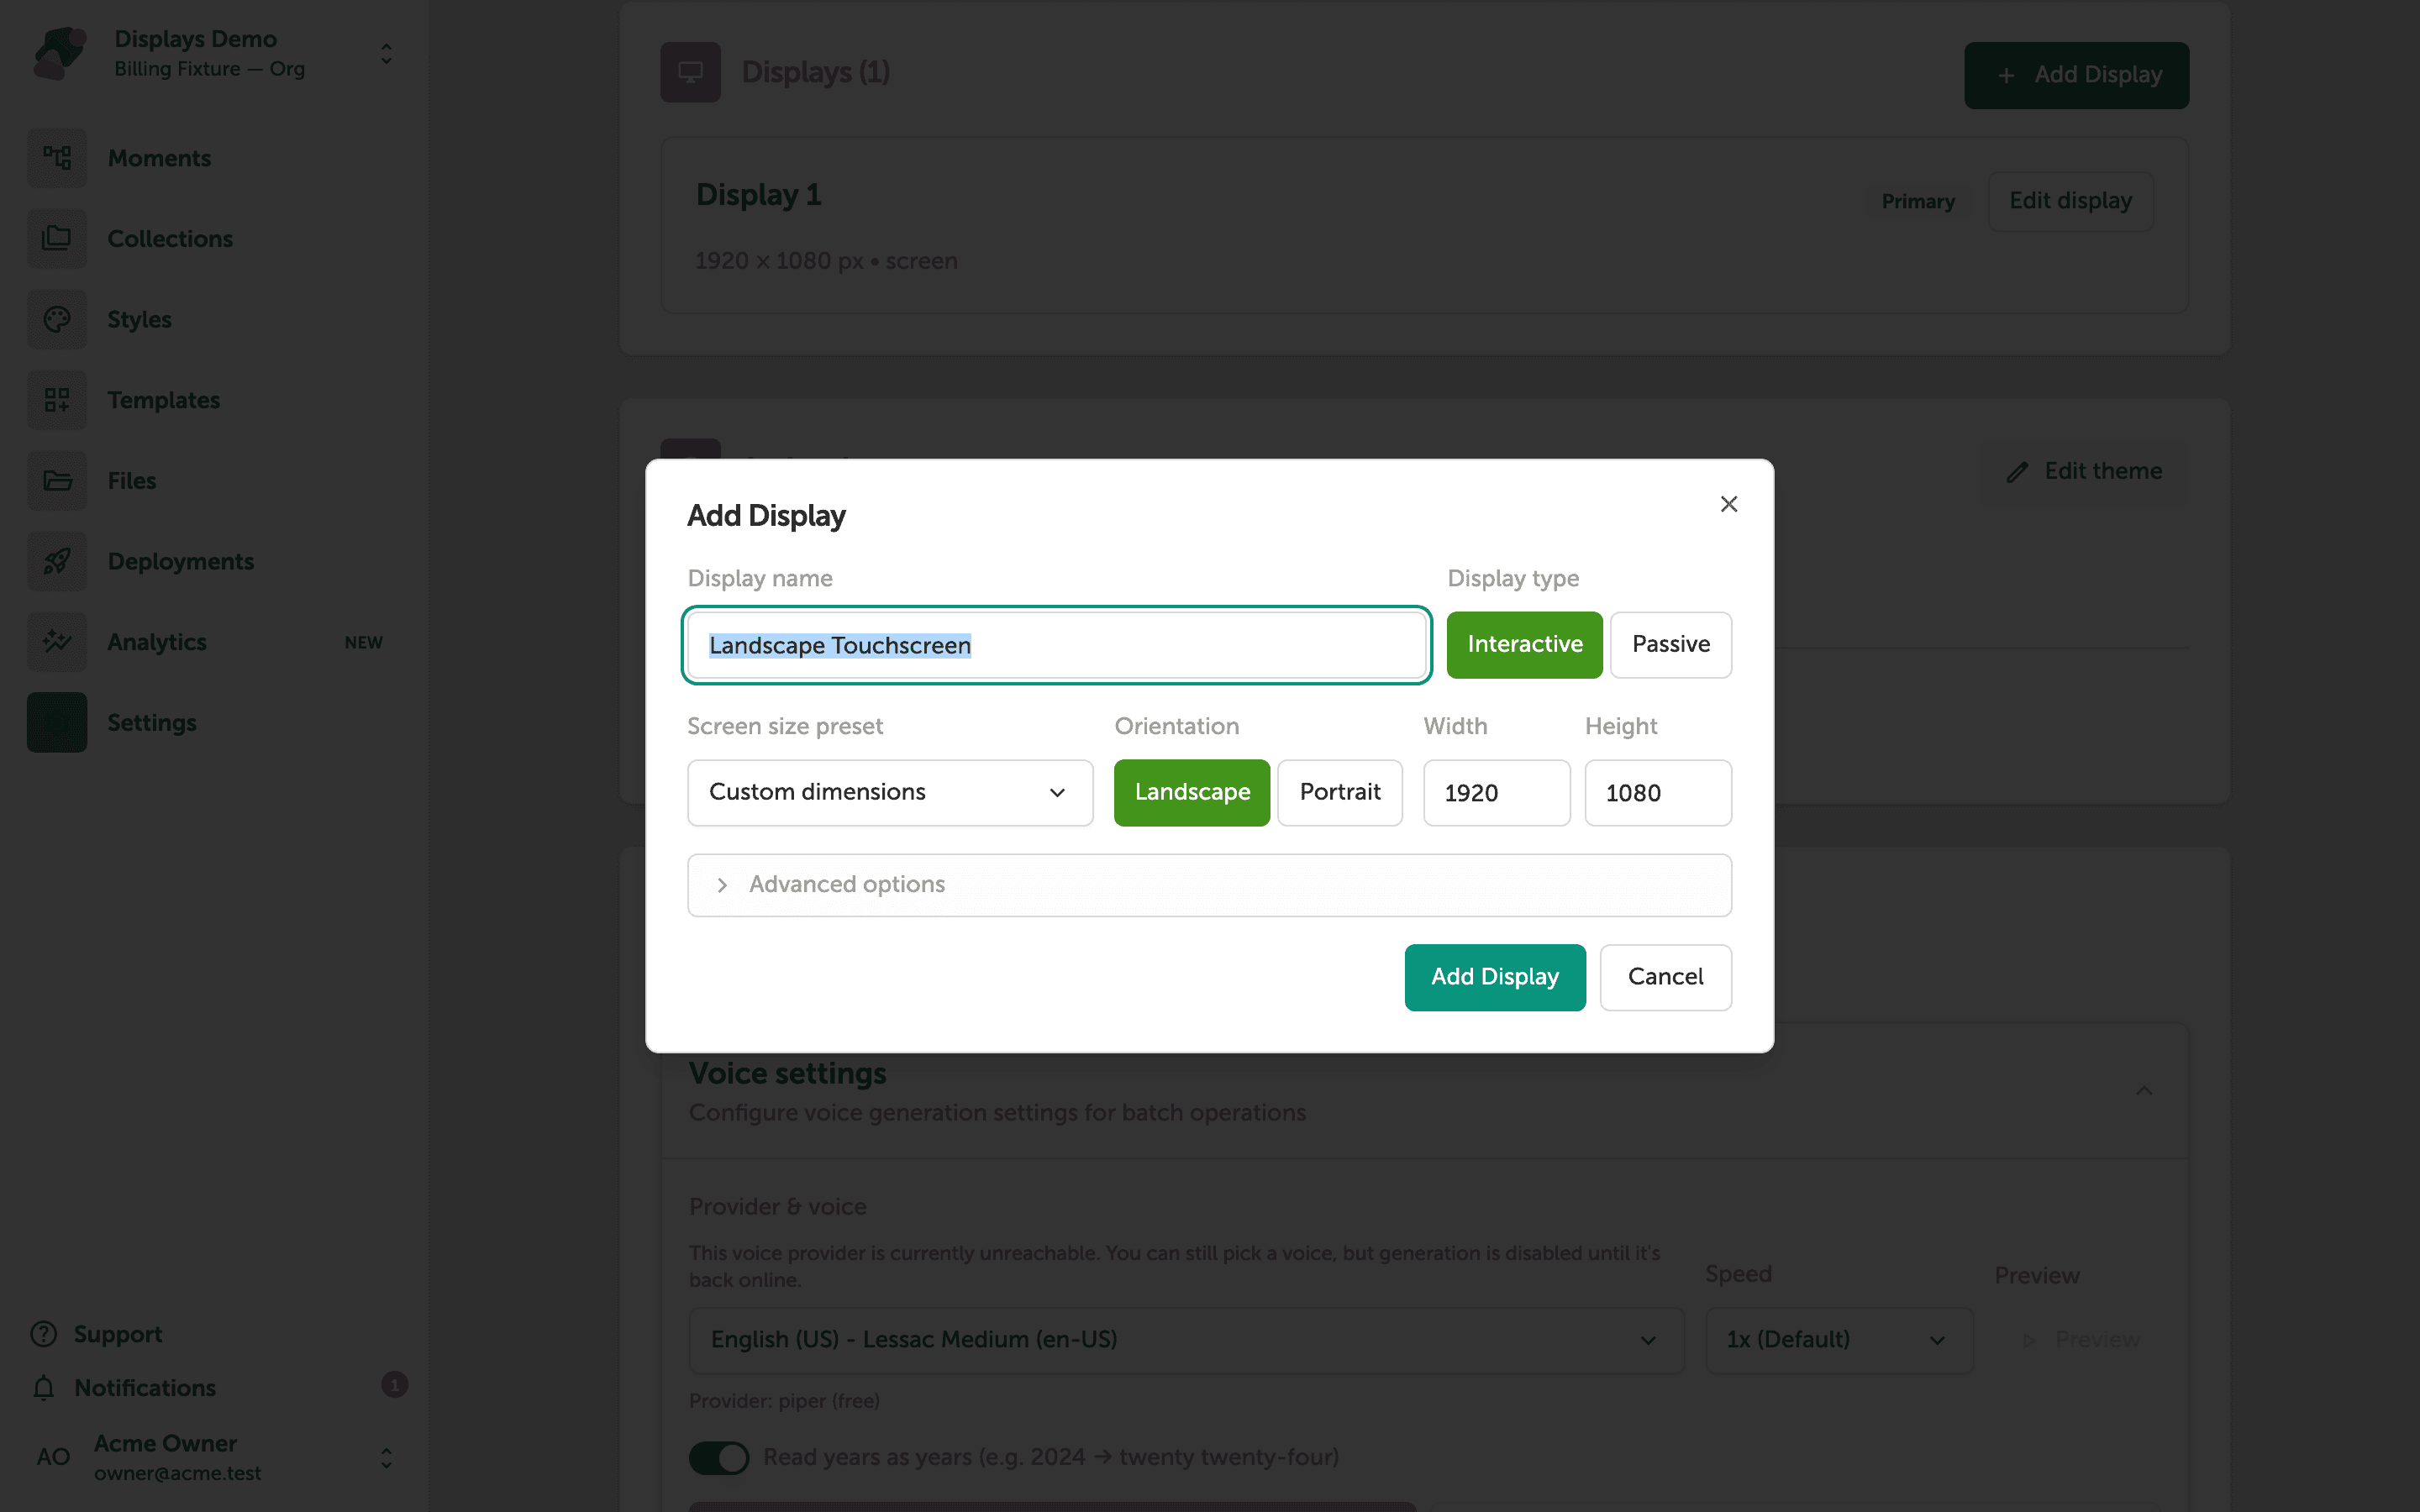
Adding a second display
The Add Display dialog is where you describe the new screen. Display name is required—choose something you'll recognize later, such as a wall, kiosk, or companion panel. Display type is Interactive (touch) or Passive (playback only). Pick a Screen size preset for a common resolution, then set Orientation to Landscape or Portrait.
Don't worry about getting every field perfect—you can edit the display after you save.
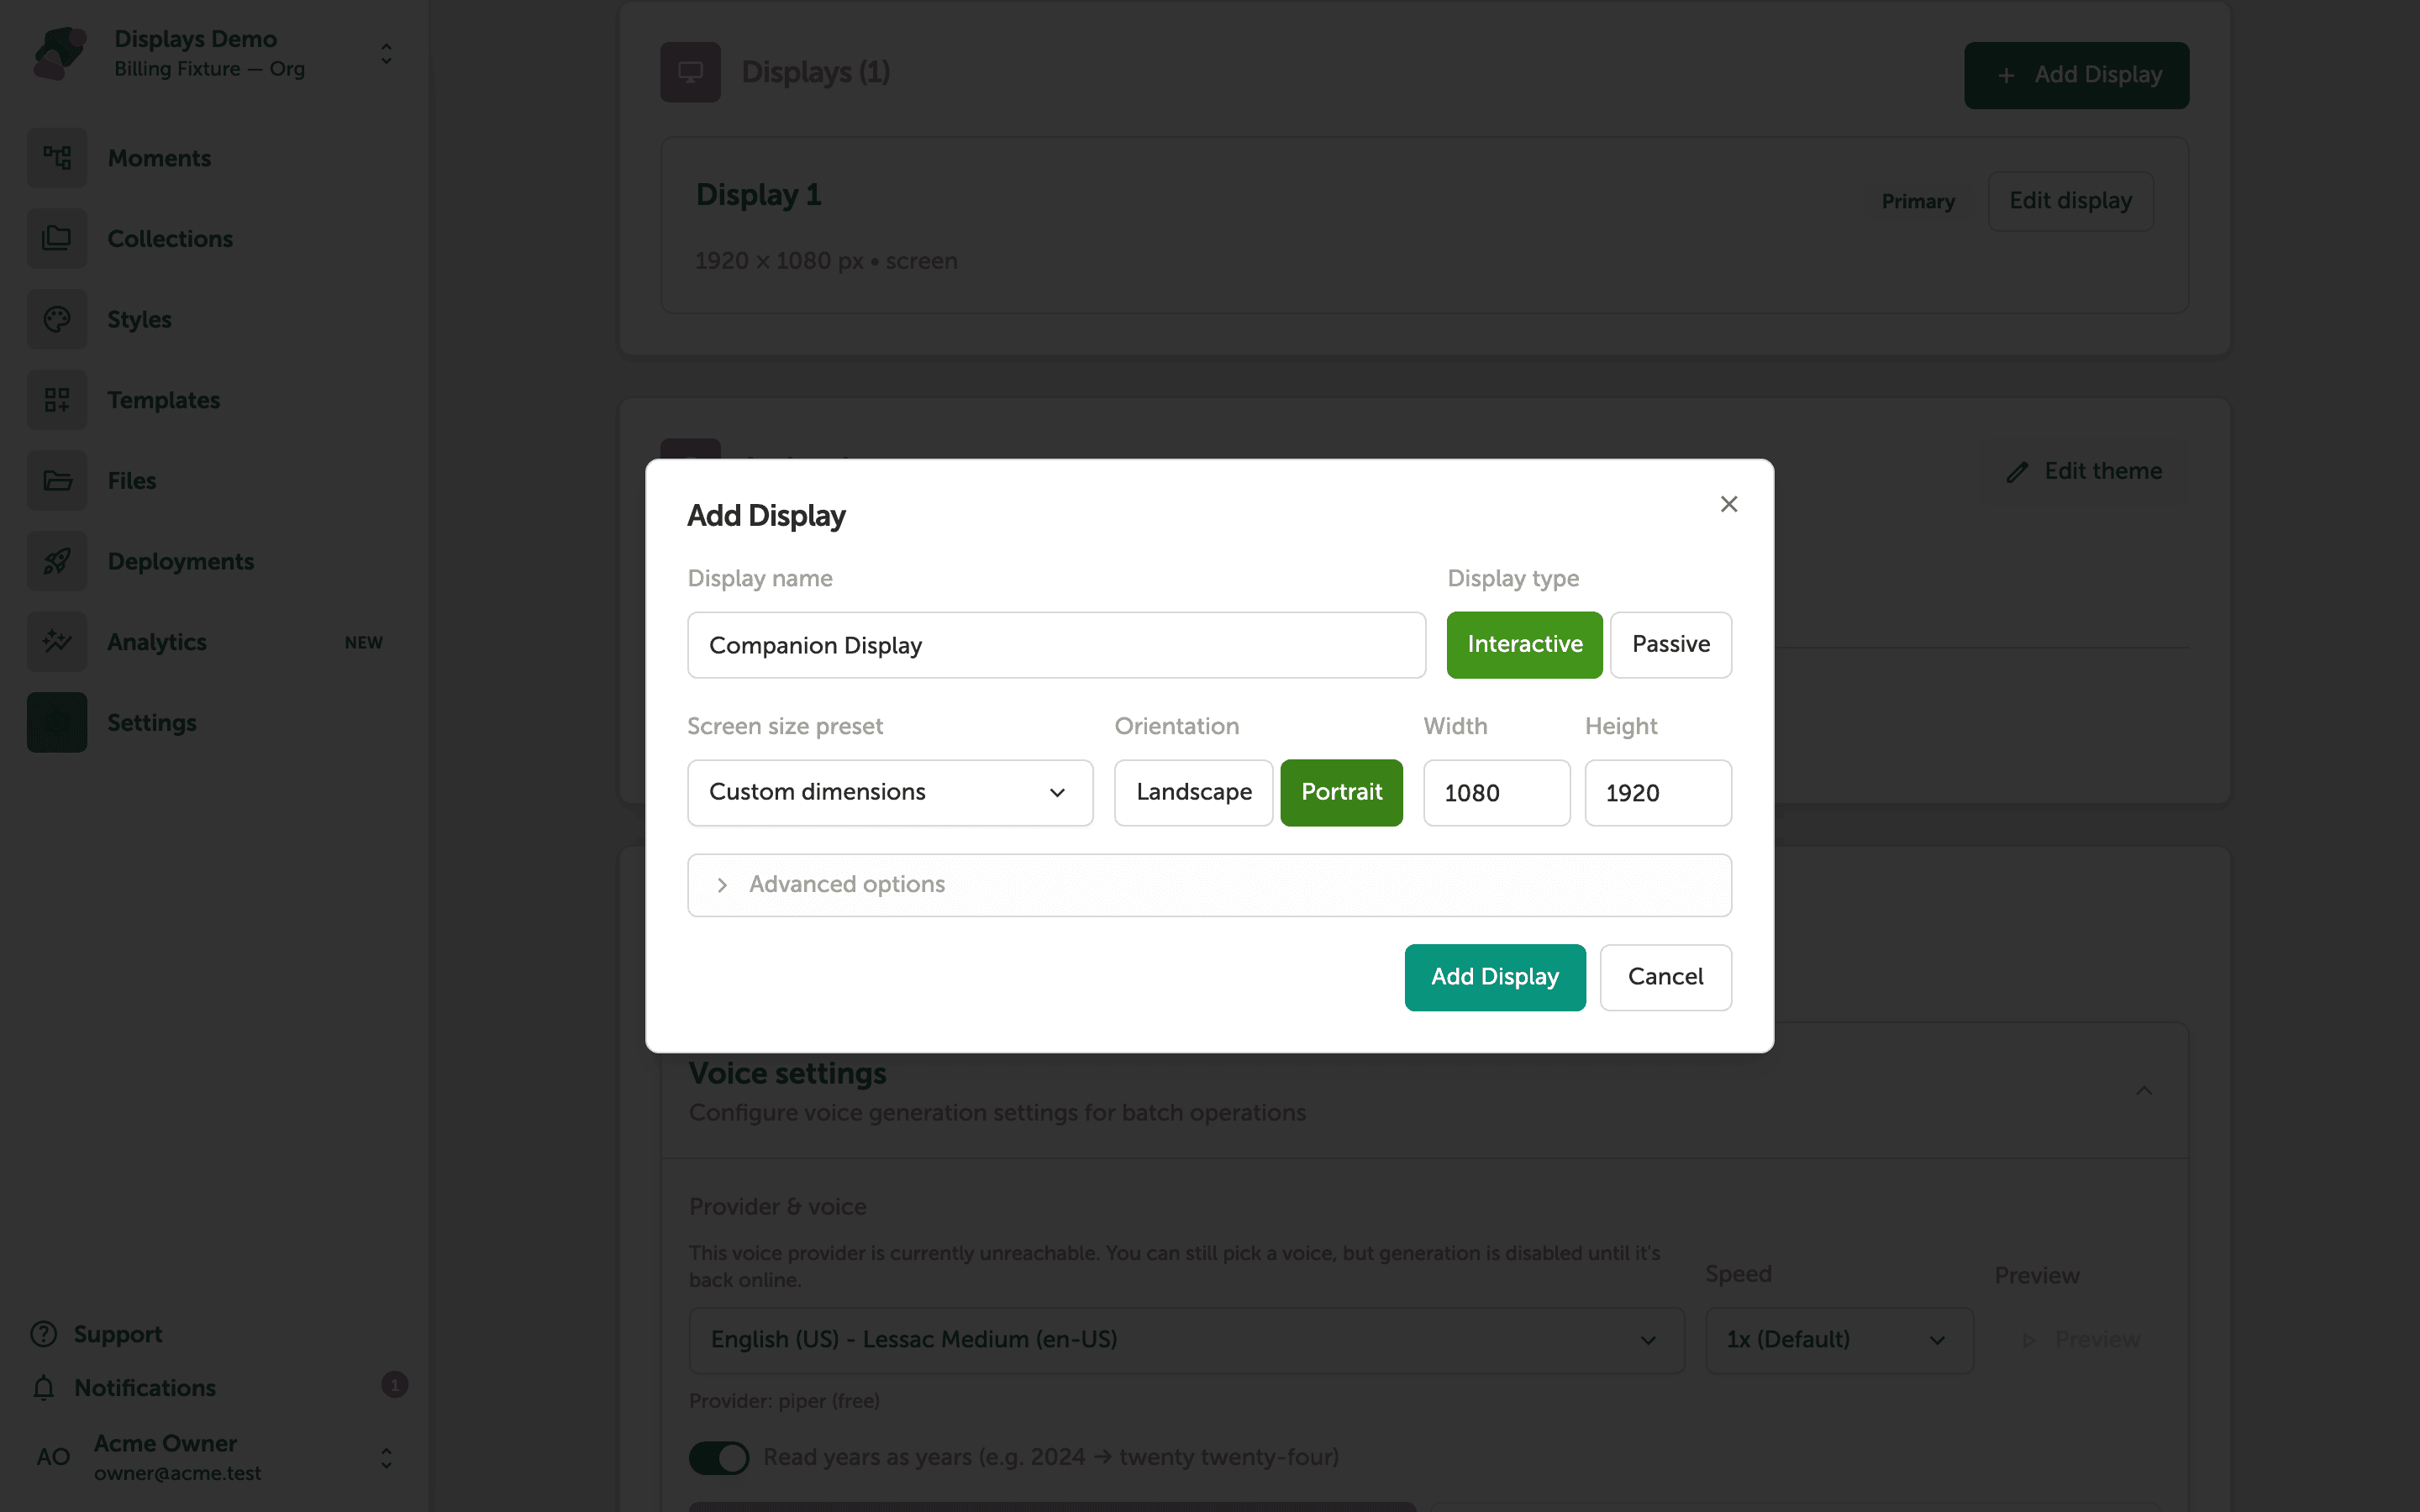
Naming and sizing the new display
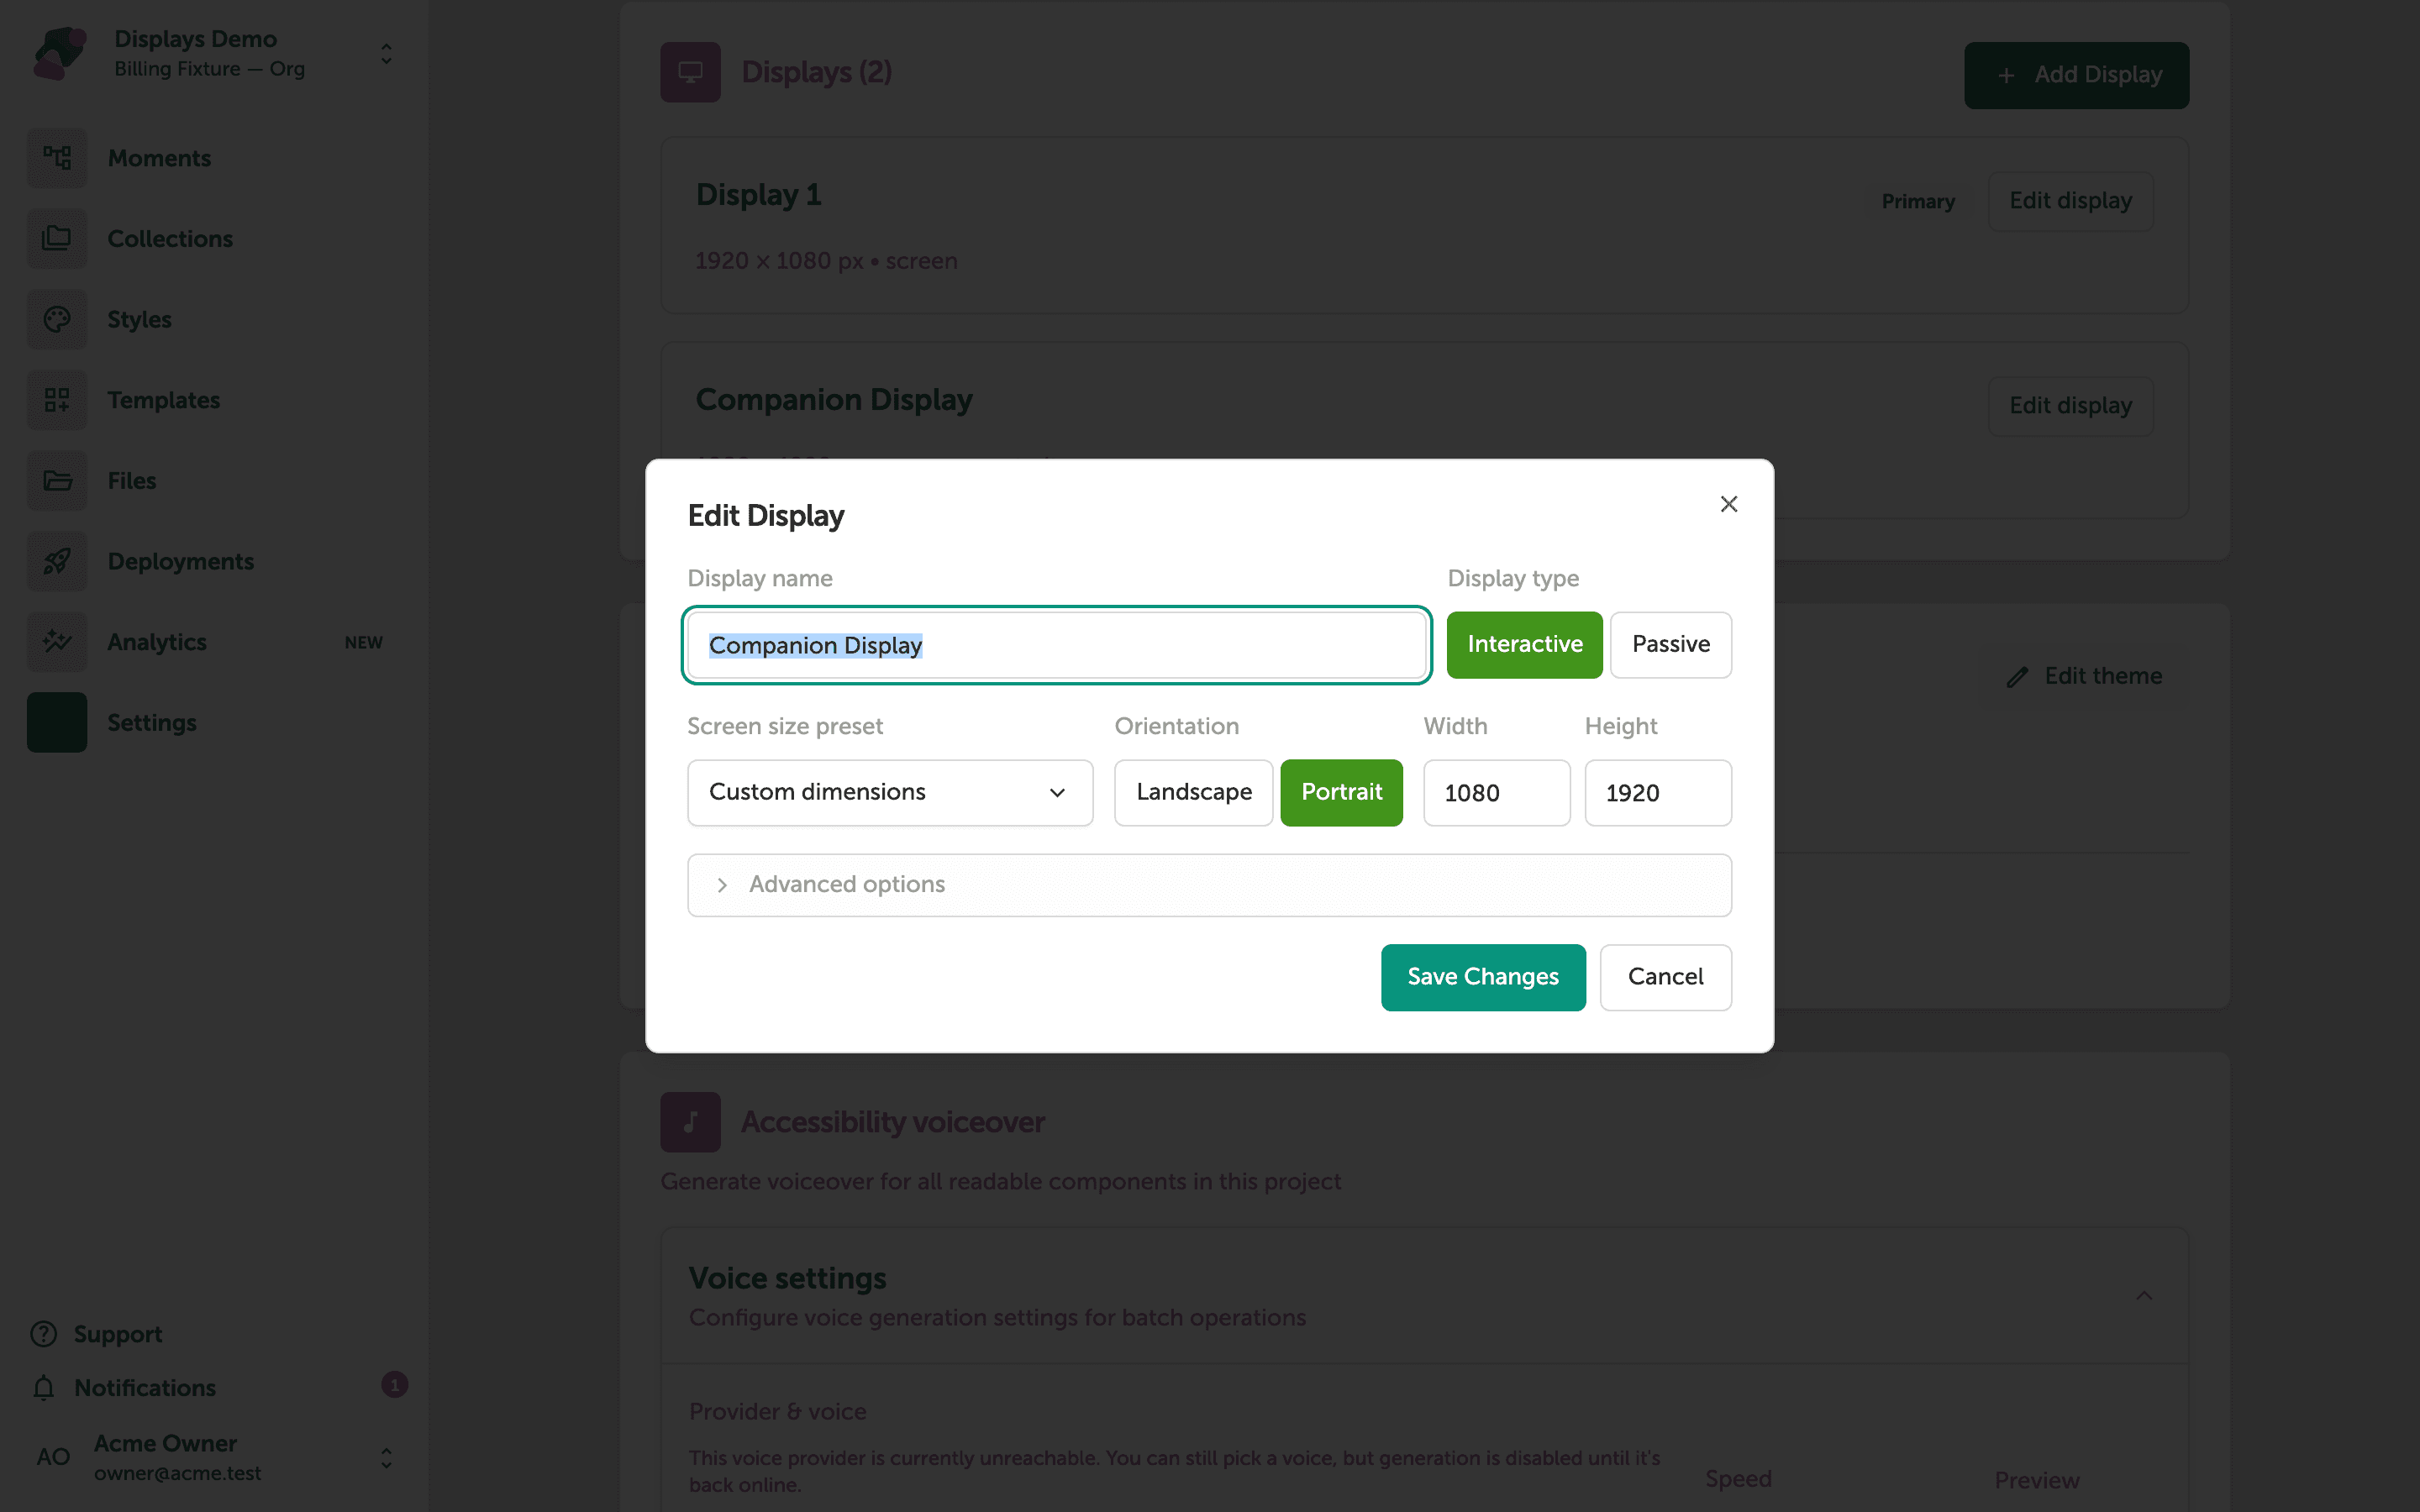
Give the second screen a clear name so collaborators know what it's for. In this example the display is named Companion Display and Portrait is selected so the screen is taller than it is wide.
When the fields look right, click Add Display at the bottom of the dialog. Cancel closes without creating the screen.
Reviewing both displays after you save
The Displays section now lists two cards. Companion Display appears in portrait with an Edit display button; Library Display remains below it in landscape.
The Primary badge marks the default screen new moments attach to first. Click Edit display on any card when you need to rename a screen, change its size, or update physical dimensions.
Every moment needs a view on every display
When a moment activates, all screens switch together. After you add a display, open each moment and add a view for the new screen so it doesn't go blank—see Adding and Editing Views.
Editing an existing display
Edit Display uses the same form as Add Display. Change Display name, switch Interactive or Passive, pick a different Screen size preset, or toggle Landscape and Portrait if the hardware was mounted the other way.
Click Save Changes to apply, or Cancel to leave the display as it was.
There is no separate delete control on this page—if a screen is no longer in the experience, leave it unused until you are ready to rebuild, or keep editing it until it matches the hardware on the floor.
Your second screen is part of the project. Next, give every moment a view on that display, then publish so the player app can map the right layout to each physical screen.
- Add views for the new display—build the layout each moment shows on Companion Display.
- Understand moments and flows—see how screens switch together when a visitor moves through the experience.
- Set up the player app—install the player so published views reach the real hardware.
- Edit other project settings—title, description, and inactivity reset live on the same page.